Kit Seam Inspector
 David Agababyan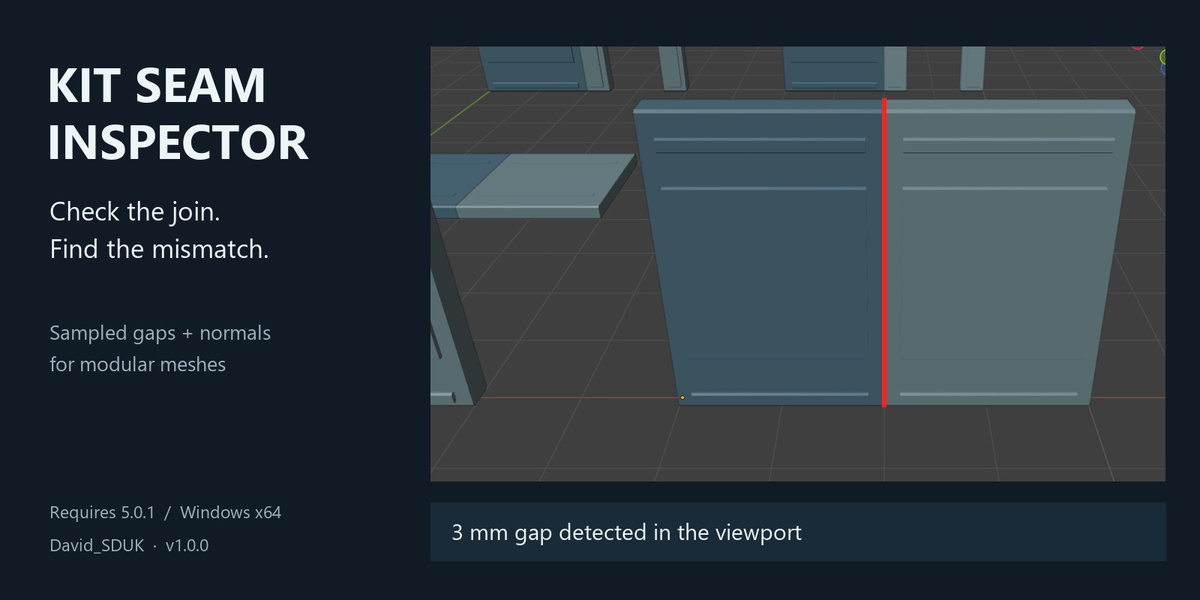
Kit Seam Inspector 1.0.0
By David_SDUK. Sampled geometry and normal checks for joins between two assembled static mesh modules. Supported release: Blender 5.0.1, Windows x64 only.
Other Blender versions and operating systems are not supported by this package.
Installation
In Blender 5.0.1: Edit → Preferences → Get Extensions → top-right menu →
Install from Disk. Select kit_seam_inspector-1.0.0.zip and enable it.
In a 3D View, press N and open the Kit Seam tab. Install the extension ZIP, not the companion examples archive. No external dependencies or network access.
First check on your own meshes
1. Assemble two modules at their intended join. Use separate mesh data for A/B.
2. Select only A. Tab into Edit Mode, press 2 on the main keyboard for Edge Select, deselect all, and select the perimeter edges of the join. Do not select cap diagonals.
3. Click Mark A, then Tab back to Object Mode.
4. Select only B, enter Edit Mode, select its corresponding perimeter and click Mark B.
5. Return to Object Mode. Check the Module A/B fields, then click Inspect seam.
6. Read the report. Use Worst gap or Worst normals to focus the view on a sampled problem. Fix the model manually and inspect again.
Marking replaces the previous marks on that object. It stores an integer edge attribute in the mesh and supports Undo. Inspection does not move or repair geometry.
For linked duplicates, make Object Data single-user before marking.
Settings and results
| Setting | Meaning |
| --- | --- |
| Gap tolerance (mm) | Distance above which a sampled point is flagged |
| Normal tolerance (deg) | Normal angle above which a compared point is flagged |
| Sample spacing (mm) | Requested interval along marked edges; smaller is finer |
| Match radius (mm) | Maximum distance for normal comparison; must be at least gap tolerance |
| Outer surfaces | Automatically omit simple fully bounded polygon contact caps |
| All adjacent faces | Compare adjacent faces including caps, except manual exclusions |
| Show diagnostics | Toggle the current overlay |
| Draw through objects | Show diagnostics through occluding geometry |
Defaults: 0.10 mm gap, 5° normals, 10 mm sampling, 1 mm matching radius.
Distances use Scene Unit Scale. Both sides are sampled; projection uses the closest opposite edge segment, so matching edge subdivision counts are not required.
Face-corner normals, including custom/split normals, are compared. At a hard edge, each source surface takes its closest normal match among target surfaces.
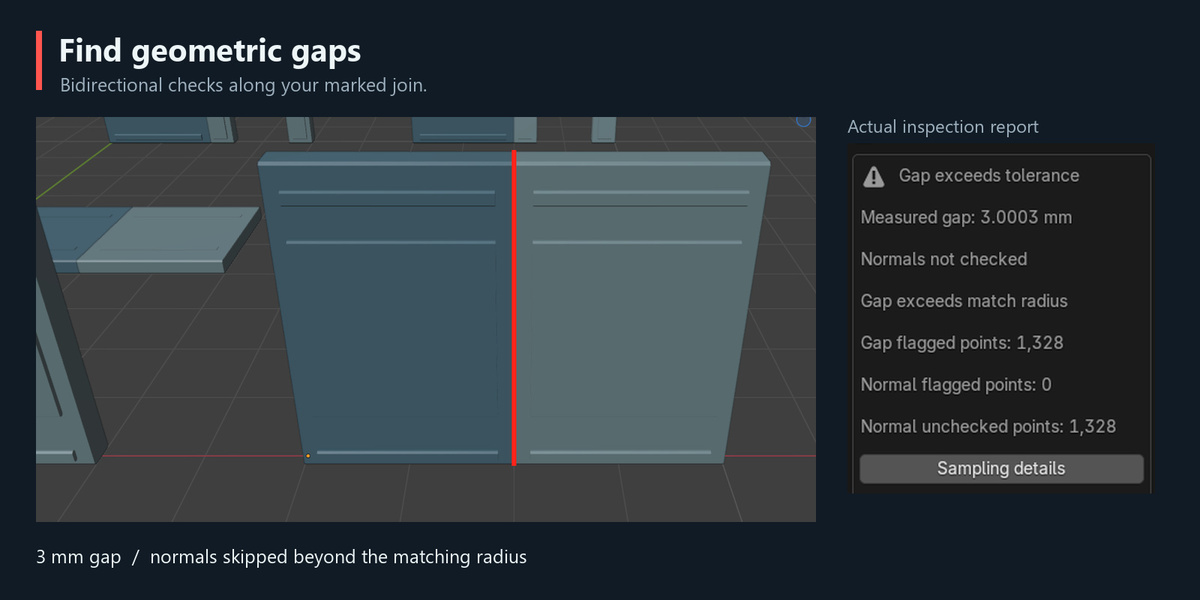
Red: sampled gap exceeds tolerance.
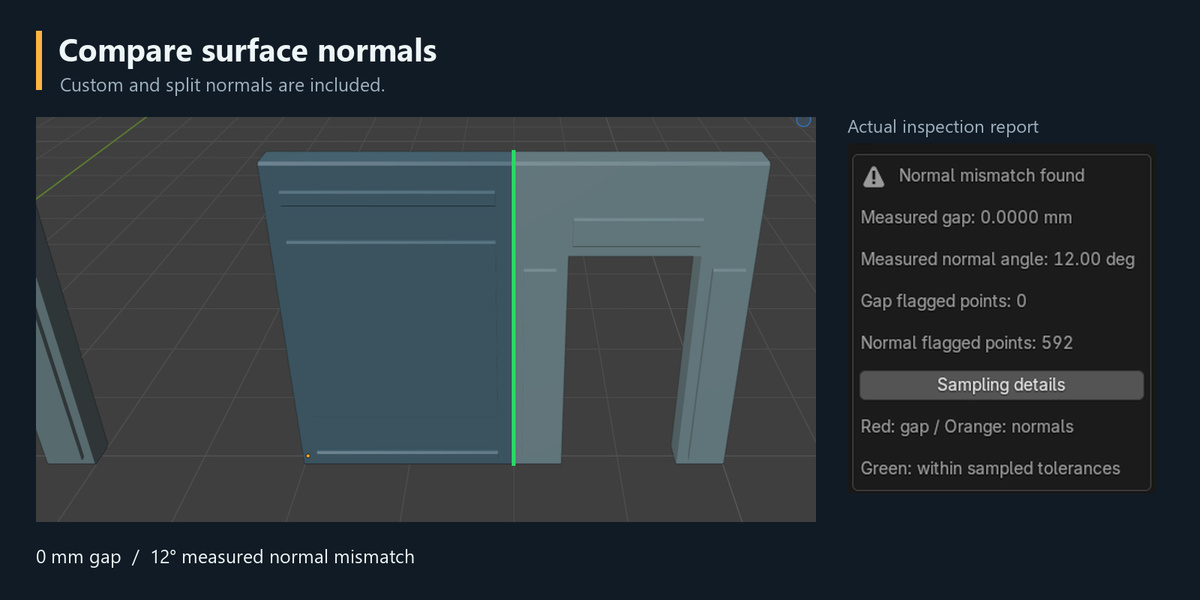
Orange: sampled normal mismatch.
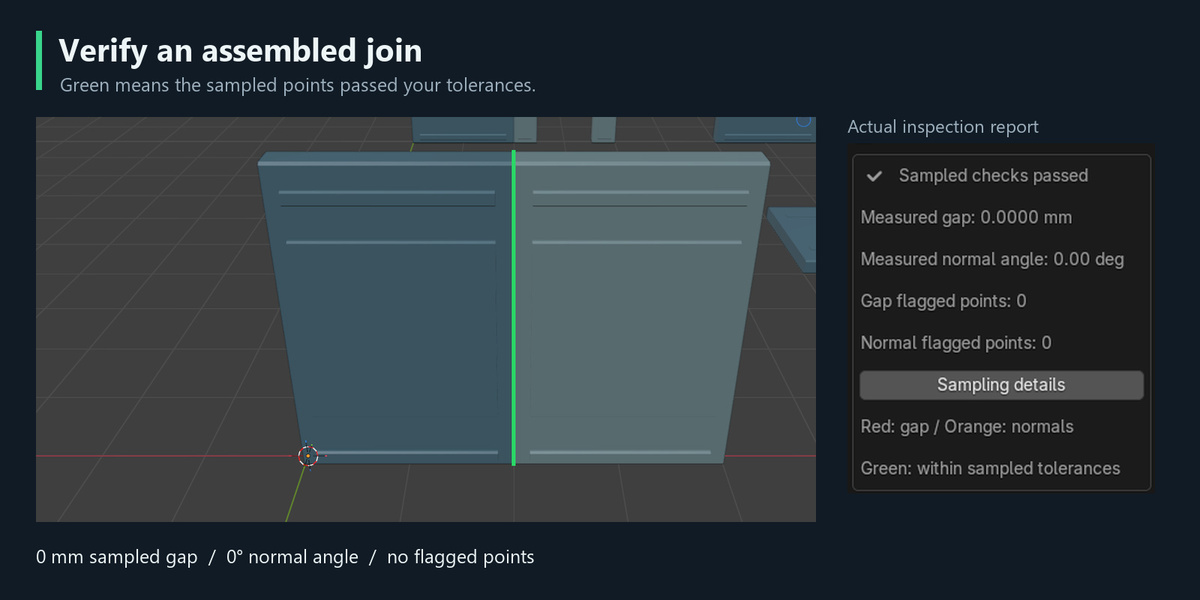
Green: checked point within tolerances.
Gray: normal comparison was skipped.
Overlapping points can visually cover one another: read the report counts too.
Measured gap and normal angle are the maxima over checked points, not full-surface measurements. Flagged points count samples, not unique defects.
Sampling details shows count, requested spacing and the conservative geometric
limit: measured sampled maximum plus half the spacing. It is an upper bound for
distance between samples, not another measured gap and not a bound on normal angles.
Reduce spacing for fine defects. Green does not certify the entire model or watertightness.
Internal faces and triangulated caps
Outer surfaces excludes a polygon cap only if its whole perimeter is marked and each edge has two adjacent faces. Triangulated caps need manual exclusions:
1. Select one module, enter Edit Mode and press 3 for Face Select.
2. Select only the internal contact faces and click Exclude faces.
3. Repeat on the other module, return to Object Mode and inspect again.
Exclusion affects normals only. Restore faces removes manual exclusions.
All adjacent faces still respects manual exclusions. If no normal surfaces remain, restore an exterior face or correct the perimeter; do not mark internal diagonals.
Included practice scenes
Unpack the companion archive and install the extension before opening a scene.
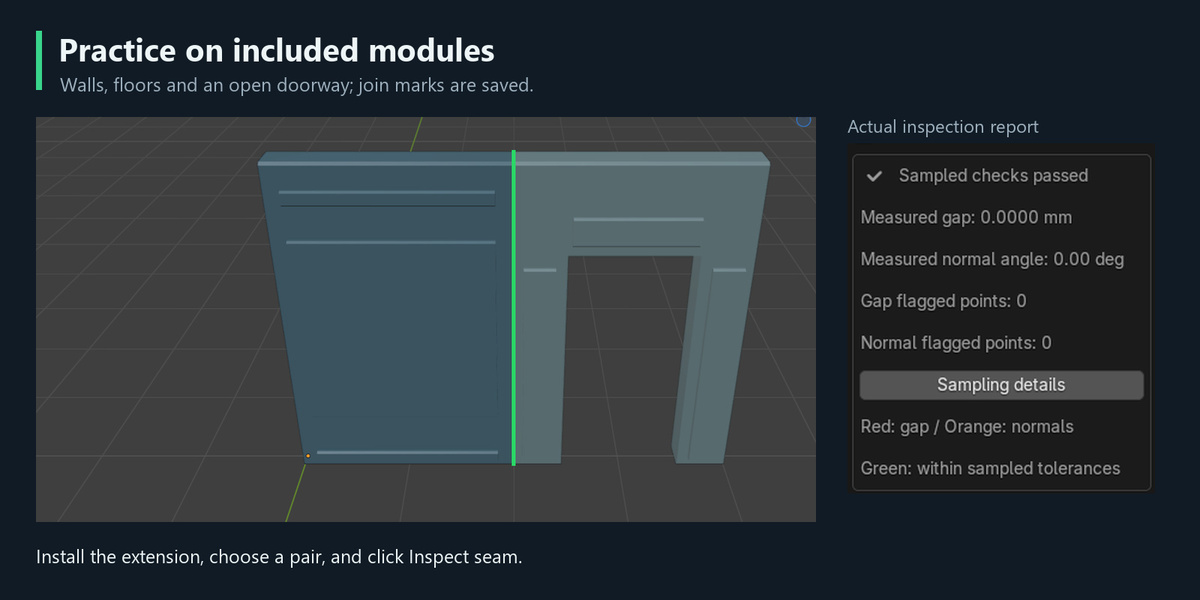
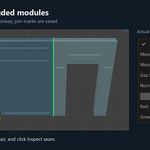
Marks are already saved. Choose matching A/B object fields and click Inspect.
| Game-kit pair | Expected result |
| --- | --- |
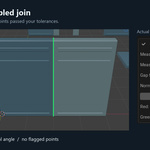
| 01_Wall_Clean | Green, 0 mm, approximately 0° |
| 02_Wall_Gap_3mm | Red, approximately 3 mm; normals too far apart |
| 03_Floor_Clean | Green, 0 mm, approximately 0° |
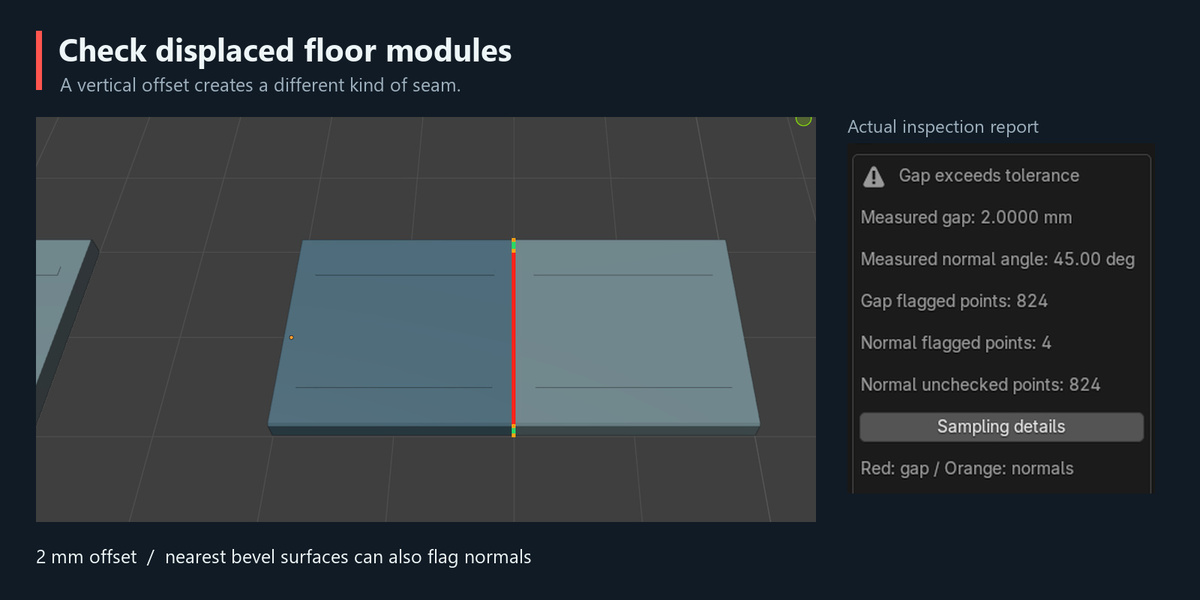
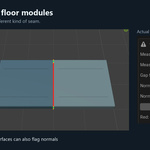
| 04_Floor_Offset_2mm | Maximum gap 2 mm; mixed red/green, partially checked normals |
| 05_Door_Clean | Green, 0 mm, approximately 0° |
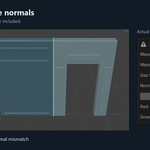
| 06_Door_Normal_12deg | 0 mm gap, approximately 12°; 592 flagged normal points |
For pair 04, the shifted bevels can give four normal warnings up to 45° because nearest surfaces change. This case tests displacement, not corrupted custom normals.
To correct pair 02 set B Location X to 6 m; to correct pair 04 set B Location Z to 0 m.
Reinspect: both should pass. Save experiments under a new filename.
The simple scene includes clean, 2 mm gap and 30° normal cases. The advanced scene includes rotation, bevels and triangulated caps with/without manual exclusions.
Limits and troubleshooting
- Source static meshes only. Active modifiers and shape keys are rejected.
Apply modifiers on a separate copy before marking its final topology.
- Seam edges must have one or two adjacent faces. Loose/non-manifold and zero-length seam edges, singular transforms and missing marks are rejected.
- One pair and one current report at a time. No batch scene scan or saved report export.
- Maximum 100,000 samples per inspection; increase spacing for long contours.
- Mesh/transform/settings changes, Undo/Redo and file loads clear the current report.
Mesh marks, manual exclusions and settings persist in the saved blend; reports need a new Inspect.
- No snapping, welding, normal editing or automatic repair.
- Close, crossing or ambiguous contours should be inspected separately; matching follows the nearest marked geometry, not the intended identity of a surface.
- No UV, lightmap, texture, tangent-space, collision or engine-import validation.
Final game-engine shading must be reviewed in the engine separately.
If a closed cube reports 90° at its join, use Outer surfaces, mark only the cap
perimeter and manually exclude triangulated internal cap faces if needed.
If normals are not checked, bring the modules closer or increase Match radius deliberately.
If overlays disappear after moving an object, click Inspect again: this prevents stale results.
Support and licensing
Contact David_SDUK through the Superhive product support form. Include Blender version,
OS, exact steps, a screenshot of the report and a small reproducible blend if possible.
Avoid sending confidential production assets. This package contains the full source and its MIT license; the license text in LICENSE governs the code.
The example scenes and documentation are included for practicing this workflow.
Have questions about this product?
Login to message
| Blender Extension Compatible | Yes |
| Published | 3 days ago |
| Blender Version | 5.0 |
| Extension Type | Add-on |
| Render Engine Used | Cycles, Eevee |
| License | Mit |