 Take Refuge 3D
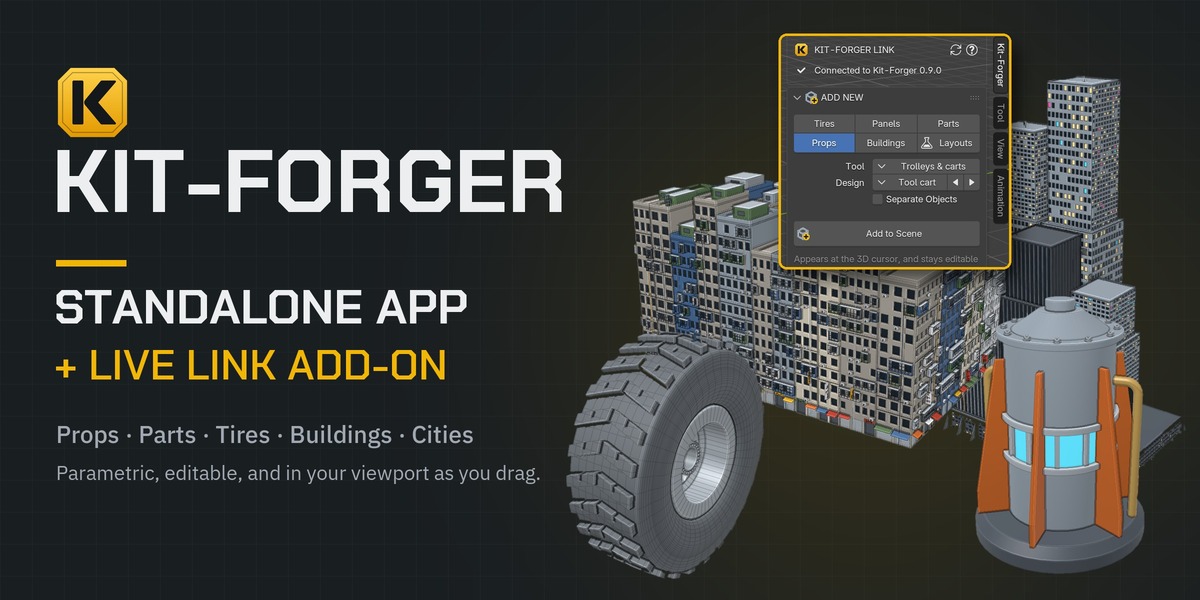
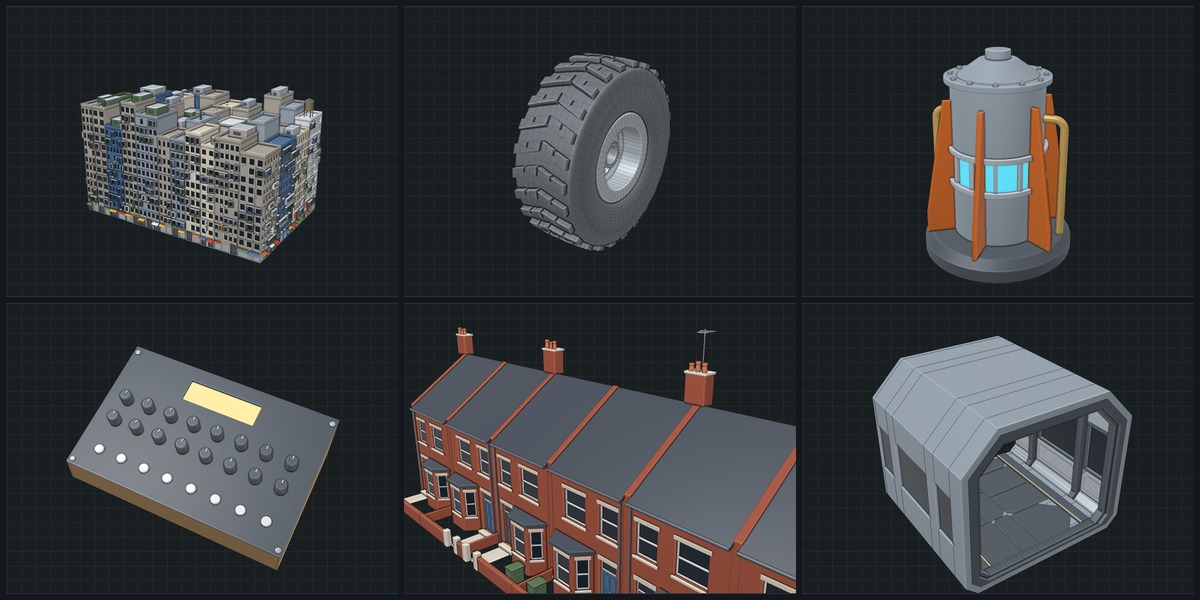
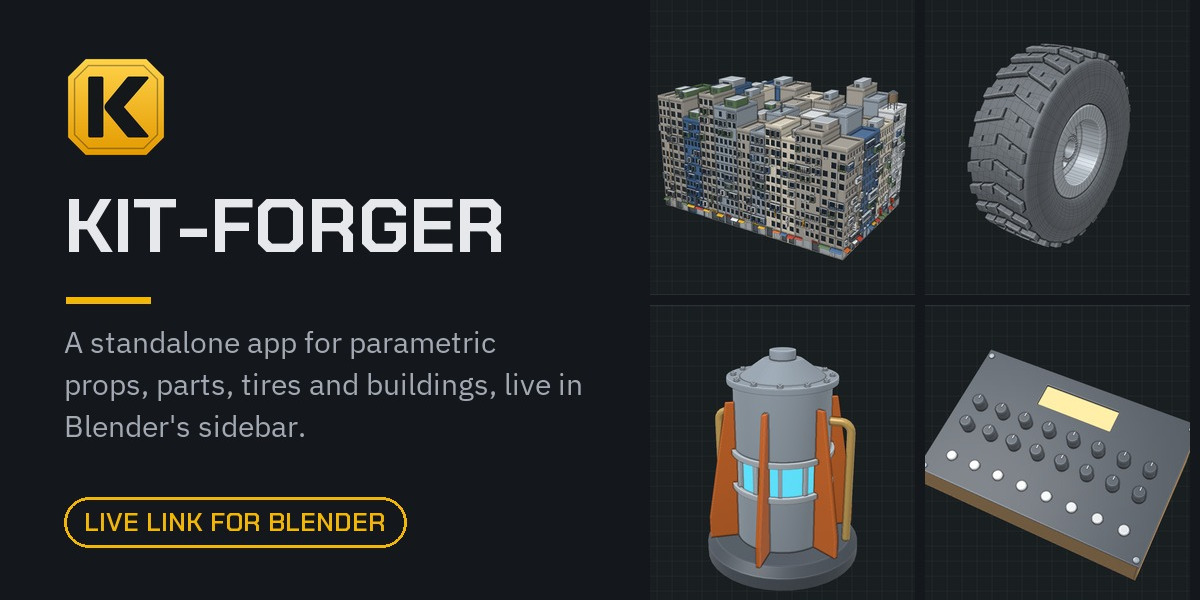
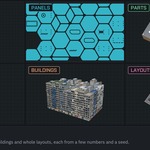
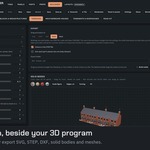
Kit-Forger is a standalone app for WINDOWS and MAC ( Apple Silicone M Series) with a live link to Blender. It makes kit-bash parts, props, buildings and whole scenes from a few numbers, and its add-on puts every one of its tools in Blender's sidebar. Pick a design, press Add to Scene, and drag its settings: the model follows in your viewport. Every object stays editable, comes with materials and one-click wear for Cycles, and is an ordinary mesh in your .blend file.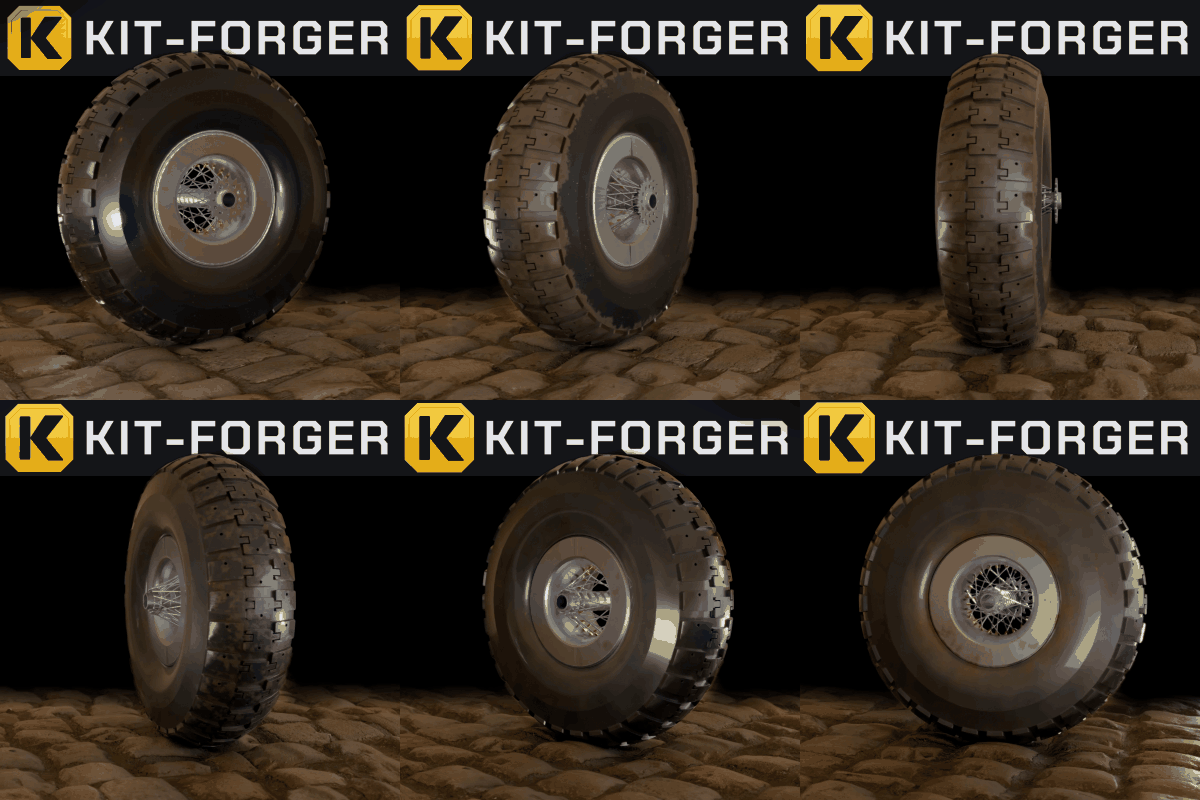
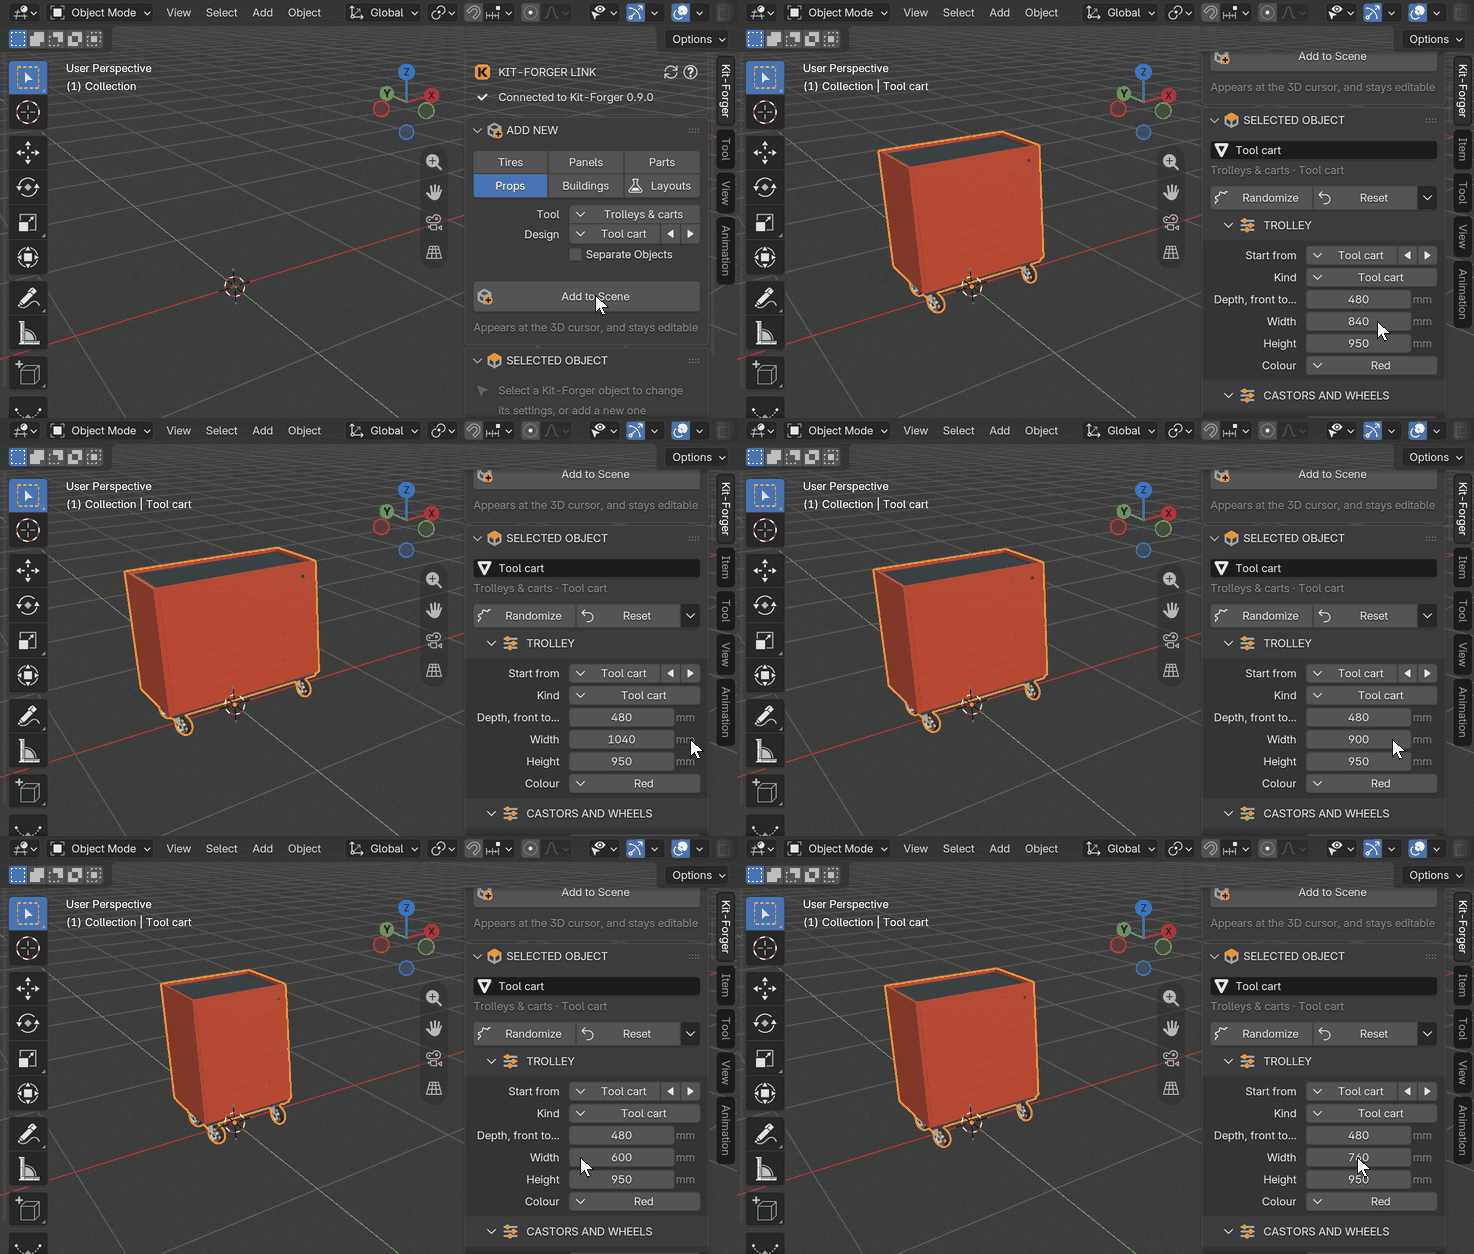
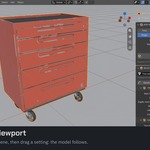
Add to Scene, then drag a setting: the model follows.
The app runs beside Blender on the same computer, and works without it too: it sends profiles and finished solid bodies to CAD programs such as Plasticity, and meshes with UVs and materials to any 3D program.
What you get, and what you need
This product is two programs, as separate downloads:
- Kit-Forger, the app that makes the models: the Windows installer (Windows 10 or 11, 64-bit) and the Mac disk image (a Mac with Apple silicon, M1 or later). There is no build for Intel Macs or Linux.
- Kit-Forger Link (kit_forger_link.zip), the Blender add-on: free software that brings Kit-Forger's tools into Blender. It needs Blender 4.2 or later. It is tested on Windows with Blender 4.2, 4.3, 4.5, 5.2 and 5.3, and works on a Mac with Apple silicon.
Kit-Forger is version 0.9.0, a beta. It is complete enough to work with every day, and it is sold at this stage so that the people who use it can say what it should become.
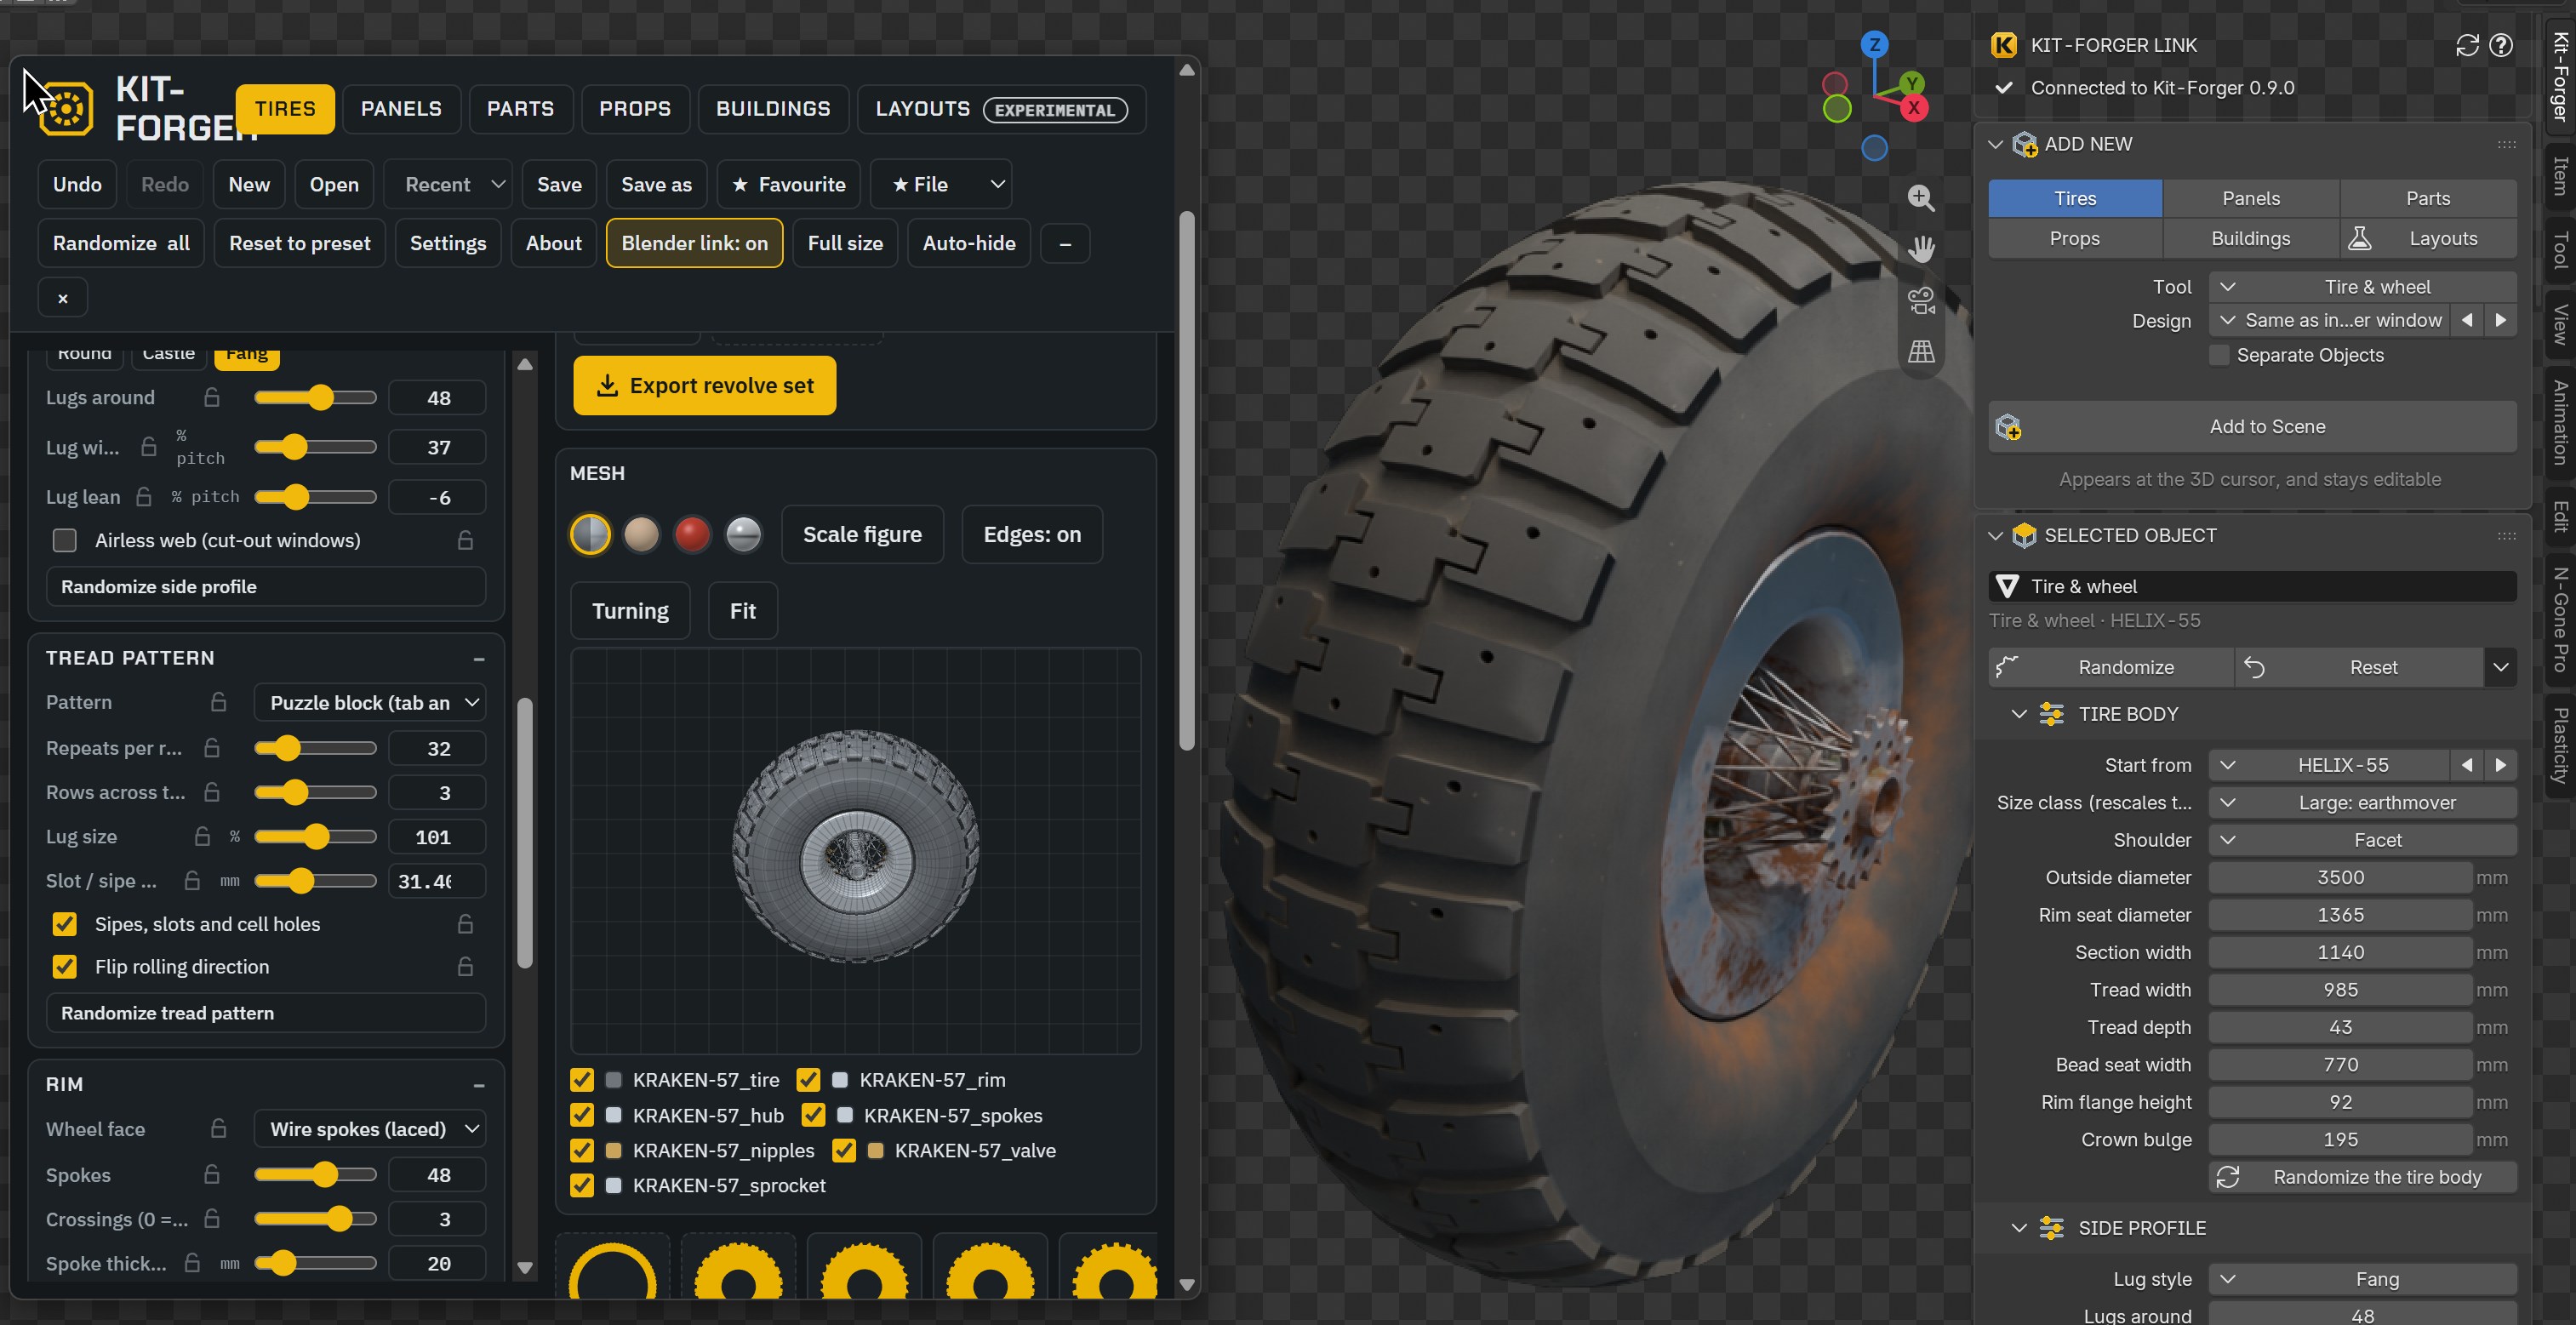
Kit Forger App along side Live Link with Finished Tire in Blender 3D Viewport
Kit-Forger in Blender's sidebar
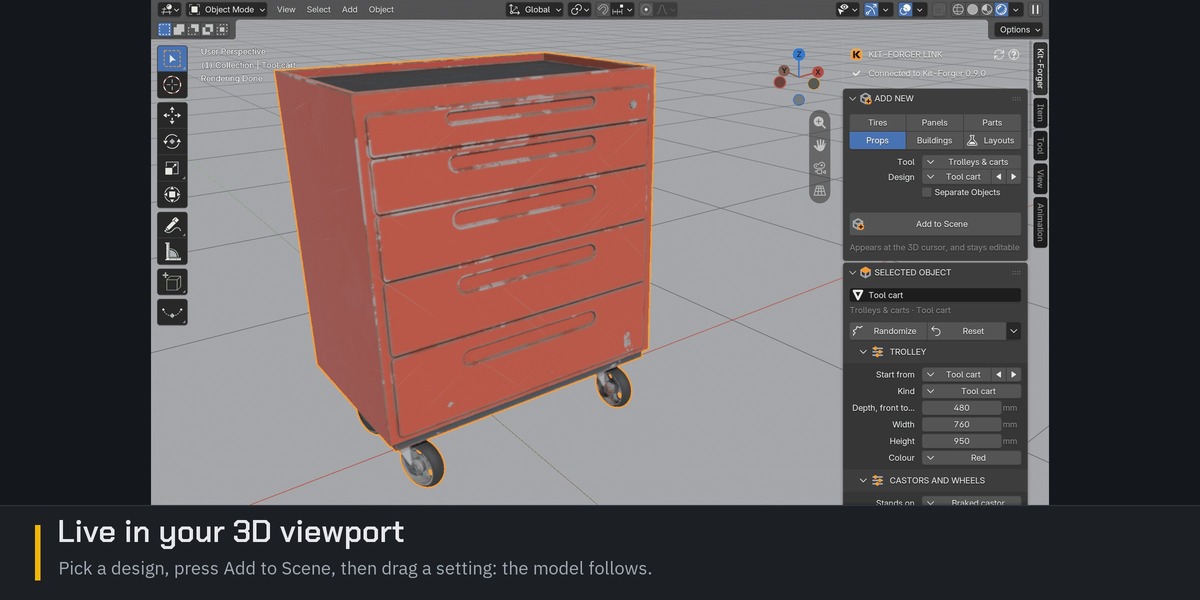
Press N in the 3D Viewport and open the Kit-Forger tab. Choose one of six categories, a tool and a design, and press Add to Scene: the model appears at the 3D cursor. With it selected, its settings are under Selected Object, grouped just as they are in Kit-Forger. Drag a value and the mesh is remade as you drag.
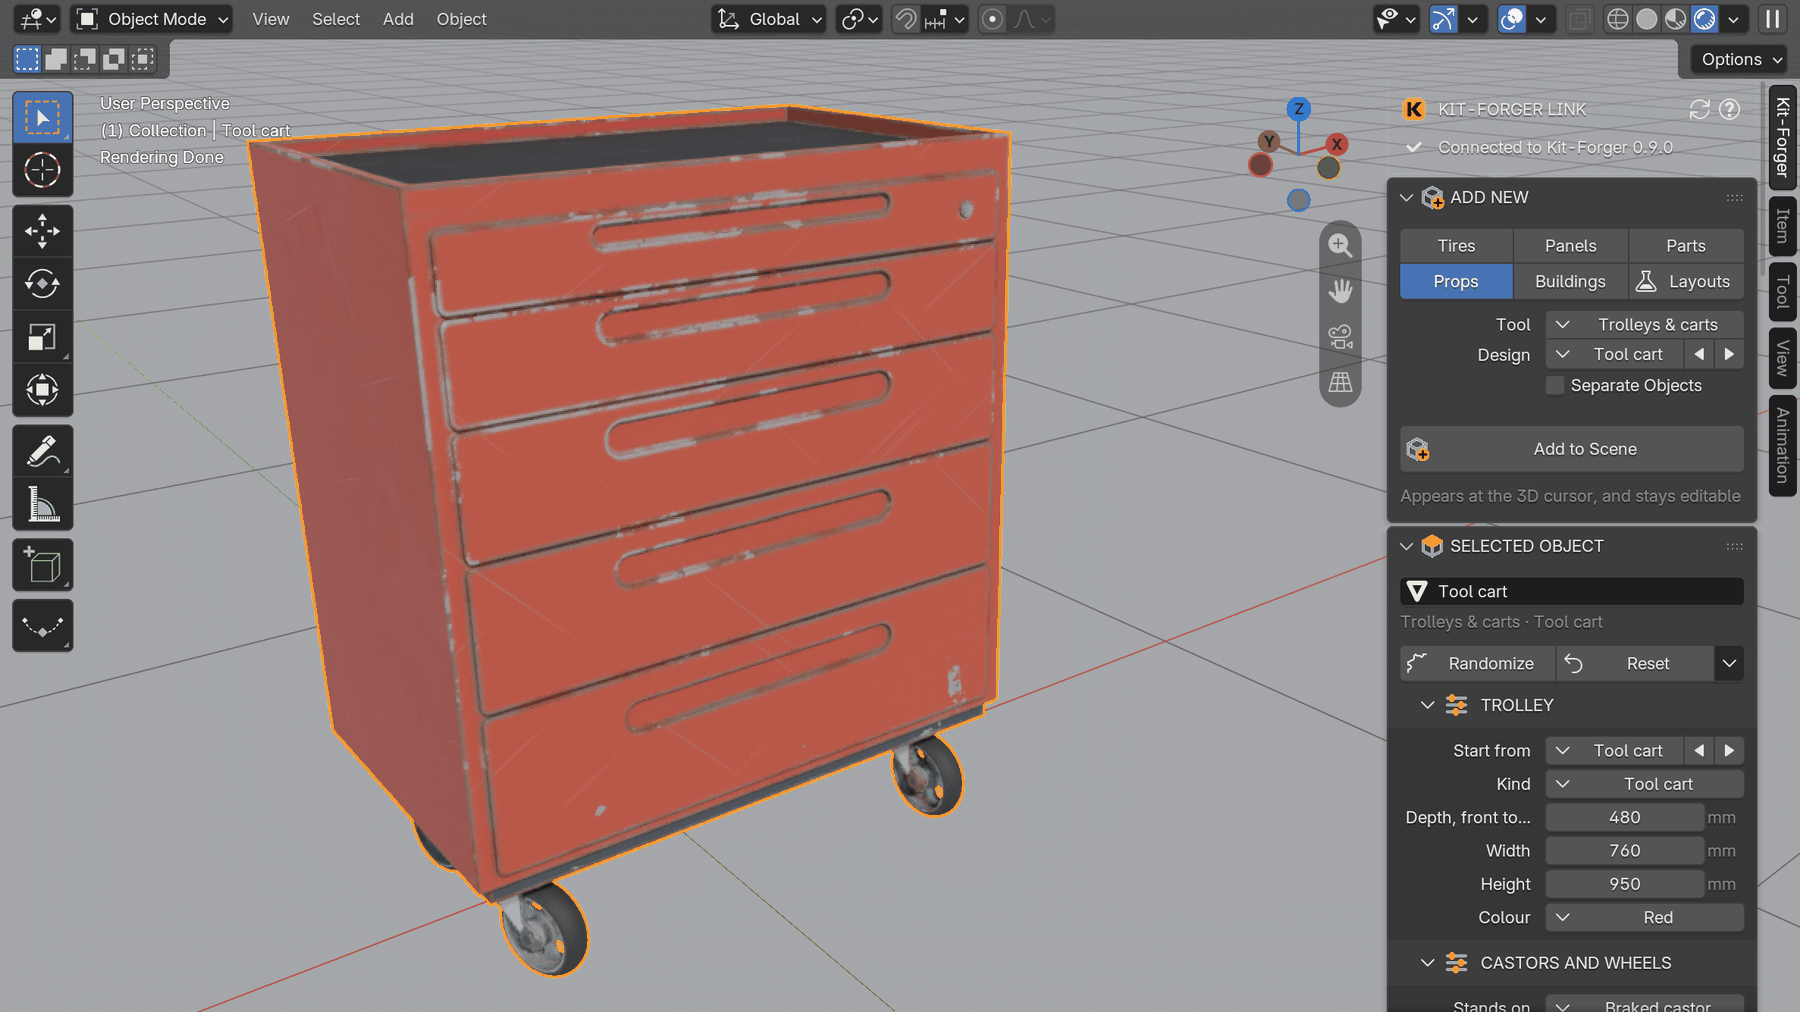
A tool cart, worn and rendered in Cycles, with its settings in the Kit-Forger tab.
- Come back to it any time. Each object keeps its own settings in the .blend file. Select it next week and carry on.
- Randomize gives a new variation; Reset takes it back to the design as it comes.
- Undo works as usual, and Shift+D makes a linked copy, for variations of one design.
- Your modifiers and materials are kept when the model changes.
- Your .blend file does not need Kit-Forger. The models are ordinary meshes saved in the file: it opens and renders on any computer. Kit-Forger is needed only to change them.
- New tools show up by themselves. When Kit-Forger gains a tool, it appears in the panel the next time the add-on connects, with no add-on update.
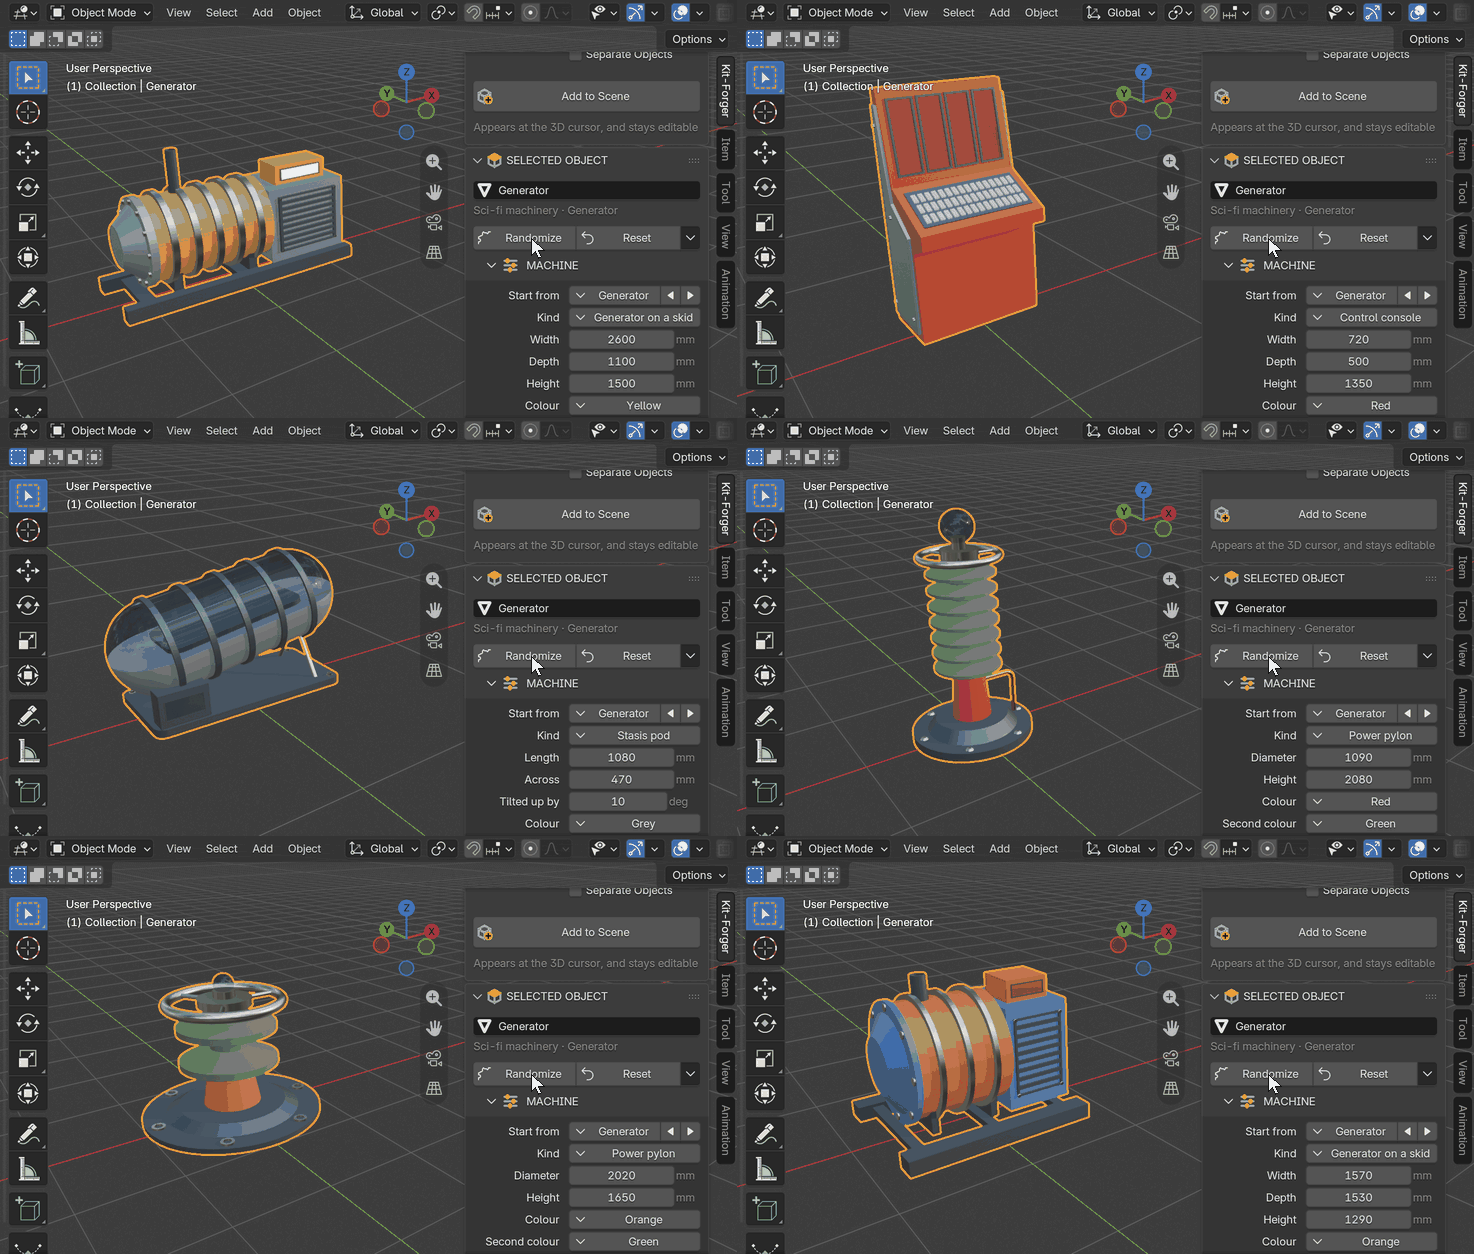
Randomize: a new machine with every press.
Whole streets as separate objects
Tick Separate Objects before you add a design and it comes in as an object per part, under one parent and in a collection of its own, each part at its own origin. A grey-box city arrives as an object per block, ready to pick up, swap or delete. Select any part to see the whole design's settings; Select All picks up the parent and every part to move them together. A part you move yourself stays where you put it.
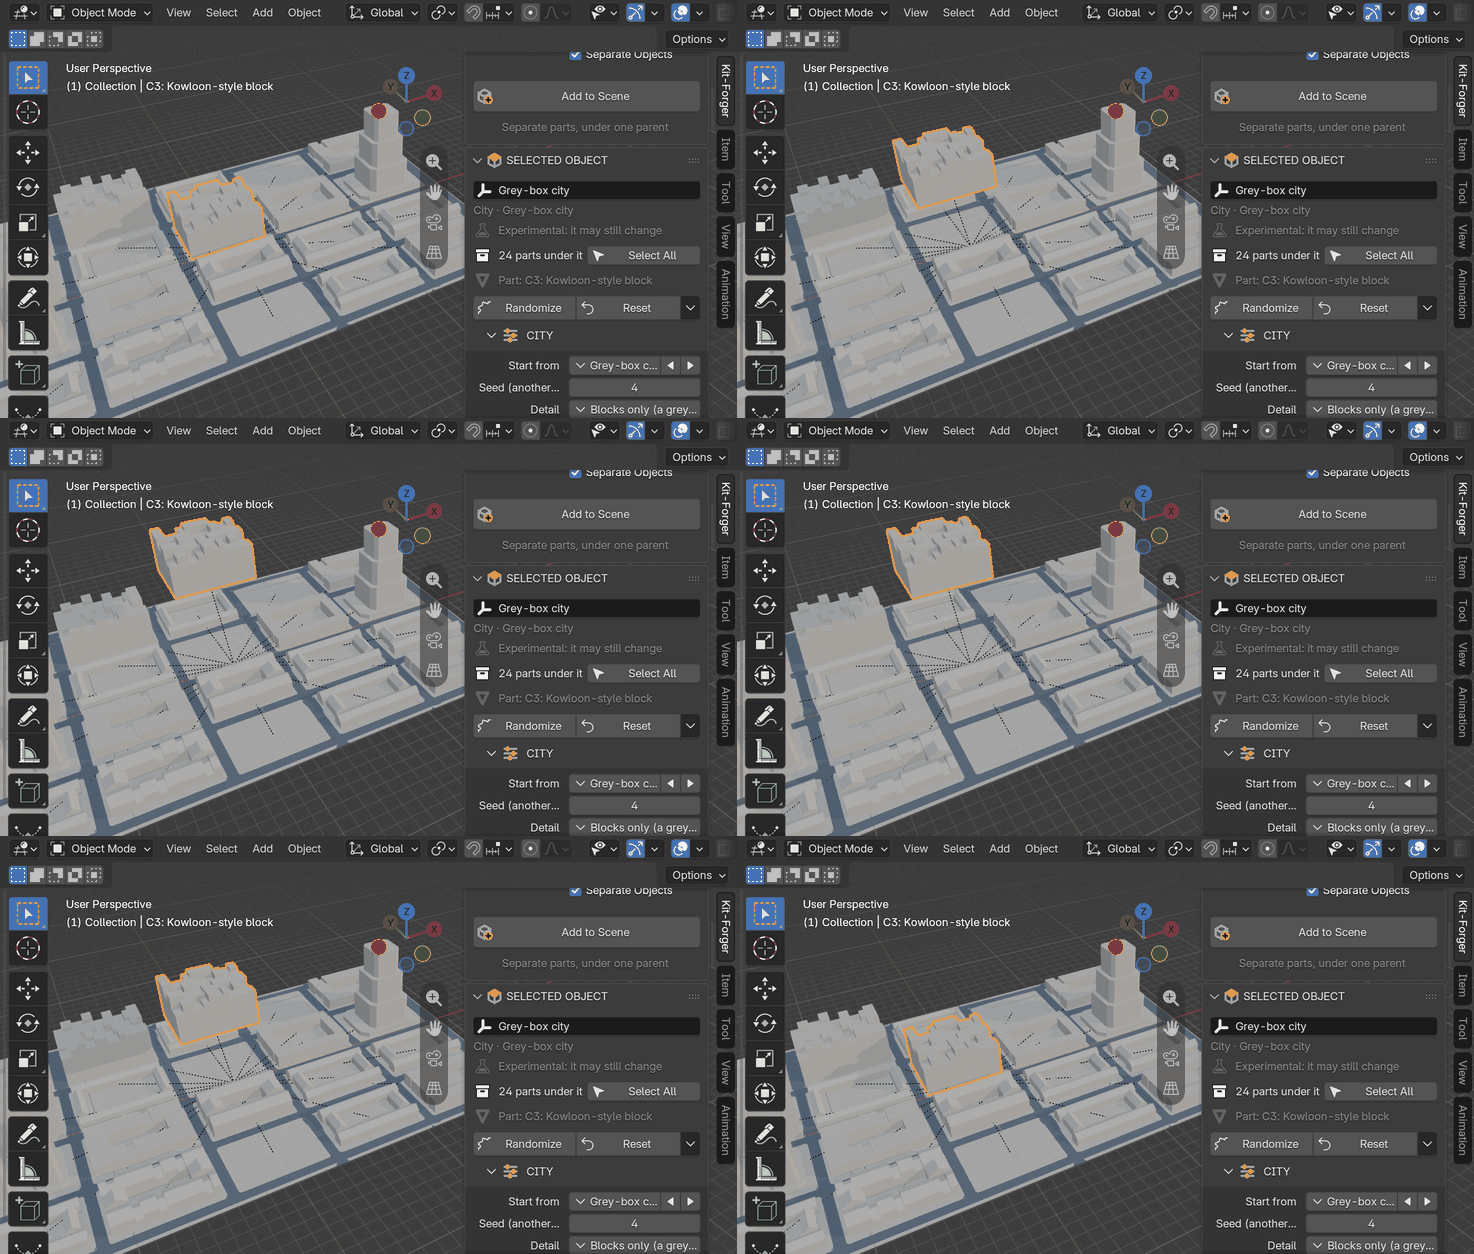
A grey-box city, one object per block.
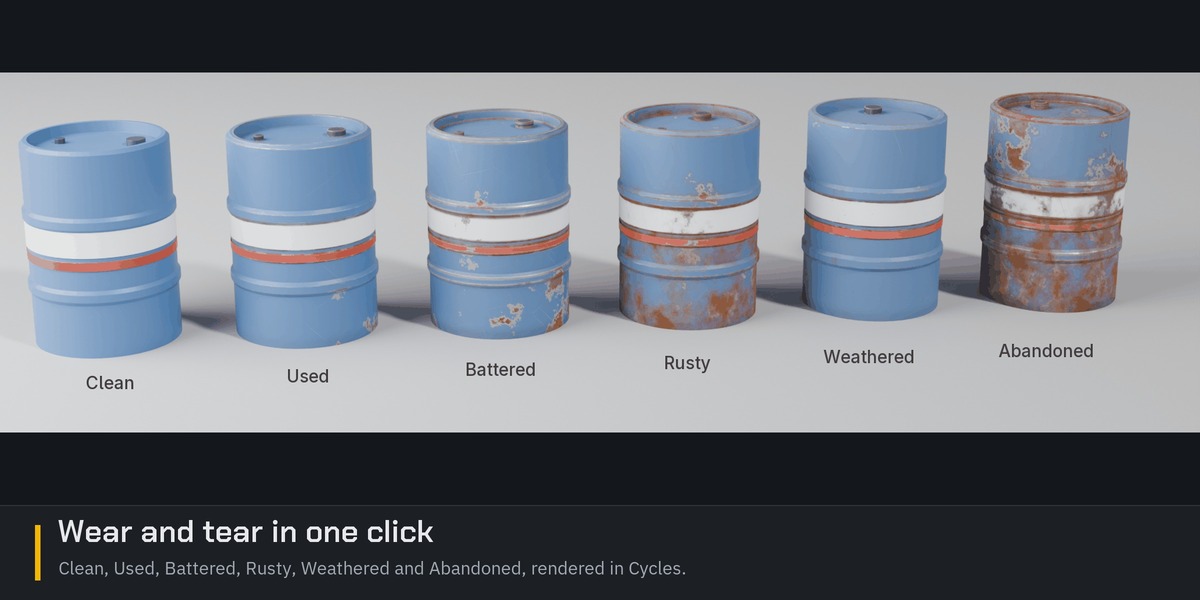
Wear and tear in one click
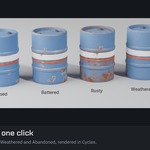
Six looks: Clean, Used, Battered, Rusty, Weathered and Abandoned. Or fourteen sliders in three blocks: Wear (Edge Wear, Chips, Scratches, Rubbed Through, Cracks), Dirt and weather (Dirt, Rust, Streaks, Moss, Damp, Weathering) and Sheen (Sheen Variation, Smudges, Water Marks).
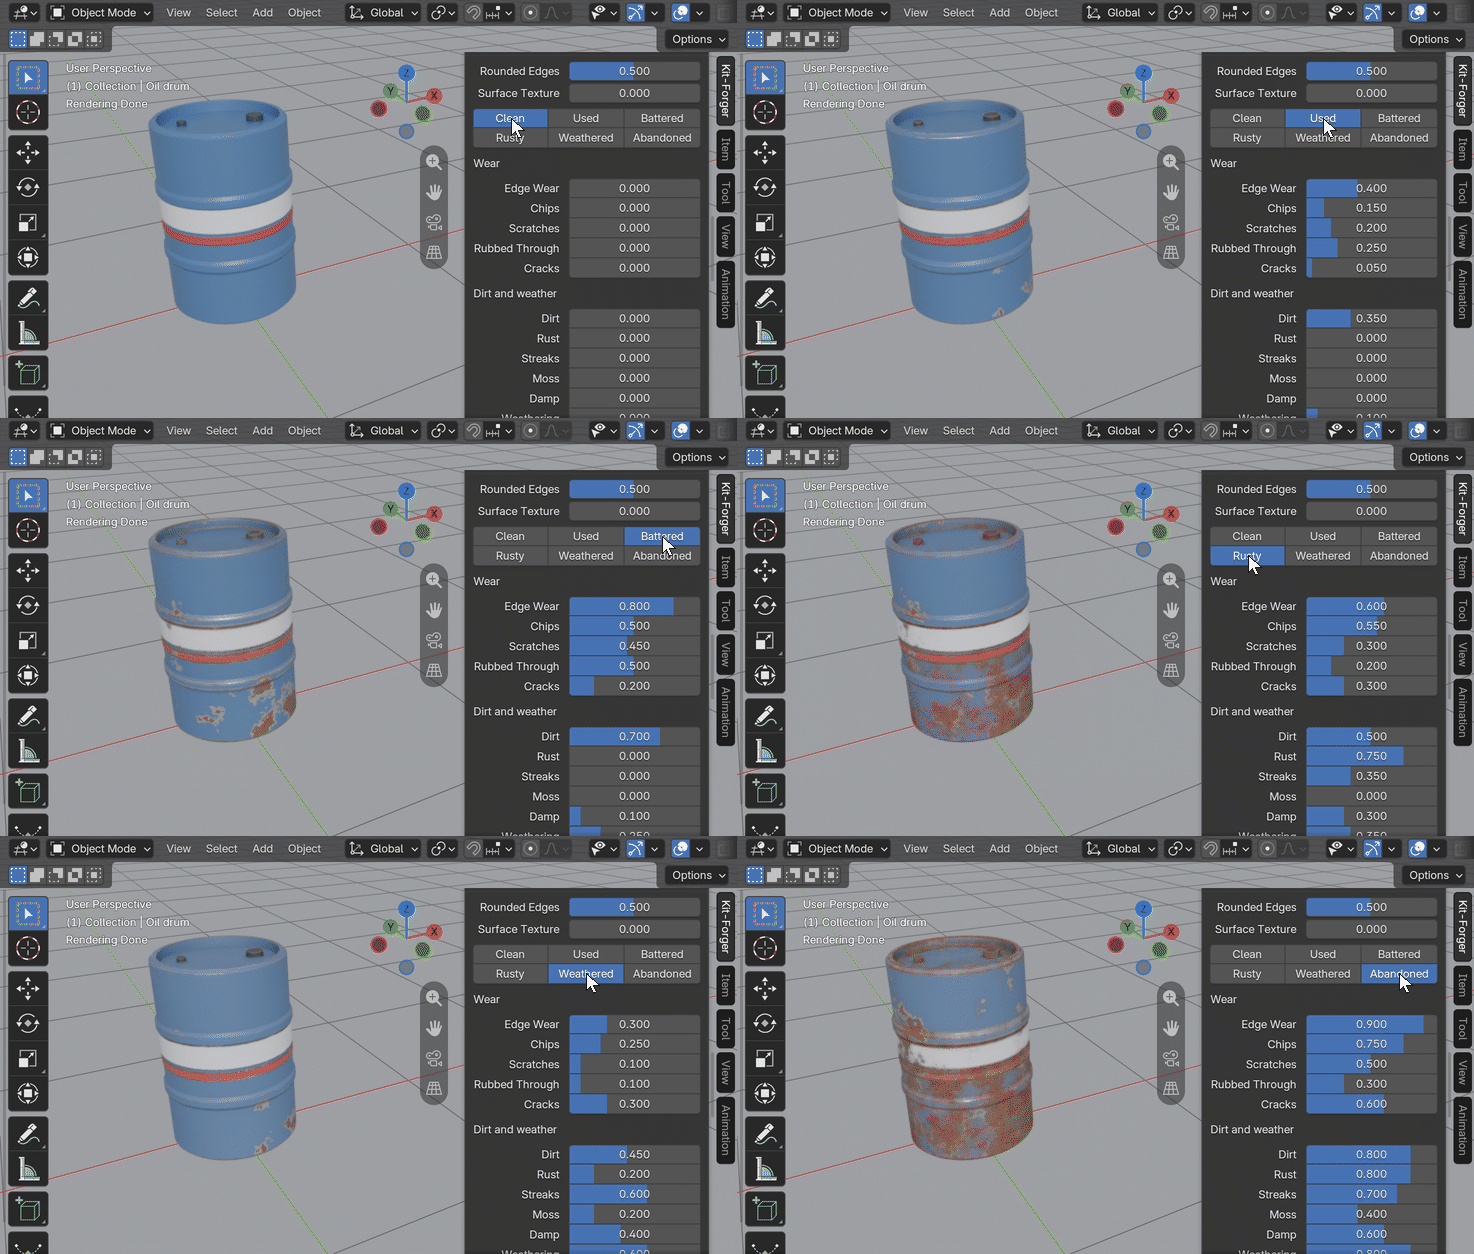
One drum, six looks.
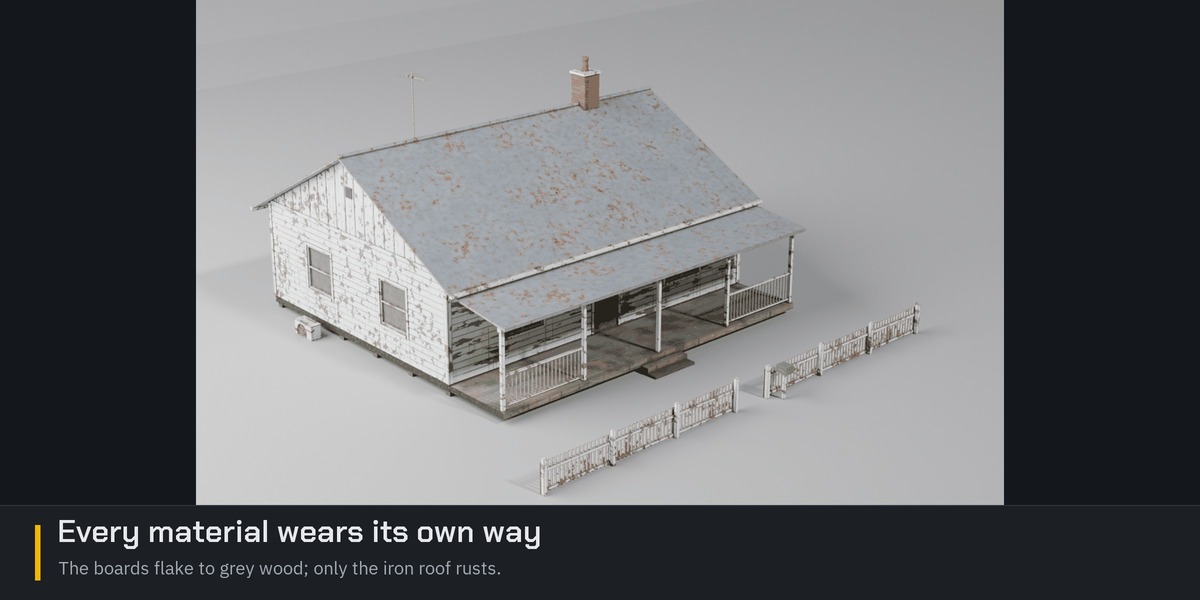
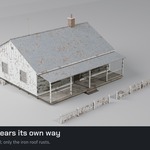
Every material wears its own way. Paint chips to a ring of primer, with bare steel and rust in the big chips. Plastic whitens where it is scuffed and never rusts. Brick and stone spall and their mortar erodes; damp rises up a wall with salts at its edge. Concrete streaks and grows algae; wood silvers in the weather and checks along its grain; glass gathers dust, rain runs and water spots. The add-on works out what each material is from the design, so a house's weatherboards peel to grey wood while its iron roof rusts.
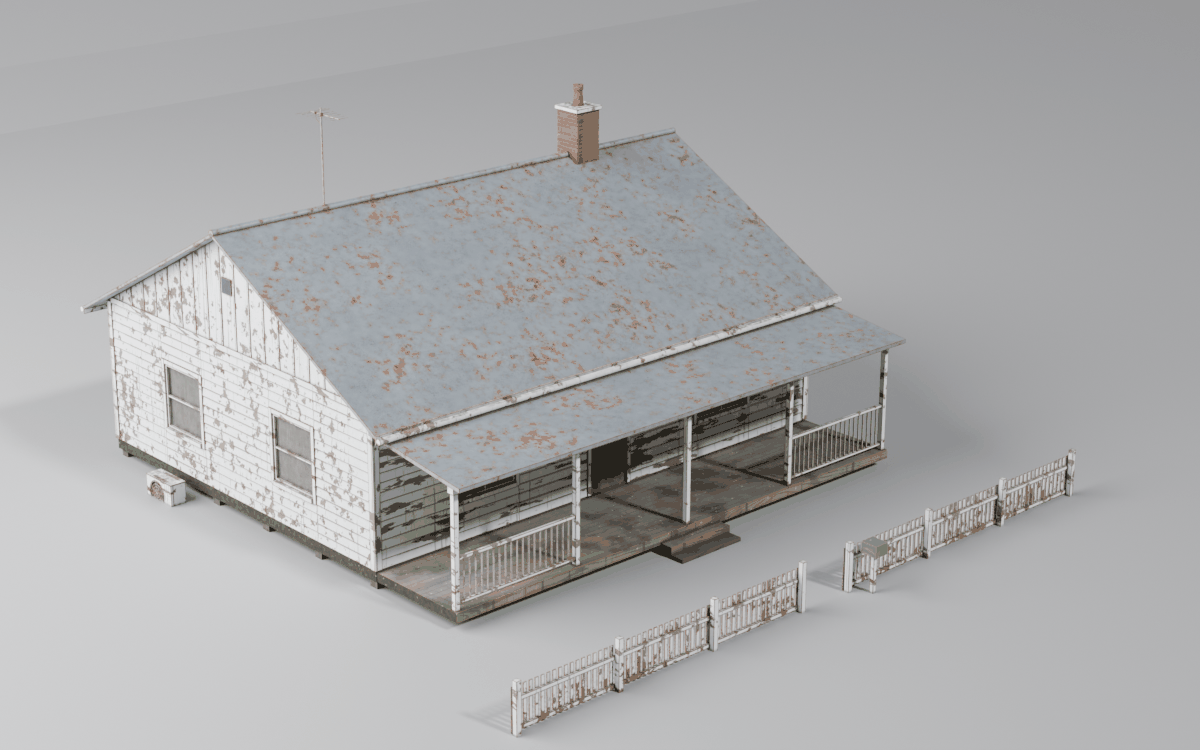
Abandoned: the boards flake to grey wood, only the iron roof rusts.
The wear is made for Cycles. Material Preview shows the plain paint, so the viewport stays quick; the wear shows in Rendered view. Rounded Edges rounds every edge in the render, with no bevel modifier and no extra faces, at a size that suits each object.
Tires that look driven on
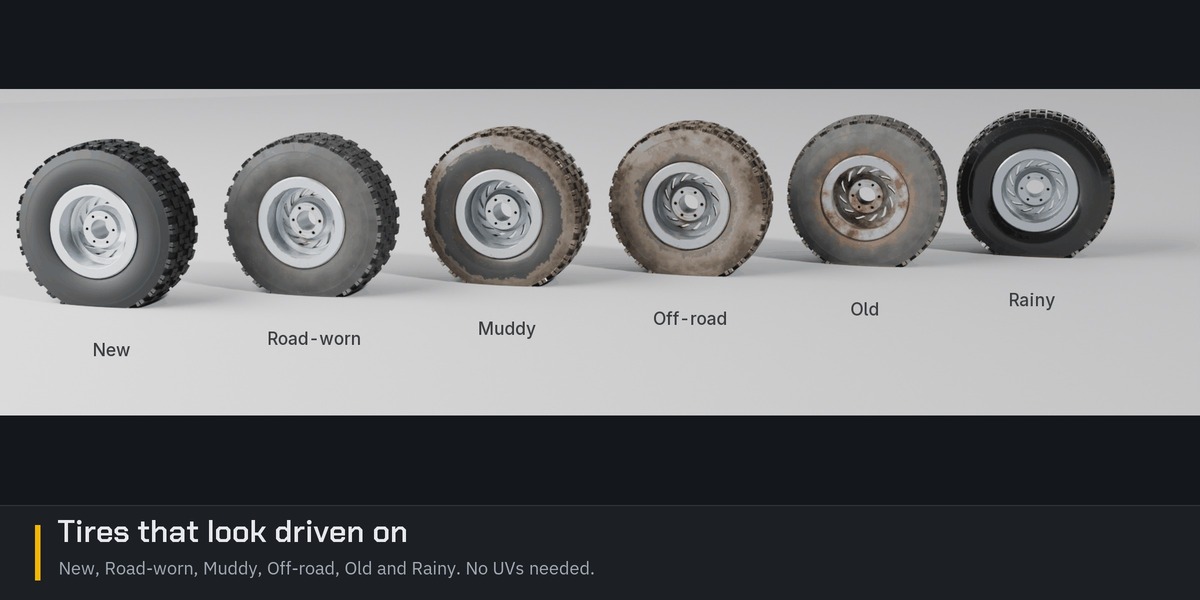
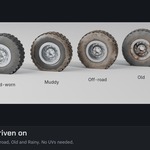
A tire's rubber gets a material of its own that needs no UVs: its grain is drawn by triplanar projection, and its scratches and cracks follow the wheel round. Six looks: New, Road-worn, Muddy, Off-road, Old and Rainy, or sliders for Tread Wear, Dust, Mud and Mud Reach, Wet, Kerb Scuffs, Scratches, Cracks, Age and more. The rim wears to match. Any wheel can wear it: choose Kit-Forger tire rubber for a castor's material, and the add-on finds each wheel by itself.
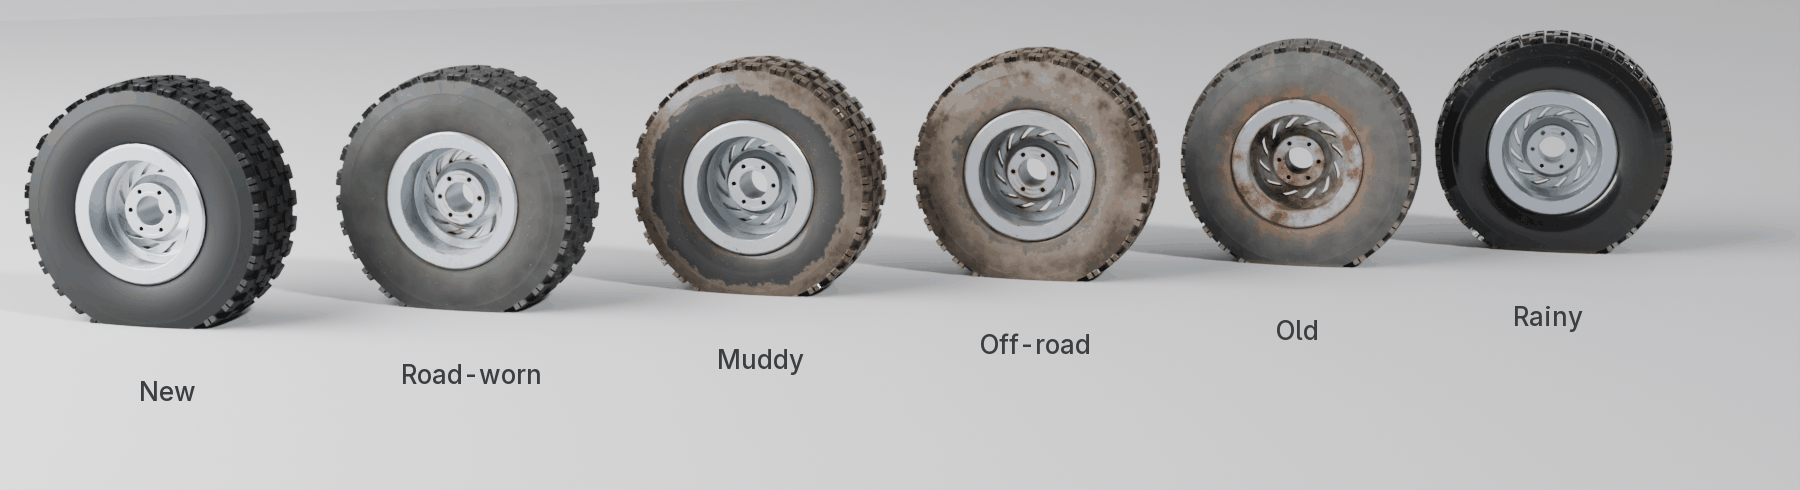
New, Road-worn, Muddy, Off-road, Old and Rainy.
Materials at true size
- Bricks, stone and grain drawn at true size. Kit-Forger's brick, stone, slate, setts, paving, tiles, concrete, asphalt, plaster and wood come with their pattern drawn from where each face stands, so they need no UVs and courses run level from wall to wall.
- UVs three ways: packed into one square for painting, at real size, or for tiling materials: real size and lined up, so brick courses meet from wall to wall and from house to house.
- Swap any material: for Kit-Forger's own, one already in your file, or one of Blender's starter materials (Blender 5.2 and later). A material you put in a slot stays there when the design changes, and "A copy for this design only" gives one design its own copy to change.
- A texture size for each material: set the real-world size the texture's website gives, and bricks, tiles and planks come out true to size on every object that wears it.
- Wear on your own materials: one button puts the same wear on a material of your own, read off the same sliders. Press it again and your material is exactly as it was.
Everything Kit-Forger makes
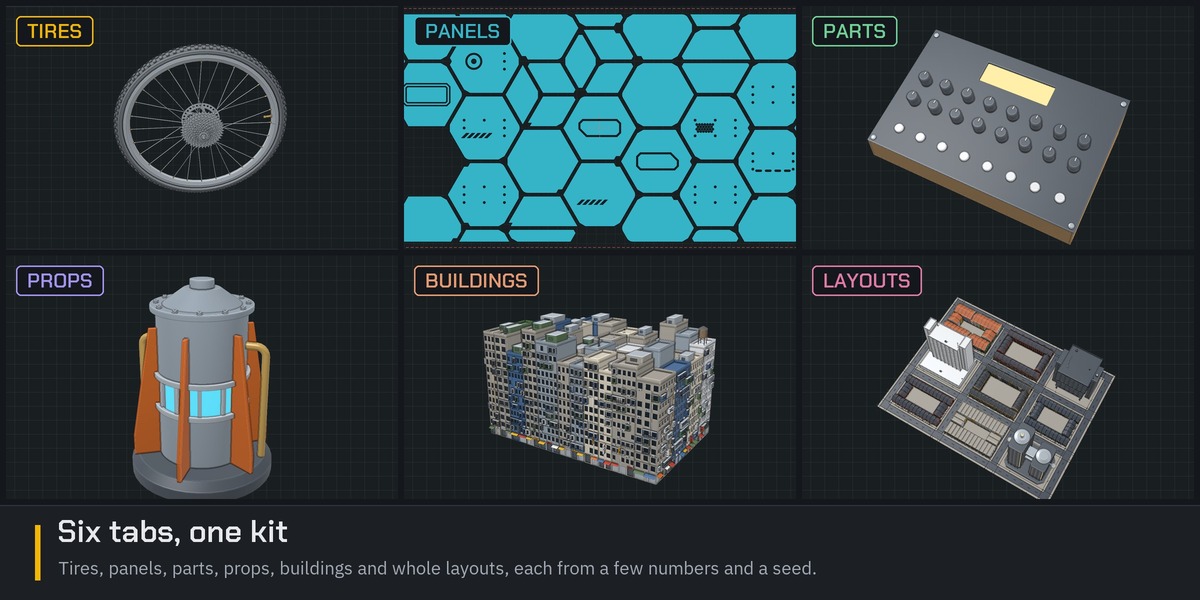
Six tabs in the app, and the same six categories in Blender's sidebar. Every design comes from a few numbers and a seed, so no two need be the same.
Tires
A tire of any size, from a scooter to an earthmover: cross-section, side profile, tread, rim and rim face. 38 starting designs and 28 tread patterns. Wire-spoke wheels laced like real ones, down to a bicycle wheel with its hub, axle, valve, brake disc and cassette.
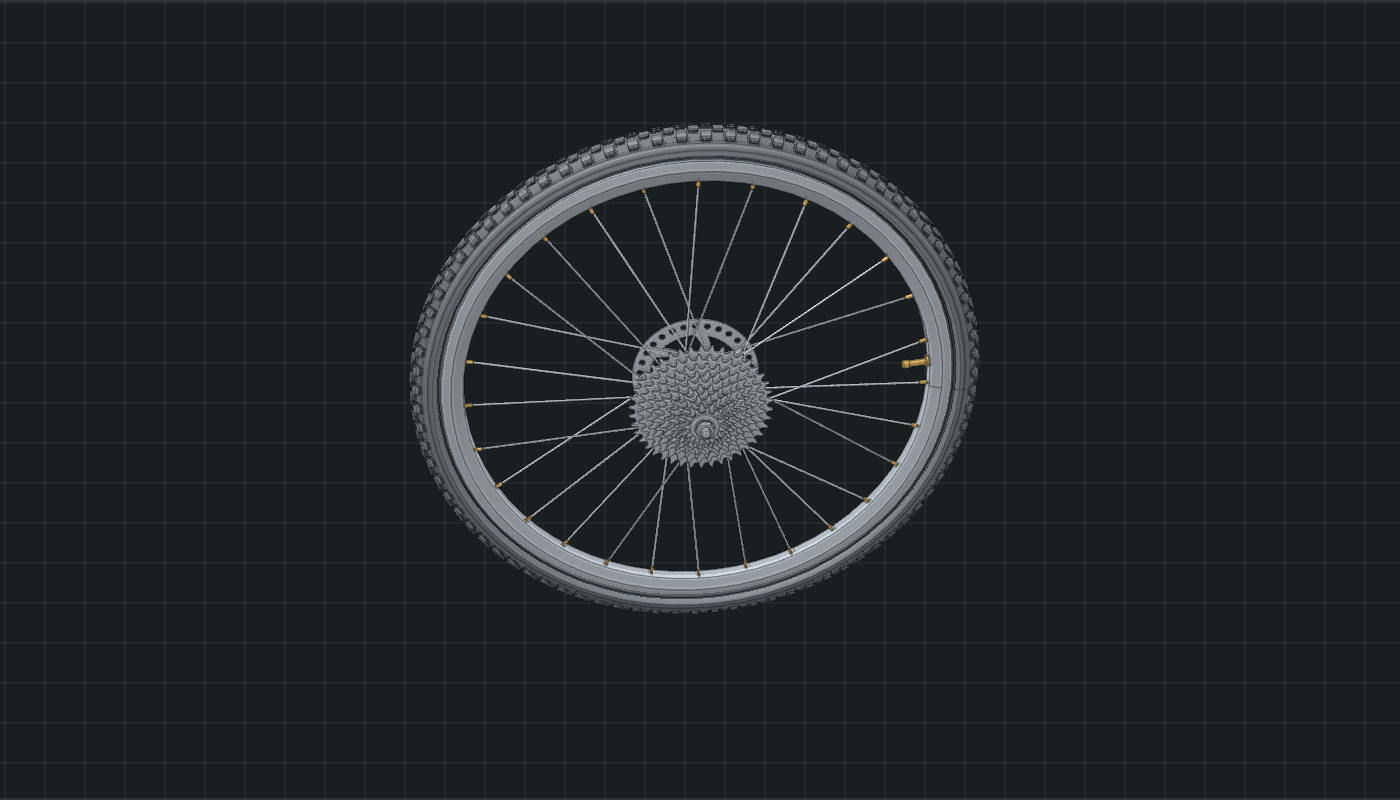
A wire-spoke wheel, laced like a real one.
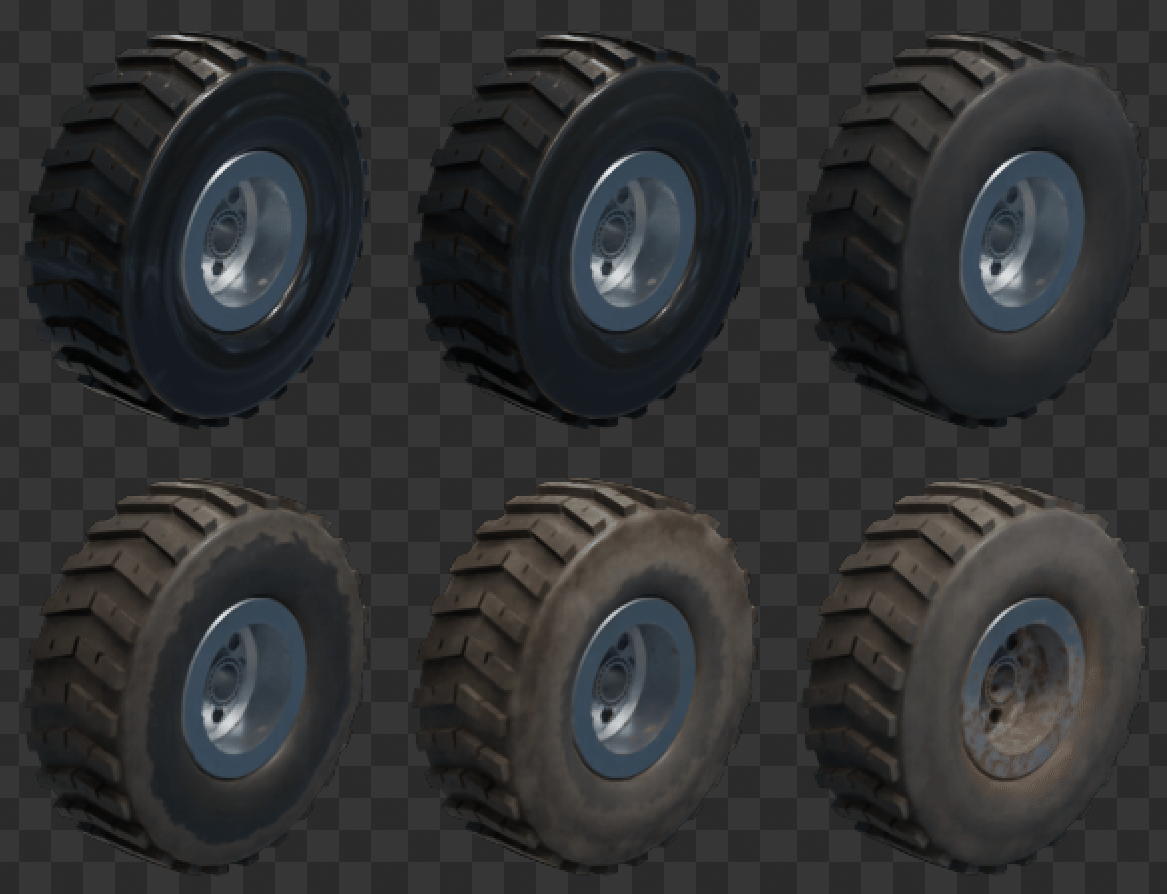
Panels
Panel lines in five layouts, doors and windows, shapes and ports.
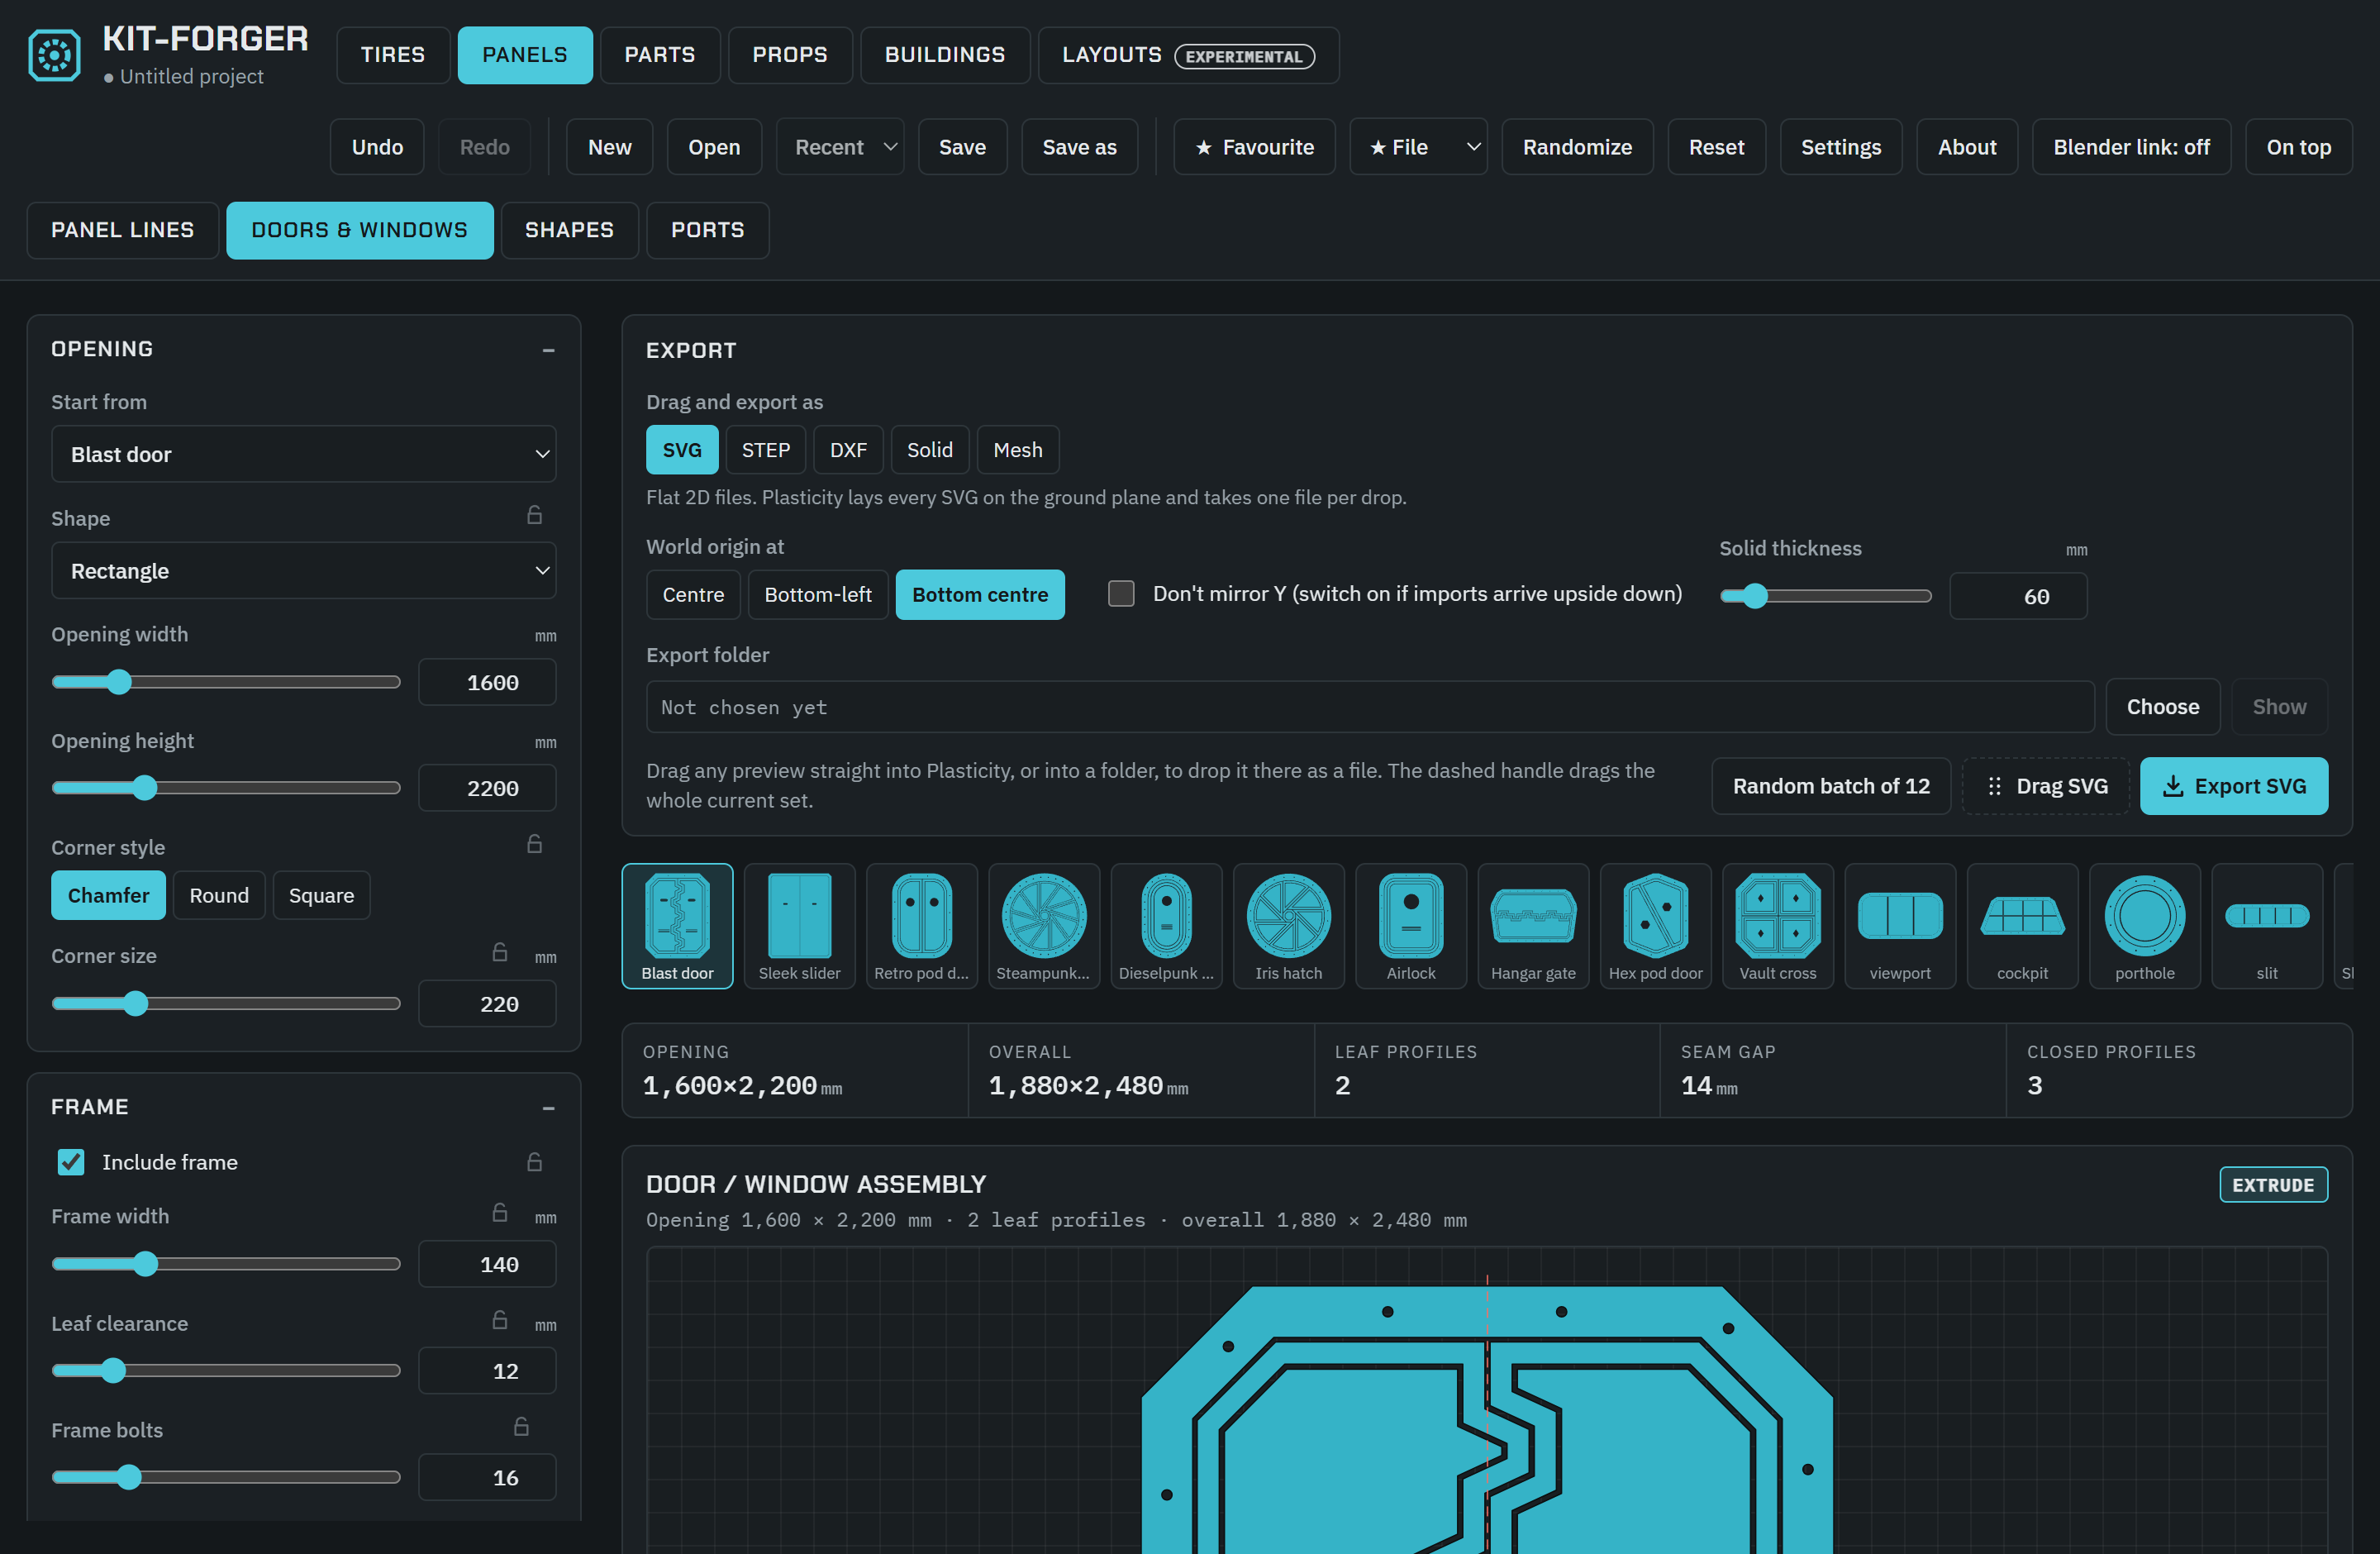
The Panels tab: doors.
Parts
Small things made from measurements: fasteners with 18 head types and 10 drives; knobs for pot and encoder shafts; fader caps, button caps, pad mats and hollow keycaps; phone cases made from the phone's own measurements, with the camera and side openings placed by you; and boxes for gadgets, with the holes for knobs, buttons, faders and pads, openings for jacks, a display window and standoffs. These are starting points: measure the thing a part has to fit, and try the fit, before you rely on one.
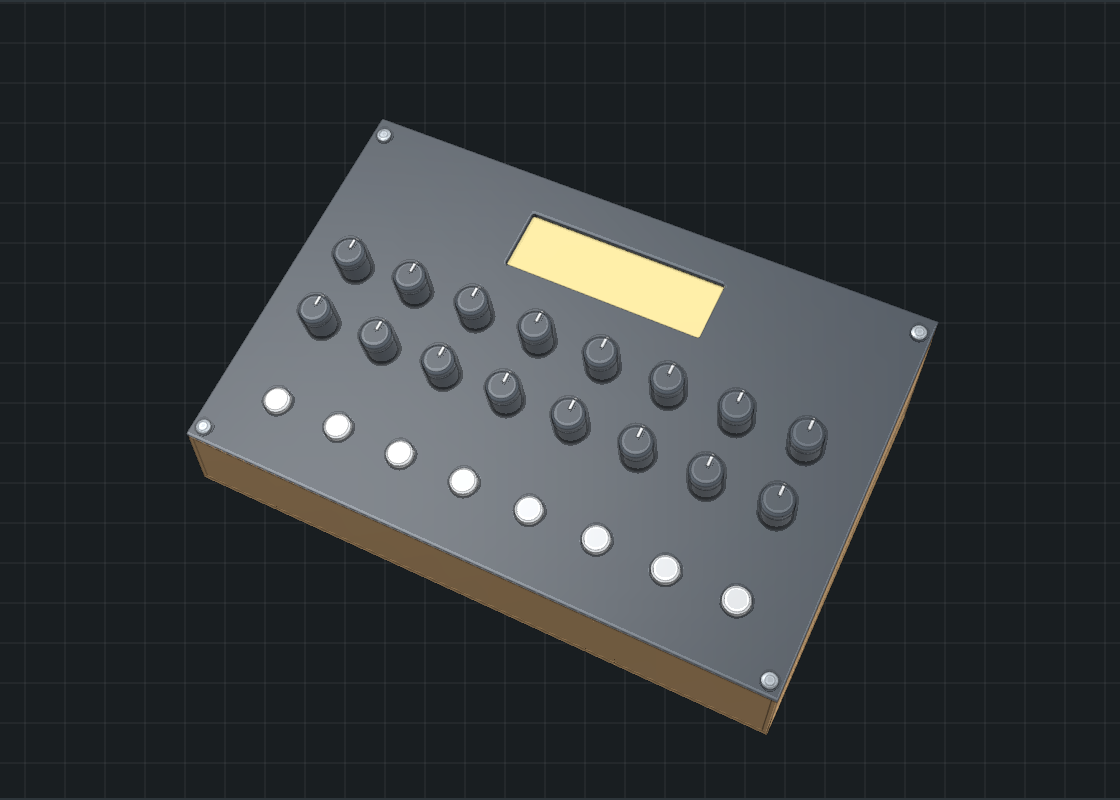
A gadget box, with the knobs and caps from the other tools.
Props
Sixteen tools: wall panels with real depth, crates and containers, trolleys and carts, sci-fi machinery, street furniture, workshop and industrial gear, cameras, castors and machine wheels, rooftop plant and aerials, kitchens, bathrooms and washrooms, furniture, a hospital ward, an operating theatre, a clinic and reception, and things that hang on walls. Kitchens, bathrooms and furniture come in three styles each: contemporary, modern and old.
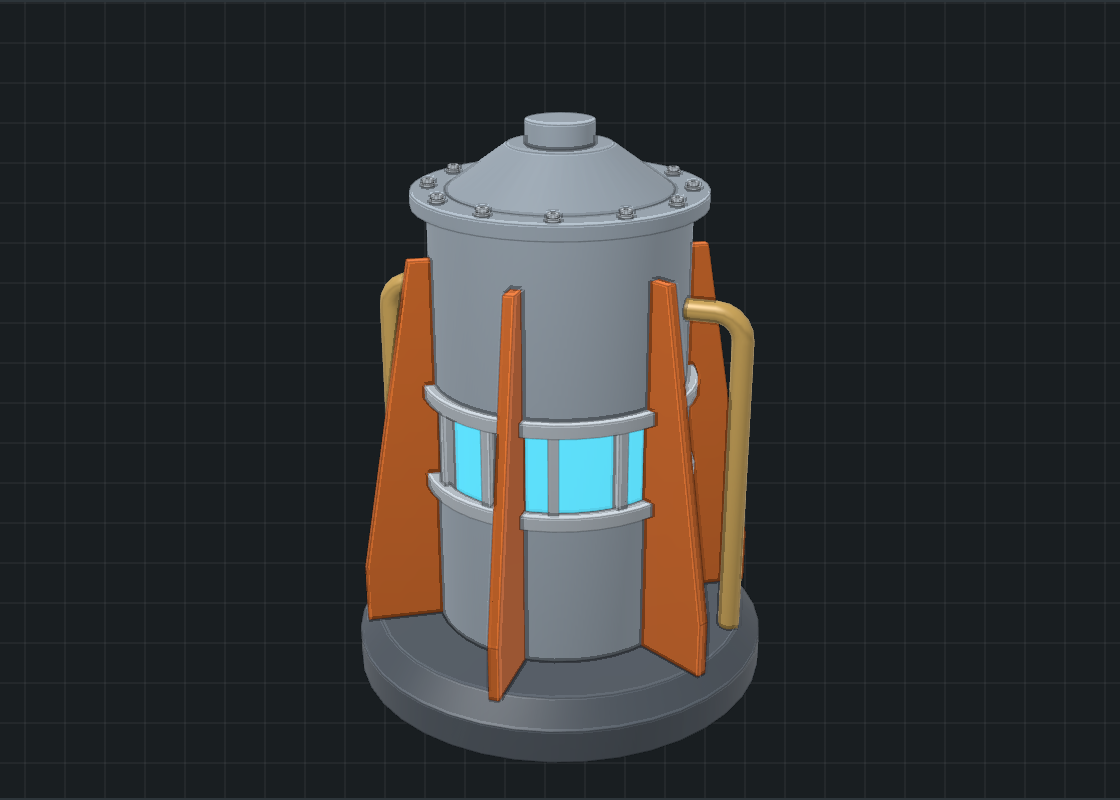
Sci-fi machinery: a reactor.
Buildings
Each from a few numbers and a seed, with windows of real depth: brutalist slabs and ziggurats, sci-fi spires, cyberpunk megablocks and arcologies; terraces of British houses and suburban weatherboard houses; Kowloon-style blocks and towers, shophouse streets, Glasgow-style and New York-style tenement rows. A corridor kit whose pieces fit together end to end, up to a whole wheel-shaped space station, and a road kit that fits the buildings. Rows can climb a hill, and every building tool has three levels of detail, down to a grey box.
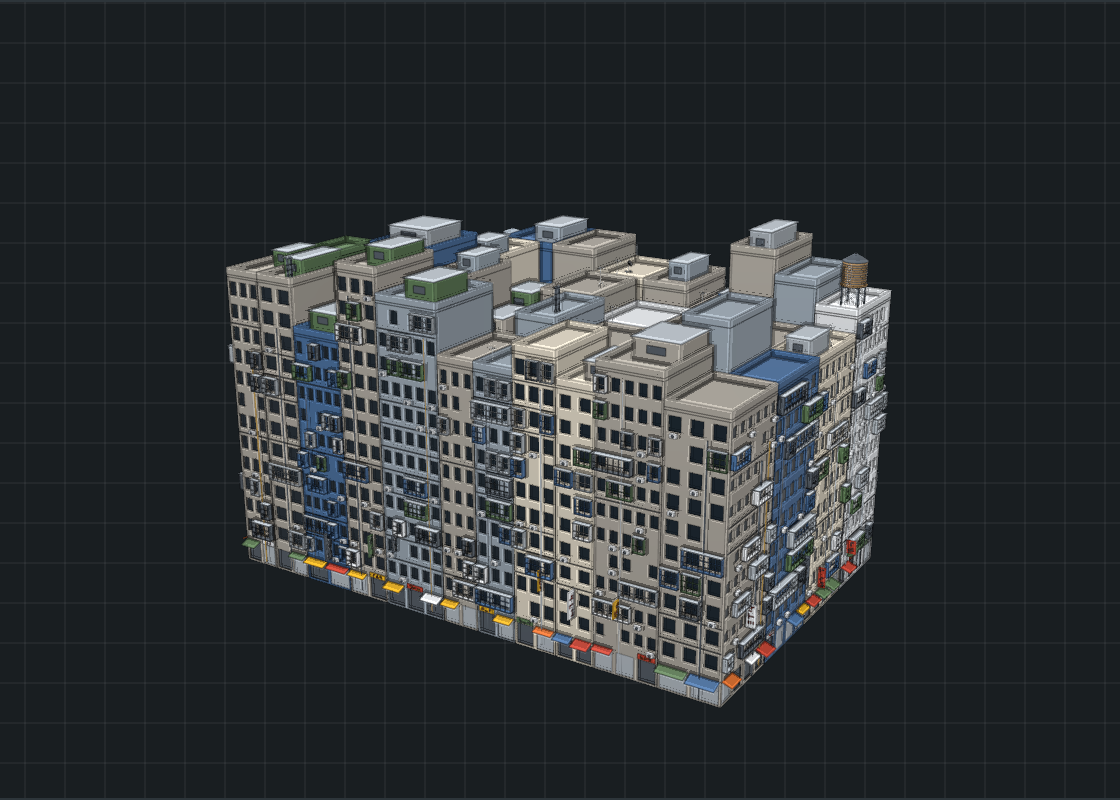
Kowloon-style blocks.
Layouts
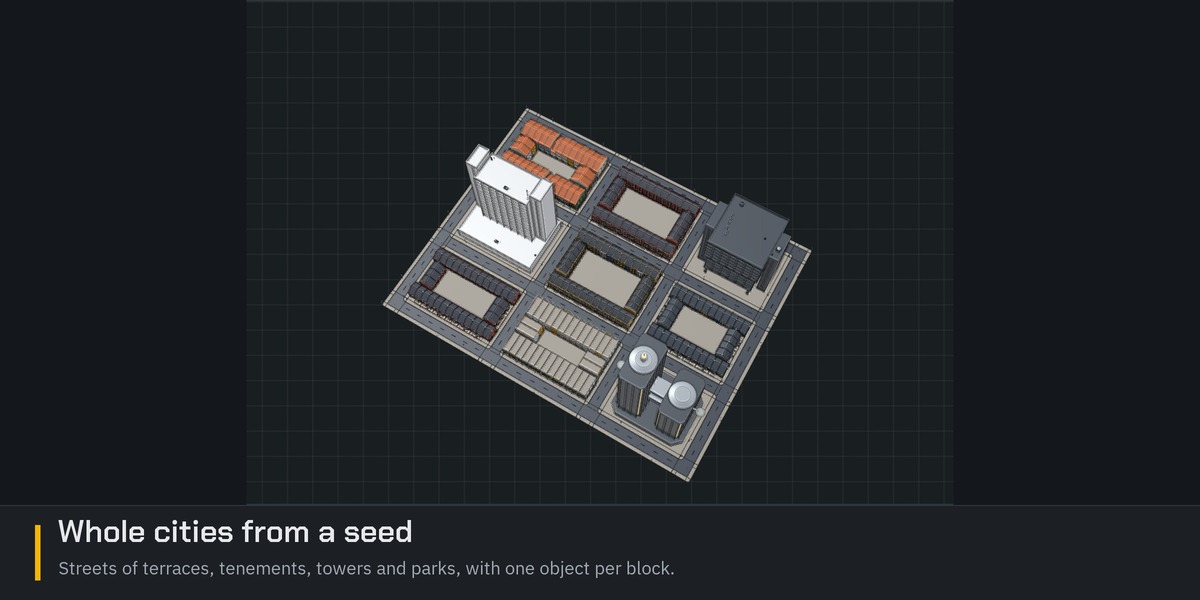
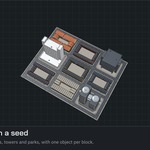
Whole scenes from a seed, in a tab marked experimental: it is new and still changing. Cities: a grid of streets with blocks of terraces, shophouses, tenements, towers, megastructures and parks, on flat or sloping ground. Levels: corridor pieces joined into rooms, foyers and floors, furnished as a store, a workshop, a hospital, offices, a home and more, with nothing standing in anything else and no doorway blocked. Interiors: a flat or a house of two floors, furnished room by room, with balconies, a facing on the walls and a roof.
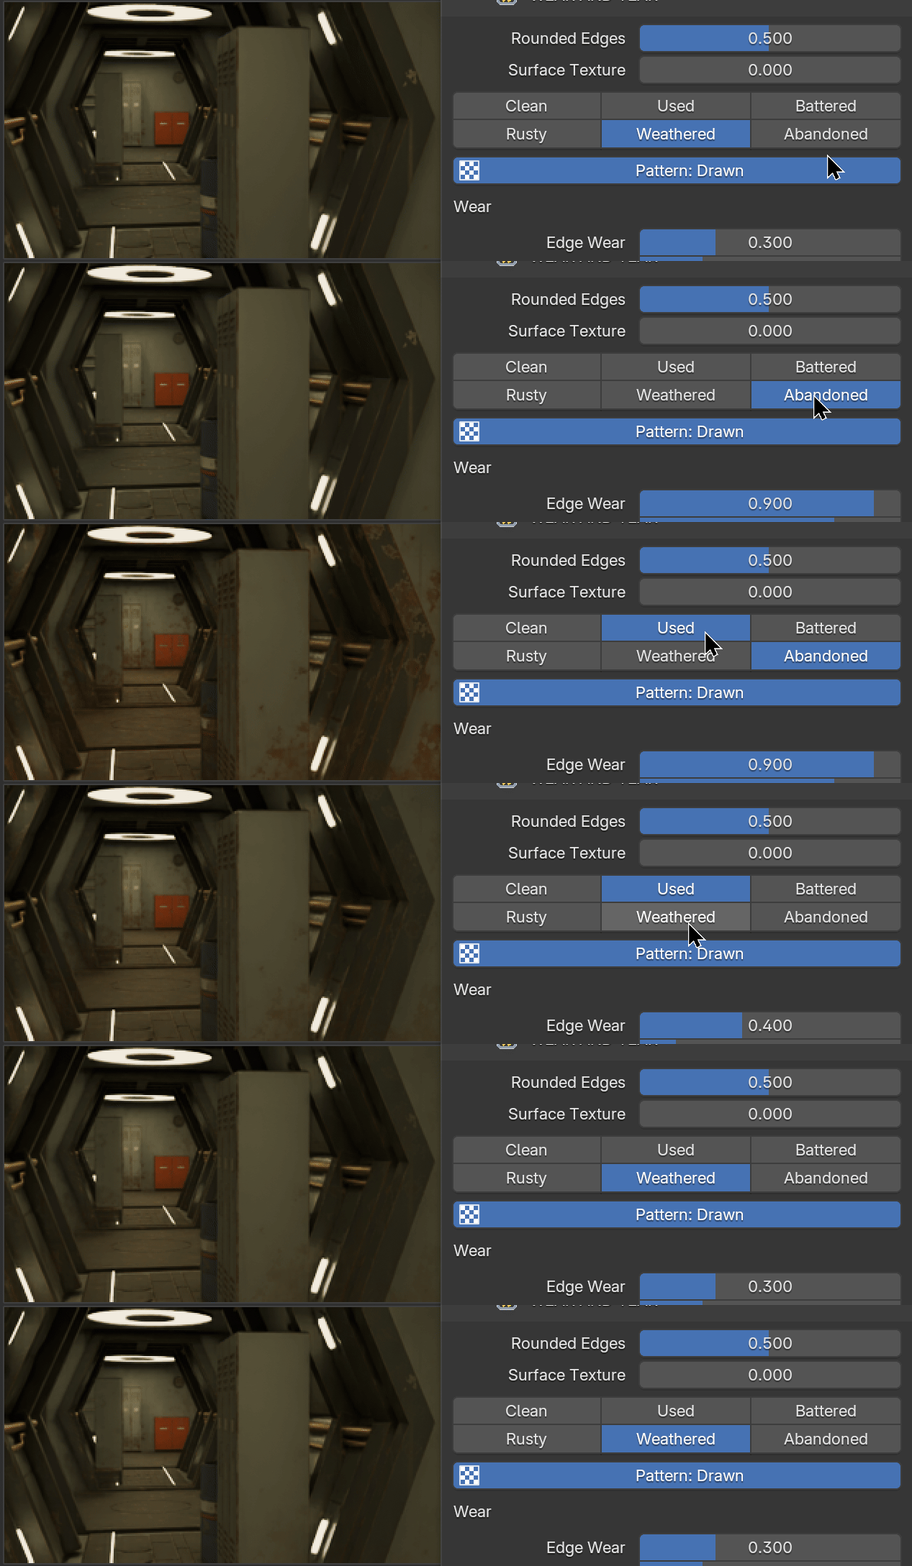
Changing Materials on a Sci fi Corridor in Blender made with Kitforger live link
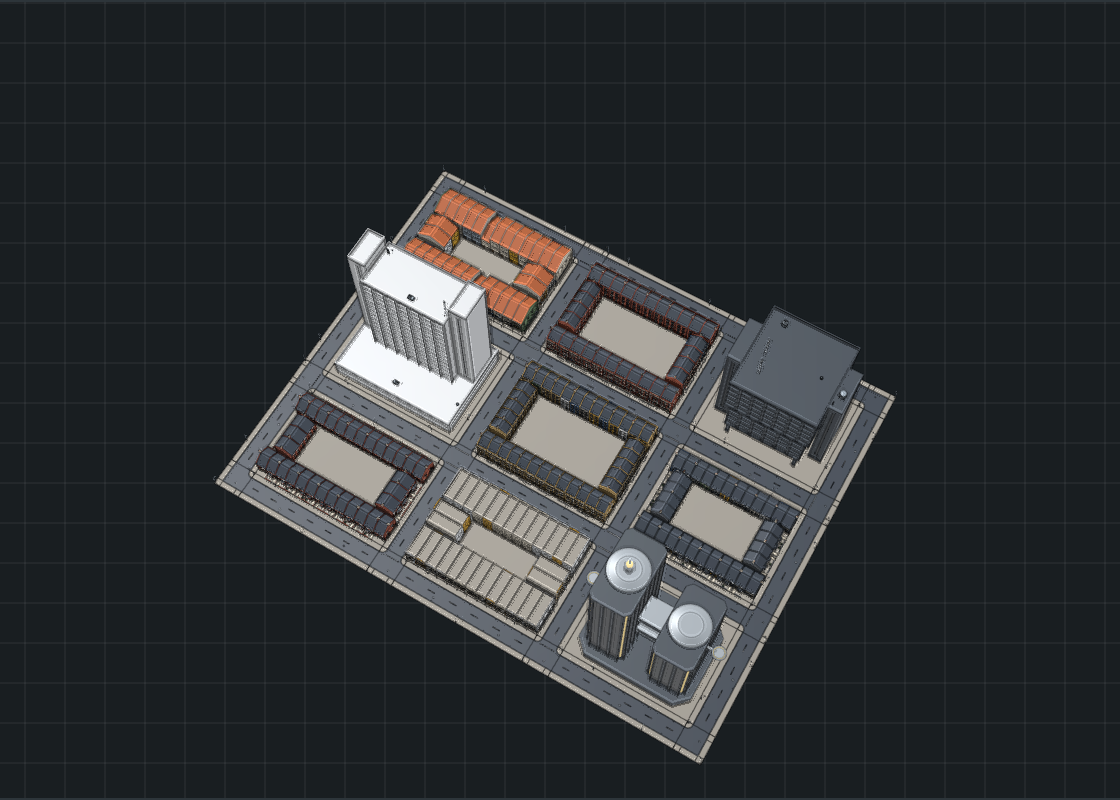
A city from a seed.
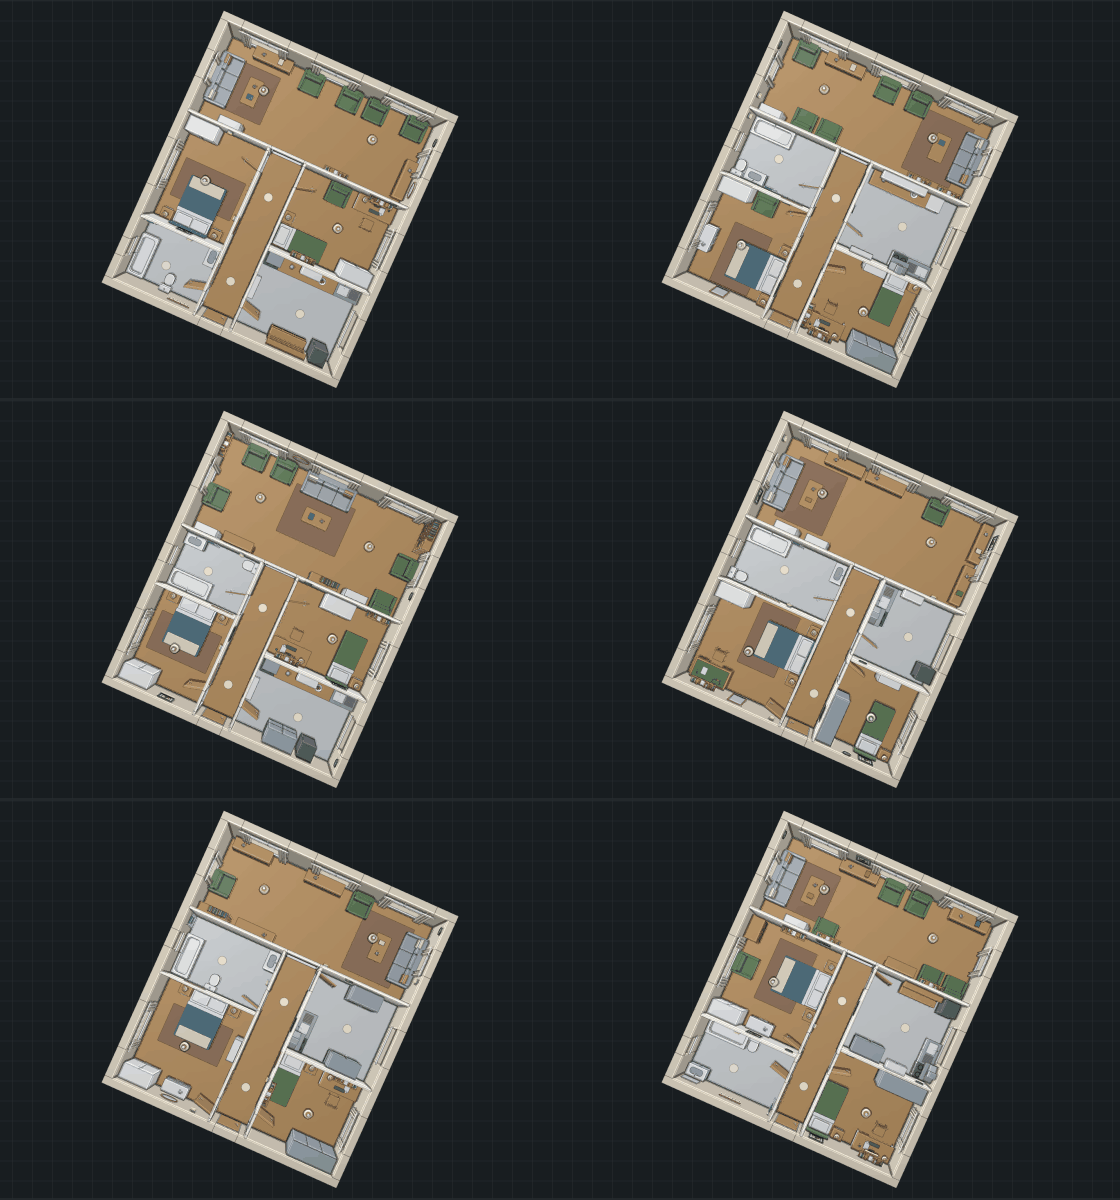
Interiors: a new furnished plan from each seed.
Not only Blender
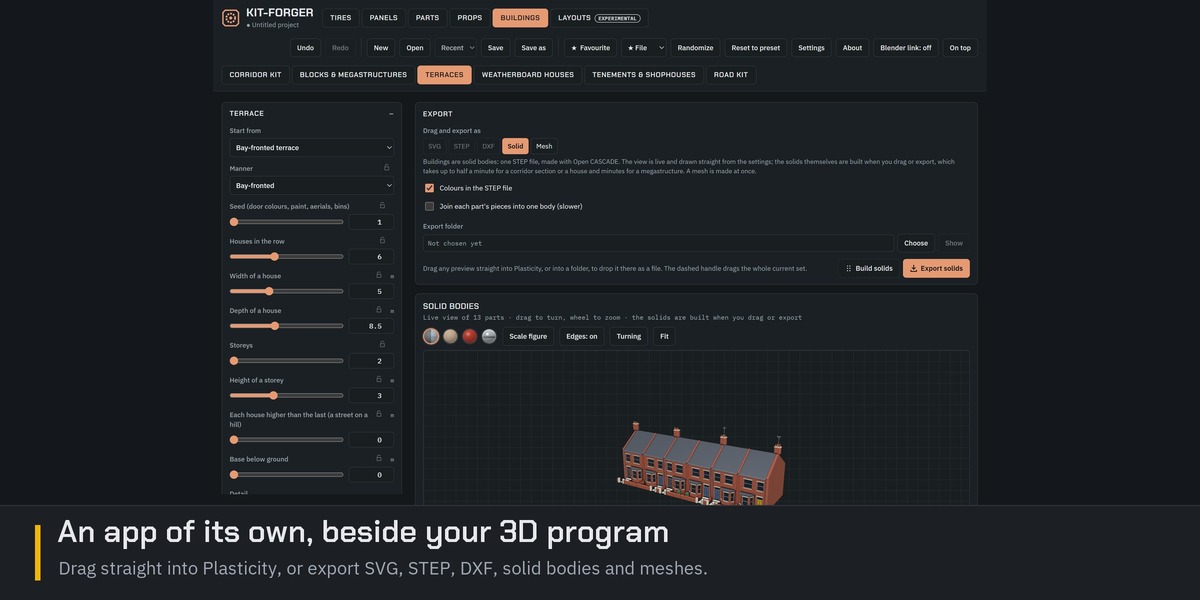
Kit-Forger is made with Plasticity in mind but is not tied to it. You pick or randomize a design, drag it in, and keep modelling. Dragging a preview straight into the viewport is known to work in Plasticity. Five ways out:
- SVG: flat profiles.
- STEP: the same profiles, standing where they belong in 3D.
- DXF.
- Solid: finished solid bodies in a STEP file, built by the Open CASCADE kernel, each in its own colour.
- Mesh: quads, UVs and a material on every part, as OBJ, glTF or STL.
You may need to play with some of the import settings to get STEP and DXF to appear correctly.
Working fast: random mode with locks, favourites, undo, project files, a cut-out figure in the 3D view to show the size of things, and On top, a small window that stays above your CAD program like a plug-on.
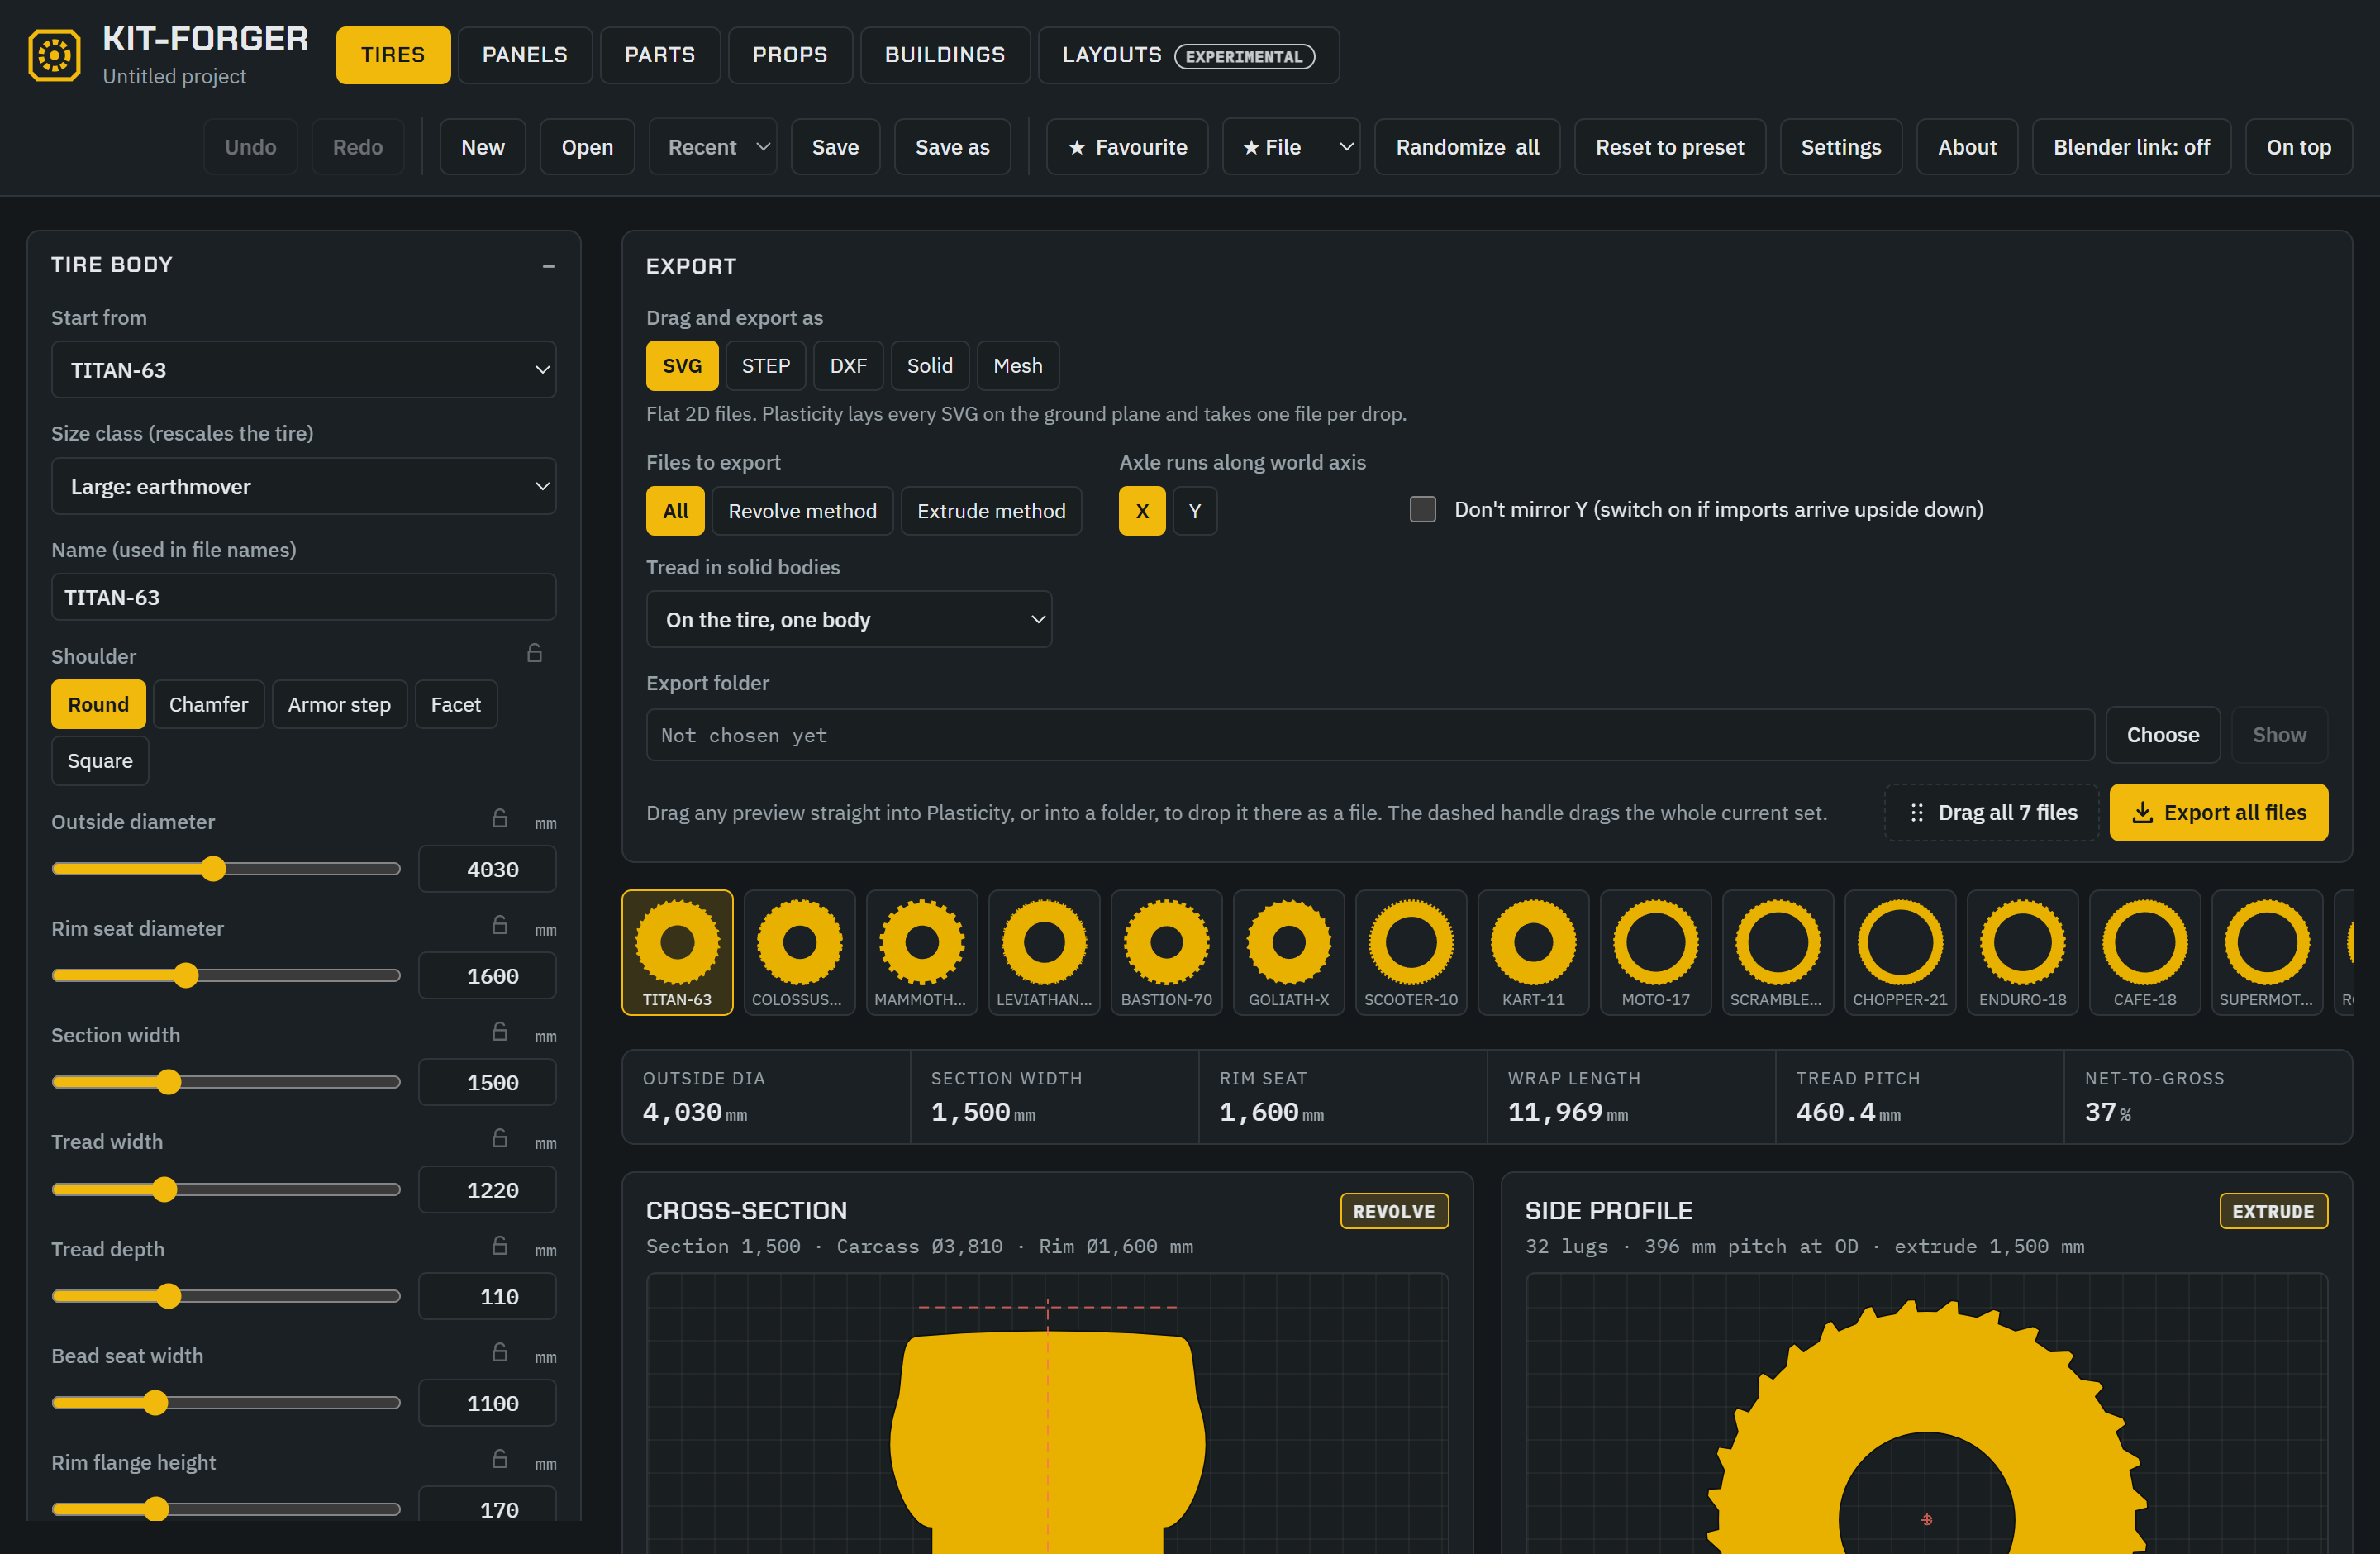
Kit-Forger's own window, on the Tires tab.
Install
Kit-Forger, the app
- Windows: run the installer. It is not code-signed, so Windows may show "Windows protected your PC": click More info, then Run anyway. When Windows asks to let the installer make changes, click Yes.
- Mac: open the disk image, agree to the licence it shows, and drag Kit-Forger into Applications. It is not notarized by Apple, so the first start is blocked once: click Done, then open System Settings > Privacy & Security, scroll down and click Open Anyway.
- Updates: there are no automatic updates; a new version is a new download. Installing over an older one keeps your settings and favourites.
Kit-Forger Link, the Blender add-on
- Download kit_forger_link.zip. Do not unzip it.
- In Blender, open Edit > Preferences > Get Extensions. Open the menu at the top right (the small arrow) and choose Install from Disk..., then choose kit_forger_link.zip. (Or drag the zip onto Blender's window.)
- Make sure Kit-Forger Link is ticked in Edit > Preferences > Add-ons.
- In the 3D Viewport, press N to open the sidebar and click the Kit-Forger tab.
You can also install the add-on straight from your Superhive receipt page. SETUP-READ-FIRST.txt among the downloads says the same in short.
Getting started in Blender
- Let Blender connect. The first time only: in Kit-Forger press Settings (or the Blender link button at the top) and tick Let Blender connect to Kit-Forger. The link is off until you do, and it stays on until you untick it.
- Start Kit-Forger. Press Start Kit-Forger in the panel, or start the app yourself. The panel connects by itself within a few seconds and shows a tick with "Connected to Kit-Forger".
- Add something. Under Add New, choose a category, a tool and a design (the arrows beside the design step through them), and press Add to Scene.
- Change it. With the object selected, drag its settings under Selected Object and the model follows.
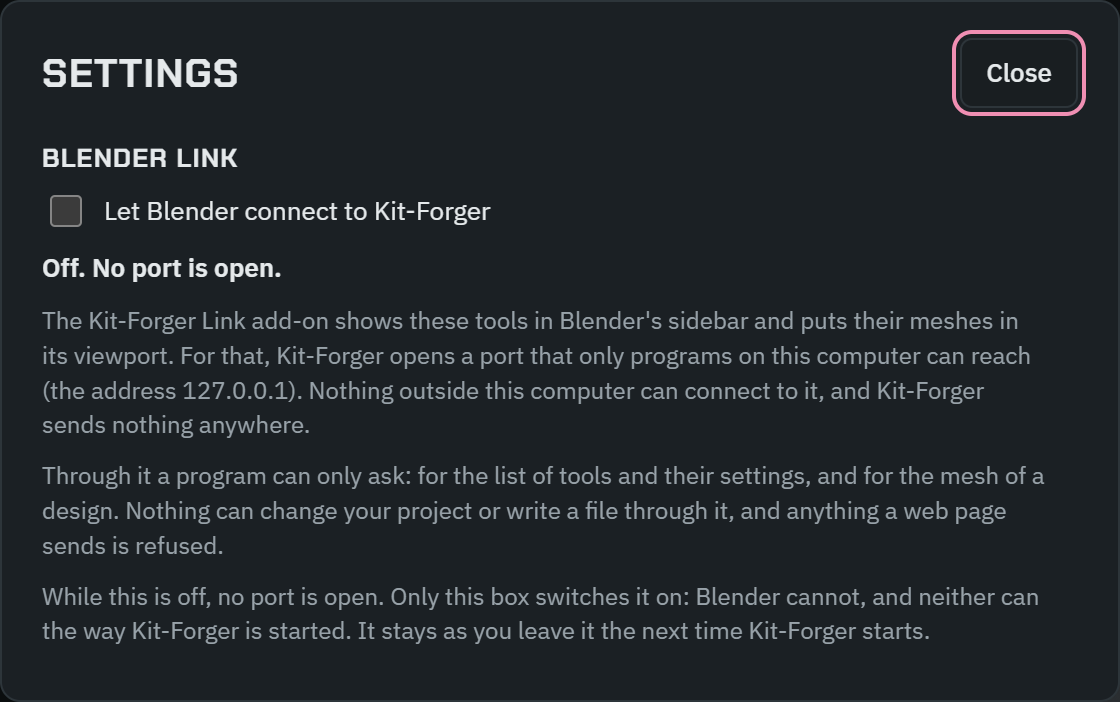
Kit-Forger's Settings: tick "Let Blender connect to Kit-Forger" once.
The ? button at the top of the panel shows this guide inside Blender.
The Blender panel, part by part
Status line
A tick when connected; "Not connected" when not. The circular arrow looks for Kit-Forger again and reads its tools afresh.
Add New
Six category buttons, a Tool and a Design, and Add to Scene. Long lists open as a search box: type to find an entry. Tick Separate Objects to bring the design in as an object per part.
Selected Object
- The object's name (rename it here), its tool and its design.
- Randomize: a new variation. Reset: back to the design as it comes.
- The small arrow menu: Refresh Now, Take Settings from the Kit-Forger Window (copies what you set up in the app), Separate into Objects or Join into One Object, and Unlink (Keep the Mesh).
- The settings, in groups you can fold away. Numbers can be dragged, clicked to type, or undone with Ctrl+Z like any other value in Blender. Settings that only the Kit-Forger window can edit say so.
- Materials: a row for each of the design's materials, with its texture size. Press one to choose another.
- Info: sizes and other figures for the design, and how many faces the mesh has.
- Wear and Tear: the looks and sliders above, with Rounded Edges and Surface Texture (a moulded stipple for plastic, or a textured paint). Each material, at its foot, shows what a material is made of and how much of each wear it takes, from 0 % to 200 % of the object's sliders. Pattern turns the drawn bricks, stone and grain off to show only the colour.
- Tire, on a design with tires: the tire looks and sliders, and a tick box to keep the rim's wear matched to the tire.
- If the scene is not set to Cycles, a Use Cycles button is there.
Options (folded by default)
- Live Updates: on, the model follows every change at once; off, nothing changes until you press Refresh. Turn it off for very large designs.
- Curve Detail: how finely curves are divided. Lower is lighter and quicker.
- UV Layout: packed, real size, or for tiling materials.
Good to know
- Edits made by hand in Edit Mode are replaced the next time a setting changes. To edit by hand, use Unlink (Keep the Mesh) first.
- The add-on makes each material once and then leaves it alone, so you can make it as rich as you like. The wear is a node group inside each material ("Kit-Forger Wear" for paint, metal and plastic; "Kit-Forger Brick", "Kit-Forger Wood", "Kit-Forger Glass" and so on for the others): open it in the Shader Editor to change its colours, how far wear reaches in from an edge, a pattern's size, or whether a material can rust.
- Each face carries an attribute, kf_body, saying which part of the design it belongs to, for selecting parts and for Geometry Nodes.
FAQ
Do I need Blender?
No. Kit-Forger works on its own: drag designs into Plasticity, or export SVG, STEP, DXF, solid bodies and meshes for any program that reads them. The add-on is for working live in Blender.
Does the add-on use the internet?
No. It talks only to the Kit-Forger app on the same computer (address 127.0.0.1, ports 47800 to 47809) and sends nothing anywhere else, and it works with Blender's "Allow Online Access" switched off. The link stays closed until you tick "Let Blender connect to Kit-Forger" in Kit-Forger's Settings. The one exception is Blender's own: if you choose one of Blender's starter materials that Blender has not downloaded yet, Blender fetches it from its own library, and only with Online Access on.
The panel says "Not connected".
Start Kit-Forger, or if it is already open, press Settings in Kit-Forger and tick Let Blender connect to Kit-Forger. The panel connects by itself. If Start Kit-Forger cannot find the app, set where it is in Edit > Preferences > Add-ons > Kit-Forger Link.
Why does Material Preview not show the wear?
The wear and rounded edges are made for Cycles. Material Preview shows the plain paint so it appears at once; switch the viewport to Rendered with Cycles to see the wear.
I closed Kit-Forger. Have I lost anything?
No. The objects stay as they are. Start Kit-Forger again to carry on changing them.
Which licence do I need?
From section 2 of the licence agreement:
Solo User: One individual, using Kit-Forger for themselves. For any use, including paid work you take on job by job on your own account as a freelancer or sole trader. A company, partnership or other organisation may not hold a Solo licence. A Solo licence does not cover work you do as an employee of one, or work you do while you are placed with one as a contractor for a period of time, such as a secondment or a fixed-term contract. For that work the organisation needs a Commercial licence.
Commercial User, 1 seat: For a company or other organisation: one person who works for it, as an employee or as a contractor engaged for a period of time. For any use. The organisation may move the seat to another person when the first no longer uses Kit-Forger.
Commercial User, unlimited seats: For a company or other organisation: everyone who works for it, employees and contractors engaged for a period of time alike, while they work for it. For any use.
Under every licence, each person may install Kit-Forger on the computers that person uses. A seat is for one person; it is not to be shared between people.
Can I use what I make in commercial work?
From section 3 of the licence agreement:
The files you make with Kit-Forger belong to you: SVG, STEP and DXF files, solid bodies, project files and favourites, including those made from the designs that come with Kit-Forger. The author claims no rights in them and asks for no credit or fee.
You may use them in any work, paid or unpaid. That includes selling them, publishing them and building them into products.
The same goes for meshes (OBJ, glTF, STL) and the models the Blender link puts in your .blend file.
Does it run on my computer?
Windows 10 or 11 (64-bit), or a Mac with Apple silicon (M1 or later). There is no build for Intel Macs or Linux.
Which Blender versions?
4.2 and later. Tested on Windows with 4.2, 4.3, 4.5, 5.2 and 5.3, and working on a Mac with Apple silicon.
Licences
Two programs, two licences. Kit-Forger is under its own licence agreement (LICENCE-AGREEMENT.txt, among the downloads; the installer shows it too). Kit-Forger Link, the Blender add-on, is free software under the GNU General Public License, version 3 or later: the licence comes with it, in LICENSE-GPL-3.0.txt, and the add-on is its own source code.
Kit-Forger builds its solid bodies with Open CASCADE Technology. This software makes use of and is based on facilities provided by the Open CASCADE Technology software. Open CASCADE Technology and opencascade.js are free software under the GNU Lesser General Public License, version 2.1, with the Open CASCADE exception; they ship unchanged, in a folder of their own beside the program, with their licence. Source: opencascade.js 1.1.1 at https://github.com/donalffons/opencascade.js (tag v1.1.1); Open CASCADE Technology 7.4 at https://dev.opencascade.org/release and https://github.com/Open-Cascade-SAS/OCCT.
The notices and licence texts of everything else by others are in THIRD-PARTY-NOTICES.txt, installed beside the program. The cut-out scale figure is made from a photo by Iman Taufik on Pexels.
Support
Message me through Superhive with any question or problem. I aim to answer within 72 hours.

