Layout/Name/Text to Mesh
 PixelsMixer
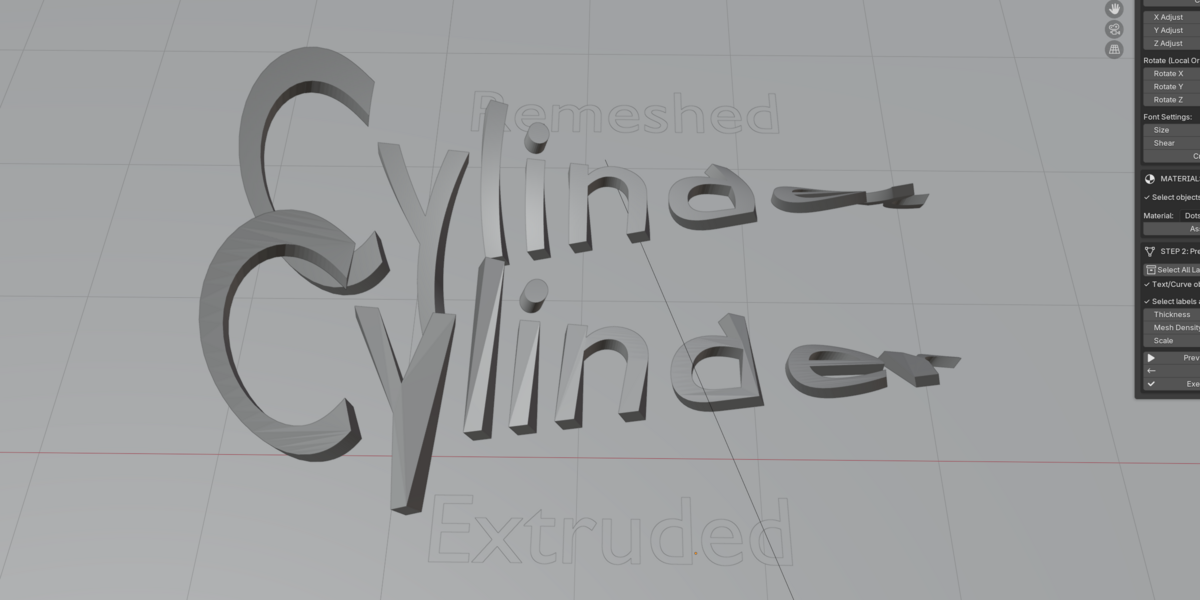
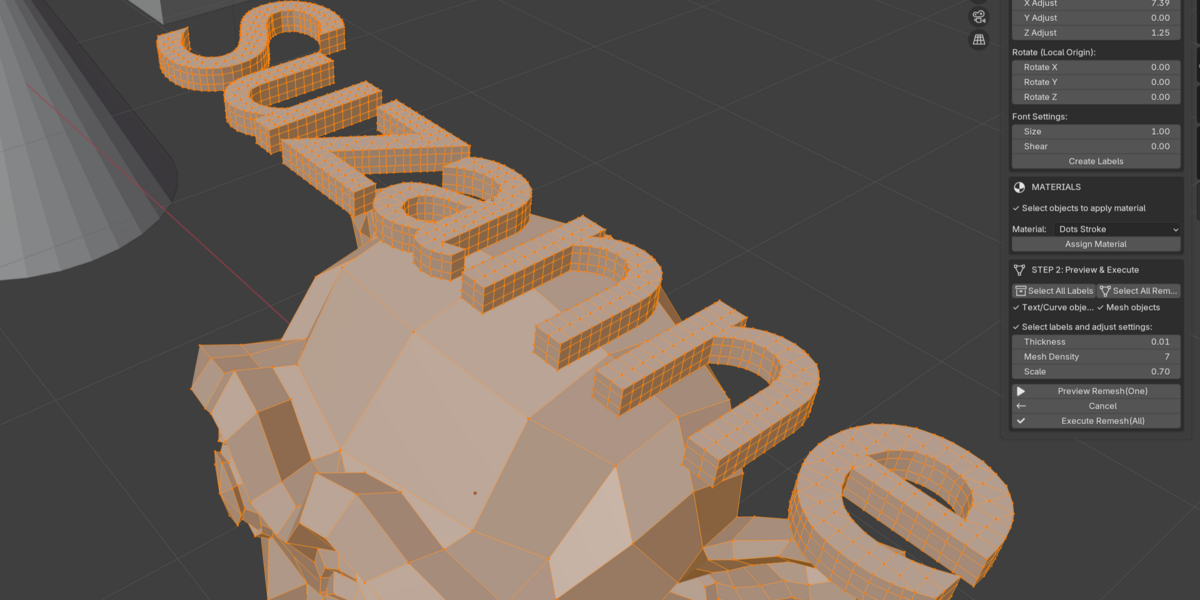
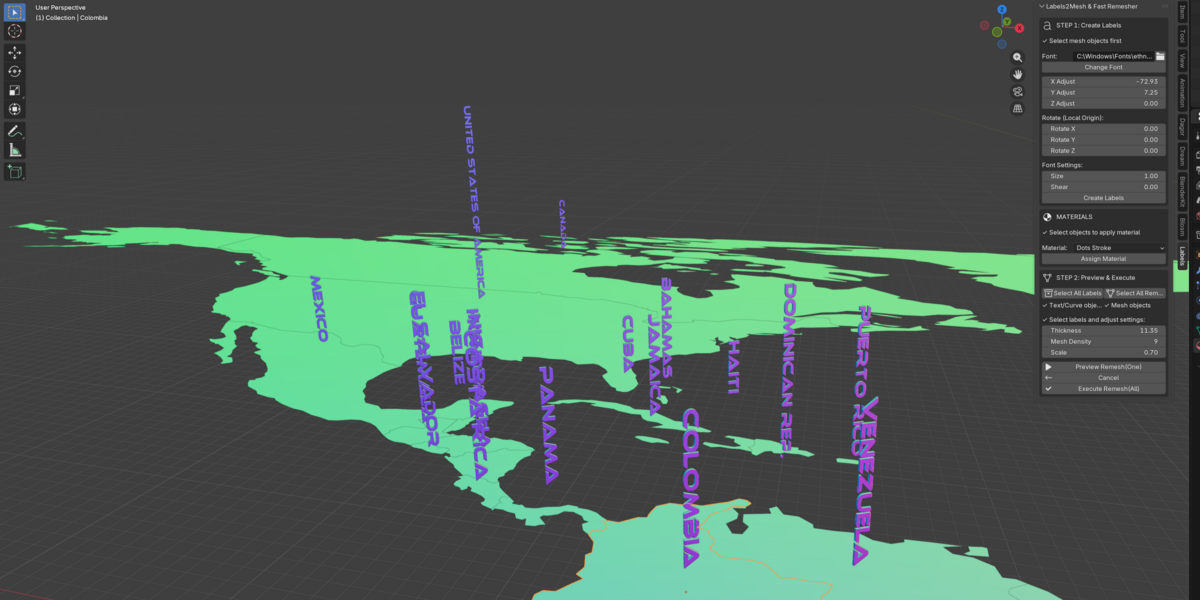
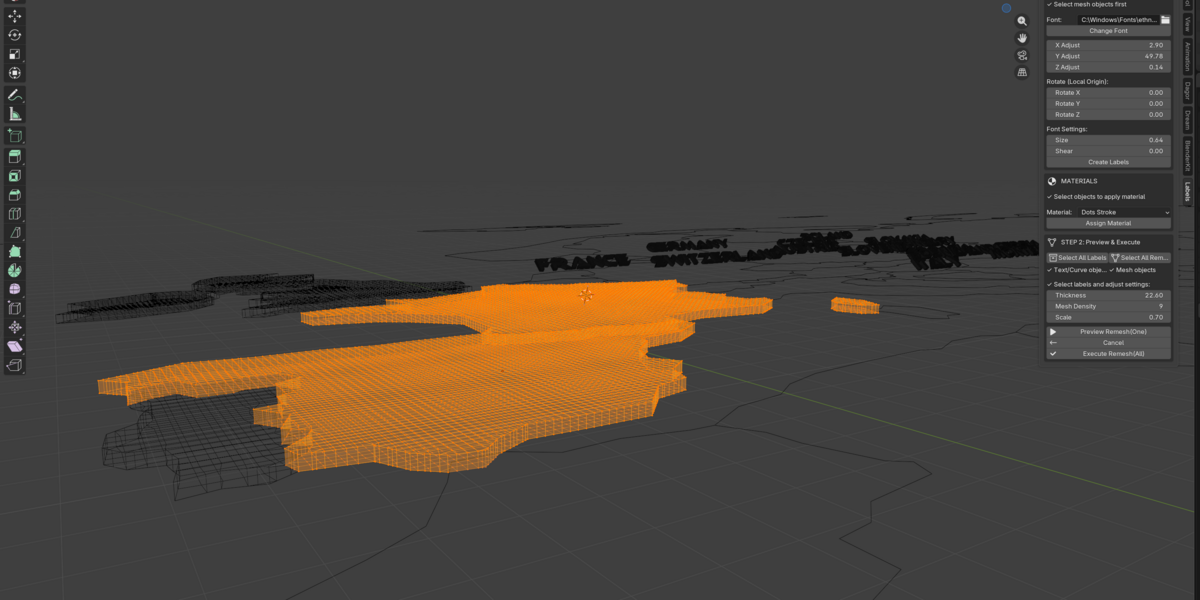
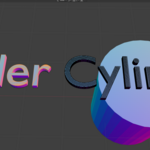
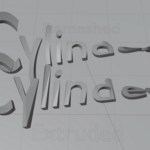
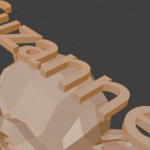
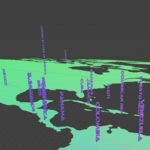
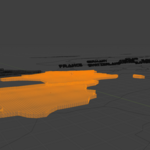
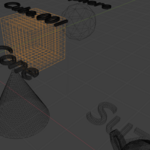
## Workflow
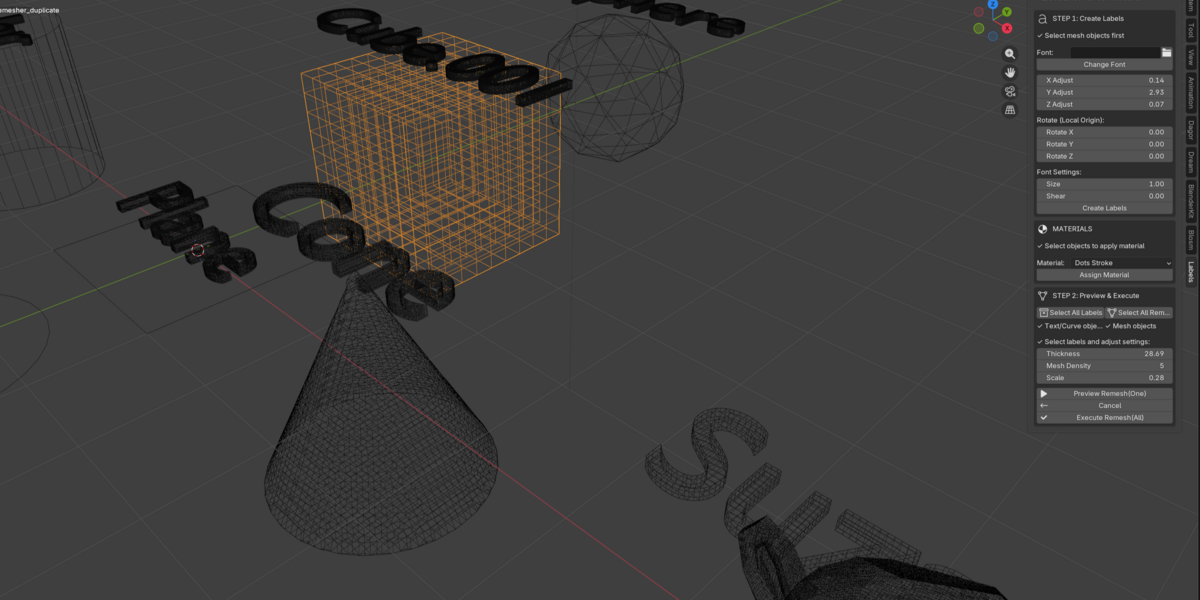
### Step 1 — Create Labels
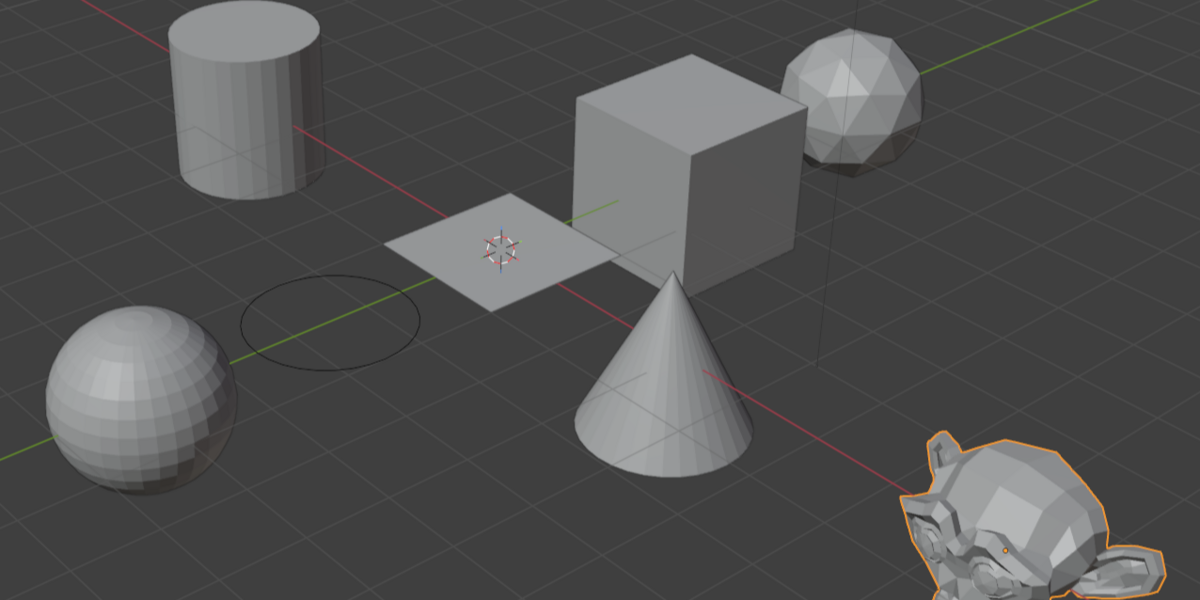
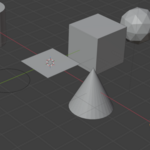
1. Select your mesh objects in the viewport
2. (Optional) Pick a font
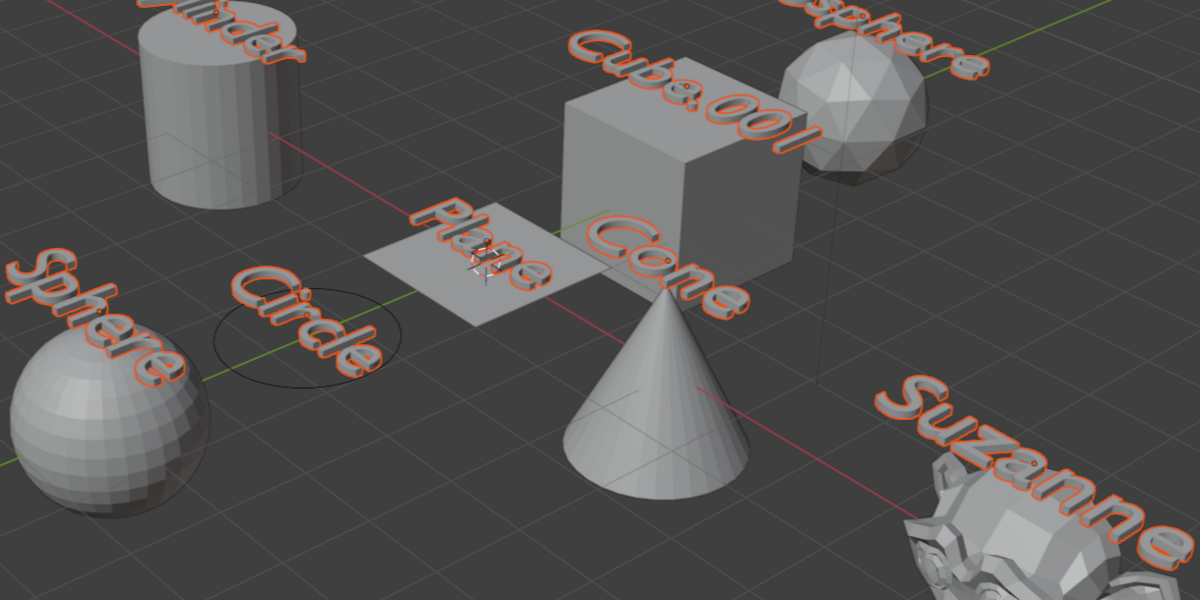
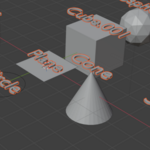
3. Click **Create Labels**
4. Adjust position, rotation, size, and shear with the live sliders
### Step 2 — Remesh
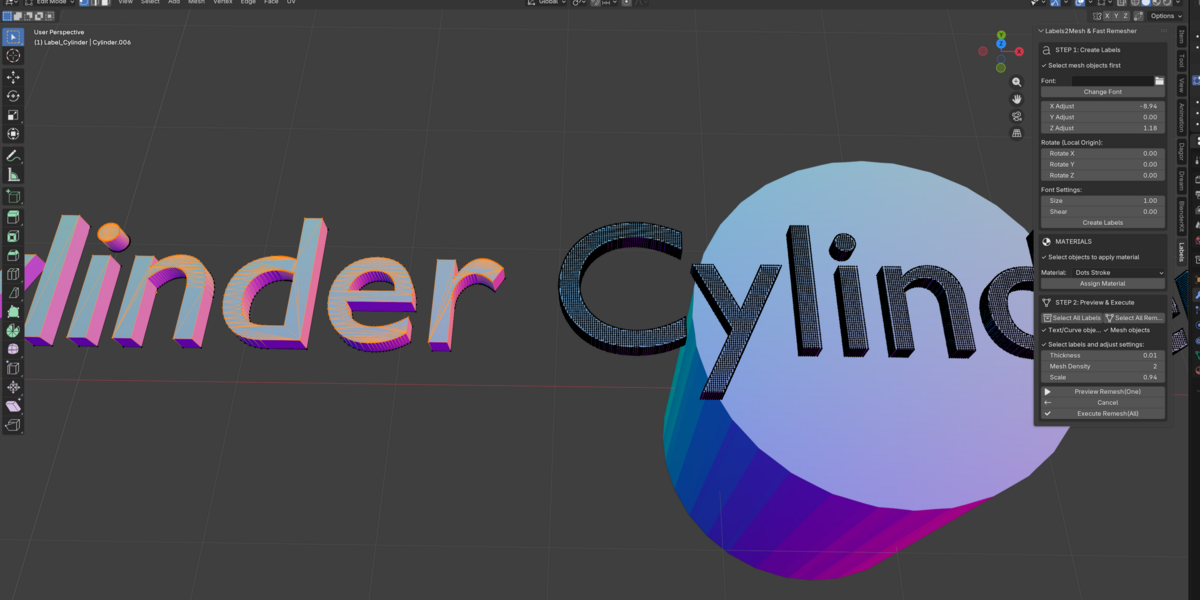
1. Click **Select All Labels** or select specific labels
2. Set **Thickness**, **Mesh Density**, and **Scale**
3. Click **Preview Remesh (One)** to check the first label
4. Click **Execute Remesh (All)** to batch-process everything
Labels go into a `Labels` collection. Remeshed results go into `Remeshed_Labels`.
---
## Panel Location
**3D Viewport → Sidebar (N) → Labels**
---
## Settings
| Thickness - Extrusion depth for the solidify modifier | 0.01 – 100
| Mesh Density - Remesh octree depth (higher = more detail) | 1 – 100 !!!MORE THEN 10 CAN OVERLOAD YOUR PC, use from lower to higher
| Scale - Remesh scale factor | 0.1 – 10
| Size - Font size for text labels | 0.1 – 100
| Shear - Font shear / italic angle | -1.0 – 1.0
---
## Compatibility
- Blender **3.6**, **4.2**, **5.0** (and newer)
- Works on Windows, macOS, Linux
---
## Installation
1. Download the `.zip` file
2. In Blender: **Edit → Preferences → Add-ons → Install**
3. Select the `.zip` file and enable the addon
4. Find the panel in **3D Viewport → Sidebar → Labels**
---
## Use Cases
- **3D Printing** — Create raised or engraved text labels on models
- **Archviz** — Add building names, room labels, signage
- **Game Dev** — Convert text to optimized mesh for in-game UI elements
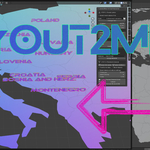
- **Data Visualization** — Label countries, regions, or data points on 3D maps
- **Product Design** — Add branding, serial numbers, or specs to product models
$10
Have questions about this product?
Login to message
| Blender Extension Compatible | Yes |
| Dev Fund Contributor | |
| Published | 7 months ago |
| Blender Version | 3.6 - 5.0 |
| Extension Type | Add-on |
| Render Engine Used | Cycles |
| License | GPL |