Live Theme Editor | Live Edit, Real-Time Theming With Safe Reset.
 Hugu's Works


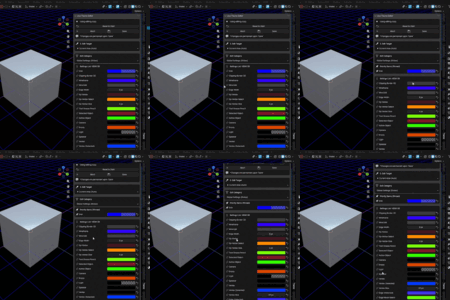
Live Theme Editor | Edit themes in real time and reset them safely - Documentation (English)
1. Product Overview
The Live Theme Editor is an add-on that revolutionizes theme editing in Blender. Standard Blender theme adjustments are complex and carry the risk of corrupting your settings. This add-on employs a "sandbox" approach, allowing for safe and real-time theme customization.
It automatically creates a snapshot of the current theme when editing starts and applies all changes to this copy, ensuring your original theme and settings are protected from loss.
Key Features:
Sandbox Editing: Creates a safe copy (snapshot) of the current theme, initiating an editing session that protects the original settings.
Safe Reset: Instantly revert all changes back to the state at the beginning of the editing session with one click.
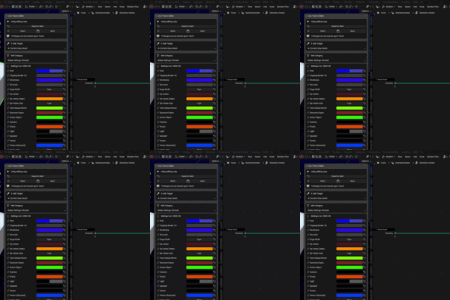
Real-time Area-Specific Adjustment: Quickly and in real-time modify theme settings for specific areas of Blender, such as the 3D Viewport or Node Editor.
Pinning Functionality: "Pin" your most frequently used properties to the top of the editing panel for prioritized, easy access.
Individual Item Reset: Undoes changes for a single modified property (e.g., the color of a specific button) back to the snapshot's value.
2. Installation
Keep the downloaded file live_theme_editor.zip compressed (do not extract it).
Open Blender and go to Edit > Preferences.
Navigate to the Add-ons tab.
Click the Install... button at the top.
Select the live_theme_editor.zip file and click Install Add-on.
Search for Interface: Live Theme Editor in the add-on list, and check the box to enable it.
3. How to Use
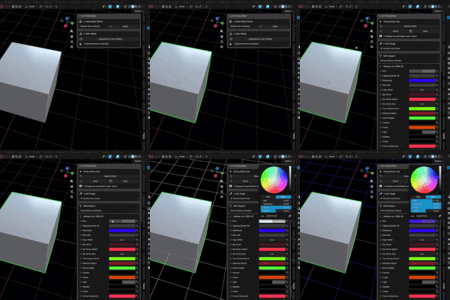
The Live Theme Editor panel is located in the sidebar (press N to show/hide) of various editors, under the "Theme" tab.
Step 1: Select Base Theme and Start Editing Mode
-
In the " 1. Select Base Theme " section at the top of the panel, choose your base theme from the dropdown list and click the Apply button.
Tip: Your existing custom themes will automatically appear in this list.
-
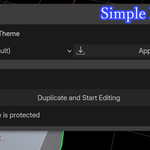
In the " 2. Start Editing " section, click the Duplicate and Start Editing button.
This creates a safe snapshot of your current theme and enters the "Editing Mode."
Step 2: Adjusting Targets and Settings
-
In the " 3. Edit Target " section, select the Blender area you want to edit.
★ Current Area (Auto): Automatically selects the theme settings for the area currently under the mouse cursor. (The recommended option)
You can also specify a concrete area like 3D Viewport, Node Editor, or Outliner.
In Edit Category (Sub Category), select a more specific category like Header/Space, Background Gradient, or Widget.
Adjust the colors and values (like Text Color, Background Color, Roundness, etc.) in the displayed settings list in real-time.
Step 3: Pinning and Individual Reset (Efficiency Features)
Pinning: For frequently changed or high-priority settings, click the "pin icon" to the left of the item name. Pinned items move to the "Priority Items (Pinned)" section for constant top-panel access.
Individual Reset: Click the Reset this item button (loop-back icon) on the right side of each setting to revert that single property back to the value it held in the "start of editing snapshot."
Step 4: Saving or Aborting Changes
While in Editing Mode (indicated by the red REC icon at the top of the panel), you can perform the following actions:
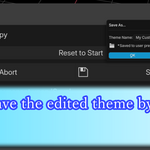
Abort and Revert: Discards all changes, fully restores the theme to the state it was in before editing started, and exits editing mode.
Reset to Start: Discards the current changes and reverts to the snapshot state from the start of editing. (Editing Mode continues)
Save: Saves the modified theme as an XML file with a new name to the user preferences folder. Upon completion, editing mode automatically exits, and Blender will permanently use the new, saved theme.
5. License and Support
License: This add-on is provided under the terms of the GNU General Public License (GPL) Version 3. Please refer to the license.txt file included with the product for full details.
Support: For bug reports or inquiries, please contact us via [the support form on the Superhive Market product page / or the specified contact method].
Have questions about this product?
Login to message
| Sales | 10+ |
| Published | 10 months ago |
| Blender Version | 4.0 - 5.0 |
| Extension Type | N/A |
| License | GPL |