Living Moss Pro: Grow Procedural 3D Moss on Any Mesh
 Salman Animator
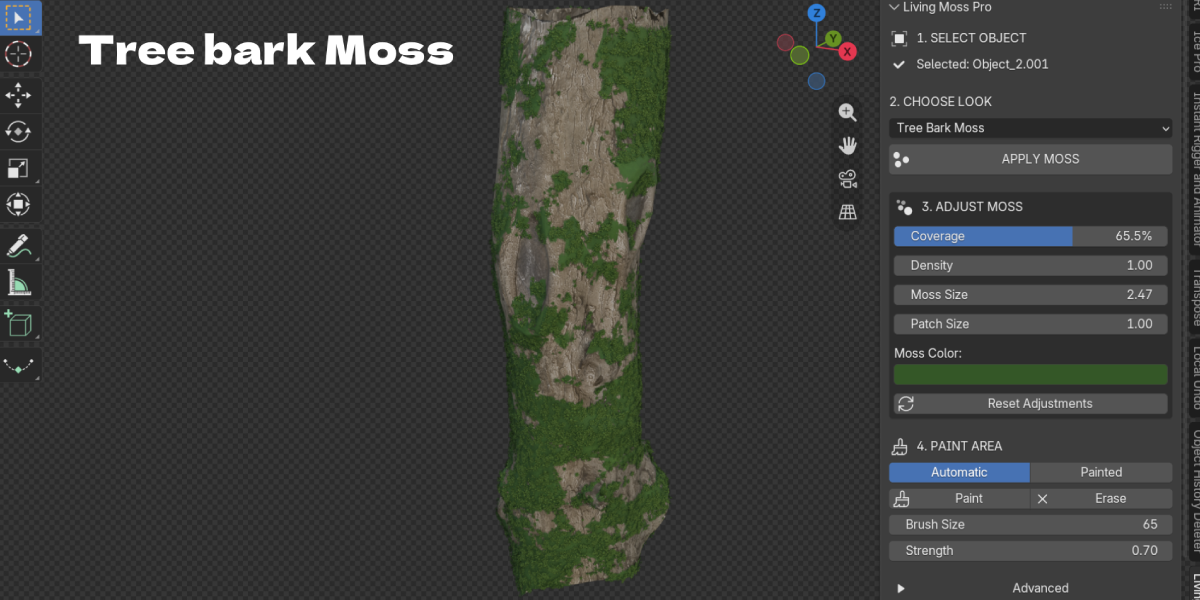
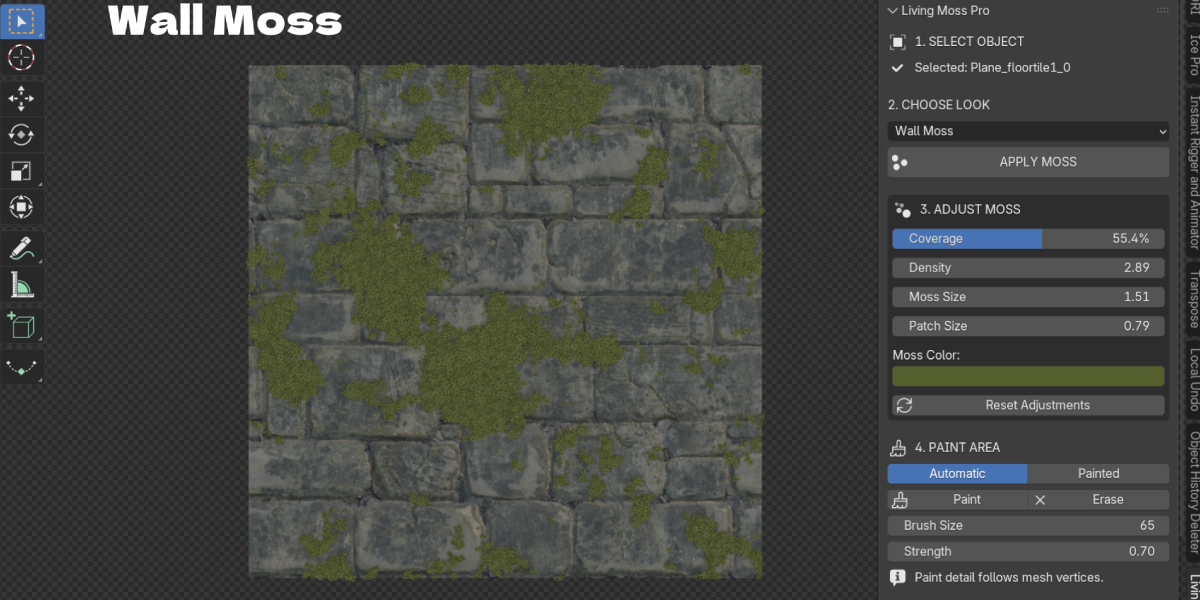
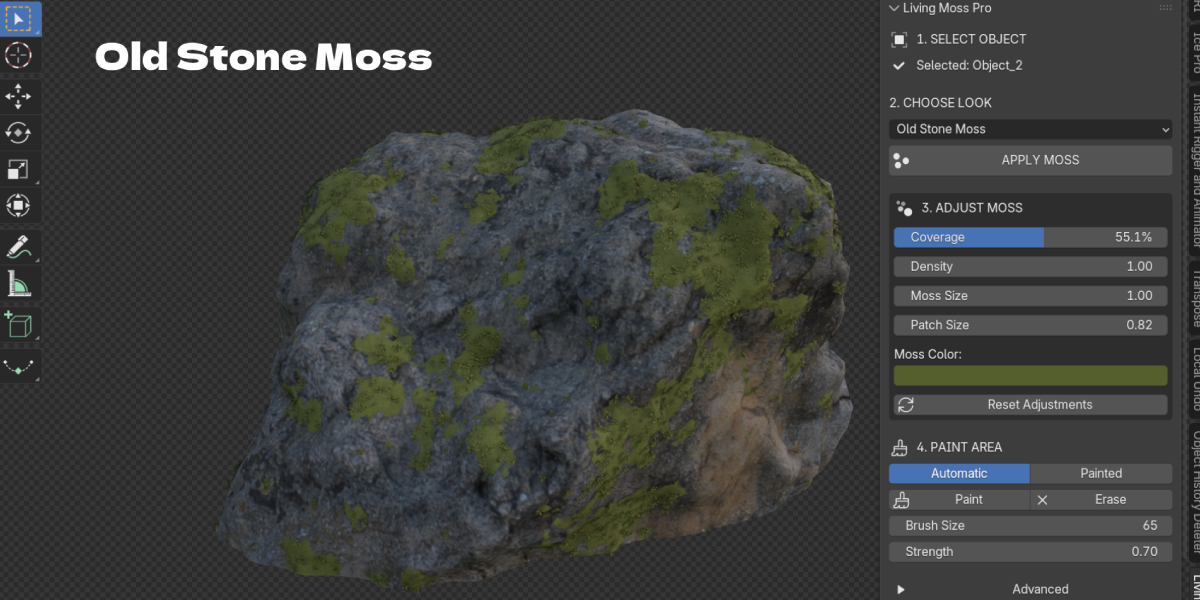
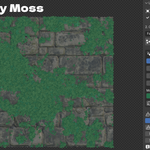
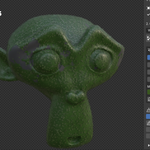
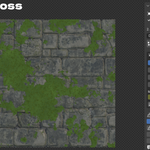
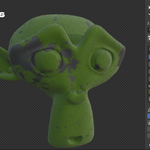
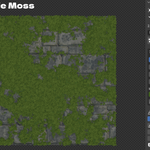
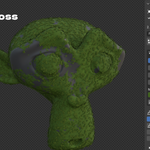
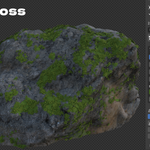
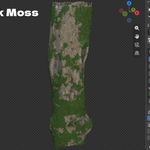
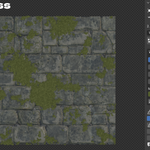
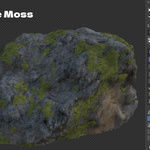
Requirements
Blender 4.2.0 or newer. A mesh object in Object Mode.
Install
- Keep the ZIP as it is. Do not unzip it.
- Open Edit > Preferences > Add-ons and choose Install from Disk.
- Pick Living-Moss-Pro-0.7.0-SalmanAnimator.zip and enable Living Moss Pro.
- In the 3D Viewport press N and open the Living Moss tab.
Disable any older copy first and restart Blender after upgrading.
First use
- Select Object: select one or more meshes in Object Mode.
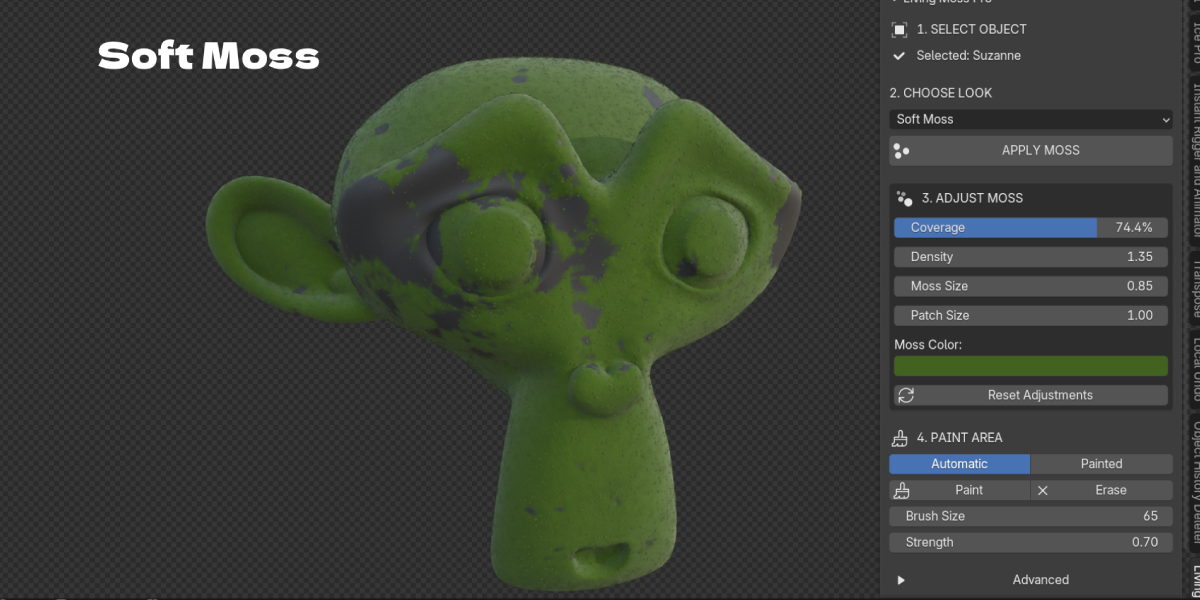
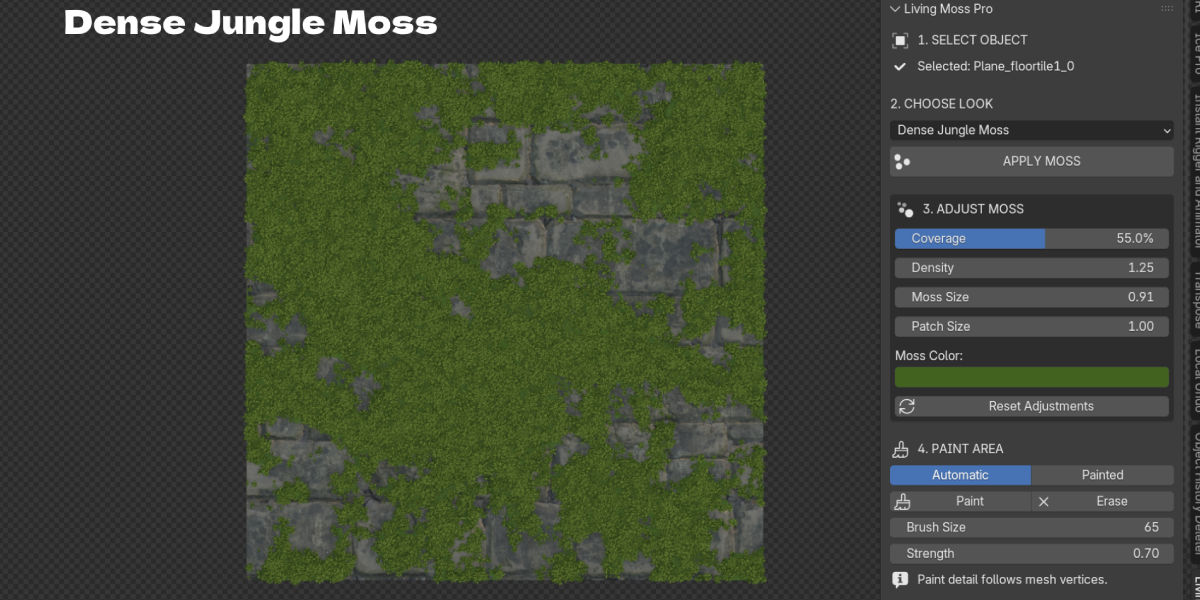
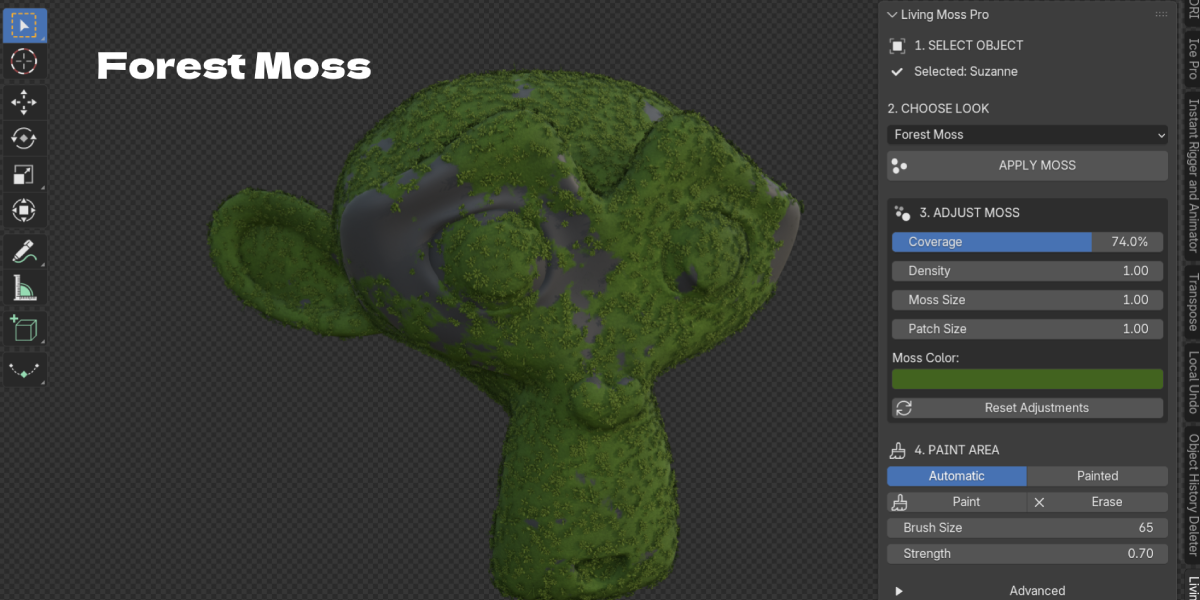
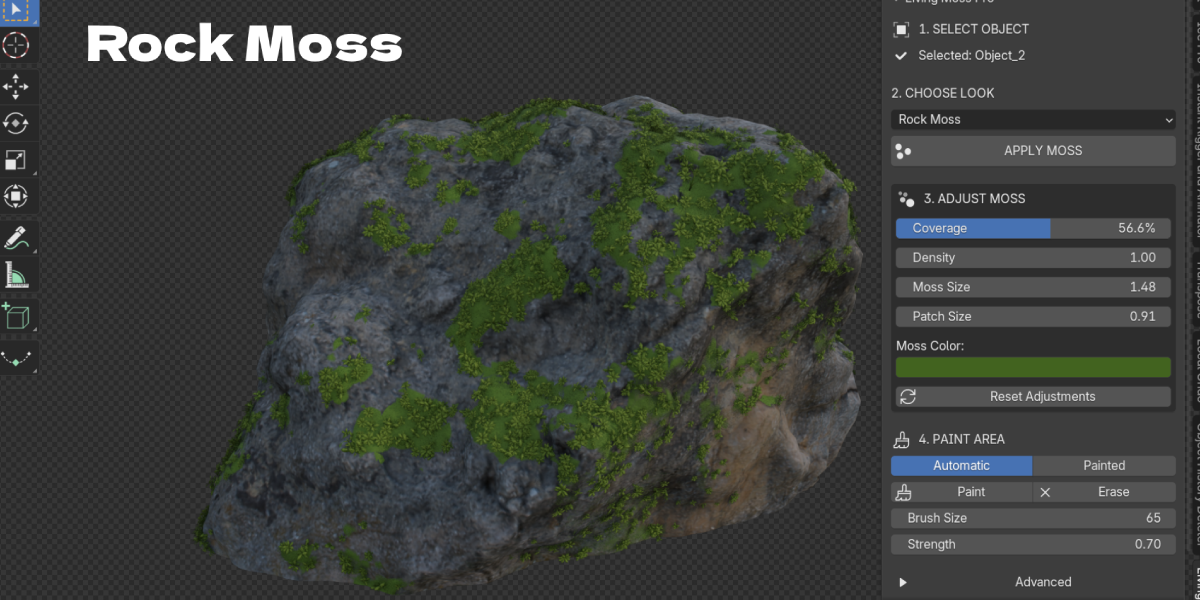
- Choose Look: pick a preset such as Forest Moss.
- Click APPLY MOSS.
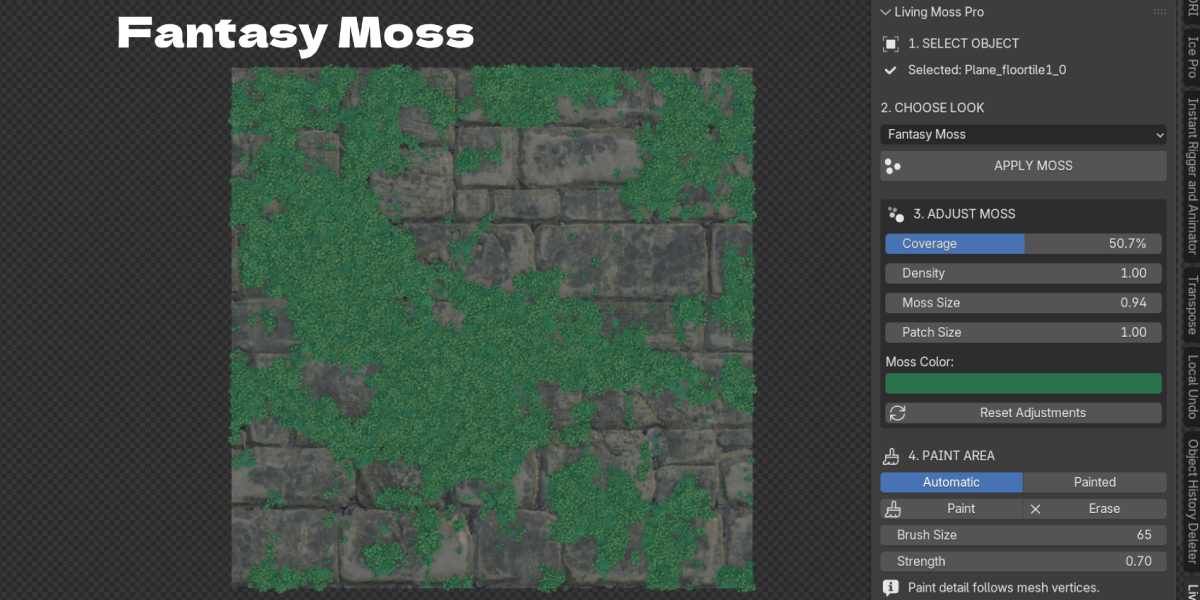
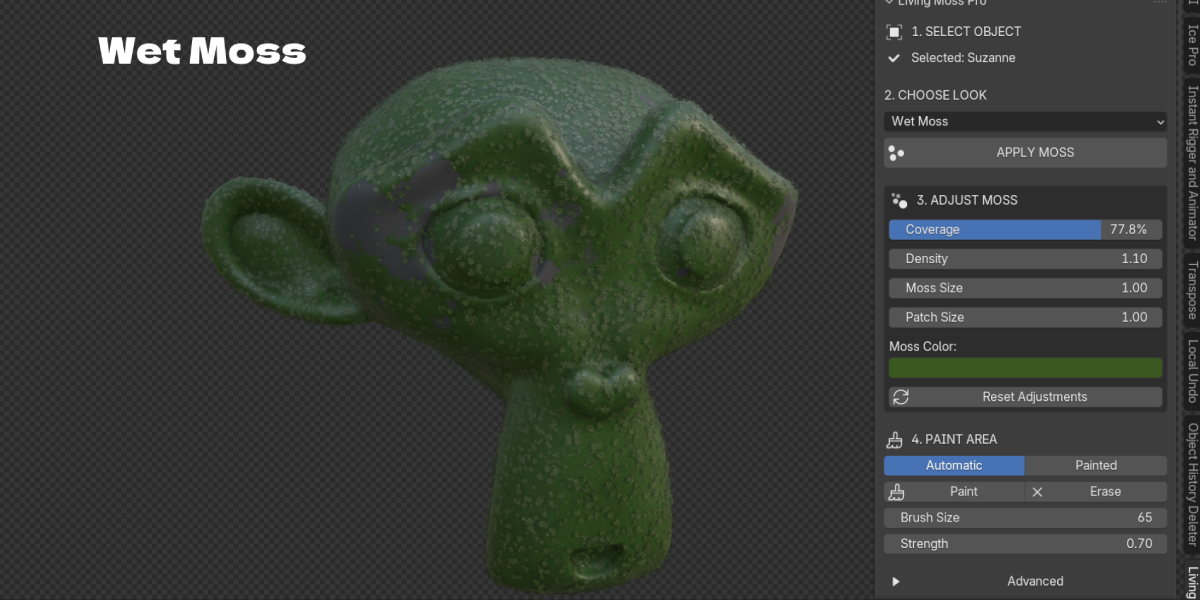
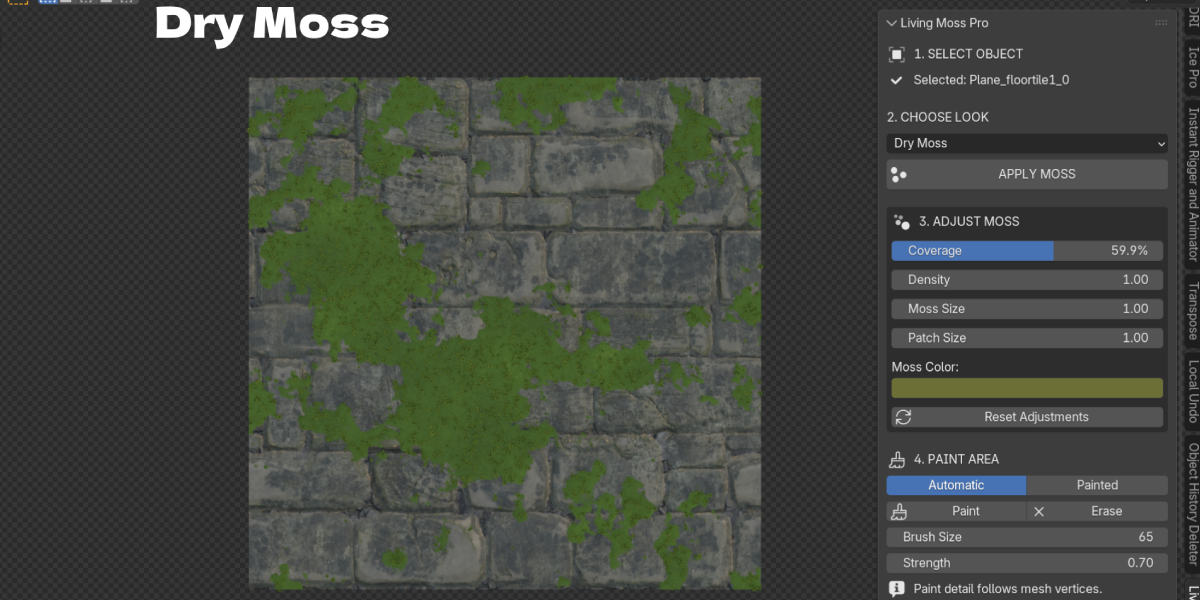
- Adjust Moss: Coverage, Density, Moss Size, Patch Size and Moss Color. Reset Adjustments restores the preset values.
- Paint Area: keep Automatic, or switch to Painted and use Paint and Erase.
Presets
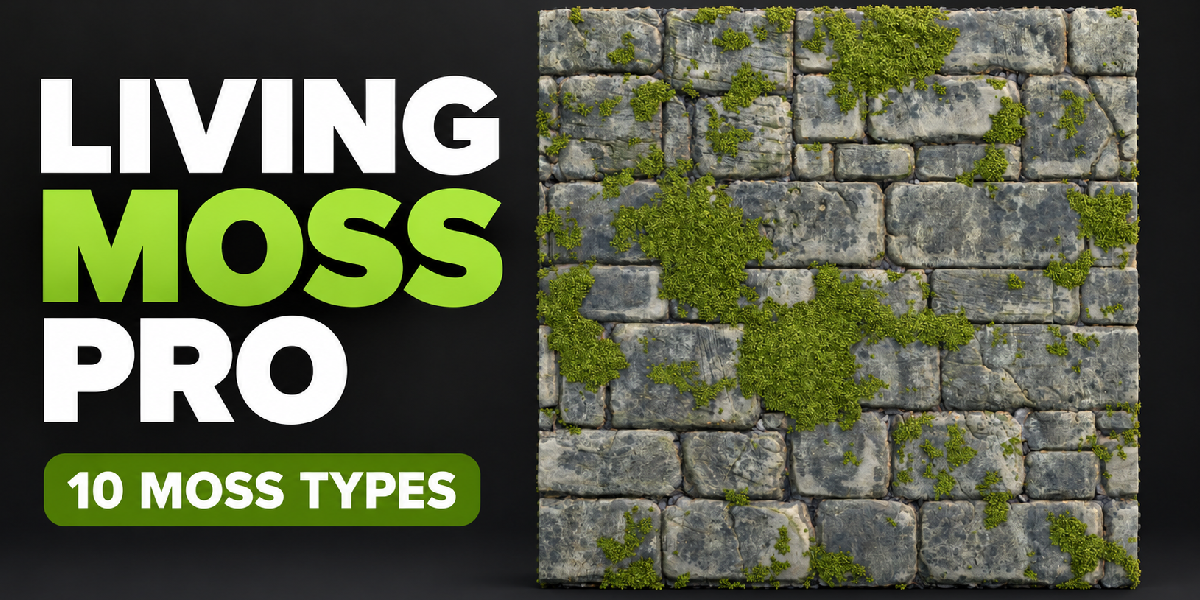
Forest Moss, Soft Moss, Wet Moss, Old Stone Moss, Rock Moss, Wall Moss, Tree Bark Moss, Dense Jungle Moss, Dry Moss, Fantasy Moss. Reset Style restores a style's defaults on an object you customized.
Controls
- Moss: overall lushness of the carpet, shoots, clumps and fibers. Zero returns the original mesh.
- Grass / Flowers: amount of grass clusters and tiny flowers.
- Coverage: how much of the surface is covered.
- Density: plant population inside covered areas.
- Moss Size: plant scale and carpet thickness.
- Patch Size: scale of the moss pattern.
- Moss Color: moss only tint.
- Clumping: how grouped the moss colonies are.
- Fiber Amount: short strands between leafy parts.
- Wetness: damp roughness and color change.
- Slope Influence: preference for upward facing areas.
- Shoot Length / Carpet Depth / Patch Stretch Z: extra style control.
- Random Seed: a different but repeatable pattern.
- Viewport Quality / Render Quality: separate detail levels.
- Instance Limit: total cap for all plant layers (default 160,000).
- Carpet Face Budget: limits added surface detail.
Paint and Erase
Switch Paint Area to Painted. Click Paint or Erase and brush on the mesh. Brush Size and Strength set the stroke. Fill covers everything, Clear removes everything. Paint detail follows mesh vertices, so add a few subdivisions on very low poly meshes.
Tools
Show Moss toggles visibility. Original shows the clean mesh for comparison. Remove Moss deletes the setup from the active object.
Limits
Very large meshes reach the Instance Limit, so use separate sections for close up areas. Painting resolution follows mesh vertices.
Performance tips
- Keep Viewport Quality at Standard or lower while you work.
- Lower Instance Limit for big scenes, raise it for hero close ups.
- Use Show Moss to hide moss while you edit other parts of the scene.
Troubleshooting
- Moss is not visible: check Moss and Coverage are above zero and Show Moss is on. Switch to Material Preview or Rendered view.
- Painted moss looks blocky: the mesh has too few vertices. Add subdivisions or a Subdivision modifier before the moss.
- Viewport is slow: lower Viewport Quality or the Instance Limit.
- Moss looks too small or huge: adjust Moss Size. Check the object scale and apply it if it is extreme.
- The panel is missing: press N in the 3D Viewport and open the Living Moss tab.
- Error after upgrading: disable the old version, restart Blender and enable the new one.
Have questions about this product?
Login to message
| Blender Extension Compatible | Yes |
| Published | 1 day ago |
| Blender Version | 4.2 - 5.2 |
| Extension Type | Add-on |
| License | GPL |

Discover more products like this
geometry nodes foliage forest #nature vegetation rocks environment ruins scatter moss procedural overgrown