
Masked Texture - Textures Only Where You Want Them
 Achat
Achat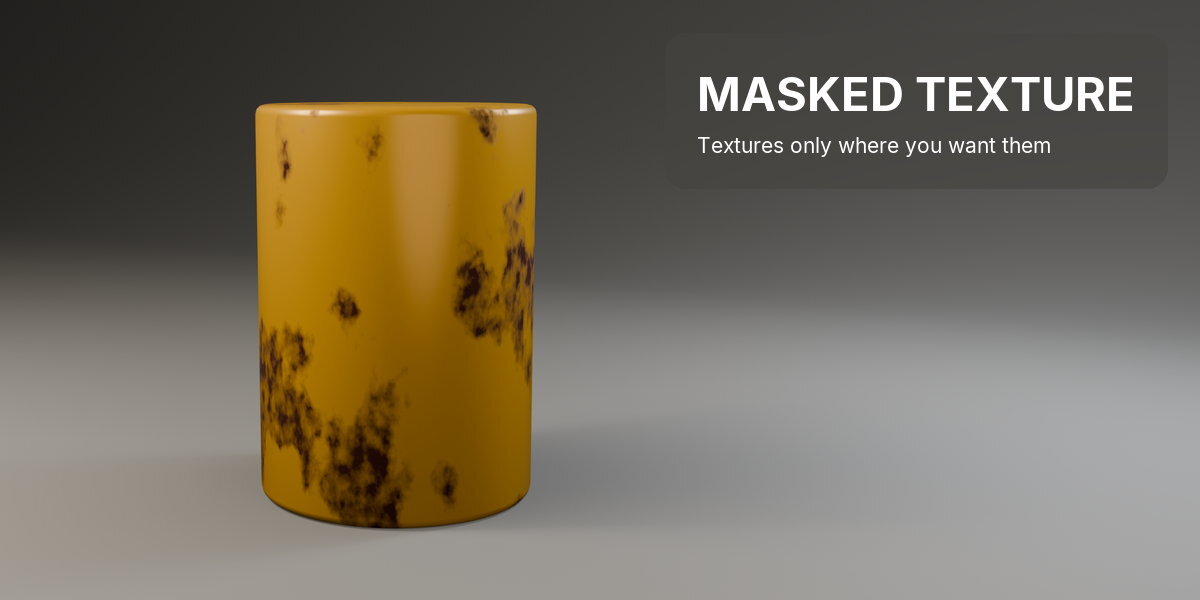
INSTALLATION
Blender 5.1 and newer: Edit > Preferences > Get Extensions > Install from Disk, and pick the downloaded .zip (or drag it into Blender). The node is in the Shader Editor under Shift+A > Masked Texture; its tools are in the Shader Editor sidebar (N), tab Masked Texture.
QUICK START
- In the Shader Editor, Shift+A > Masked Texture.
- Plug Result into a Mix factor, a color or a roughness.

- Pick an Area and drag Black and White until the areas look right.
- Pick the Texture inside them and set its own Black and White.
OUTPUTS
- Result: the textures inside the areas, black and white.
- Color: each texture in its own color over the Background, inside the areas.
- Mask: the areas, white where the textures can show.
- Texture 1, Texture 2, ...: each texture on its own, everywhere.
AREA
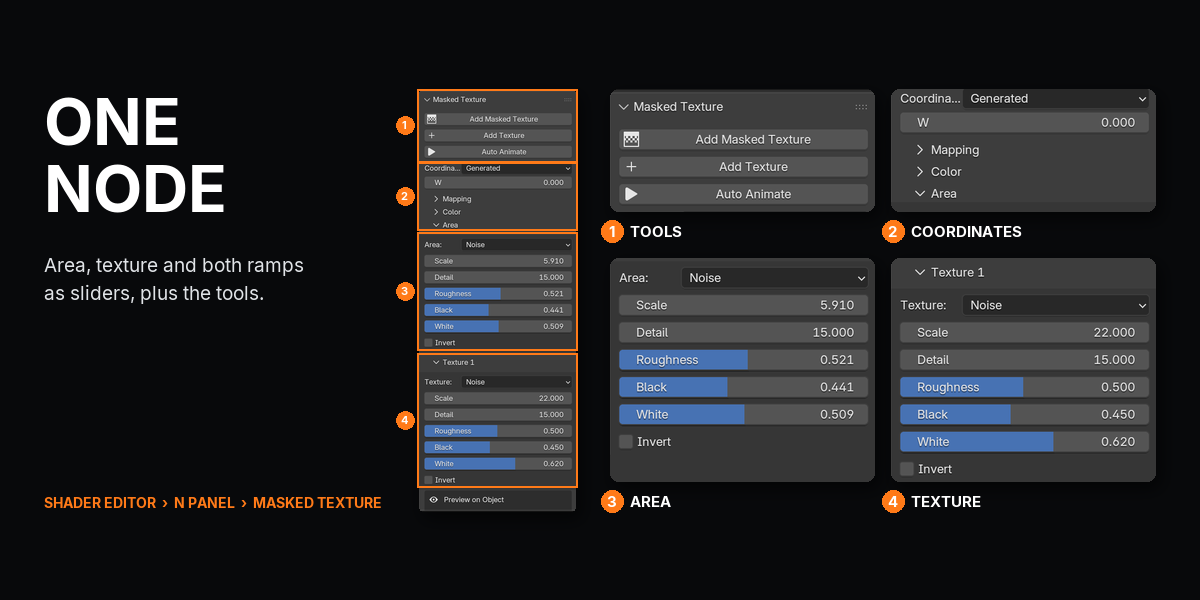
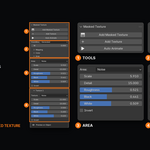
- The textures show where the area's ramp is black. Black and White set where the ramp's stops sit, from 0 to 1. Invert swaps it.

- Noise, Voronoi, Wave: Scale, Detail, Roughness, Distortion (Wave).
- Edges and Cavities: Width. Outer corners for wear, inner corners for dirt.
- Height: bottom to top of the object. Facing: 0 down, 0.5 sideways, 1 up.
- Vertex Paint: the Mask Paint color attribute. Paint on Active Object sets it up. Object: distance to the Area Object.
MAPPING AND ANIMATION
- Coordinates: Generated, Object or UV. Stretch Axis with Area Stretch and Texture Stretch; try 6 for streaks.
- Auto Animate drives W with the frame number; the Speed slider sets the rate.
FEATURES
1A TEXTURE ONLY INSIDE ITS AREAS


Add one Masked Texture node and plug Result into any mix: the texture shows only inside the areas a big pattern picks. Black and White widen or shrink those areas like dragging a color ramp's stops.
2TUNE IT FROM THE SIDEBAR
Every setting sits on the node and in the sidebar: pick the Area, drag Black and White, switch to Wave, press Auto Animate to evolve the textures over time.
3CHOOSE WHAT DECIDES THE AREAS

The areas can come from Noise, Voronoi or Wave, from the object's edges or cavities, its height or which way it faces, from vertex paint, or from the distance to another object.

4FOUR TEXTURES, AND MORE ON TOP



Each texture is Noise, Voronoi, Wave or Brick with its own ramp. Add Texture lays another one over it, and each gets its own output and color.
GOOD TO KNOW
- Blender 5.1 or newer: the node uses menu switches in shader groups, which older versions don't have.
- The textures are Noise, Voronoi, Wave and Brick. For image textures, open the group and wire one in by hand.
- Nodes made with an older version show Update Node in the sidebar; it replaces them at default settings.
- Add Texture and Remove need the nodes they connect to. If those were deleted by hand, the sidebar says which one is missing.
EDITING THE GROUP
Each Masked Texture node has its own group. Inside, every section has its own frame: Coordinates, Area, Texture 1, Texture 2 and Output. Each texture runs into a Range node that the Black and White sliders drive, then into a plain Color Ramp, so extra stops and colors can be added by hand.
SUPPORT
Email [email protected].
Have questions about this product?
Login to message
| Blender Extension Compatible | Yes |
| Published | 1 day ago |
| Blender Version | 5.1 - 5.2 |
| Extension Type | Add-on |
| Render Engine Used | Cycles, Eevee |
| License | GPL |
Discover more products like this
procedural Shader grunge mask vertex paint Texturing eevee materials Rust edge wear weathering nodes