MatShift
 GPolygon Design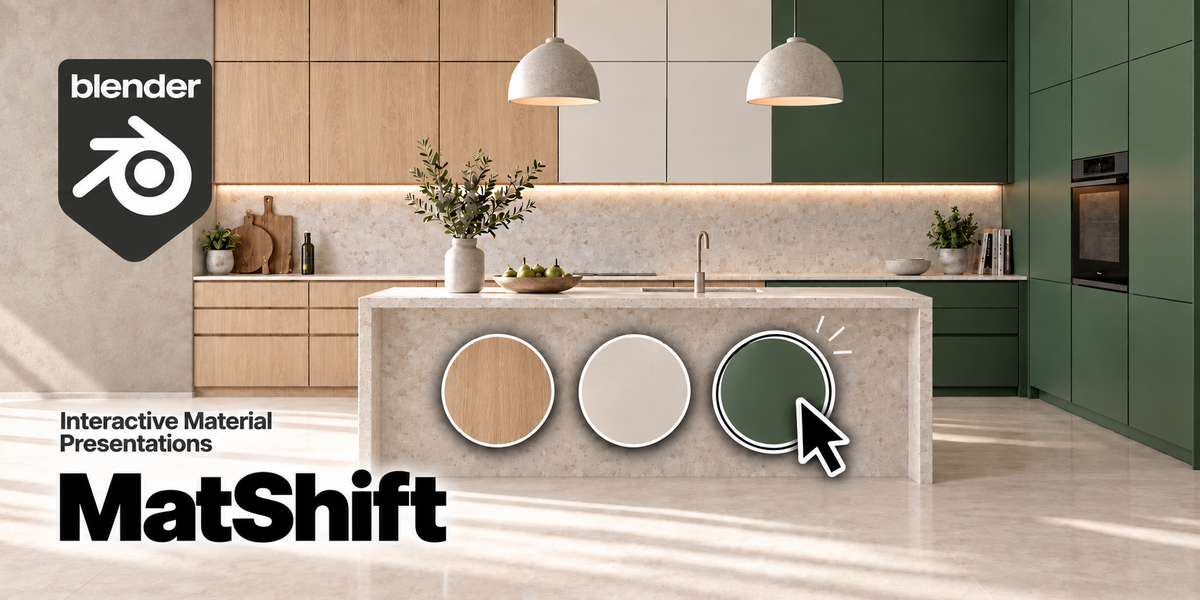
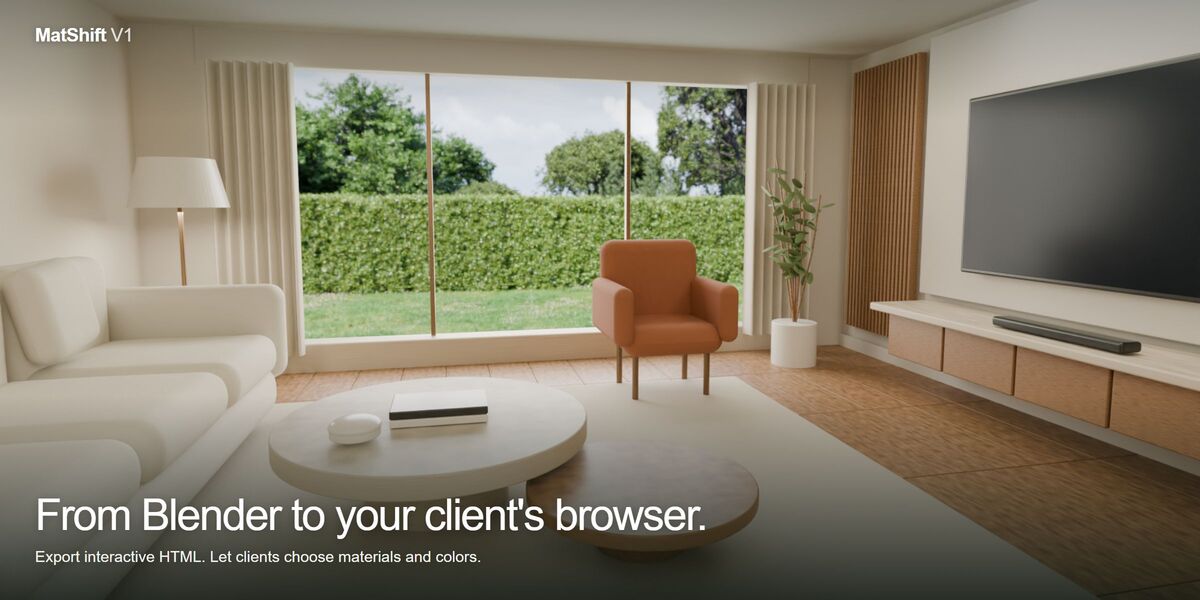
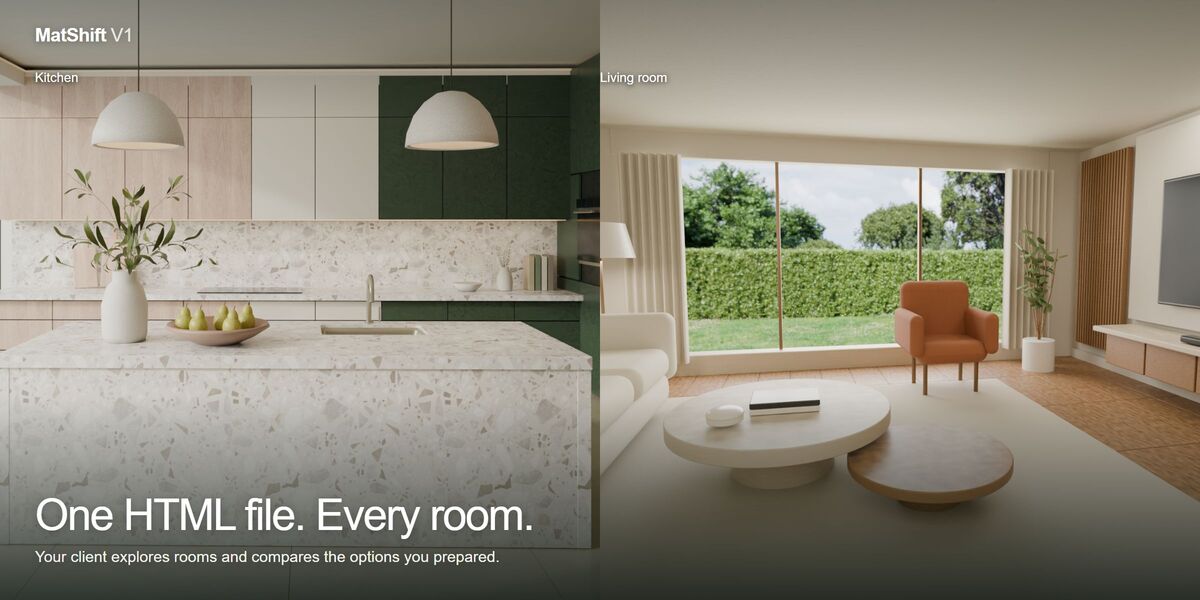


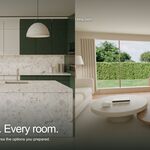
MatShift V1 — Quick Start
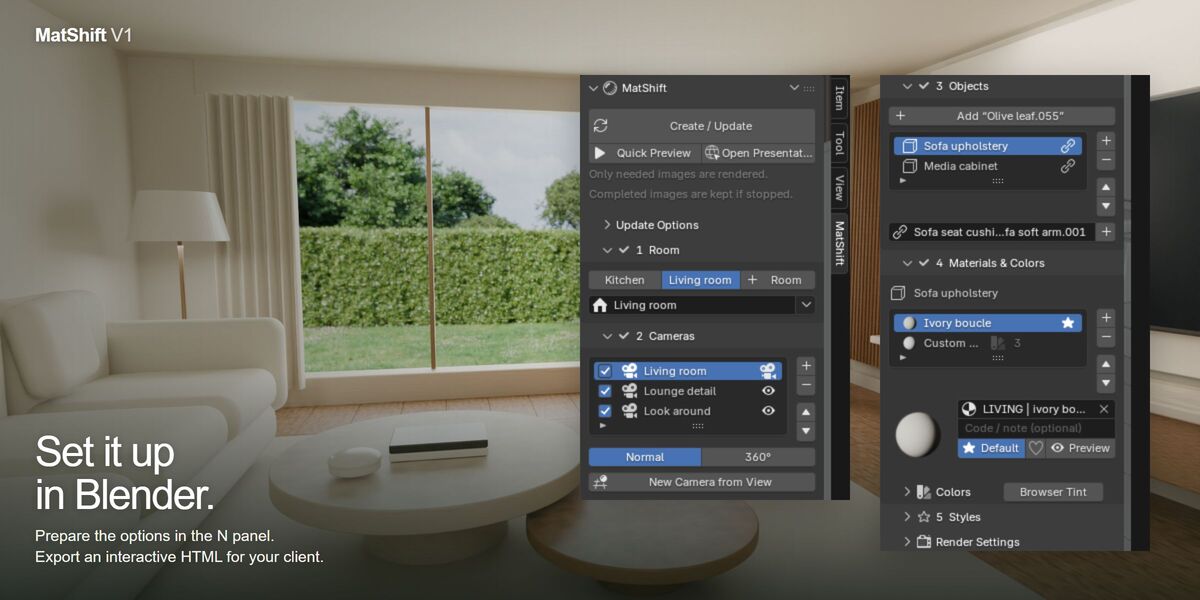
- In Blender 4.2 or newer, open Preferences → Get Extensions → Install from Disk. Select MatShift-V1.zip and enable MatShift.
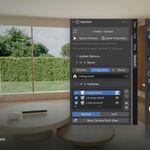
- Open the 3D View sidebar with N and select MatShift. Add a room, add cameras, then select the mesh objects your client can customize.
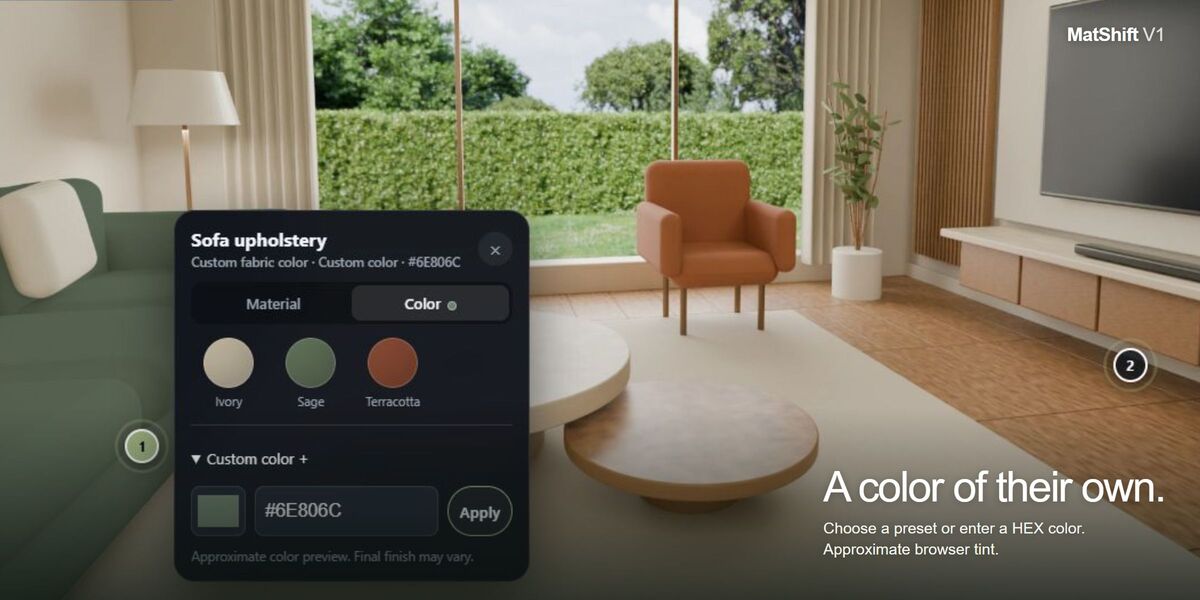
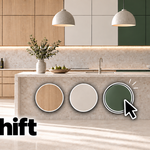
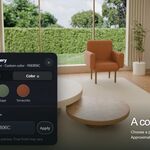
- Add material options for each object. To offer custom colors, use a neutral base material and enable Browser Tint and Allow Custom Color.
- Save your Blender project. Choose an output folder, run Quick Preview, then Create / Update. Use Open HTML to view the result.
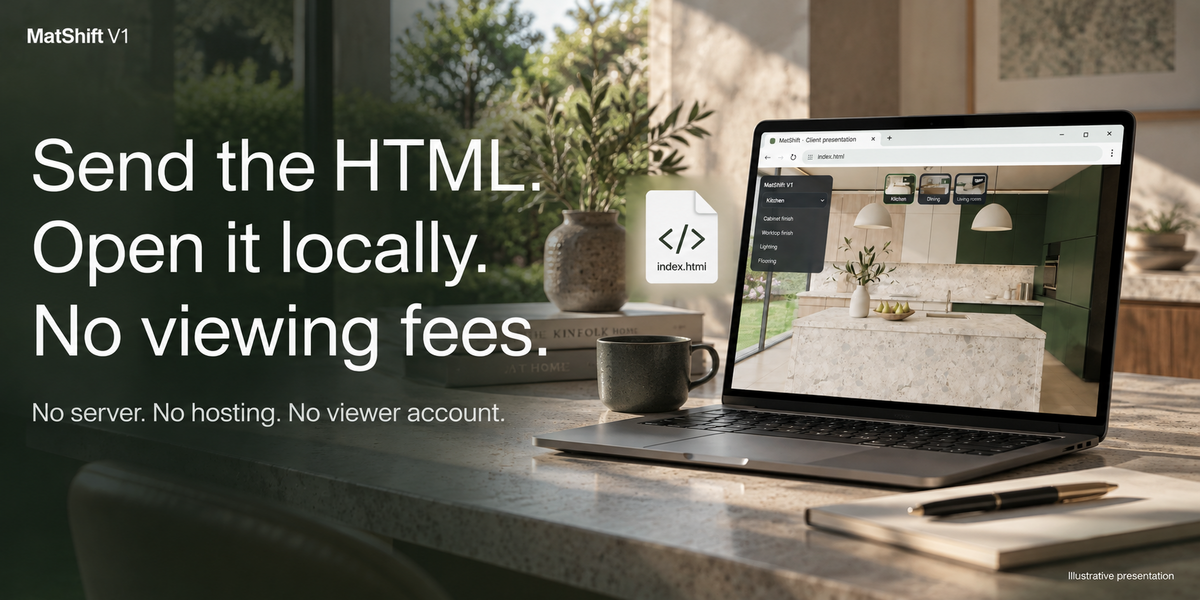
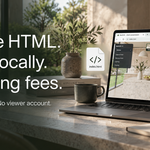
- Enable Single File HTML to send index.html directly to your client. For separate-image exports, upload the complete output folder to your web host.
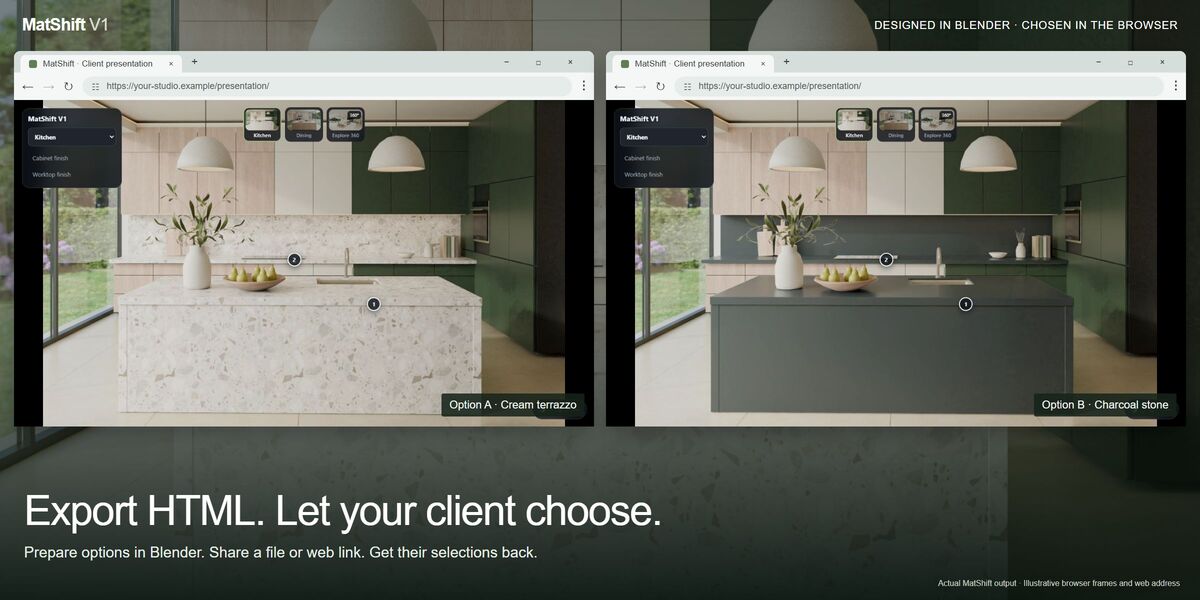
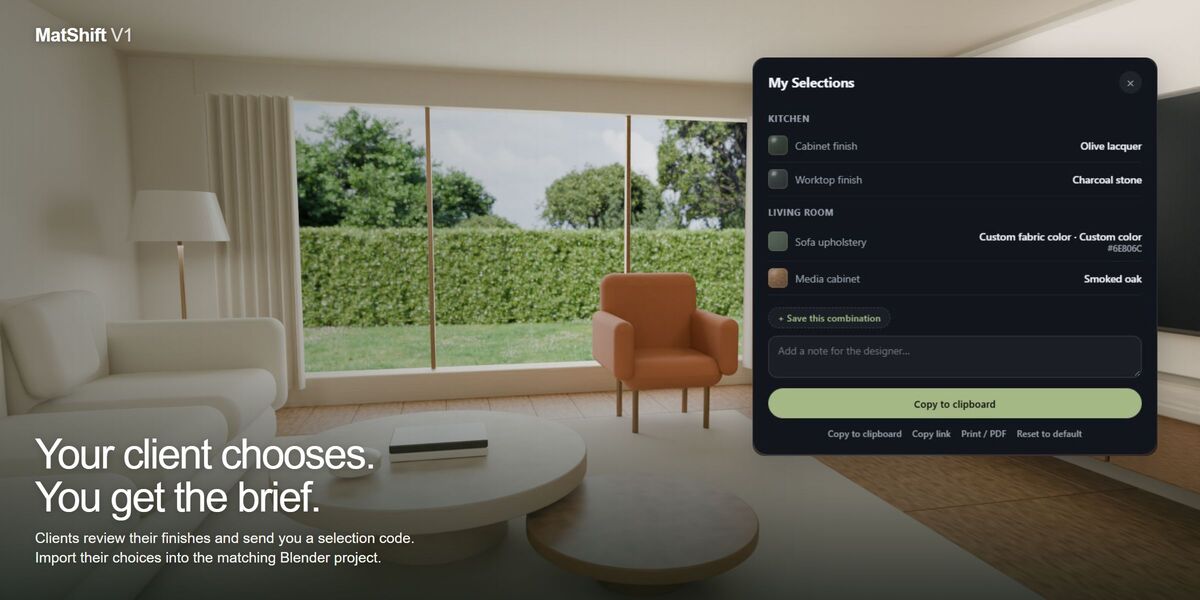
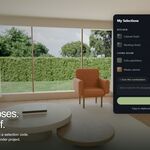
- The client opens the HTML, chooses materials and colors, then uses My Selections to copy the summary or Save .txt.
- In the matching Blender project, open the MatShift panel menu → Apply Client Selection and paste the PR2 code from the summary.
360° views
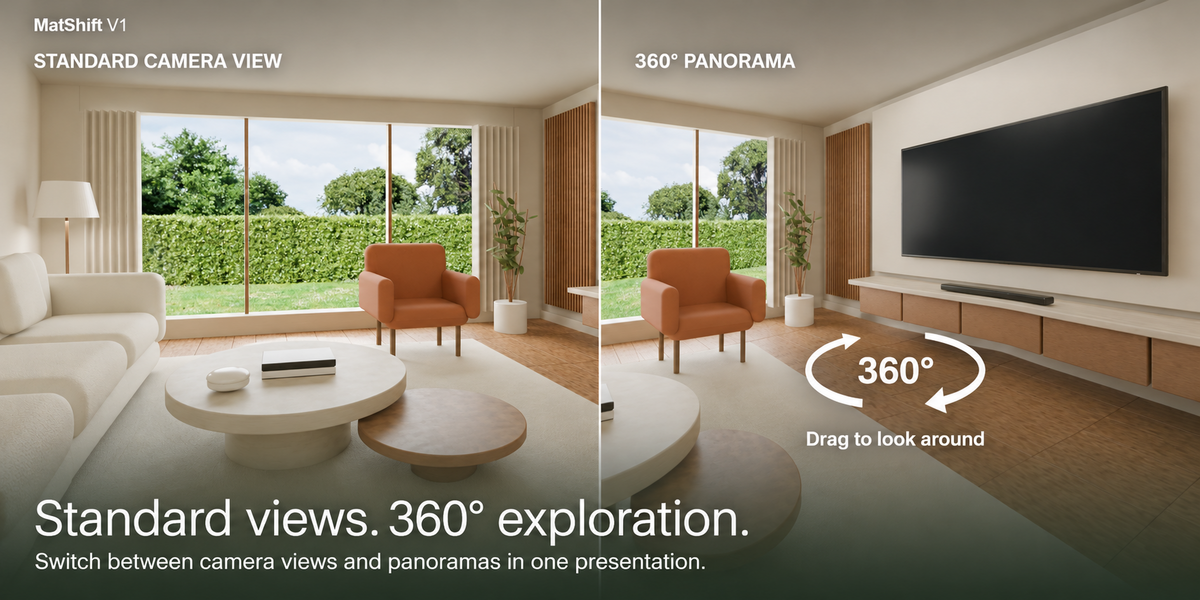
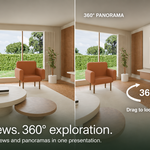
Use a panorama camera with Cycles. The browser needs WebGL for interactive look-around. Serve separate-image panoramas over HTTP, or use the embedded Single File HTML export.
Color preview and rendering
Browser Tint is approximate. Imported custom colors are added to the palette; set final shader colors separately. The viewer combines rendered image layers and does not recalculate reflections or indirect lighting. Transparent surfaces may show compositing artifacts.
Updating a presentation
Create / Update reuses valid cached images when possible. Keep the output folder to benefit from incremental updates. If a render is interrupted, use Restore Scene if prompted before continuing.
Support
Contact GPolygon Design through Superhive and include MatShift panel menu → Copy Support Info, your Blender version and steps to reproduce the issue. The ZIP also contains the full README and user documentation.
Have questions about this product?
Login to message
| Blender Extension Compatible | Yes |
| Dev Fund Contributor | |
| Published | about 10 hours ago |
| Blender Version | 4.2 - 5.2 |
| Extension Type | Add-on |
| Render Engine Used | Cycles, Eevee |
| License | GPL |