 fanlei


INSTALLATION
Requirements: Blender 4.2 LTS or newer.
1. Download fanlei_max_spline_tools_pro_1.7.2.zip from your Superhive receipt page.
2. In Blender: Edit then Preferences then Get Extensions.
3. Open the menu in the top-right corner and choose Install from Disk...
4. Choose the ZIP file and confirm Trust.
5. Make sure the checkbox next to Max Spline Tools Pro is on.
Then open the 3D Viewport, press N, and click the Max Spline tab.
If the free Max Spline Tools edition is still on, this build refuses to enable and tells you so. Turn the free edition off in Get Extensions first, then enable this one again.
New versions: add the Superhive repository in Blender as a remote repository for one-click install of new versions, or install the new ZIP over the old one. Preferences and the Quick Tools list are kept.
Uninstalling: Get Extensions, find the add-on, open its menu, then choose Uninstall.
DOCUMENTATION
Panel location
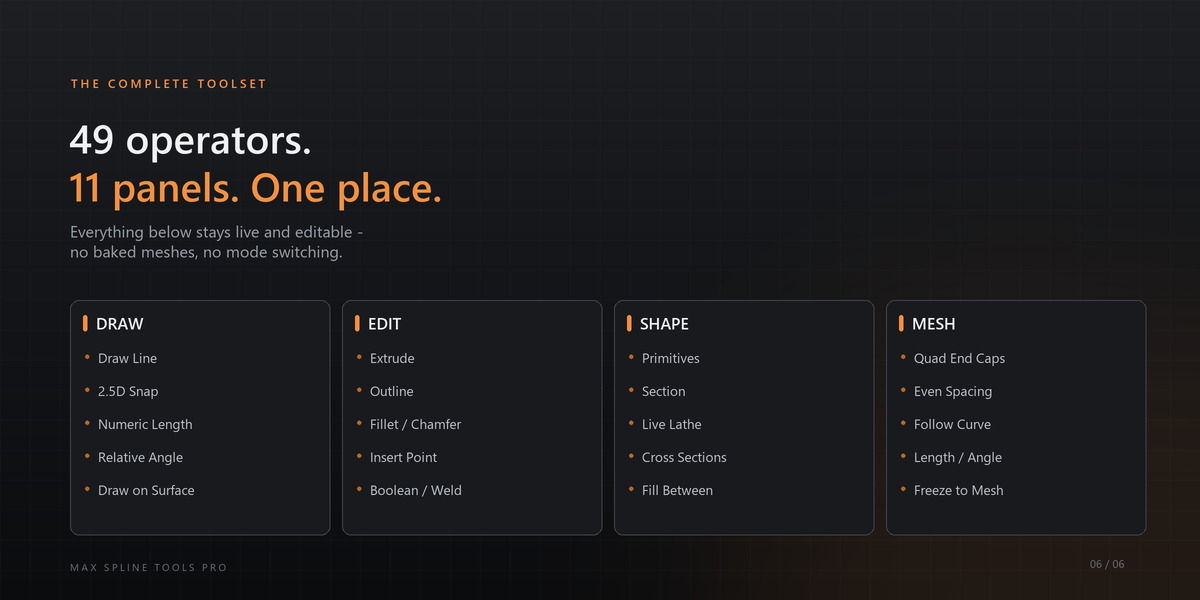
3D Viewport, press N, then the Max Spline tab, on the left side of the N-panel. When no curve object is active, only drawing and primitives tools are shown; editing sections appear once a spline object is active. The panel is split into Quick Tools and the main tool groups: draw line, primitives and section, project to mesh, extrude, vertex, segment, spline, object and boolean, display.
Draw
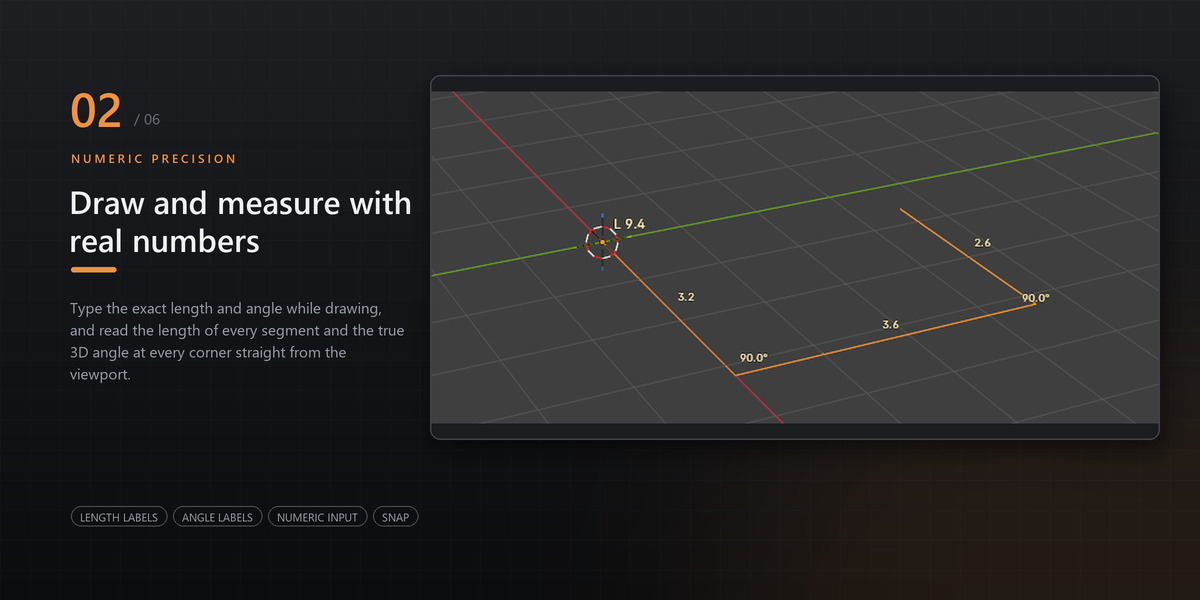
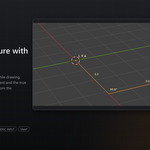
Click to place a point. Alt + drag pulls out Bezier handles while placing. A live preview shows where the point will land. Backspace removes the last point, and orbit, pan and zoom work during a drawing session. Snapping finds vertices, edges, faces and the grid; 2.5D snap keeps every point on the drawing plane, so geometry above or below that plane can be traced. X, Y or Z locks the world axis for one segment. R enters an angle between the next segment and the previous one: type 165 for 165 degrees, 180 continues straight, 90 is perpendicular, 0 doubles back. Negative values mirror the side, and the mouse decides which side opens. Type a number and press Enter to place the next point at an exact length. Auto draw plane uses the horizontal XY plane in perspective view and the plane facing the camera in orthographic views; it can also be set by hand. The same Auto option exists for primitives and sections.
Project to mesh
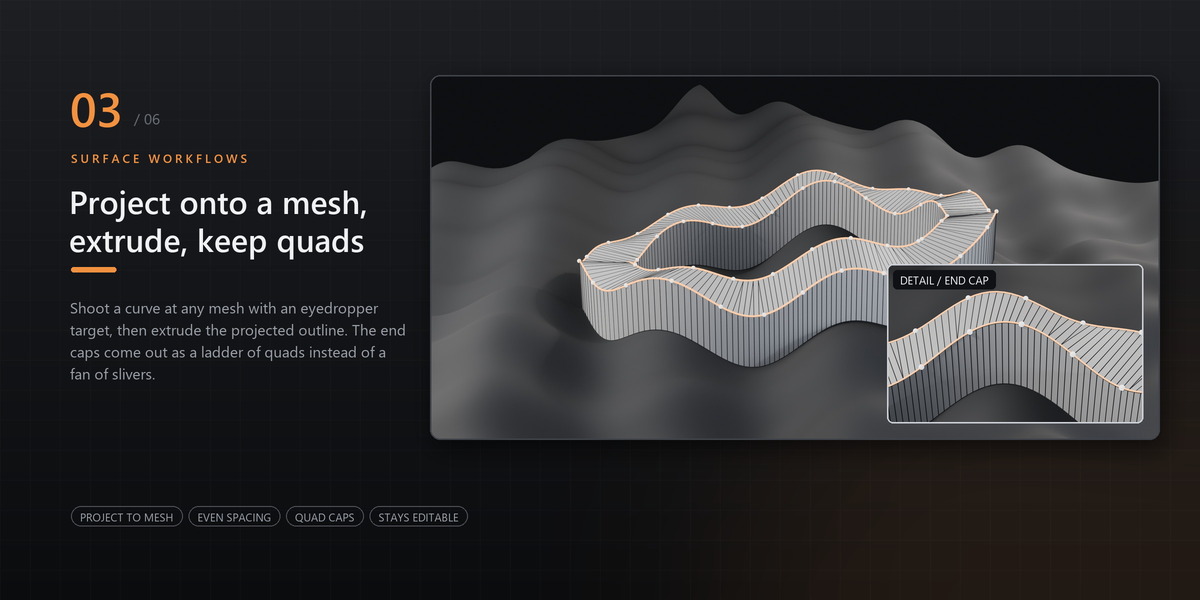
Pick the target mesh with the eyedropper. Choose X, Y or Z, then press Project: the curve is shot along that axis until it hits the mesh, in both directions, while the other two coordinates stay put. Conform, on by default, keeps your control points and adds points only where the surface bends. Error is the tolerance in scene units. Even Spacing, on by default, then resamples to an even step along the length, with Step from 0.01 to 10 and a default of 0.1, keeping corners sharper than the Keep Sharp angle of 25 degrees. Turn it off to keep your own point spacing. Resample applies it to an existing curve.
Edit
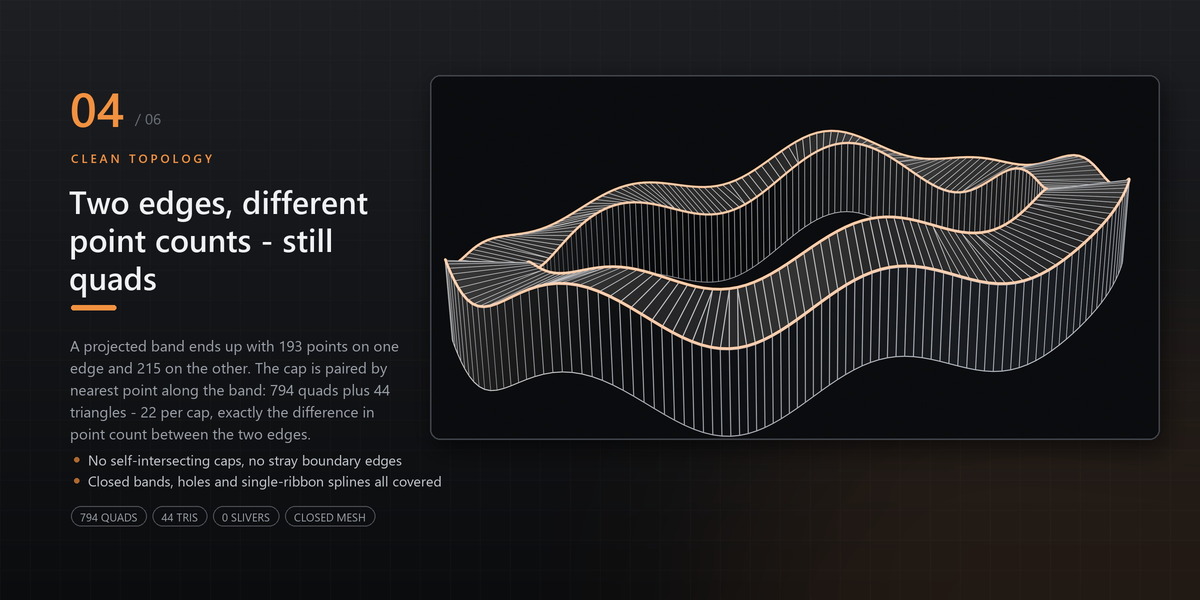
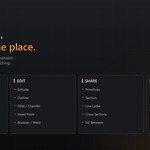
Extrude: drag to set the distance. End caps are quads, so no triangle fan is left after conversion to mesh. Options are Caps, Follow, which rebuilds the solid when the spline changes, and Interactive. Freeze Extrude replaces the followed solid with a plain mesh.
Outline: inner, outer or both, with adjustable width. The offset runs in the spline plane, keeps the original vertex count, spline type and handle types, and produces lines only.
Fill Between Outlines builds the band as quads, pairing rings with the same point count one to one.
Fillet and Chamfer have an interactive radius. Adding a point anywhere on the spline shows a hover preview. Vertex types are smooth, corner and Bezier, applied to a chosen set of points or the whole spline. Also included: Weld, Break, Mirror, Set First, Reverse, Close and Open, Divide Segments.
Normalize Spline resamples into equal-length segments by arc length, keeps Bezier splines smooth, and is interactive: drag to set the length, the curve rebuilds live, and a yellow dot marks every landing point.
Boolean combines, subtracts and finds the intersection of splines, plus Attach, Detach and explode to separate splines.
Choosing points
The Selection box works on a chosen set of points or the whole spline: mark all, invert, clear, Whole Spline, which picks the curve from the point under the cursor, and Extend Neighbours, which grows the chosen set by one point along the spline.
Right-click menu and Quick Tools
A Max Spline submenu appears when right-clicking a curve in Edit or Object mode. Right-click any tool button in the N-panel and the first menu entry adds it to Quick Tools, or removes it again. Commands are grouped like the panels, and parameterised commands are stored per variant, so Boolean Difference and Boolean Union are separate entries that replay with their settings. Quick Tools sit in their own collapsible panel above the main panel. Edit Quick Tools ticks tools on and off group by group, Remove Tool clears one, and each button has an X. The list is stored in the add-on preferences and mirrored to max_spline_tools.json in the Blender config folder on every change, so it survives across files and restarts. Entries can be reordered in Preferences then Add-ons then Max Spline Tools Pro.
Primitives
Rectangle, Circle, Arc, NGon, Star, Helix and Text. Choose Auto, View plane or Horizontal plane. Auto always uses a world-aligned plane through the world origin: XY in perspective and top views, XZ in front views, YZ in side views. The origin is placed at the shape centre. Parameters stay editable afterwards, and re-editing them no longer makes the shape jump to the 3D cursor.
Display
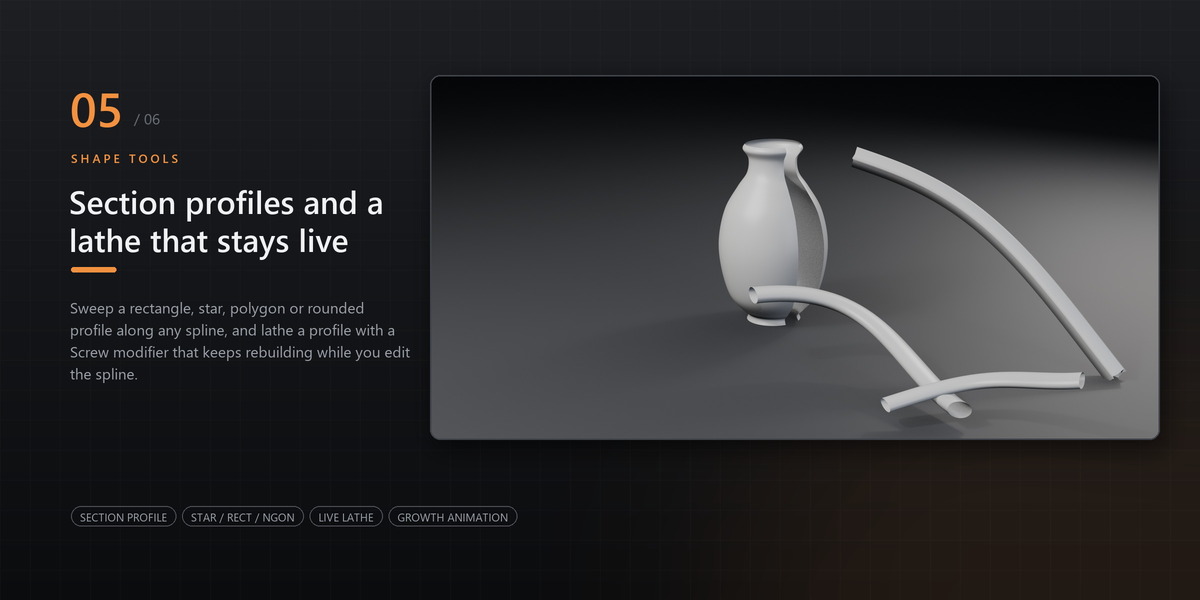
Cross section sweeps a profile along the curve: None, round tube, rectangular tube, polygon or star. The profile is kept out of the scene as a data block with a fake user, so nothing extra appears in the Outliner. Section size is the add-on value, so switching profile keeps it. Section resolution from 0 to 16 controls profile smoothness. Growth is a 0 to 100 slider measured from the first vertex with an optional start offset; it reads and writes the bevel factor directly, so keyframing animates the line itself. Viewport measure draws total length per spline, length per segment and the angle at every corner, with outlined text that reads on light and dark backgrounds. Angles are true 3D angles and do not change when you orbit. Font size 6 to 48 is remembered across restarts.
Section and Lathe
Section cuts a spline profile from a mesh, with the same auto, view and horizontal plane choice as the drawing tools. Lathe is a live Screw modifier, not a baked mesh: keep editing the source spline and the lathed surface refreshes in real time. Degrees and Segments apply as you change them. Cursor places the axis on the 3D cursor, so move the cursor to move the pivot. It stays non-destructive and can be hidden or removed at any time.
SUPPORT
Questions, bug reports and feature requests: send a message through Superhive. Please include your Blender version from Help then About Blender and, if possible, the exact steps to reproduce the issue.
Have questions about this product?
Login to message
| Blender Extension Compatible | Yes |
| Published | about 2 hours ago |
| Blender Version | 4.2 - 5.3 |
| Extension Type | Add-on |
| Render Engine Used | Cycles, Eevee |
| License | GPL |

Discover more products like this
3d modeling Workflow Editable Spline spline curve modeling precision modeling