 CreateVisions





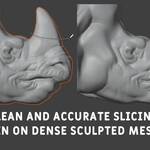
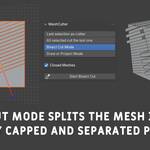
MeshCutter Overview
New in Version 1.5: Enhanced Snapping System
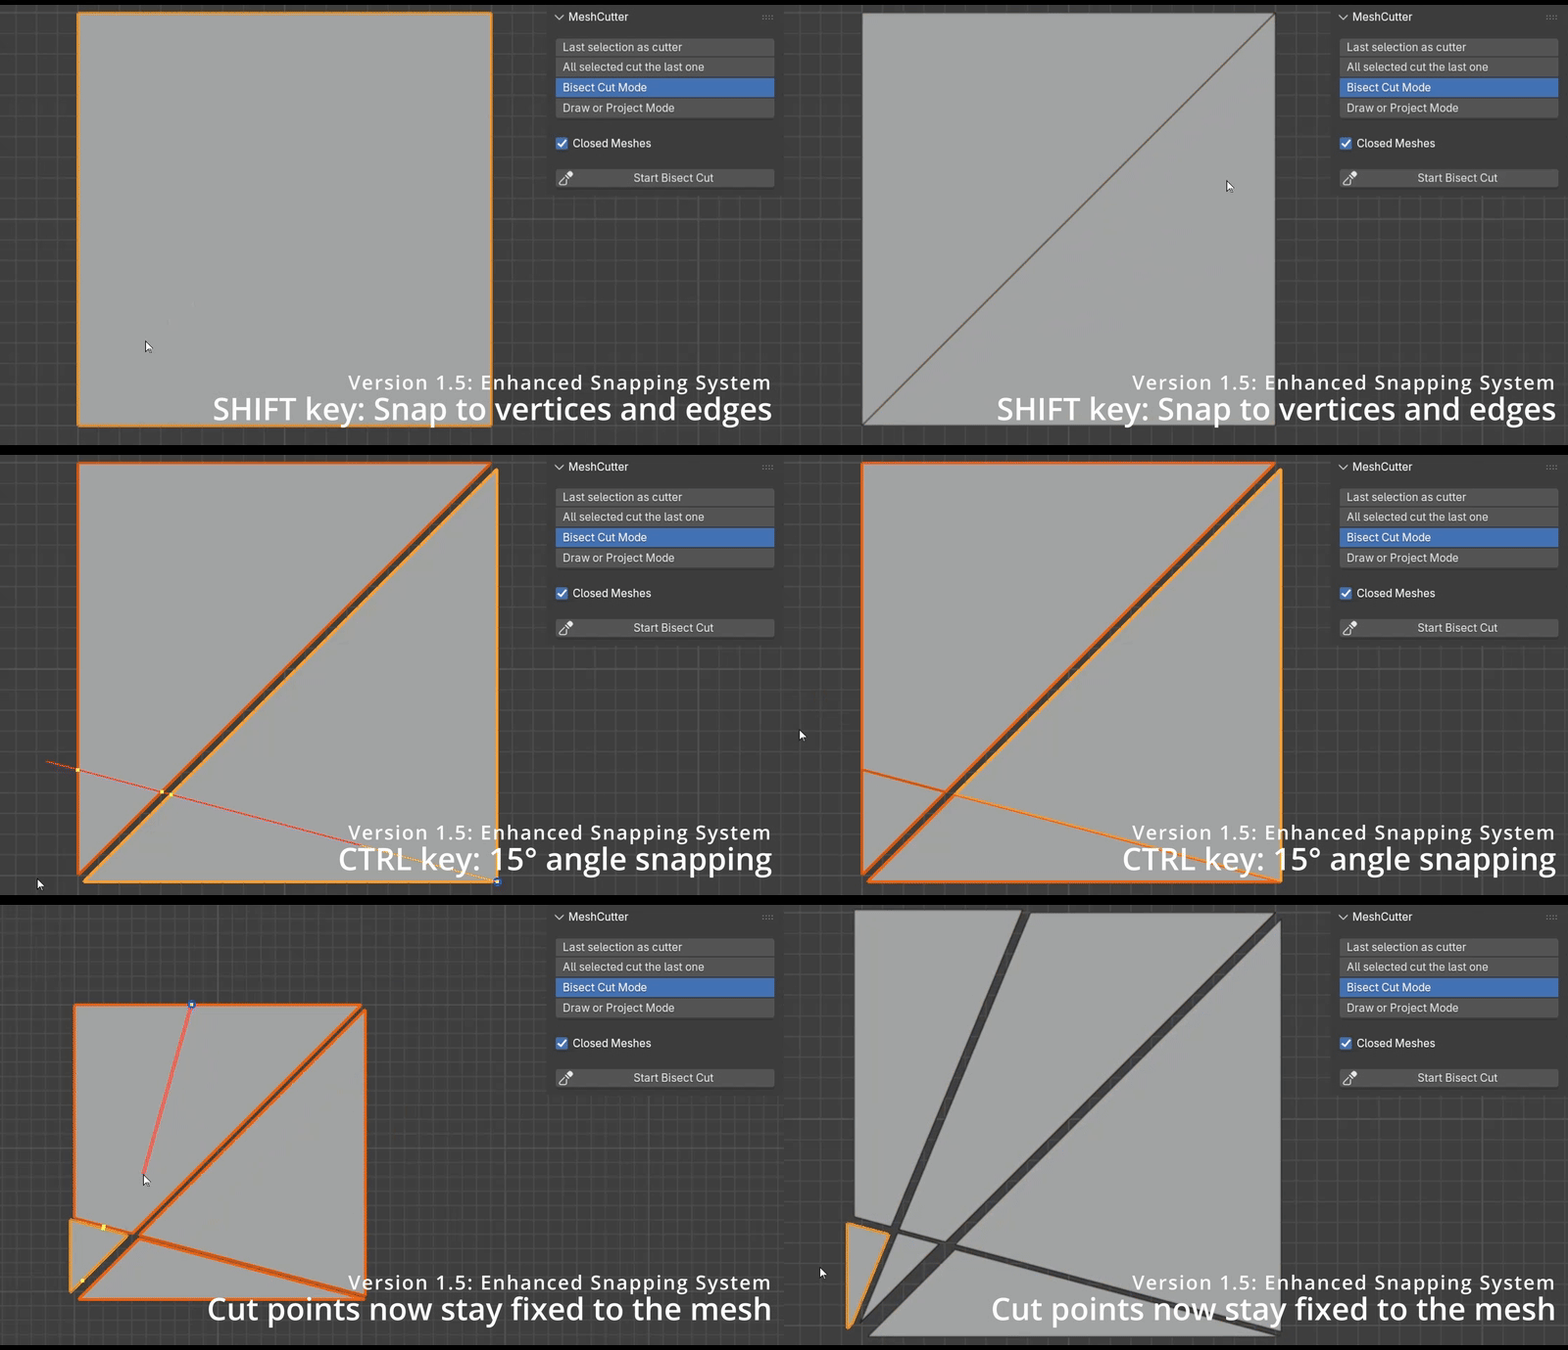
The Bisect Cut Mode now features a powerful enhanced snapping system for maximum precision:
- SHIFT key: Snap to vertices and edges with intelligent priority system – vertices are prioritized when you're close to them
- CTRL key: 15° angle snapping (instead of just 90°) for much more precise angular cuts
- Zoom/Pan support: Cut points now stay fixed to the mesh surface during viewport navigation – no more misaligned cuts!
- RETURN key: Cleanly finish your cut without adding an extra point
- Various stability improvements and bug fixes
New in Version 1.1: 90° Snapping
The Bisect Cut Mode now features a snapping function for 90° angles.
Just hold down the CTRL key while drawing your cut line to create precise horizontal or vertical cuts!
If you've ever tried to split a mesh into parts in , you know it's not exactly straightforward. For simple shapes, you might get away with Separate by Selection — but with complex meshes, it quickly turns into a slow, repetitive process. Or you might try using Rip Vertices, which leaves disconnected geometry and still requires multiple extra steps to finish the job.
With just a few objects, that's manageable. But with many or more detailed models, it becomes tedious very quickly.
MeshCutter changes that. It handles the entire separation process automatically in the background. Just select your geometry, choose one of the cutting modes, and you're done — no Edit Mode, no manual cleanup, no hassle.
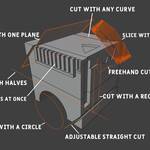
In the following images, I'll demonstrate the five core modes of MeshCutter using a simple cube. While the tool is built to handle complex models with ease, starting with a basic shape makes it easier to understand how each mode works.
Key Features
- No need to enter Edit Mode
- Automatic separation of cut objects
- Cap faces are generated automatically
- Works with high-poly meshes
- Draw cutting curves directly in the viewport
- New: Enhanced snapping system with vertex/edge snapping (SHIFT) and 15° angle snapping (CTRL)
- New: 3D-stable workflow - cut points stay fixed during zoom/pan
- Multiple cutter modes for flexible workflows
For best accuracy, always work in orthographic view when using "Cut Selected," "Start Bisect Cut," "Draw & Cut," or "Project & Cut." Perspective view can distort placement and lead to imprecise results. To switch to orthographic view, press Numpad 5 or click the "Switch between perspective/orthographic projection" button just below the navigation gizmo in the viewport.
Last Selection as Cutter
In the "Last Selection as Cutter" mode, simply place a plane where you want to cut, select the mesh first and the plane last – then click "Cut Selected". The mesh is automatically sliced and split into two separate objects. It couldn't be easier.
This mode also works with a large number of selected objects. Simply select all the meshes you want to cut – the last selected object acts as the cutter. This lets you slice multiple objects at once in a single step – no modifiers, no extra effort.
All Selected Cut the Last One
With the "All Selected Cut the Last One" mode, you can slice a single mesh into multiple parts using a large number of planes or other objects – quickly, efficiently, and without any manual separation. 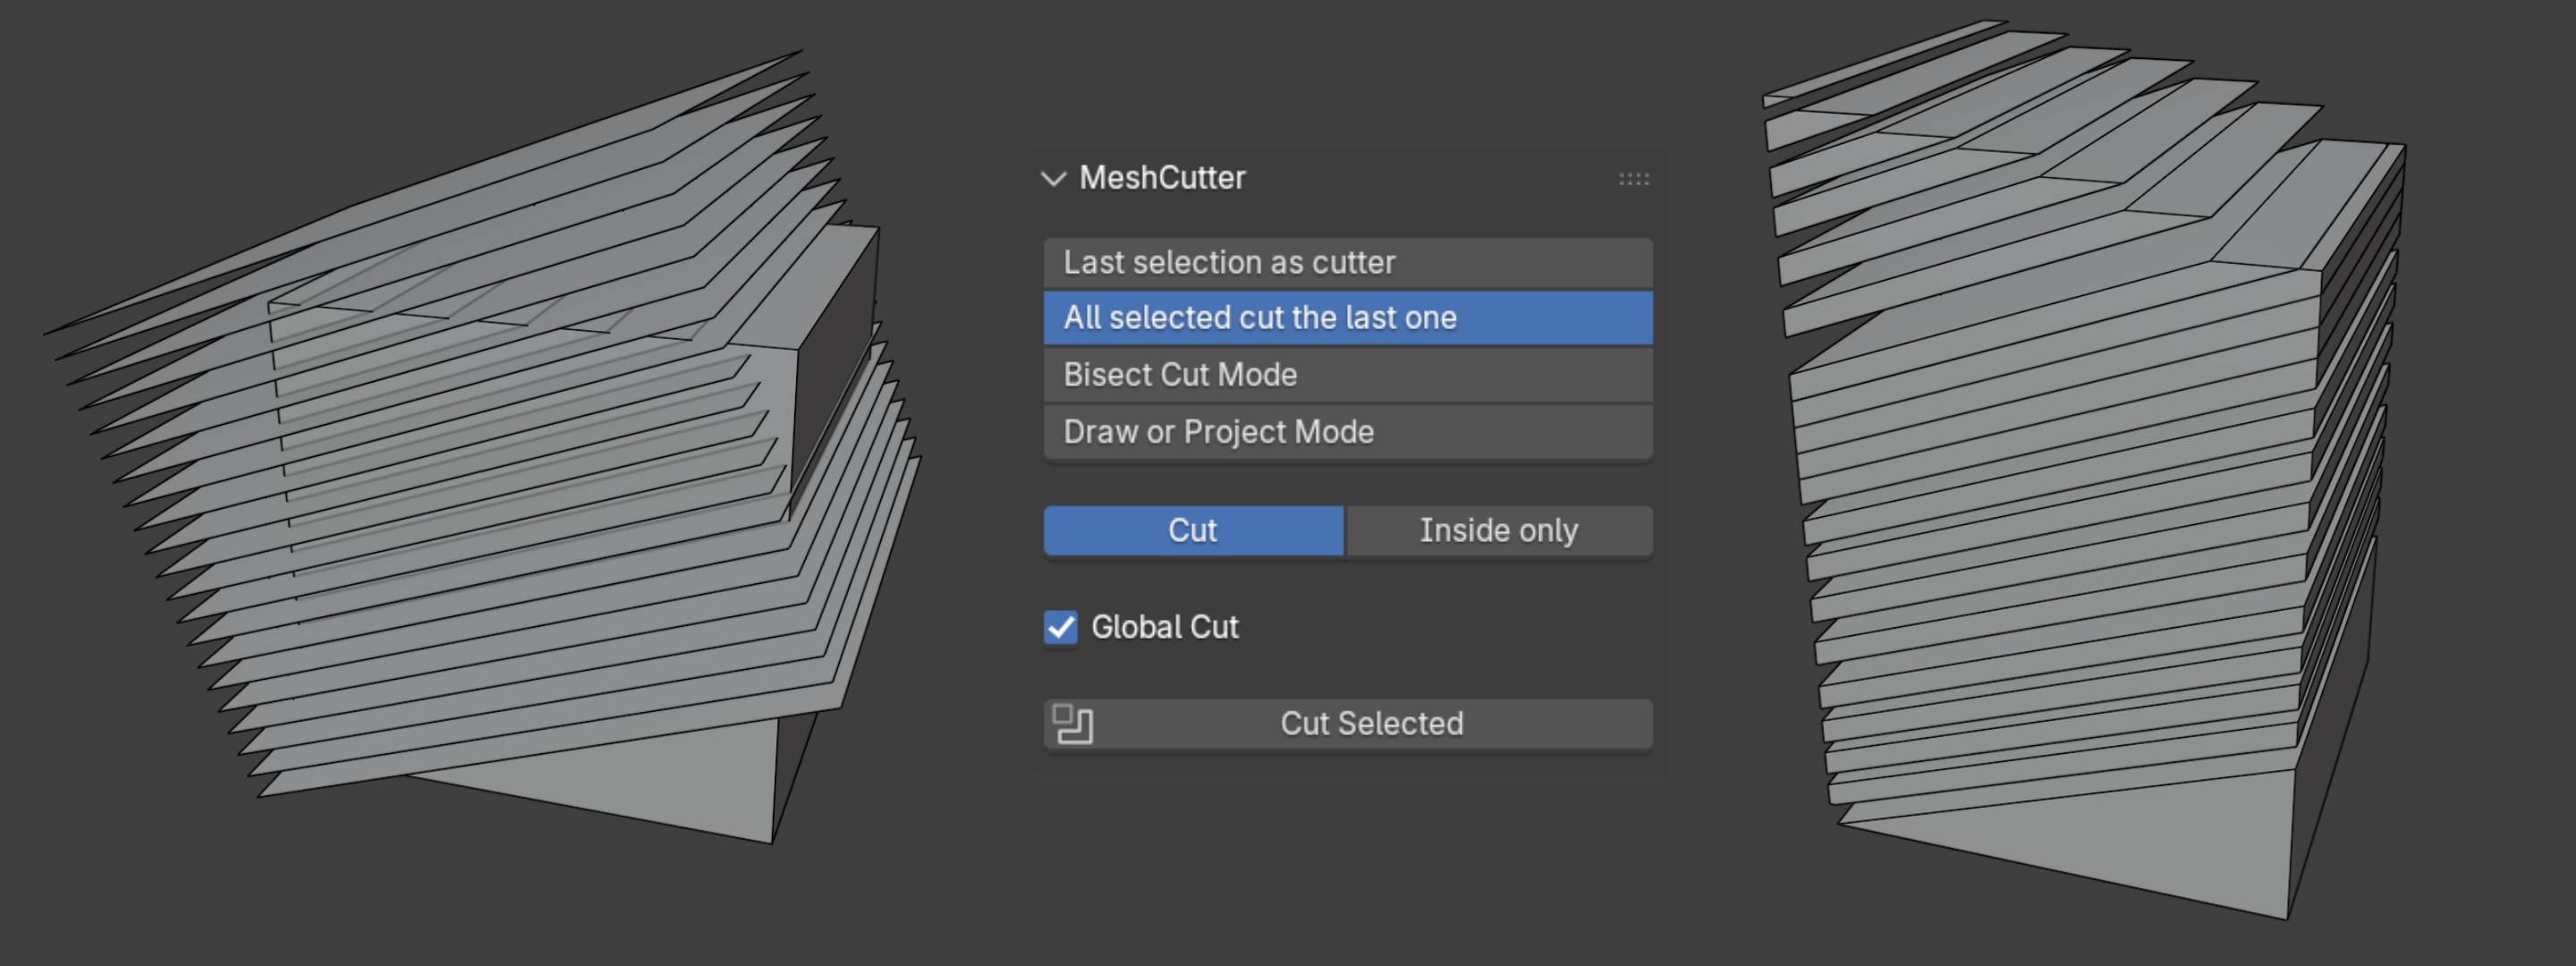
Bisect Cut Mode
With the Bisect Cut Mode, you can slice through all selected meshes in a single stroke or create multi-point cuts for more complex shapes. In Version 1.5, the Bisect Mode features powerful new snapping capabilities: Hold down the SHIFT key to snap precisely to vertices and edges with intelligent priority – perfect for aligning cuts with existing geometry. The CTRL key now enables 15° angle snapping (instead of just 90°), giving you much more precise control over angular cuts. And thanks to the new 3D-stable workflow, your cut points now stay fixed to the mesh surface even when you zoom or pan the viewport – no more misaligned cuts! The resulting parts are automatically separated – no manual work required. Everything happens fully automatically in the background. 
Draw Mode
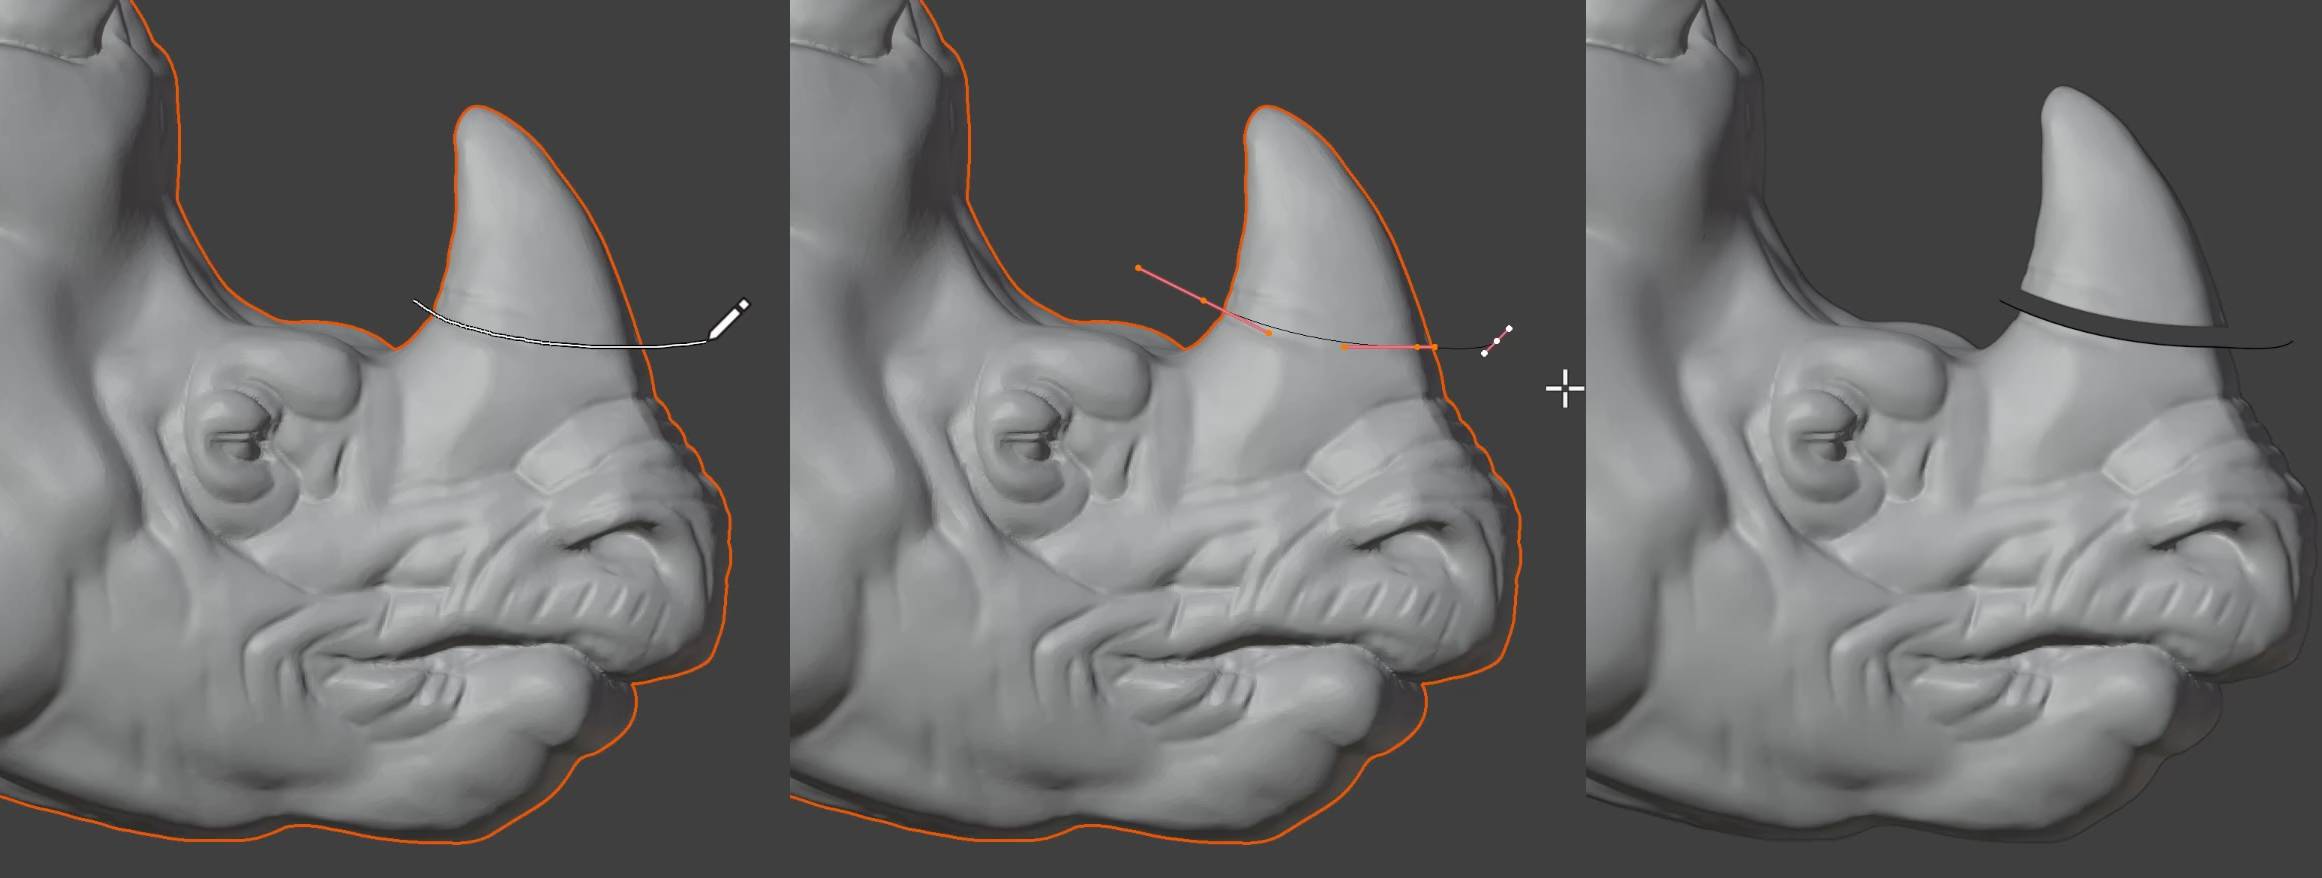
In Draw Mode, you can draw a curve directly over the selected geometry and adjust it afterward if needed. Press Return, and your mesh will be cut precisely along that curve – fast, accurate, and intuitive. 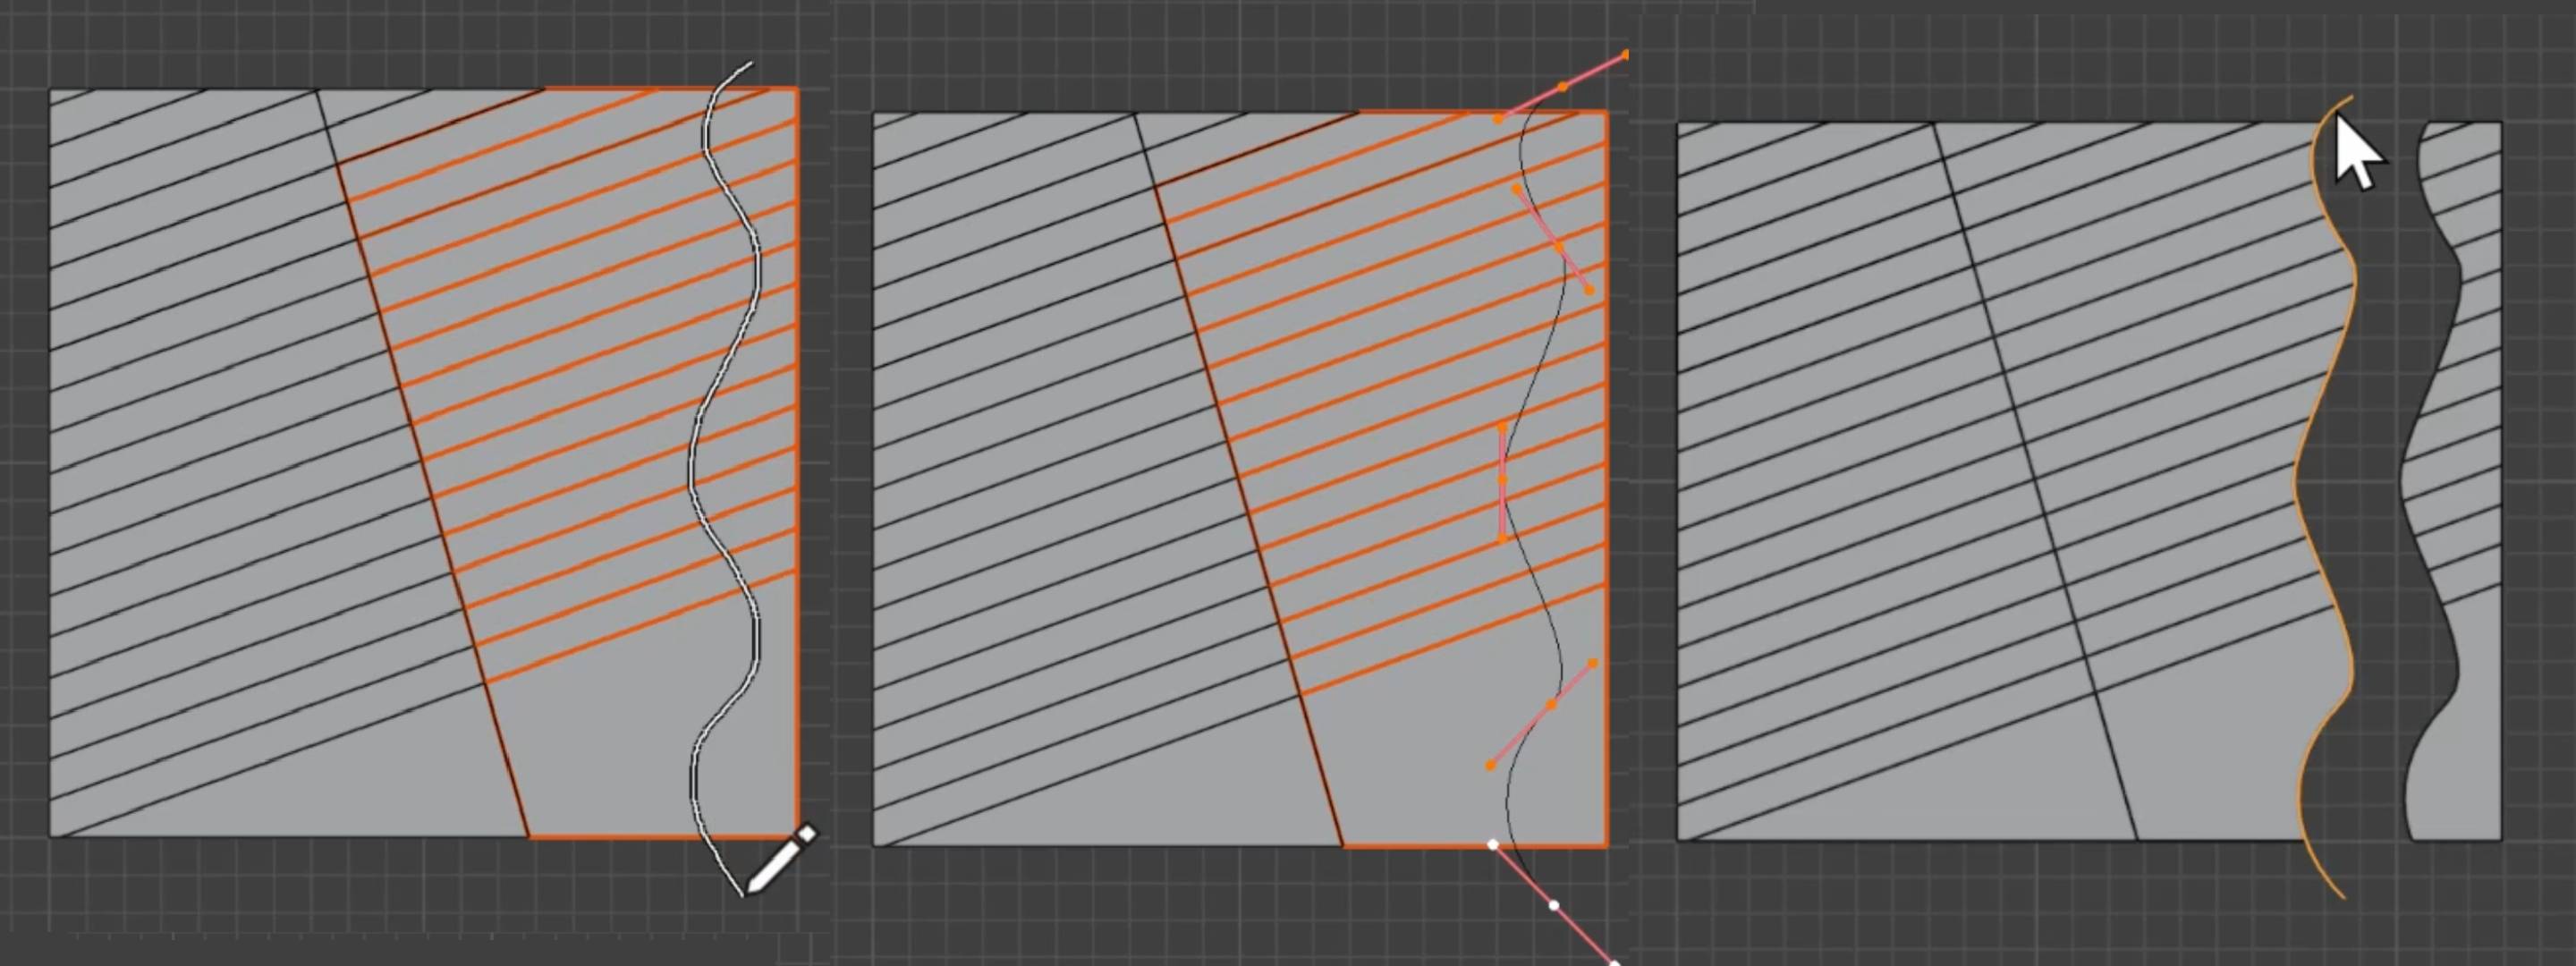
Reusable Cutting Curves
The generated splines can be reused for additional cuts at any time. You can use any curve you like – simply select the geometry first and the spline last. The "Draw or Project Mode" will automatically switch to a "Project & Cut" tool when a mesh and a curve are selected in that order, allowing you to cut through all selected objects at once. 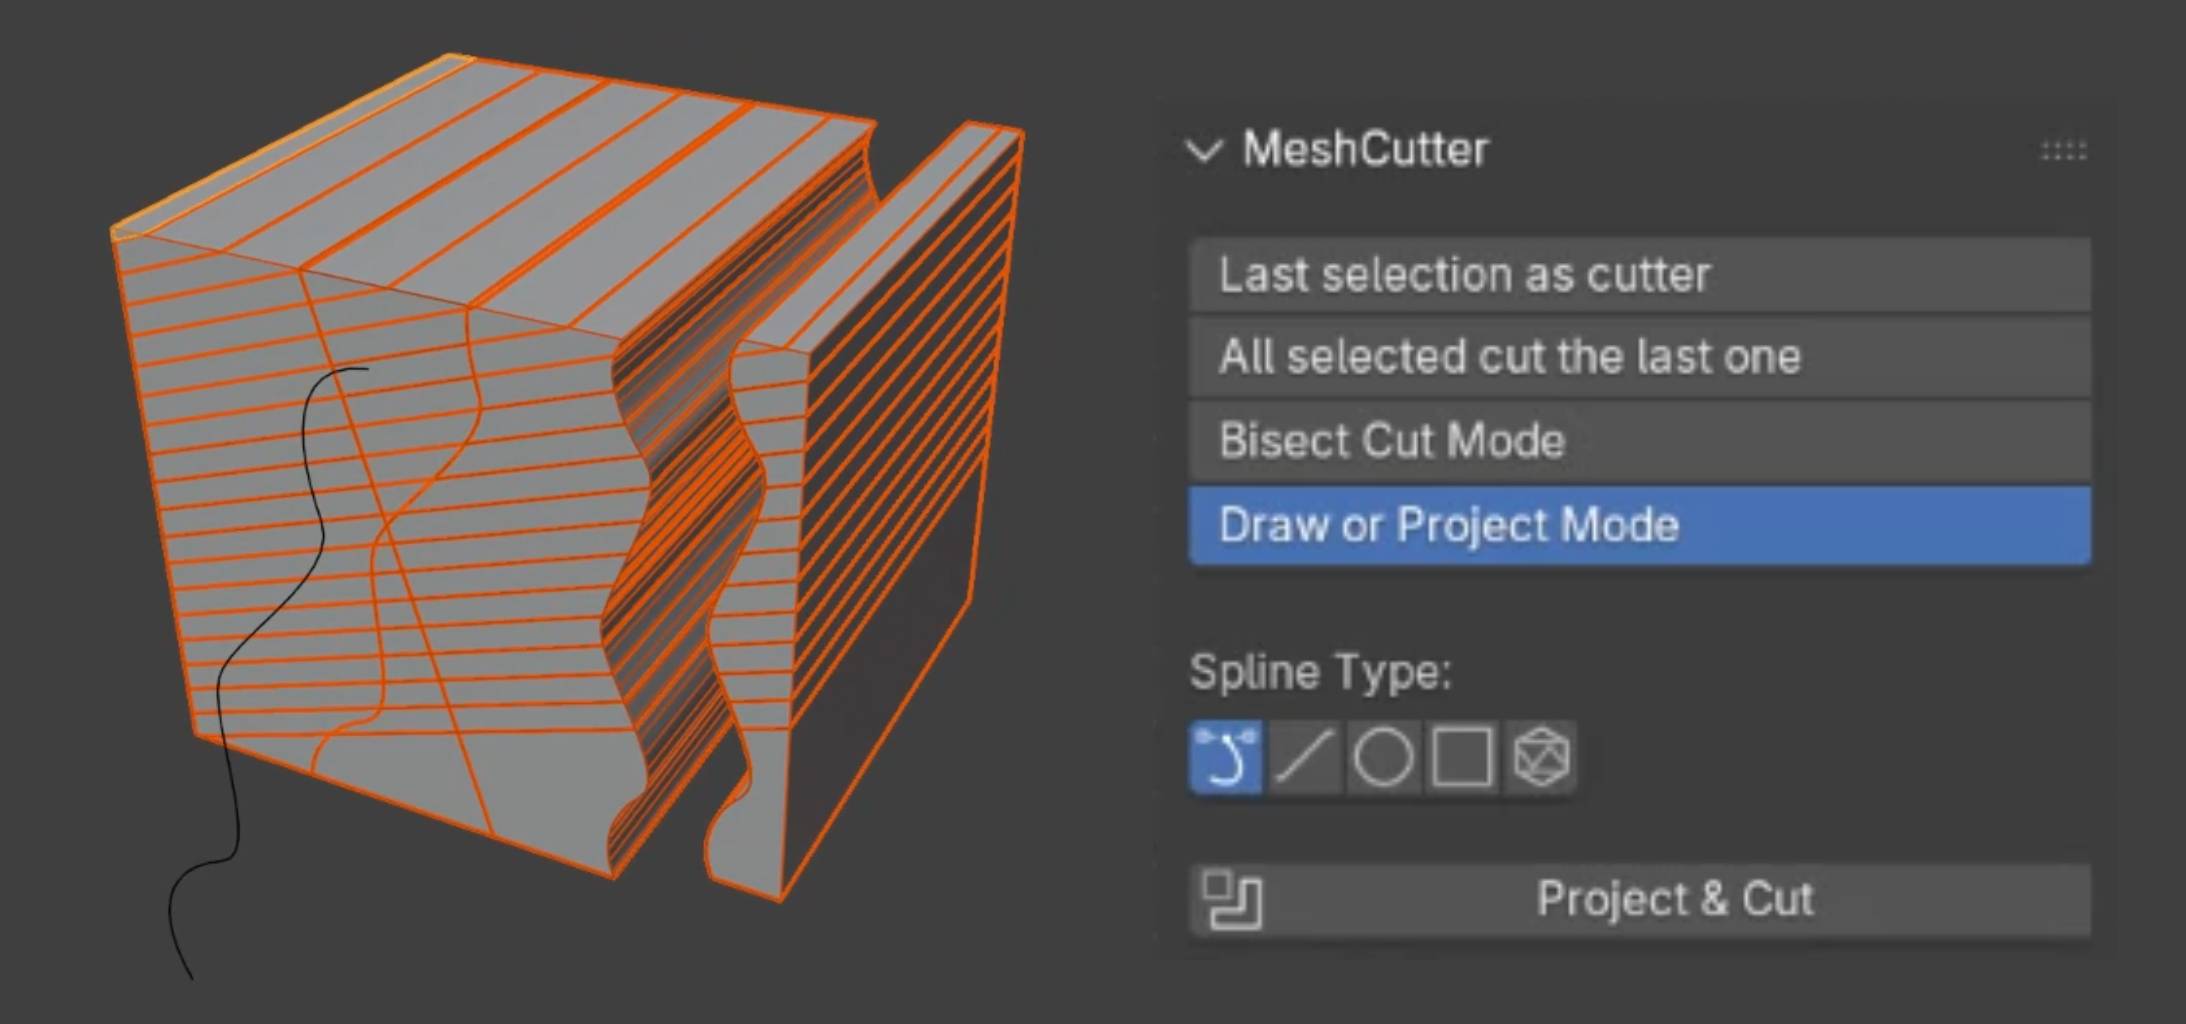
Spline Types
The add-on lets you draw various spline types directly within the tool, including a Bezier spline, linear spline, a circle, a rectangle, and a polygon shape ranging from a triangle to an octagon. 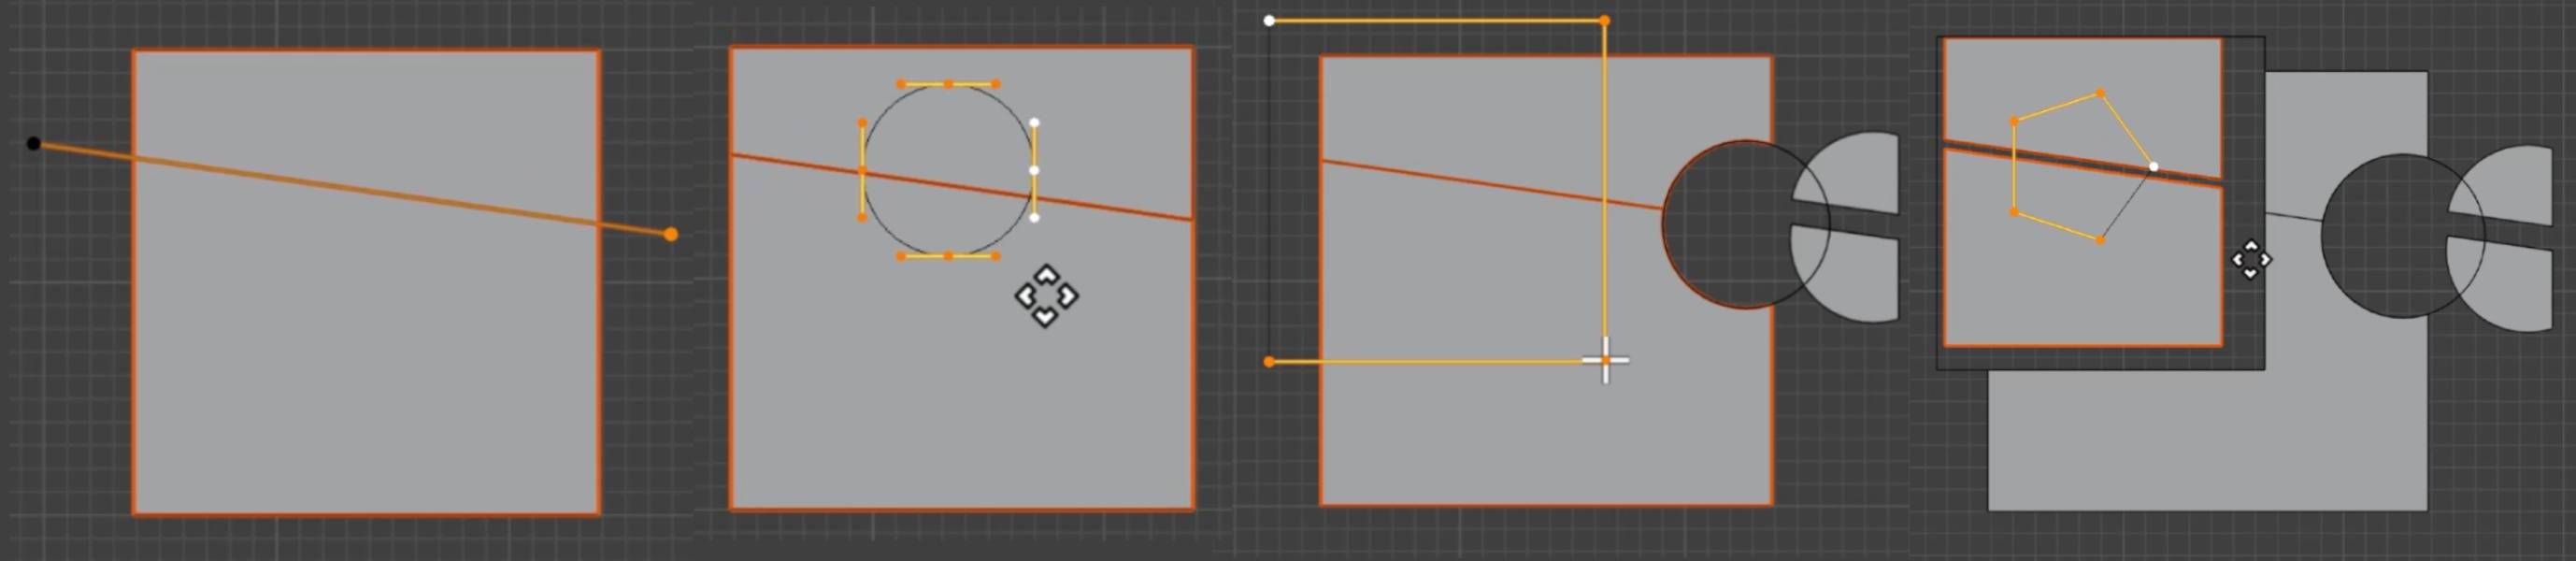
High-Poly Performance
The tool also works with high-poly meshes. Of course, it's not magic – it relies on 's internal capabilities. I ran extensive tests on a 3-million-polygon scan model, and it performed reliably. Calculation times vary depending on the cutter you use – very fine cuts, especially with the Bezier tool, may take a bit longer.