 blenderVfxMaster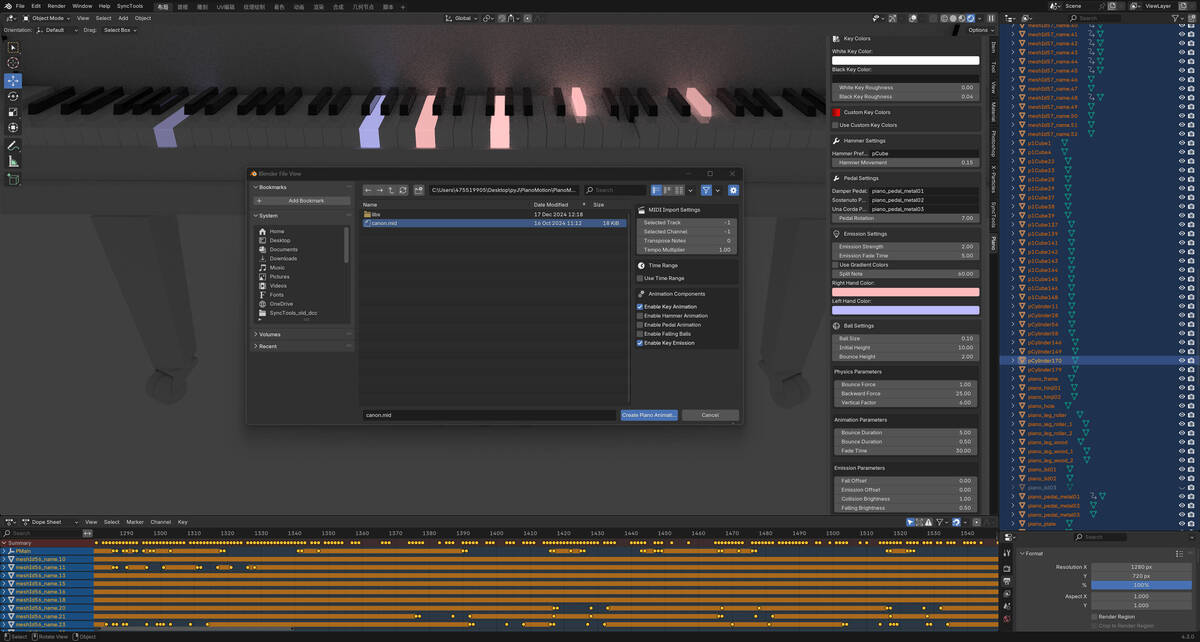
Piano Motion / Pro
Already have a piano model? Piano Motion Pro connects it to your MIDI file and gives you control over keys, hammers, pedals, timing and colours. You can also add glowing keys and falling balls. The piano model itself is not included in Pro.
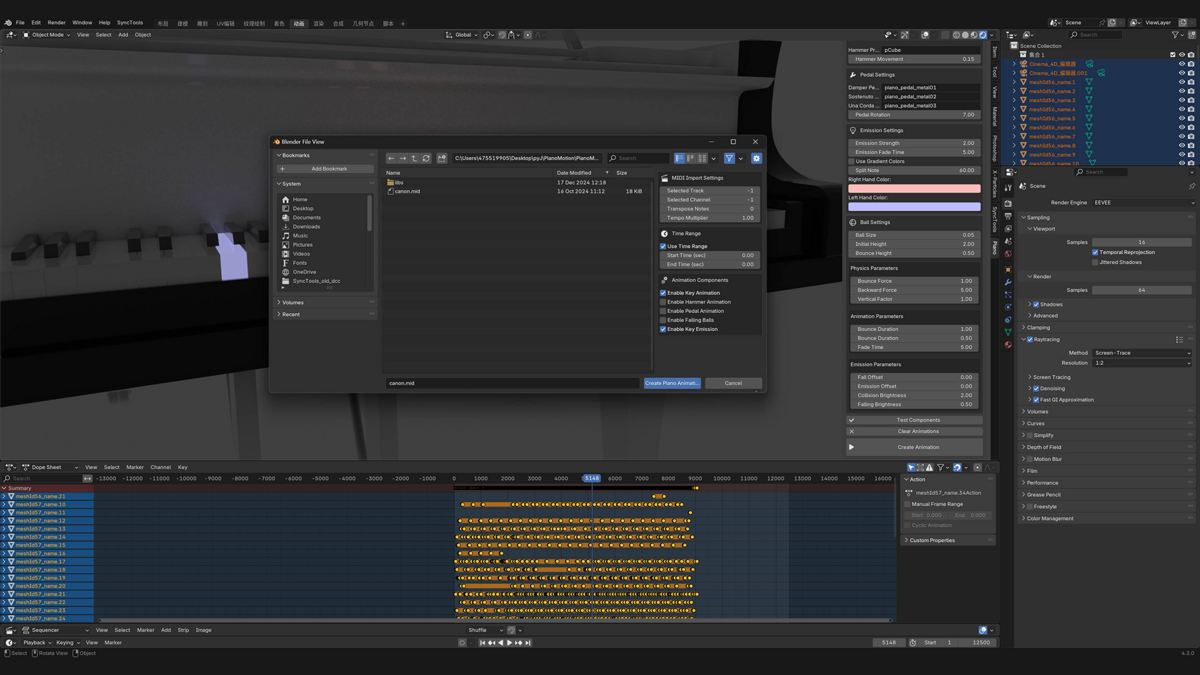
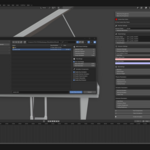
Cover illustration. The screenshots and previews below are labelled separately.
How the performance can look
Glowing keys and falling balls, followed by the settings behind them.
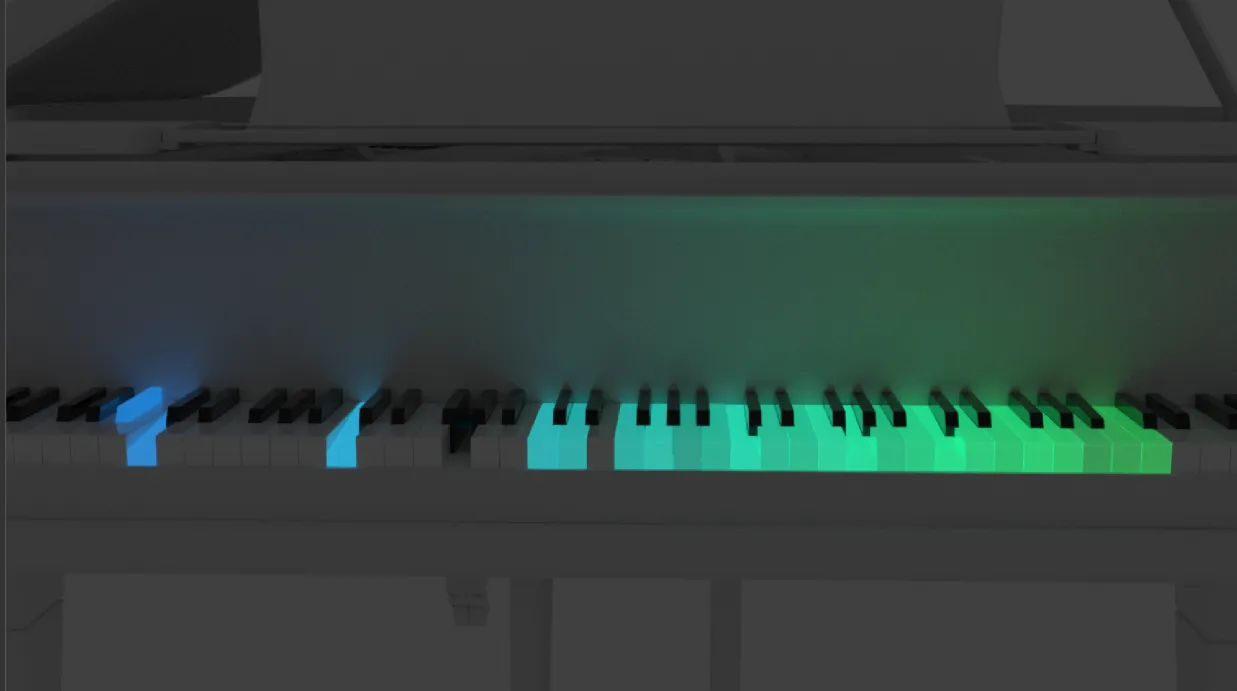
RESULT · View full size ↗
Colour across the keyboard
This example uses coloured key lighting to make the notes stand out. The Pro edition still requires your own compatible piano model.
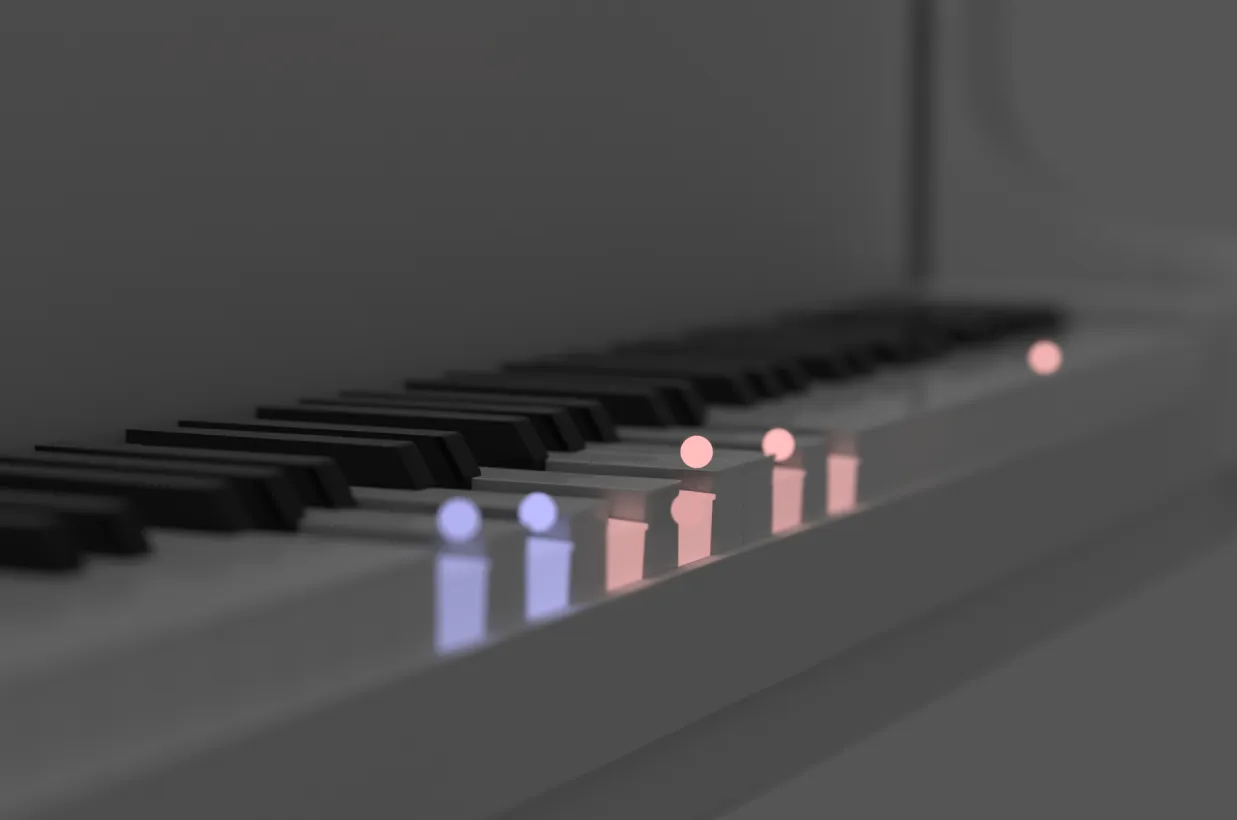
RESULT · View full size ↗
Falling balls above the keys
The balls add another way to show the notes. Their timing and path can be adjusted alongside the keyboard animation.
Animation and visual controls
Here’s what you can do with it.
Connect the moving parts
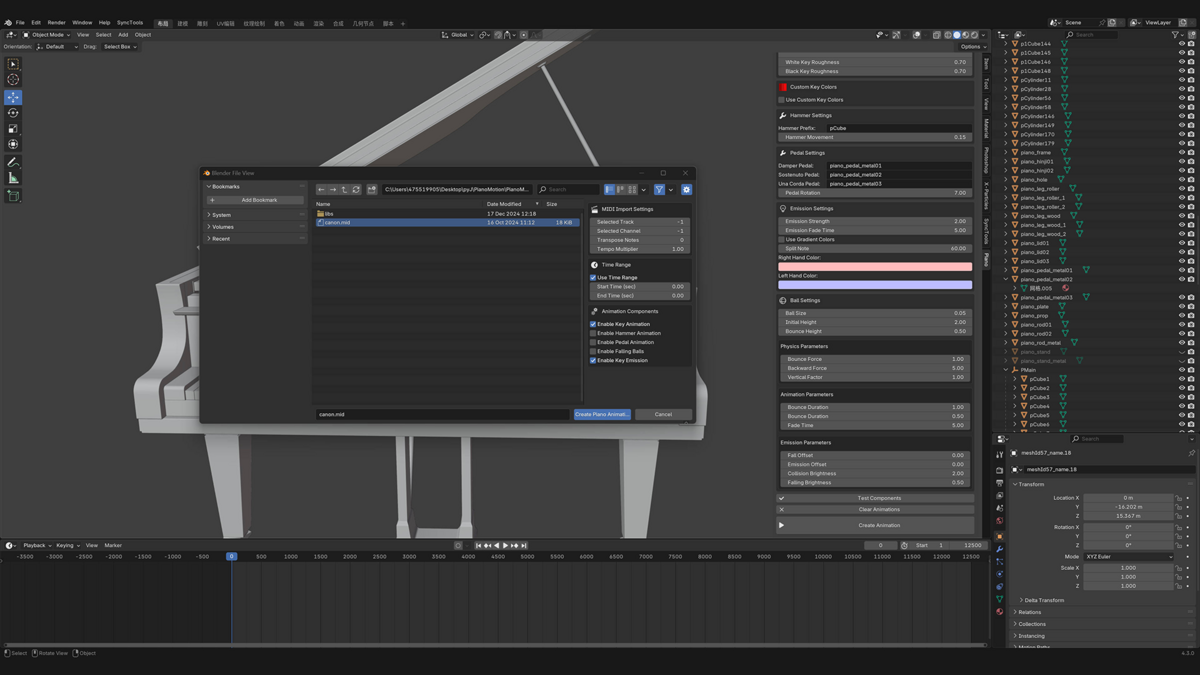
Map the keys, hammers and supported pedals to the objects in your piano. Test the mappings before generating a long performance, especially if you’re using a custom model.
Adjust how the notes move
Set timing, velocity sensitivity, frame offsets and the supported animation-duration options. Play the passage back to see how those settings work with your instrument.
Choose what to import
Select the MIDI tracks, channels and time range you want to use. The MIDI information view gives you BPM, duration, note counts and channel details.
Use MIDI performance data
Pitch bend, modulation and transposition controls are part of the toolset. Check how your mapped piano responds to the data in the MIDI file.
Light up the keys
Set colours by hand or by key, adjust emission strength, or use a gradient. You can make different parts of the music easier to follow without changing the piano model.
Add falling balls
Adjust the size, trajectory, bounce, timing and glow of the balls above the keys. Watch them with the key animation so the two effects stay in step.
Try another version of the performance
Use the testing, clearing and reset controls when you need to regenerate animation or materials. Keep a source scene if you want to compare different setups.
Setting up your piano
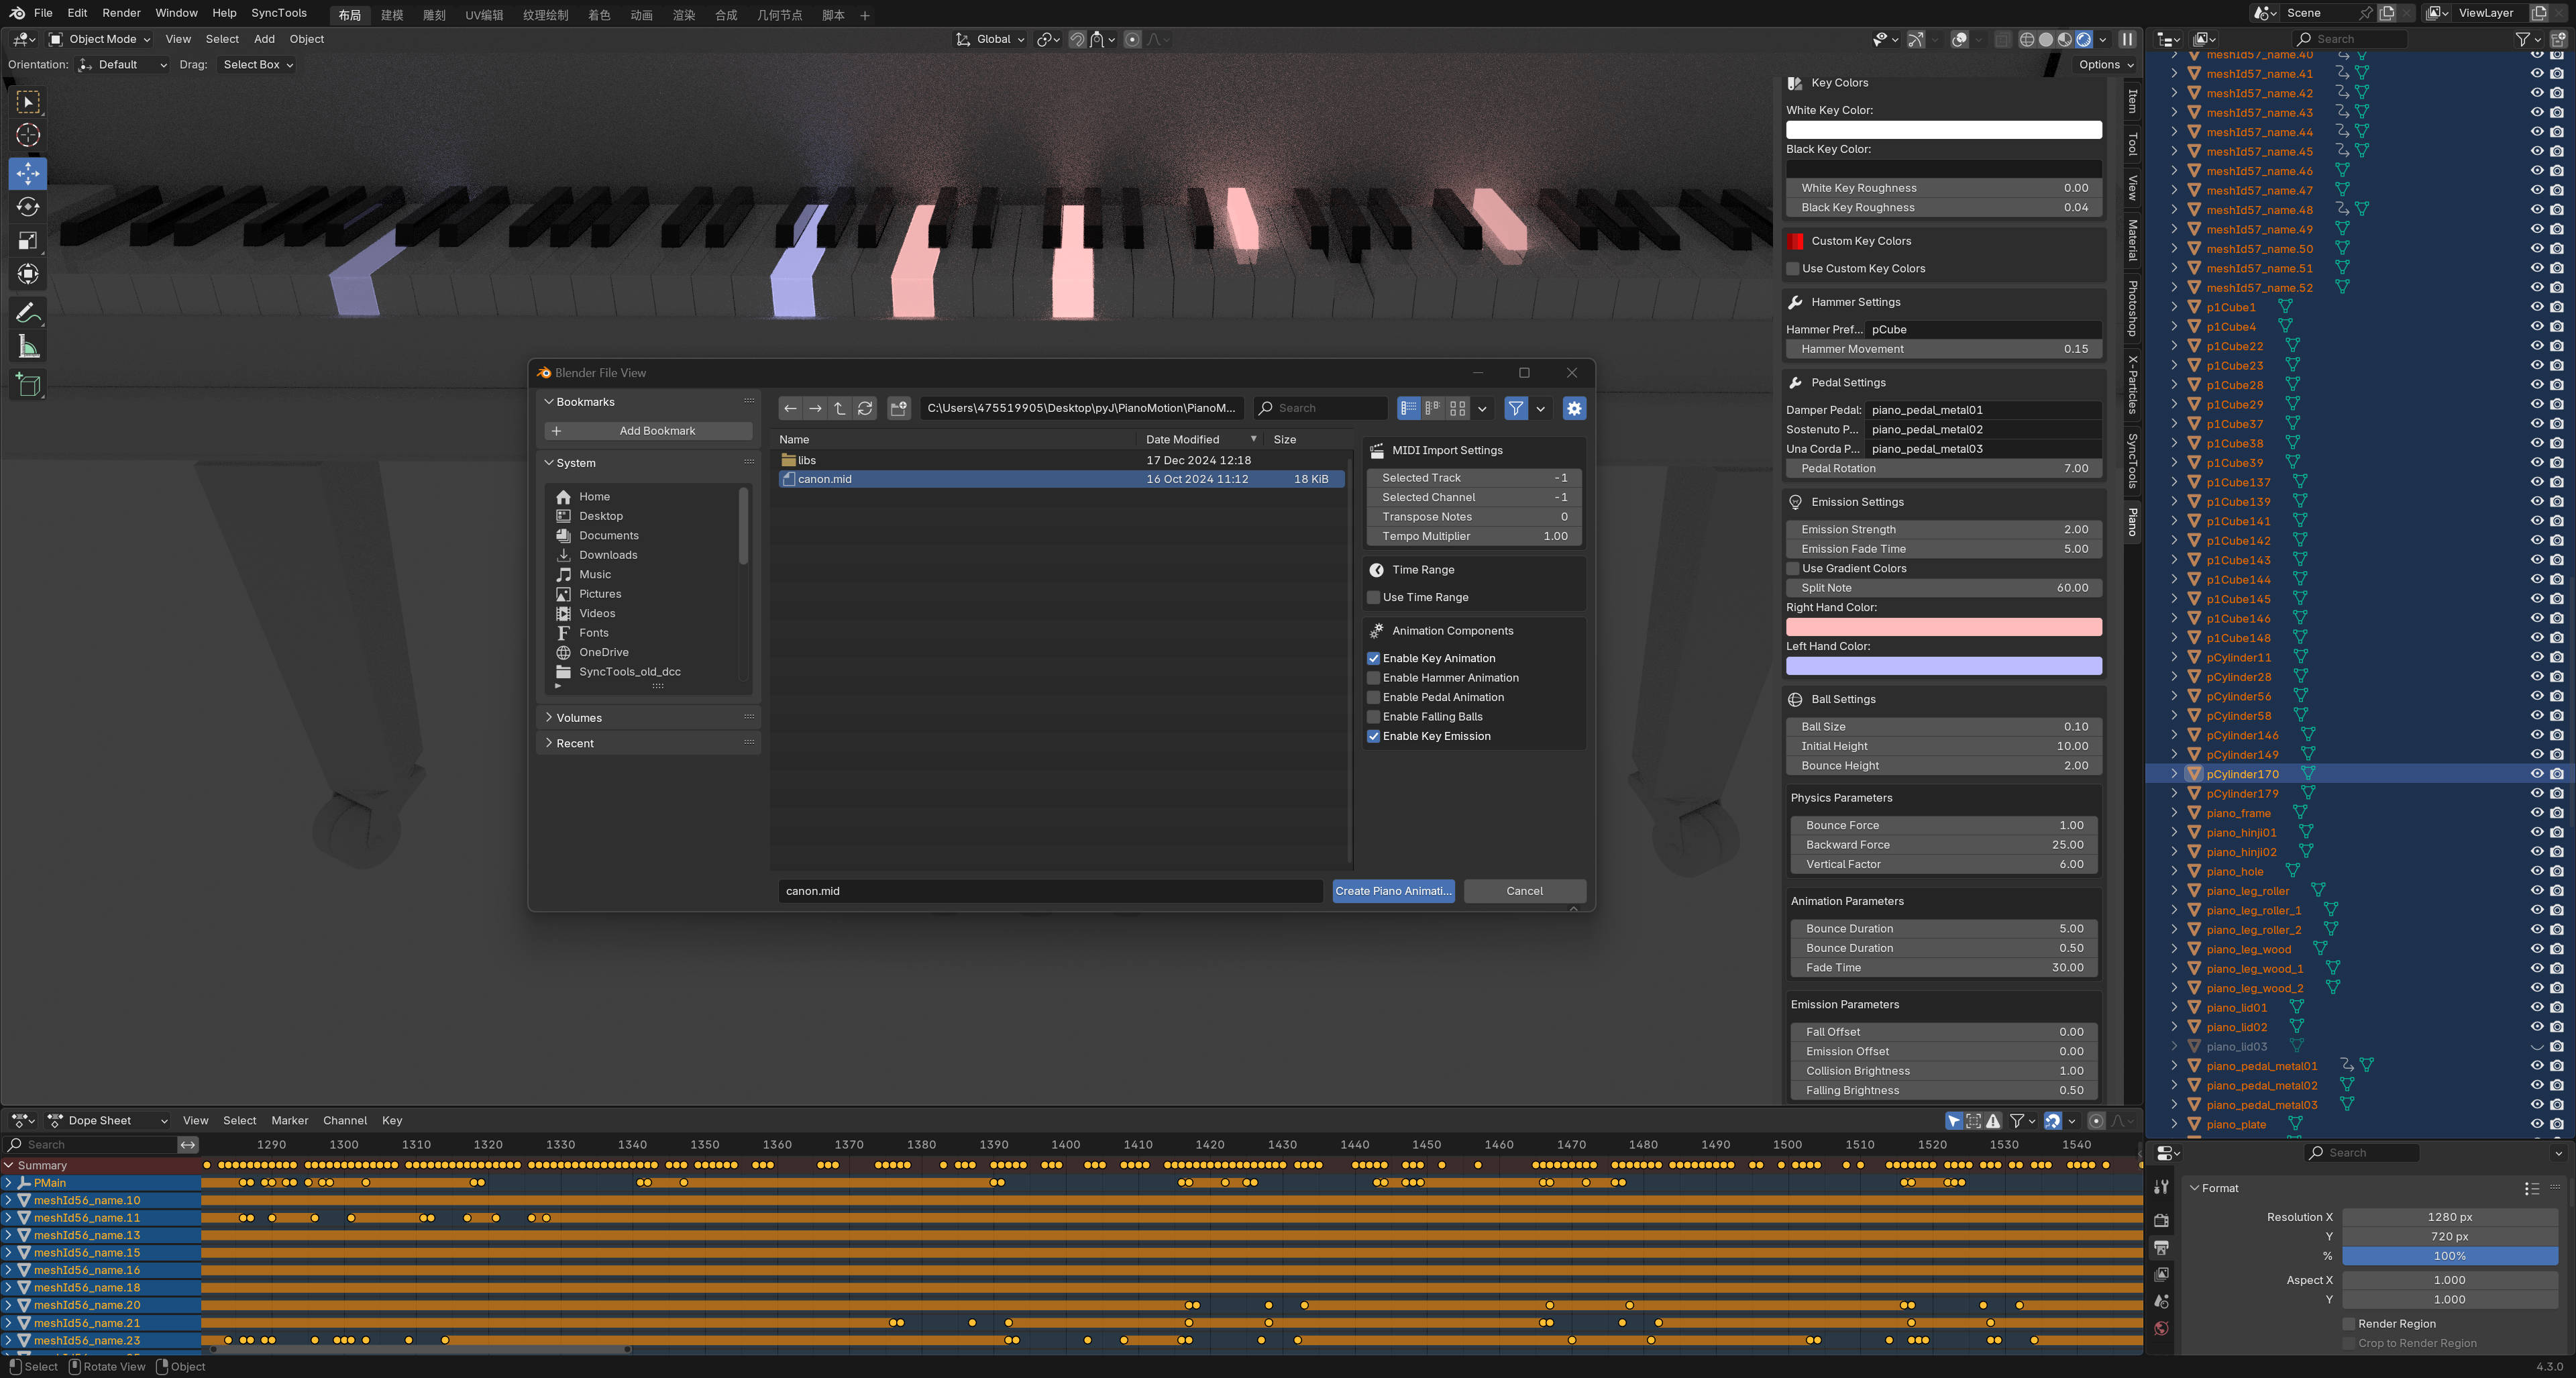
CONTROLS · View full size ↗
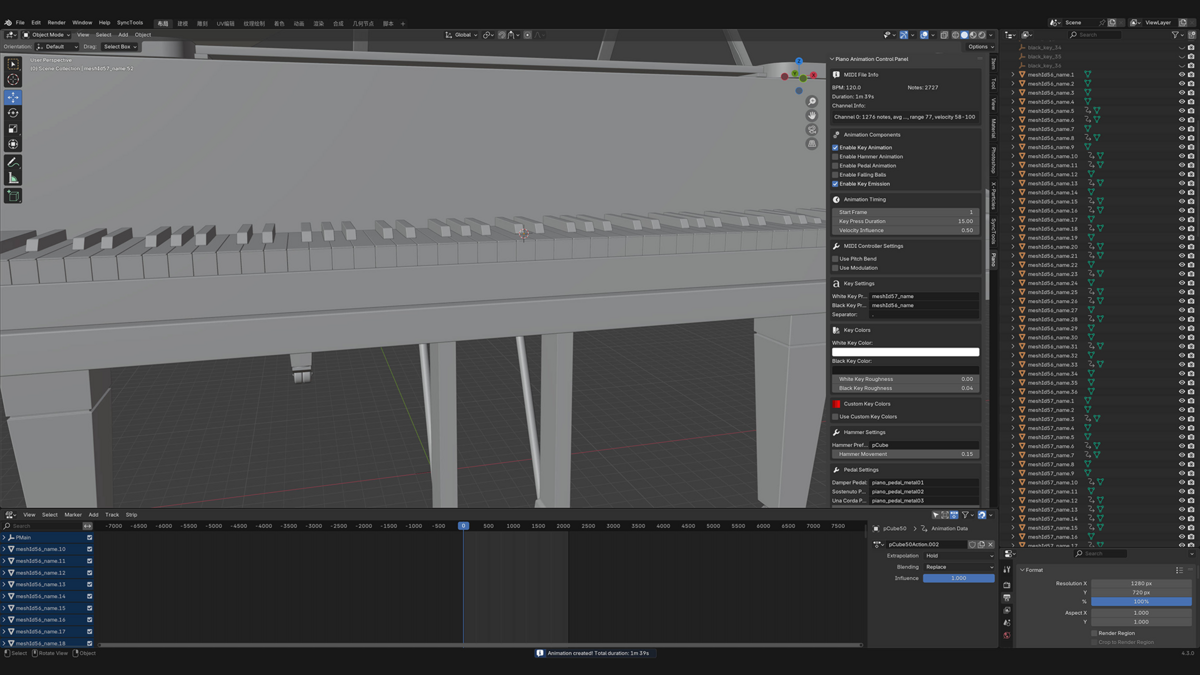
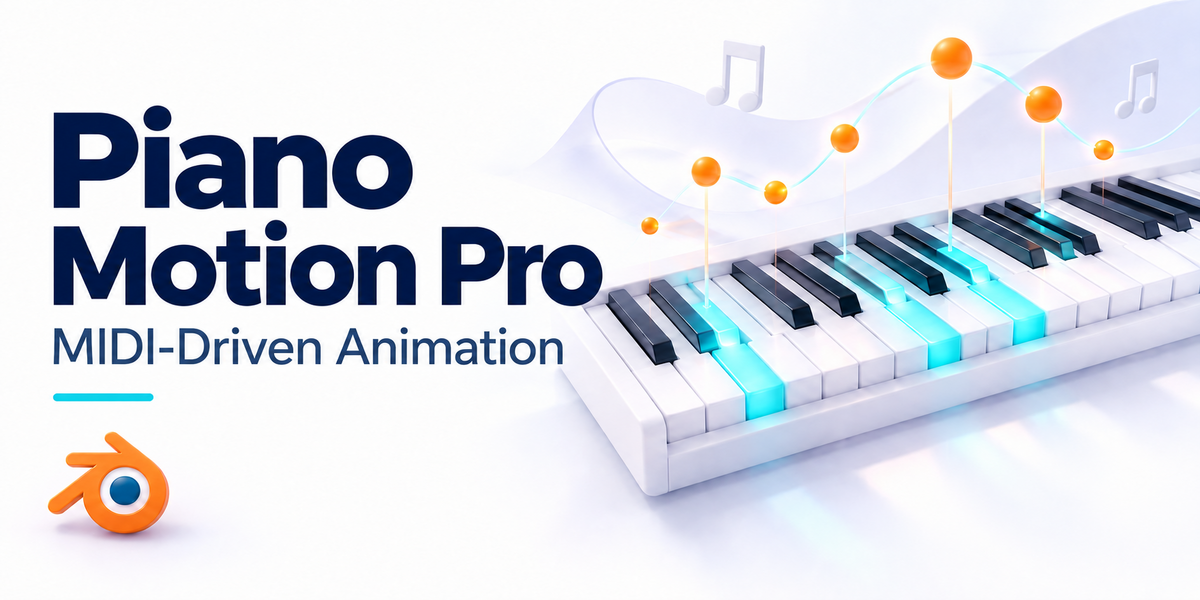
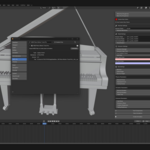
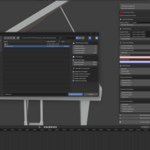
The MIDI controls and timeline
The piano, settings and animation tracks are visible in one workspace, making it easier to check the generated motion.
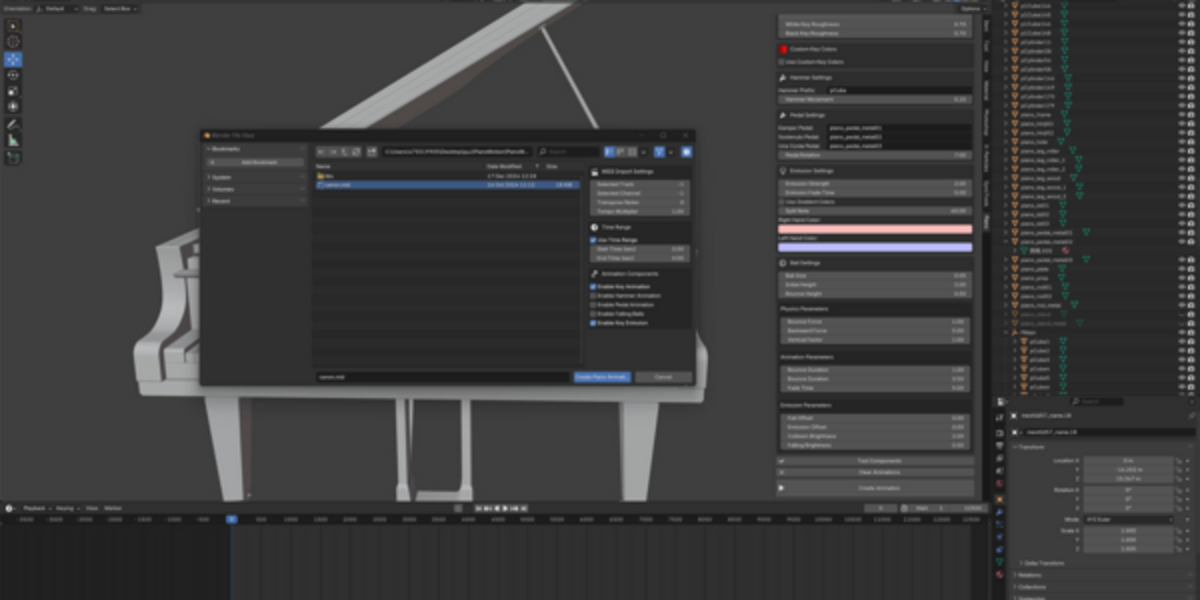
CONTROLS · View full size ↗
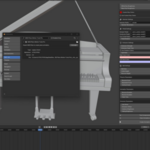
Set up mappings and channels
Use these controls to connect the instrument’s parts and choose the MIDI channels you want to work with.
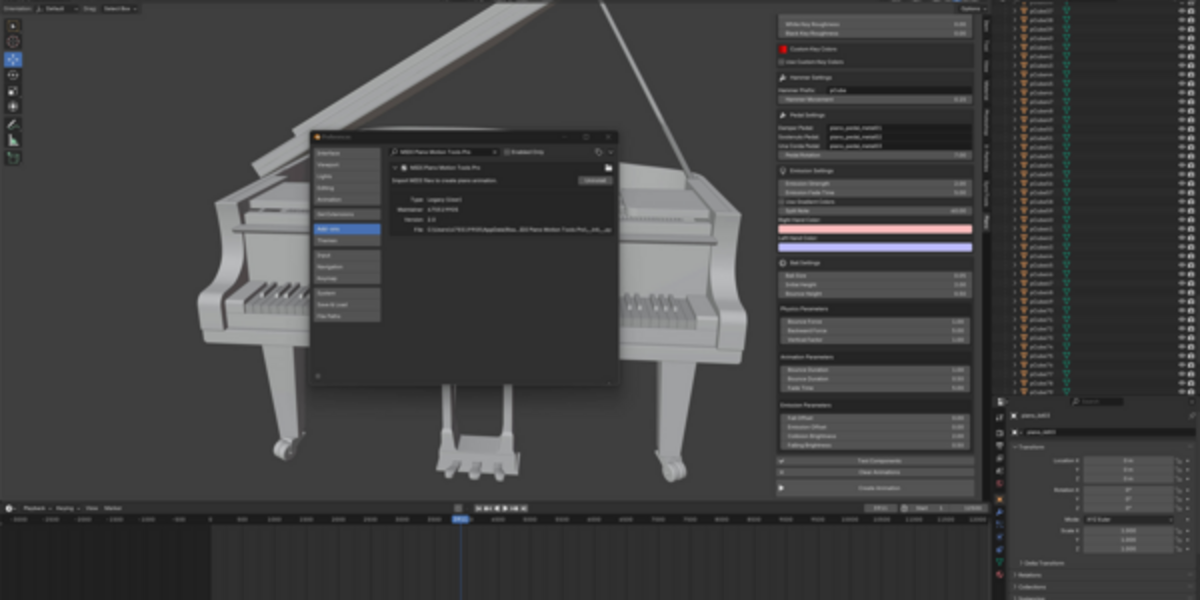
BLENDER PREFERENCES · View full size ↗
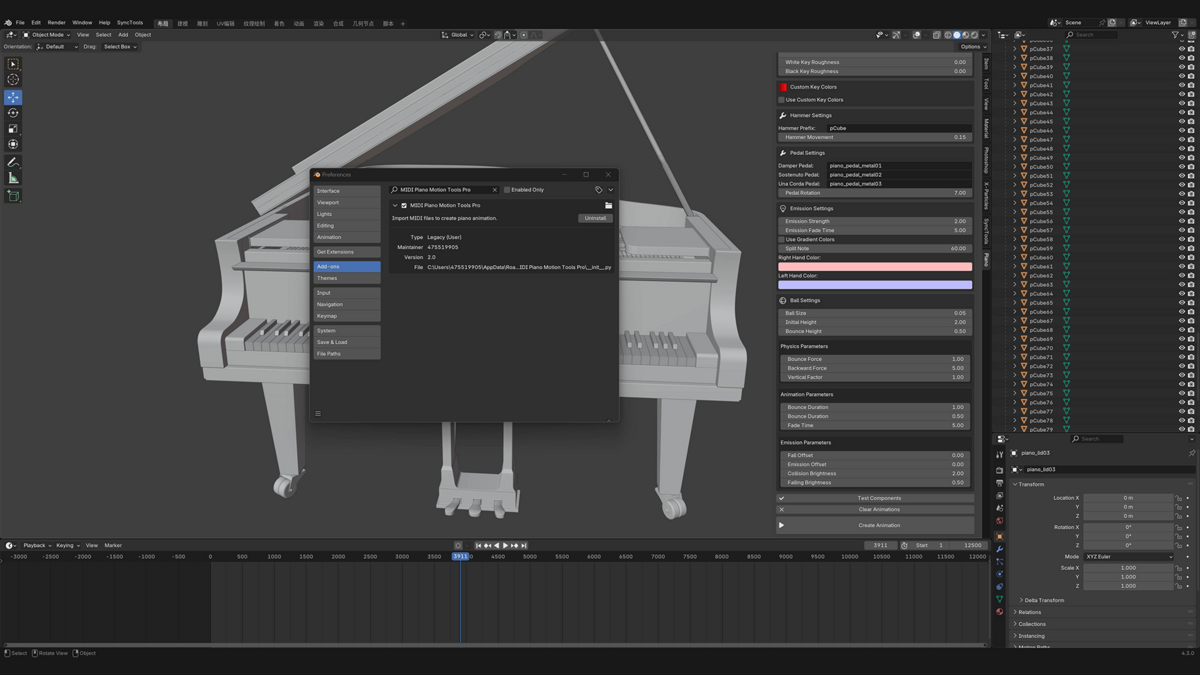
The Pro entry in Preferences
This is the installed Pro add-on in Blender Preferences.
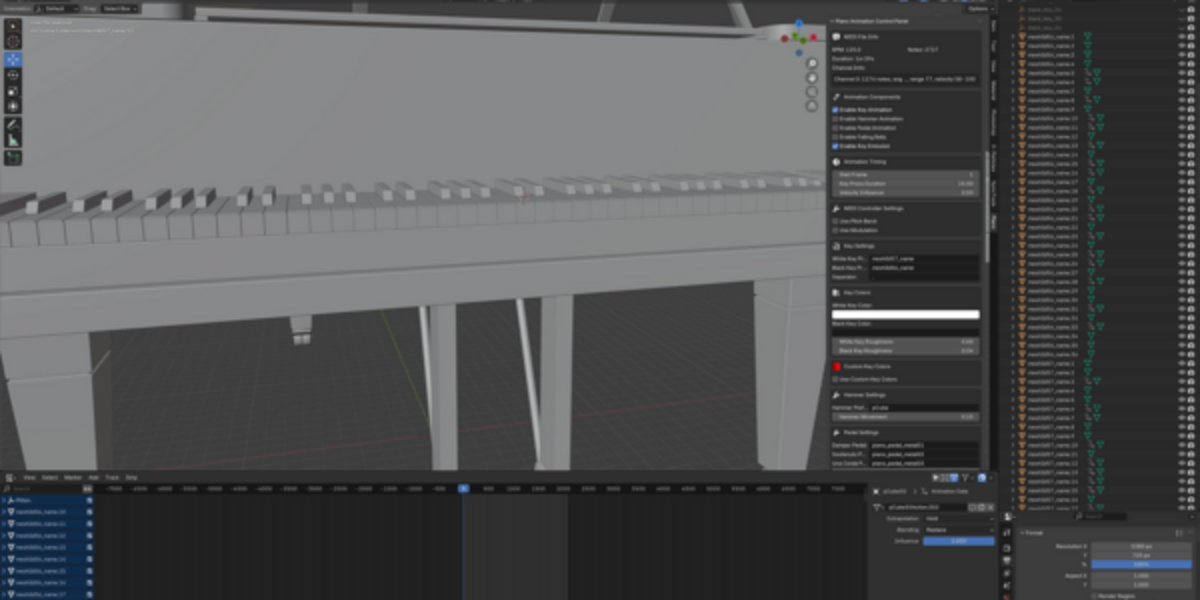
IN BLENDER · View full size ↗
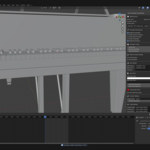
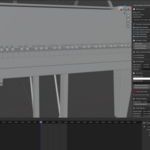
A closer look at the instrument
The keyboard view adds some model context to the lighting and falling-ball examples.
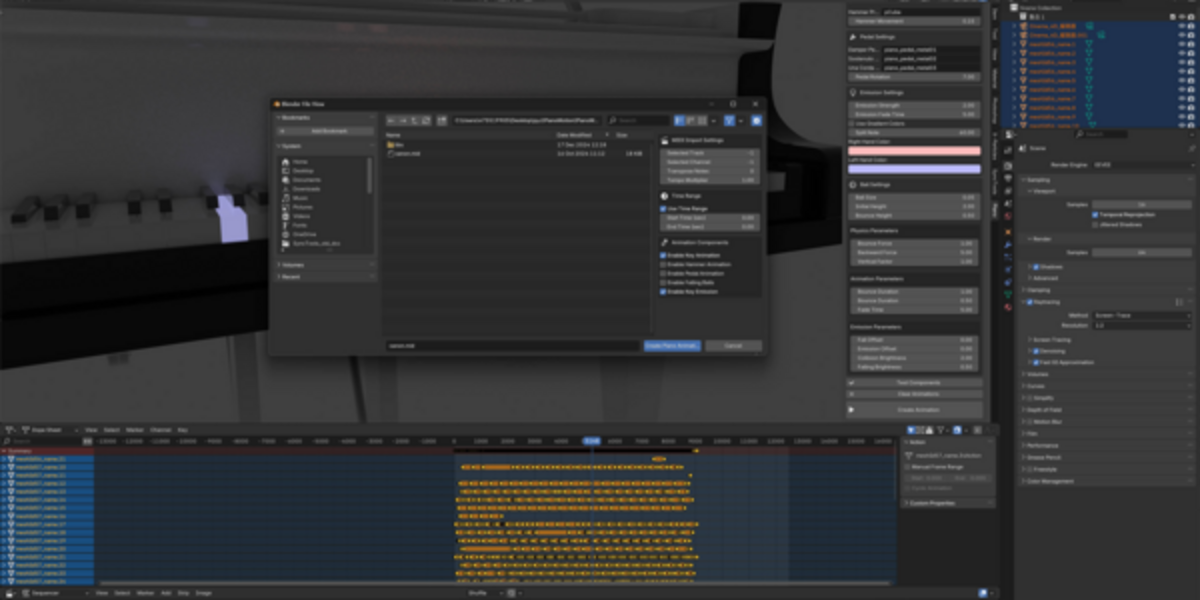
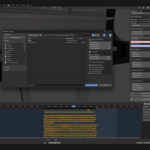
CONTROLS · View full size ↗
Per-key and MIDI settings
This workspace view shows more of the controls used to configure individual keys and the imported performance.
From your model to a performance
-
01
Prepare your piano and check the key, hammer and pedal mappings.
-
02
Load a MIDI file and choose tracks, channels and a time range.
-
03
Set timing, velocity response and animation options.
-
04
Choose the key colours, emission and any falling-ball effect.
-
05
Generate the animation and play through the whole performance.
What Pro includes—and what it doesn’t
- Blender 4.2 or newer.
- A compatible piano model is required and is not included.
- Standard MIDI (.mid) files.
- Choose Pro Max if you need the separate bundled piano/audio package.
Do I get a piano model with Pro?
No. Bring a compatible model, or look at Pro Max for the bundled piano/audio package.
What do I need to start?
Blender 4.2 or newer, a Standard MIDI file and a compatible piano with its moving parts mapped.