MIDI Piano Motion Tools Pro
 blenderVfxMaster
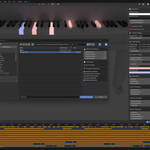
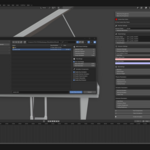
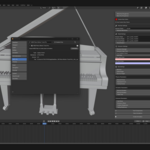
PianoMotion Pro
User Manual
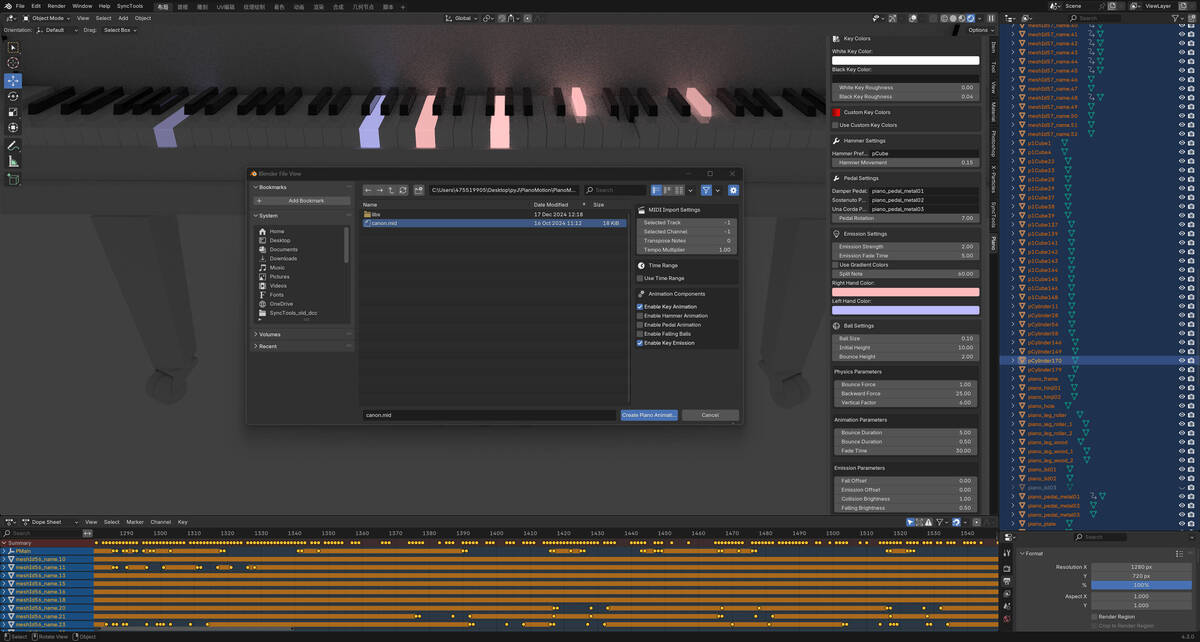
1. Introduction
PianoMotion Pro is an animation assistant add-on for Blender that enables the import of standard MIDI files into Blender, automatically generating realistic animations for piano key presses, pedal movements, hammer actions, and optional effects like falling balls and key illumination. It's perfect for:
-
Music Animation Creators: Quickly produce synchronized piano performance visualizations.
-
Education/Demonstrations: Highlight rhythm and note positions with glowing keys or falling balls.
-
3D Artists: Eliminate the tedious process of manually animating each keyframe, allowing more focus on design and camera work.
This manual will guide you through installation, UI functionality, and a complete usage workflow, helping you create perfectly synchronized music animations with ease.
2. Installation
2.1 Add-on Installation
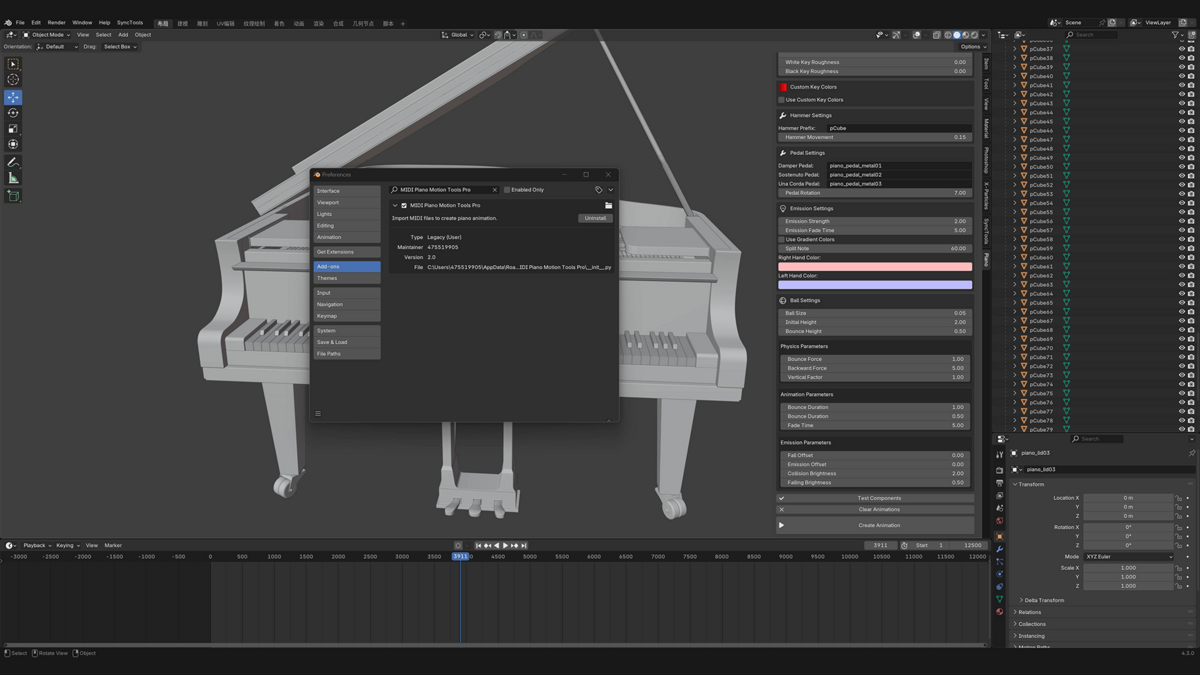
Install the .zip via Blender Preferences:
-
Obtain the
.zipfile, e.g.,MIDI_PianoMotion_Tools.zip, from the website or the developer. -
In Blender, go to Edit > Preferences > Add-ons.
-
Click Install, select the
.zipfile, and click “Install Add-on”. -
In the add-on list, find PianoMotion Pro and enable it by ticking the checkbox.
2.2 mido Library Dependency
mido is a Python library for handling MIDI files, required by PianoMotion Pro.
If you see an error like "No module named 'mido'", it means the library is missing.
Solutions:
-
In Blender's Python Console, run:
import pip
pip.main(['install', 'mido'])
Or:
-
Install
midousing your system Python, then copy the module into Blender’sscripts/modulesfolder.
Restart Blender. If successful, MIDI import will work correctly.
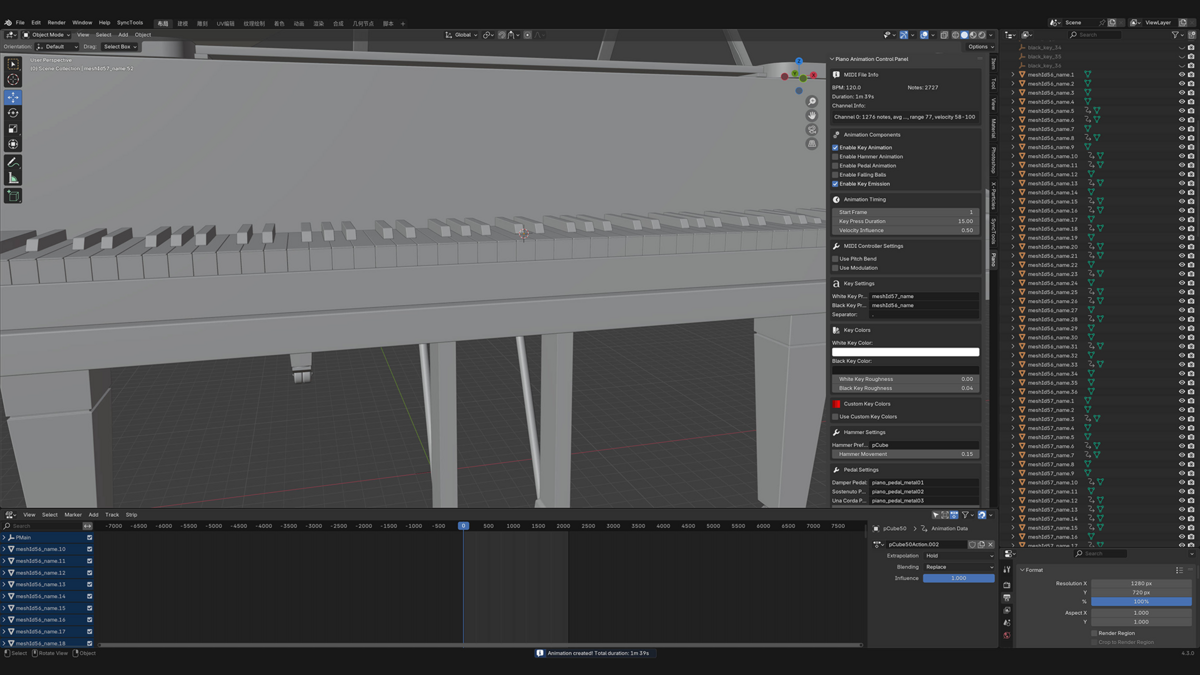
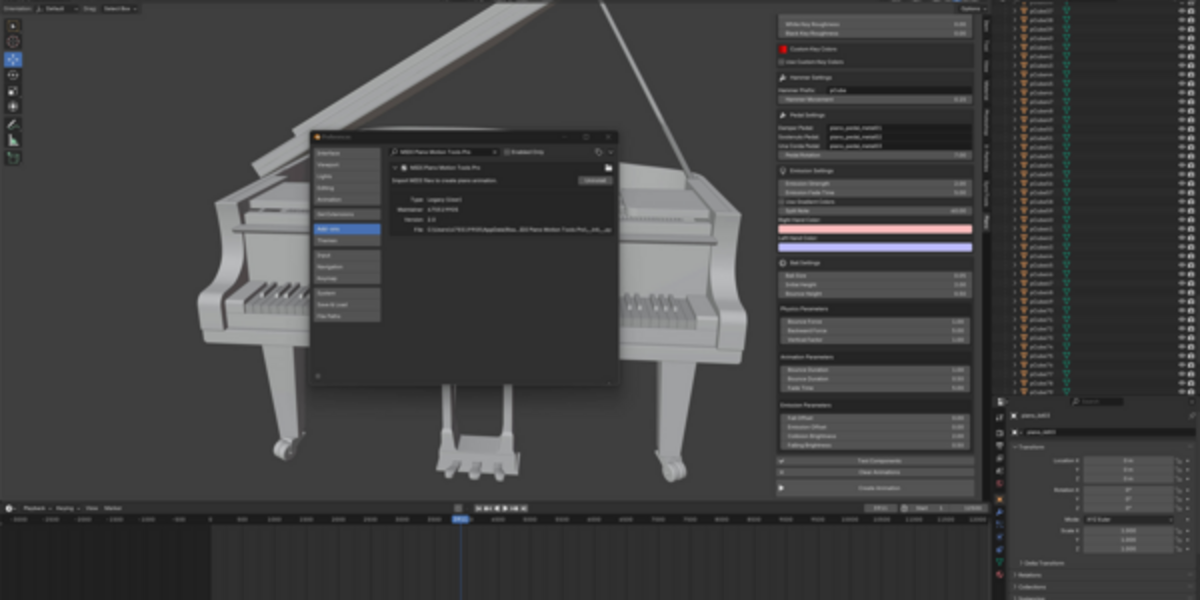
After installation, press N in the 3D Viewport and go to the Piano tab to access the plugin panel.
3. User Interface Overview
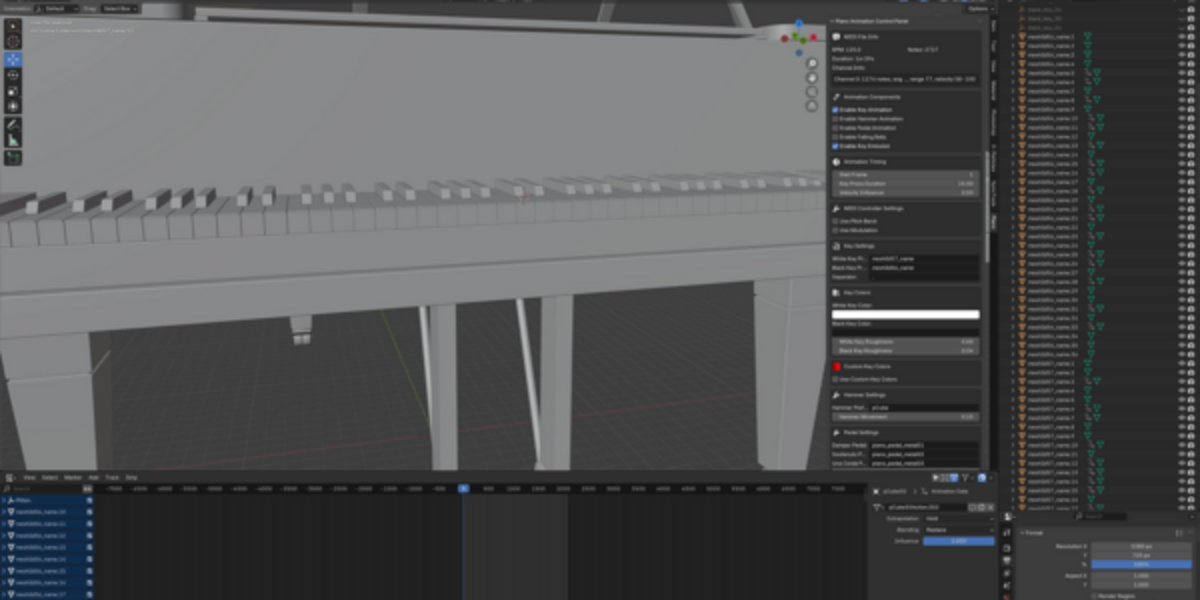
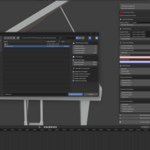
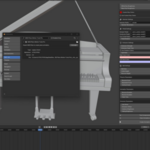
When enabled, the add-on panel appears in the 3D Viewport under the Piano tab (N key). The interface is organized into multiple sections:
-
MIDI File Info (shown after successful import)
-
Animation Components
-
Animation Timing
-
MIDI Controller Settings
-
Key Settings
-
Key Colors & Custom Key Colors
-
Hammer Settings
-
Pedal Settings
-
Emission Settings
-
Ball Settings
-
Test Components & Clear Animations
-
Create Animation
4. Feature Overview
4.1 MIDI File Info
-
BPM: Beats per minute (tempo).
-
Note Count: Total number of notes in the MIDI file.
-
Duration: Playback length in seconds.
-
Channel Info: Lists detected channels with note count, instruments, and velocity ranges.
Useful for identifying correct tracks in multi-channel MIDI files.
4.2 Animation Components
-
Enable Key Animation: Creates press/release animations for piano keys.
-
Enable Hammer Animation: Animates internal hammers to simulate real mechanical movement (requires correct naming).
-
Enable Pedal Animation: Auto-generates keyframes for pedals based on MIDI messages (64, 66, 67).
-
Enable Falling Balls: Adds Synthesia-style falling balls for notes.
-
Enable Key Emission: Makes keys glow when pressed and fade when released.
4.3 Animation Timing
-
Start Frame: Frame where animation begins on the timeline.
-
Key Press Duration: Number of frames a key stays pressed visually (independent from actual note duration).
-
Velocity Influence: Weight (0–1) of note velocity affecting animation length and speed.
4.4 MIDI Controller Settings
-
Use Pitch Bend: Enables MIDI pitch wheel effects (e.g., glide).
-
Pitch Bend Range: Max semitone range for bend (e.g., 2–4 recommended).
-
Use Modulation: Enables modulation wheel effects.
-
Modulation Effect:
-
VIBRATO: Slight vibration of keys
-
EMISSION: Emission brightness control
-
BOTH: Both vibrato and brightness change
-
Note: Requires actual modulation data in the MIDI file.
4.5 Key Settings
-
White Key Prefix / Black Key Prefix: Used to identify white and black key object names.
-
Key Separator: Character between prefix and number (e.g.,
.,_).
Example: WhiteKey.001 → Prefix = WhiteKey, Separator = .
4.6 Key Colors & Custom Key Colors
(1) Key Colors
-
White/Black Key Color: Sets base color of keys.
-
Roughness: Material roughness (0 = smooth, 1 = rough).
(2) Custom Key Colors
-
Use Custom Key Colors: Enables per-note glow colors (for notes 21–108).
-
Assign specific colors using the mapping or eyedropper tool.
4.7 Hammer Settings
-
Hammer Prefix: Naming prefix for hammer objects (e.g.,
pCube). -
Hammer Movement: Distance the hammer moves when triggered.
4.8 Pedal Settings
-
Damper / Sostenuto / Una Corda Pedal: Object names for pedal animation.
-
Pedal Rotation: Rotation angle around the X-axis when pressed.
4.9 Emission Settings
-
Emission Strength: Brightness when a key is pressed.
-
Fade Frames: Number of frames until glow fades out.
-
Use Gradient Colors: Enables color gradients based on direction.
-
Gradient Direction: Horizontal / Vertical / Single key.
-
Gradient Stops: Define color stops for the gradient.
If not using gradients, glow color is assigned by hand (left/right) using split_note + emission_color.
4.10 Ball Settings
(1) Main Parameters
-
Ball Size: Radius of each ball.
-
Start Height: Initial Y-position above keys.
-
Bounce Height: Rebound height after impact.
(2) Physics
-
Bounce Force: Multiplier for ball rebound.
-
Backward Force: Horizontal movement.
-
Vertical Factor: Larger value = more vertical bounce.
(3) Animation
-
Bounce Duration / Time: Timing for the bounce animation.
-
Fade Time: Frames until ball shrinks and disappears.
(4) Emission
-
Emission Offset: Glow effect timing shift.
-
Timing Offset: Fall time offset from note press.
-
Collision Brightness / Falling Brightness: Glow intensity on impact and during fall.
4.11 Test Components & Clear Animations
Test Components:
Checks if objects (keys, pedals, hammers) are properly named and detected.
Warnings will indicate missing parts, allowing you to correct them beforehand.
Clear Animations:
Deletes all animations, objects, and materials generated by the plugin.
Useful when importing a new MIDI or changing settings.
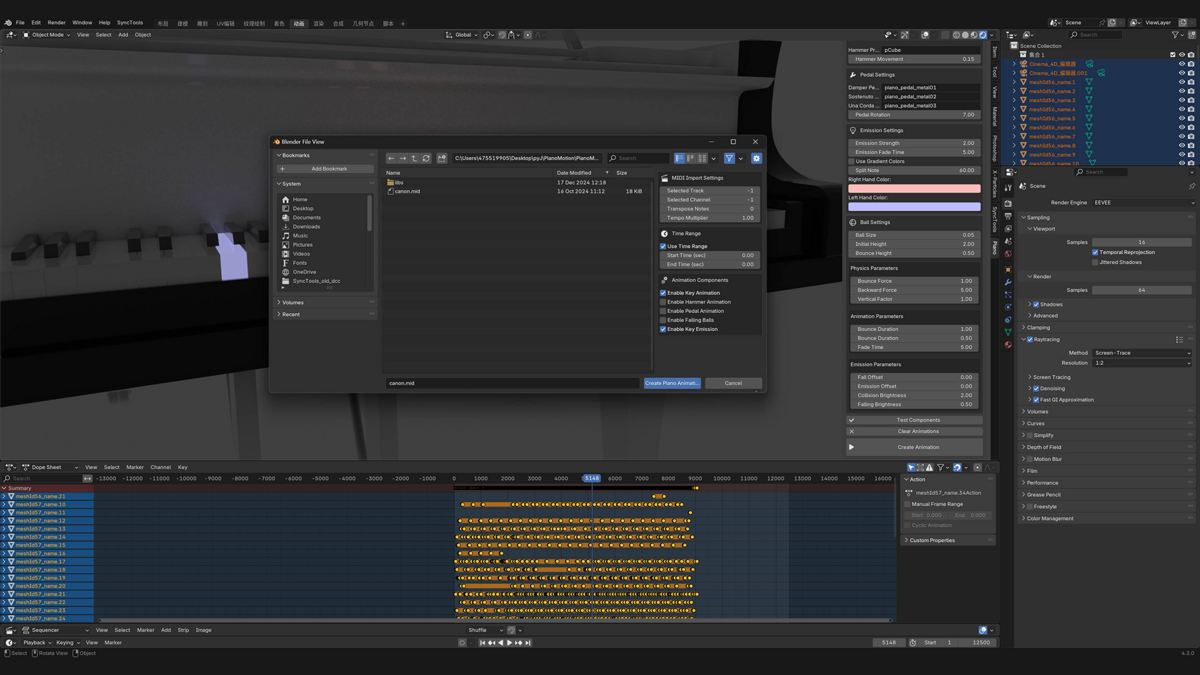
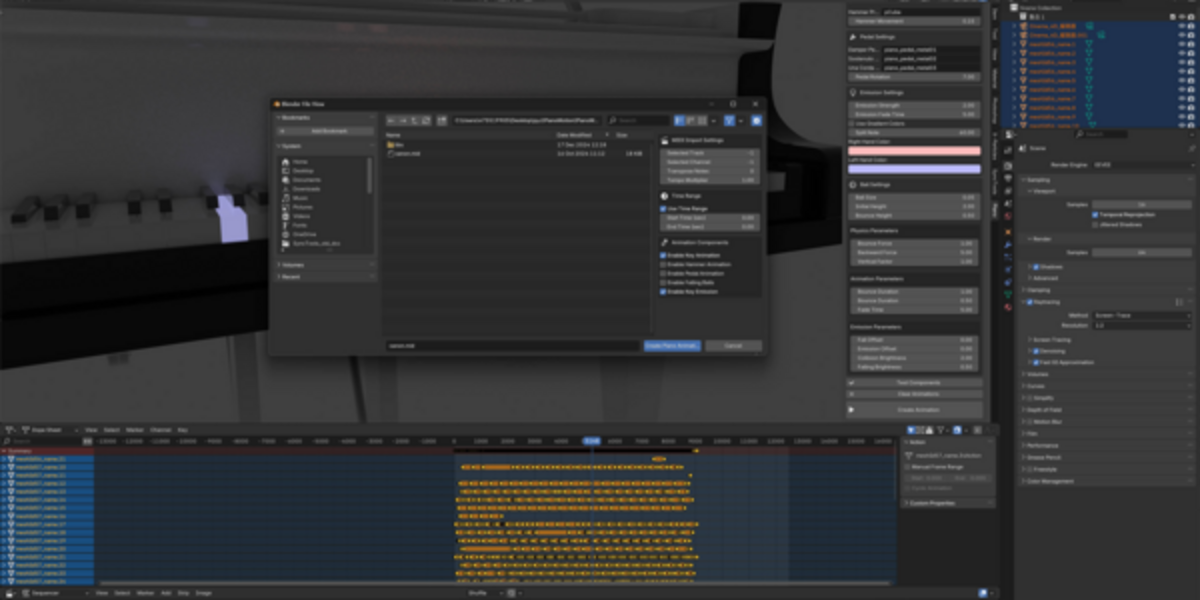
4.12 Create Animation
Main button to execute the process:
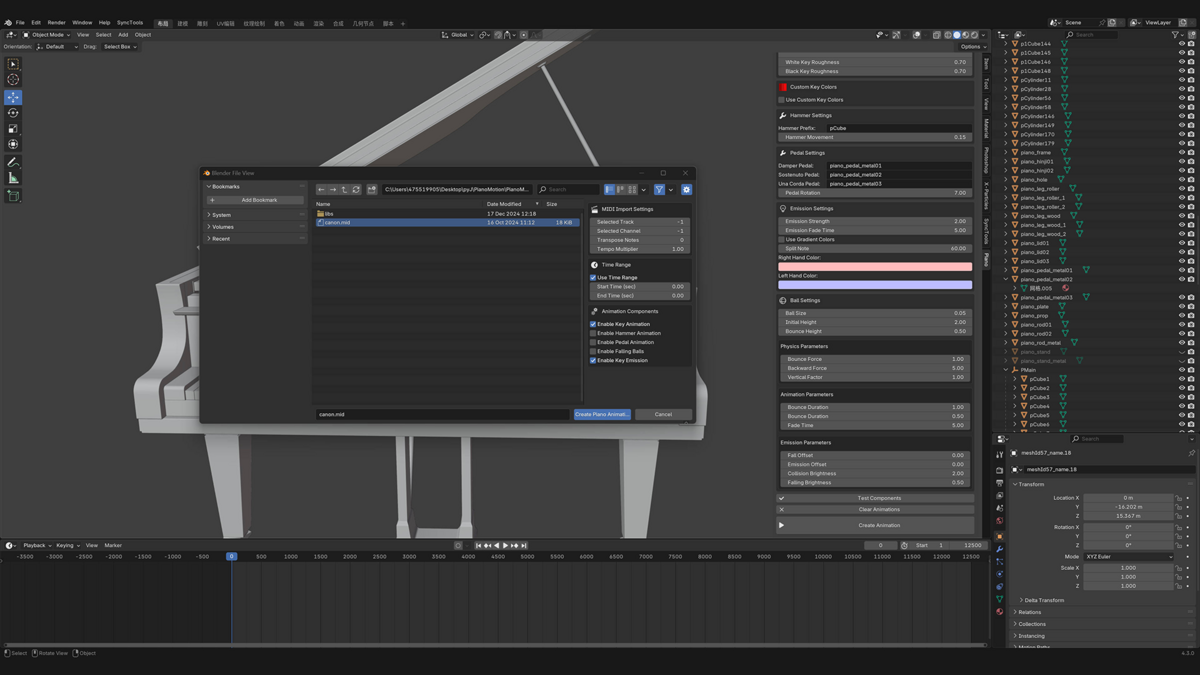
-
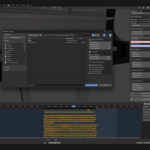
Opens file browser to select
.midfile. -
Parses MIDI and generates keyframes according to panel settings.
-
Timeline and Action Editor will display the new animations.
-
A message will confirm success, e.g., “Animation created! Duration: 5:12”.
5. Workflow
1. Preparation
-
Ensure the scene contains a piano model named correctly (keys, hammers, pedals).
-
Apply transforms (
Ctrl + A) to normalize axes and origins. -
Save a backup
.blendbefore testing.
2. Test Components
-
Use the “Test Components” button to detect missing or misnamed parts.
3. Import MIDI
-
Click “Create Animation” and select a
.midfile. -
Choose specific tracks/channels or transpose if needed.
4. Review & Adjust
-
Play the animation and inspect keys, pedals, balls, and emission.
-
If changes are needed (e.g., duration, colors), Clear Animation and Create Animation again.
5. Finalize
-
Repeat as needed until satisfied.
-
Add camera, lighting, and export the final animation.
6. FAQ
6.1 No animation?
-
Check if
midois installed. -
Use “Test Components” to find misnamed objects.
-
Try converting problematic MIDI to standard format using external software.
6.2 Keys not glowing?
-
Ensure “Enable Key Emission” is checked.
-
Increase emission strength or enable Bloom in Eevee.
-
Confirm correct material connections.
6.3 Partial animation only?
-
Use "Time Range" in the import dialog to set duration.
-
Delete excess keyframes manually in the Action Editor.
-
Limit to specific tracks/channels during import.
6.4 Balls not showing?
-
Confirm “Enable Falling Balls” is enabled.
-
Adjust ball size and ball height if invisible.
-
Check if selected tracks contain note data.
6.5 Adjusting start frame or speed?
-
Change Start Frame or Tempo Multiplier in the import dialog.
-
Minor tweaks can be made by moving keyframes, but major changes should use the panel options.
7. Requirements
Piano Model Specs
-
52 White Keys
-
36 Black Keys
-
88 Hammers
-
3 Pedals
Naming Rules
-
White Keys:
meshId57_name.1to.52 -
Black Keys:
meshId56_name.1to.36 -
Hammers:
pCube1topCube88 -
Pedals:
piano_pedal_metal01,metal02,metal03
Performance Tips
-
Larger MIDI files take longer to process.
-
Test with short MIDI files for efficiency.
8. Conclusion
With this manual, you now have the tools to turn MIDI files into stunning piano animations using PianoMotion Pro. Whether for teaching, visualization, or artistic projects, this plugin simplifies a complex task into a creative workflow.
For advanced features or further customization, refer to other documentation or join discussions in the community.
Happy animating, and may your creations shine!
Tip: Add UI screenshots or rendered images throughout this manual to enhance clarity and understanding.
9. Technical Support
-
Author: 475519905
-
Version: 1.0
-
Category: Animation
-
Contact: [qq475519905]
10. License
GNU General Public License v3.0 (GPL-3.0)
Let me know if you'd like this formatted into a PDF, turned into a webpage, or if you want help adding screenshots to specific sections!
Have questions about this product?
Login to message
| Sales | 10+ |
| Rating | 1 ratings |
| Published | over 1 year ago |
| Blender Version | 3.6 - 5.2 |
| Extension Type | N/A |
| License |
Discover more products like this
music teaching tools Physics Animation music movement music visualization tools piano materials velocity sensitive visual music piano visualization system Real-Time Animation piano tutorial piano shaders piano dynamics music performance piano learning pitch bend piano pedal animation Particle Effects piano animation piano hammers piano modeling piano key animation piano motion piano performance capture piano mechanics particle animation music visualization software piano animation software piano effects piano movement piano motion tools music visualization piano education piano animation system piano visualization tools piano motion capture piano rendering piano visualization music production piano hammer animation visual effects piano simulation performance visualization piano lighting piano keys Physics Simulation piano teaching piano rendering system music video piano pedals piano performance