 Raih
Raih


Installation
Blender 4.2 and up — installs as an extension (recommended):
- Drag and drop the Mimosa .zip into Blender, or go to Edit > Preferences > Get Extensions > Install from Disk and choose the .zip.
- Open the 3D Viewport, press N to open the sidebar, and select the Mimosa tab.
Blender 4.0 / 4.1 — legacy add-on:
- Edit > Preferences > Add-ons > Install… , choose the .zip, then tick the checkbox to enable it.
How to use
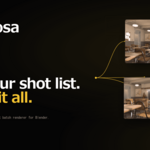
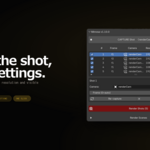
Mimosa works as a shot list. Each shot remembers its camera, timeline frame, resolution and visible collections.
- Set up the view for this shot — move to the frame, choose the camera, set the resolution, and show or hide the collections.
- Click Capture Shot. Mimosa records the current camera, frame, resolution and collection state as a new shot.
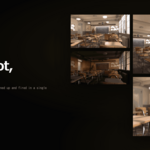
- Repeat for every angle, state and resolution you need.
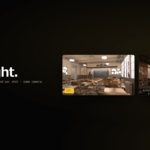
- Click Render Shots to render the entire list in one batch.
Tips
- Use Render Shots, not Ctrl+F12 — Blender's built-in animation render locks the resolution when it starts, so per-shot resolutions won't apply.
- Day / night: animate the states on the timeline, then capture a shot on each frame.
- Collection variants (furniture on/off, finish A vs B): toggle collection visibility, then capture a shot for each.
- Multiple scenes: use the Render Scenes queue to render scenes back to back.
Output
Mimosa gives each shot a sequential filename and hands off to Blender. Your render settings and Compositor File Output nodes work exactly as you set them — AOVs, multi-pass, EXR, color management and path branching are all respected.
Support
Questions or feedback? Email [email protected]
$19$9.50
Have questions about this product?
Login to message

Discover more products like this
ArchViz Render Automation shot list Interior per-shot resolution camera-manager multi-camera collections product render render queue day-and-night batch render