Morning Glory - Quick Boning
 Alessandro Arcidiacono


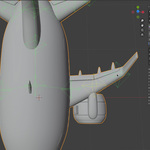
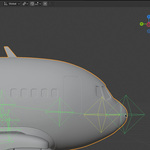
Morning Glory - Quick Boning: Complete Documentation
Select the mesh you want to rig, and in the Quick Boning panel:
- Start by clicking "Place Bones" button (or "Continue Placing" if you've already started)
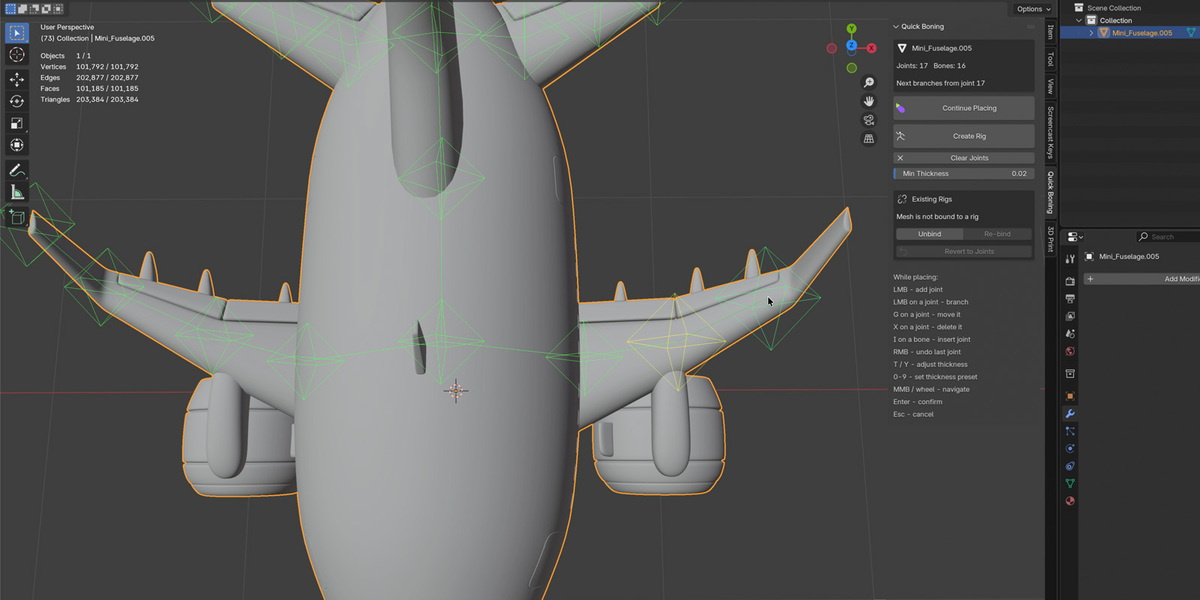
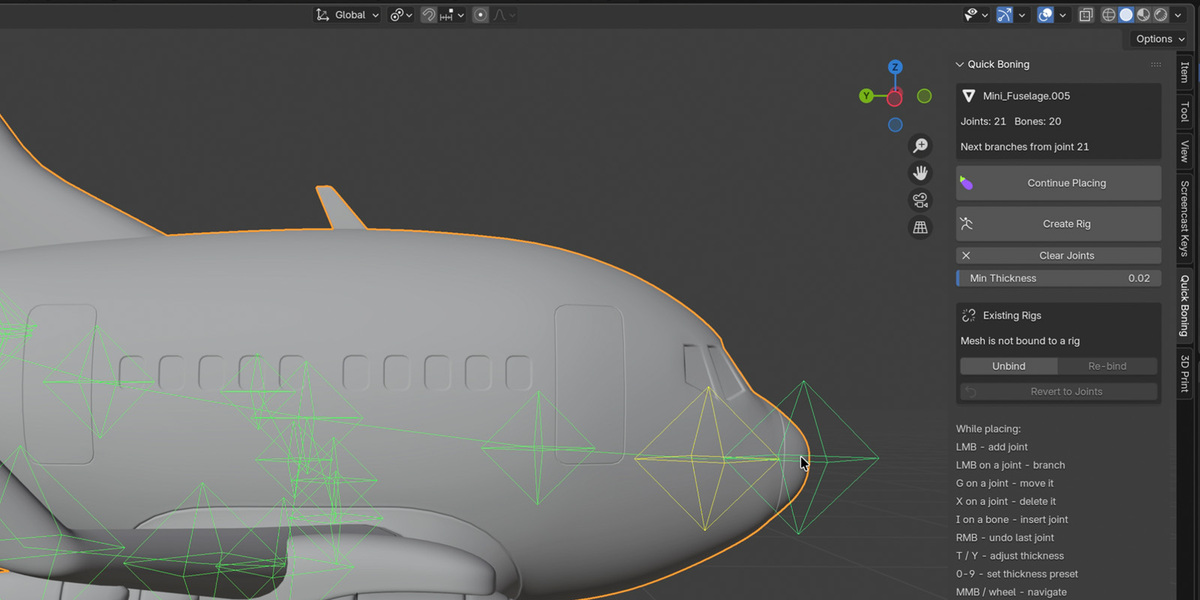
- Place the placeholder joints by clicking over the mesh, if necessary adjust the thickness to make sure the joint is placed correctly. Feel free to orbit around the object to make sure it's correctly placed.
- Once you are happy "Create Rig" button
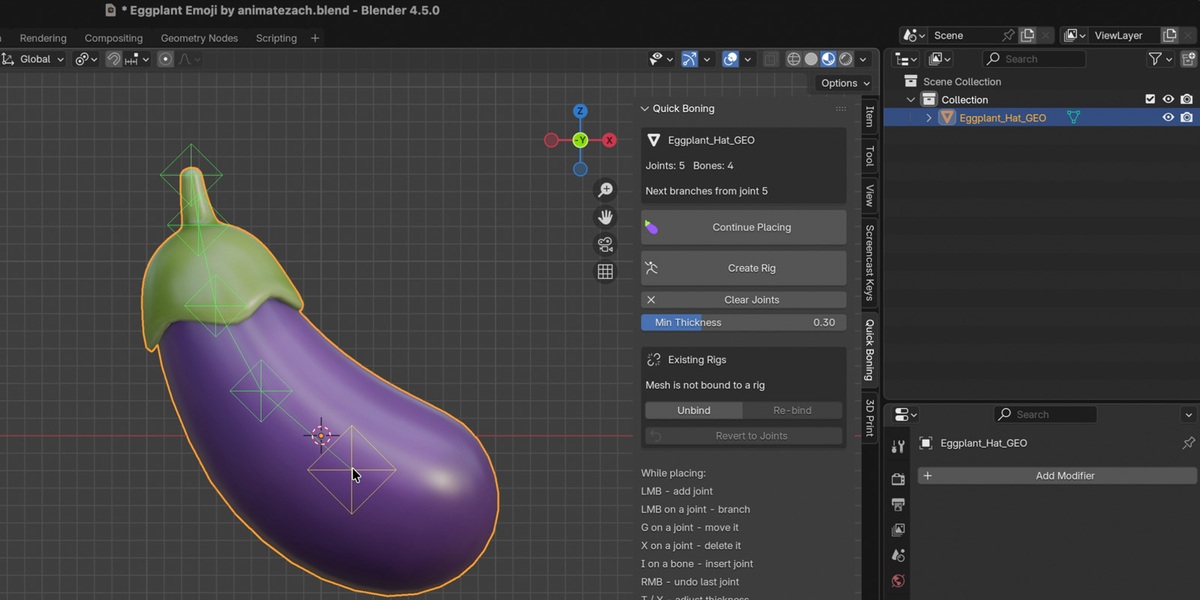
Visual Feedback:
- Neon green diamond: placed joints
- Cyan diamond: hover point (where the next joint will land)
- Yellow diamond: snap target (nearby joint you can branch from)
- Neon green lines: connections between joints
- Cyan lines: preview of the bone you're about to create
How Joint Placement Works:
The addon fires a ray from your cursor through the mesh and finds where it enters and exits the solid volume. The joint lands at the centre point between those two surfaces. This means joints always sit inside your form, not on the skin.
If your mesh has fine surface details (like wrinkles or pores), the "Min Thickness" slider helps. Raise it to ignore thin surface features and find the real volume beneath. Adjust it with T (increase) and Y (decrease) keys while placing, or use the slider in the panel.
Detailed guide
Placing a Joint (LMB)
Move your cursor over the mesh and click LMB to place a joint at the hover point. Each joint becomes a child of the currently active joint (shown in yellow).
Branching from a Joint (LMB on Joint)
Move your cursor near an existing joint until it turns yellow (snap range is about 26 pixels). Click LMB to branch from that joint. All subsequent placements will be children of this joint instead.
Moving a Joint (G)
Hover over a placed joint (it turns orange when you're close enough) and press G. The joint turns pink and follows your cursor. The joint stays centred in the mesh volume as you move it. Press LMB or Enter to confirm the new position, or press Esc or RMB to cancel and snap back to the original position.
Deleting a Joint (X or Delete)
Hover over a placed joint and press X (or Delete). The joint is removed. Any joints that were children of the deleted joint become children of its parent, so branches stay connected without orphaned joints.
Inserting a Joint (I)
Hover over a bone (the line connecting two joints) until it highlights in cyan. Press I to insert a new joint into the middle of that bone. The new joint takes the place of the child in the bone hierarchy, splitting the original bone into two. You can then move the inserted joint to refine the skeleton.
Undoing a Joint (RMB)
Press RMB to remove the last placed joint. This only removes the most recent one, not arbitrary joints. Use X to delete specific joints.
Confirming Placement (Enter)
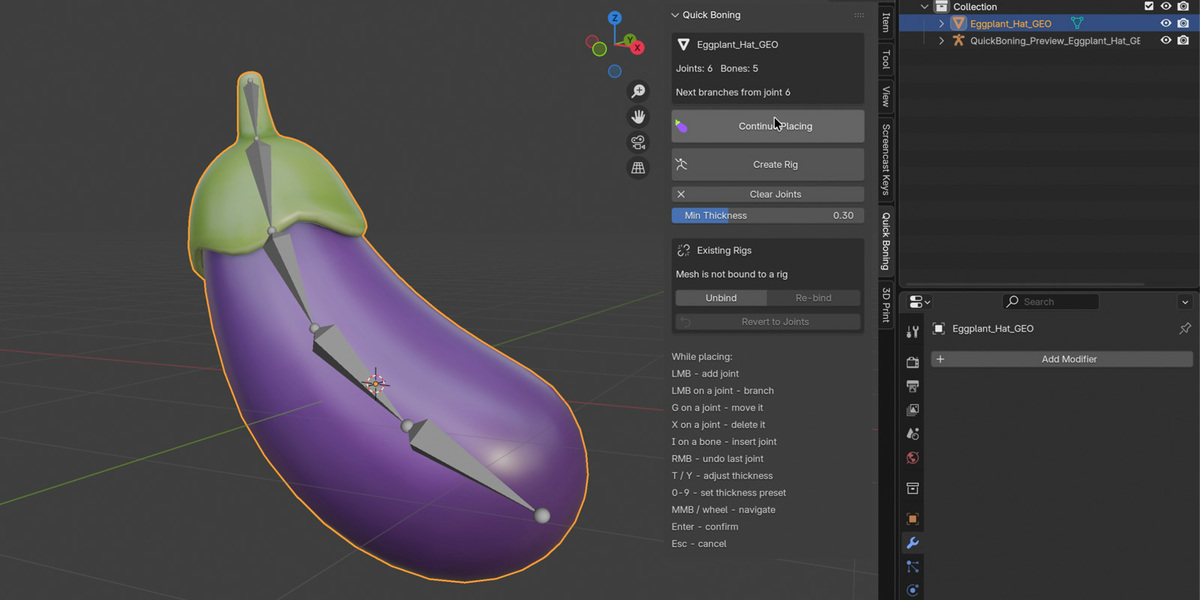
When you're satisfied with the joint layout, press Enter. The addon builds a preview armature (a throwaway skeleton you can see) and shows you what the final rig will look like. You can then click "Create Rig" in the panel to build the real armature and bind the mesh.
Cancelling (Esc)
Press Esc to exit placement mode. If you started a new session (placed joints after opening the panel), only the new joints are discarded. Any joints placed in earlier sessions are kept. If you cancel without placing anything, the panel resets.
Reverting to Joints
If you finish a rig and then decide the skeleton needs adjustments, you can revert it back to editable joints.
Select the rigged mesh. In the Quick Boning panel, if the mesh is bound to a Quick Boning rig, the "Revert to Joints" button appears.
Click "Revert to Joints". A dialog asks for confirmation and offers two options:
Delete Armature (checkbox, on by default)
If checked, the armature is deleted and its joints are recovered into the Quick Boning session, ready to edit.
If unchecked, the armature stays in the scene and the joints are copied from it, so you can experiment with changes without losing the original rig.
Delete Vertex Groups (checkbox, on by default)
If checked, the vertex groups (weights) are removed along with the armature. You'll repaint weights after you rebuild the rig.
After revert, the mesh has editable joints again. You can place new joints, move old ones, insert or delete as needed, then click "Create Rig" again to rebuild the armature.
Keyboard Reference
While Placing Joints:
| Key | Action |
|---|---|
| LMB | Place joint at hover point |
| LMB on joint | Branch from that joint |
| G | Grab and move the hovered joint |
| X or Delete | Delete the hovered joint |
| I | Insert a joint into the hovered bone |
| RMB | Undo the last placed joint |
| T | Increase Min Thickness by 0.05 |
| Y | Decrease Min Thickness by 0.05 |
| 0-9 | Set Min Thickness to 0.0-0.9 (digit / 10) |
| Enter | Confirm placement and show preview |
| Esc | Cancel (discard new joints from this session) |
| MMB / Scroll | Navigate viewport (pan/zoom/rotate) |
Troubleshooting
Joints Landing on Surfaces Instead of Inside the Mesh
Raise Min Thickness with the T key or the slider. The addon is hitting surface details instead of finding the real volume.
A Joint Landed in the Wrong Spot
Use G to move it. Hold the key and move your mouse to reposition the joint. Confirm with LMB or Enter.
I Placed Too Many Joints and Want to Start Over
Press Esc. This discards all joints placed in the current session and keeps earlier sessions intact.
To start completely fresh, click "Clear Joints" in the panel. This wipes the session entirely.
The Mesh Deforms Strangely When I Pose
This is usually a weight painting issue, not a rigging issue. The skeleton is correct (you can see it in pose mode), but the weights need adjustment.
Use Blender's weight paint mode to adjust how strongly each bone influences each vertex. Start with Auto Weights and paint corrections where needed.
I Reverted the Rig but the Old Weights Are Still There
If you unchecked "Delete Vertex Groups" during revert, the old weight groups remain on the mesh. Delete them manually in Pose mode under Object Data Properties > Vertex Groups, or re-enable "Delete Vertex Groups" and revert again.
The Icon Doesn't Show on Blender 5.2
This is a known limitation (Blender 5.2's addon system doesn't load custom icons during registration). The buttons still work; they just use the default brush icon. The custom icon shows on Blender 4.5 LTS.
Rig Creation Failed with "Cannot Access Local Variable"
This is a rare registration issue. Disable the addon, quit Blender entirely, restart, and re-enable. This clears Blender's module cache.
The Addon Won't Install
Make sure you're using Blender 4.0 or later. If you're on an older version, the addon won't load.
If you're on a supported version, check that the .zip is complete and hasn't been corrupted during download. Re-download if necessary.
Happy easy rigging.
