 blenderustad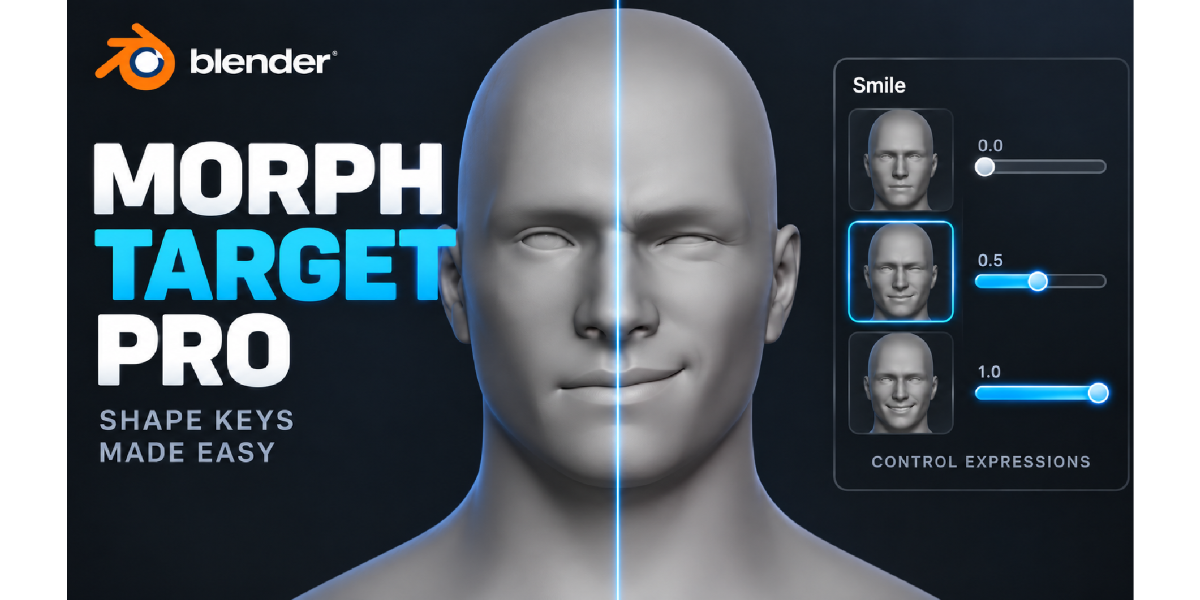
Shape Keys, Without the Busywork
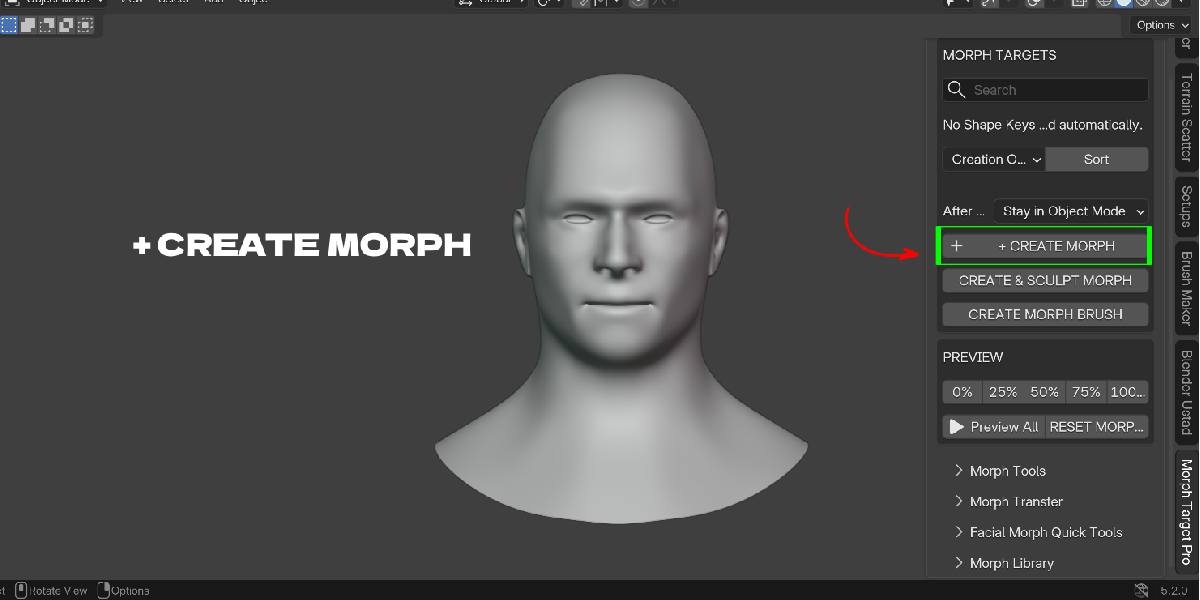
If you've built facial rigs or body morphs in Blender, you know the routine: add a Shape Key, switch to Sculpt Mode, isolate it with Show Only Shape Key, sculpt, switch back, repeat for every expression. Then you mirror it by hand, or re-sculpt the other side from scratch. Then a character update means redoing morphs on a second mesh that's almost — but not quite — the same topology.
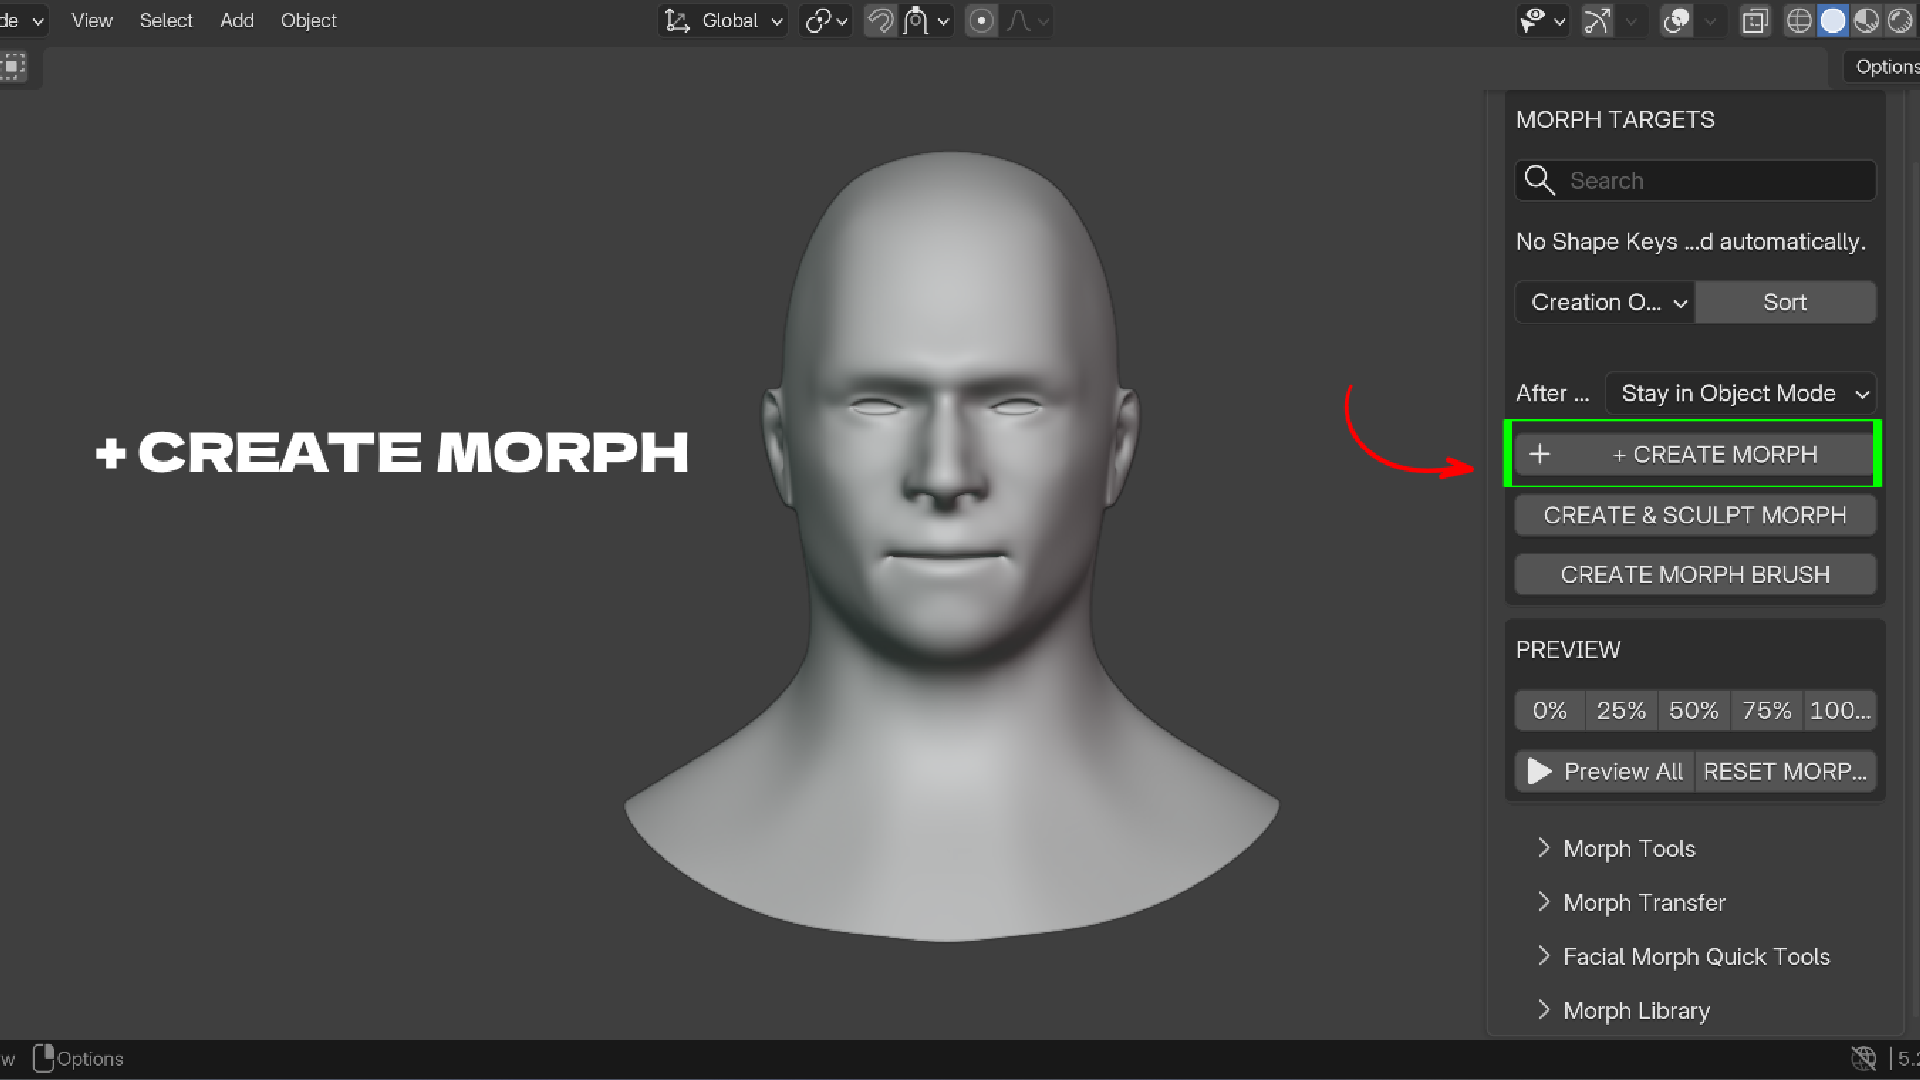
Morph Target Pro replaces that routine with one panel in the 3D Viewport sidebar. It doesn't add a parallel morph system on top of Blender — it drives Blender's actual Shape Key data (key_blocks, relative keys, value, sliders) directly. Every morph you create is a real, native Shape Key. Delete the addon later and your morphs stay exactly as they are.
Built for the Real Shape Key Workflow
Morph Target Pro was built around how technical artists actually work with Shape Keys in production: create from Basis, sculpt in isolation, mirror across the character, transfer between mesh versions, and keep the list clean as a rig grows past 40 or 50 morphs. Each part of that loop gets its own tool instead of a manual detour through the Object Data Properties tab.
What It Does
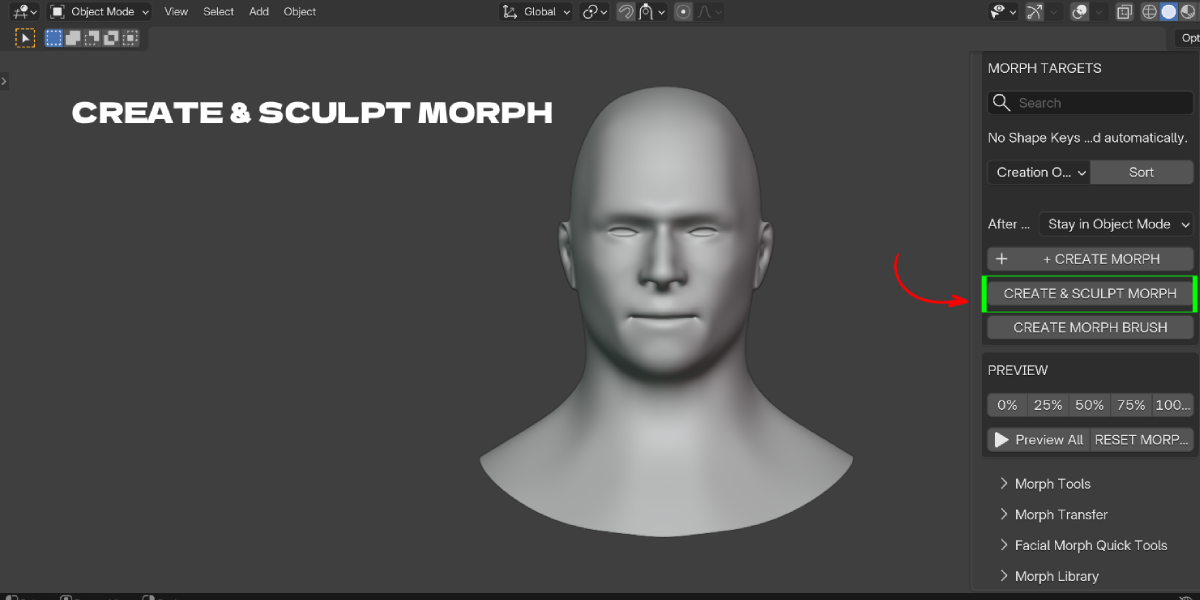
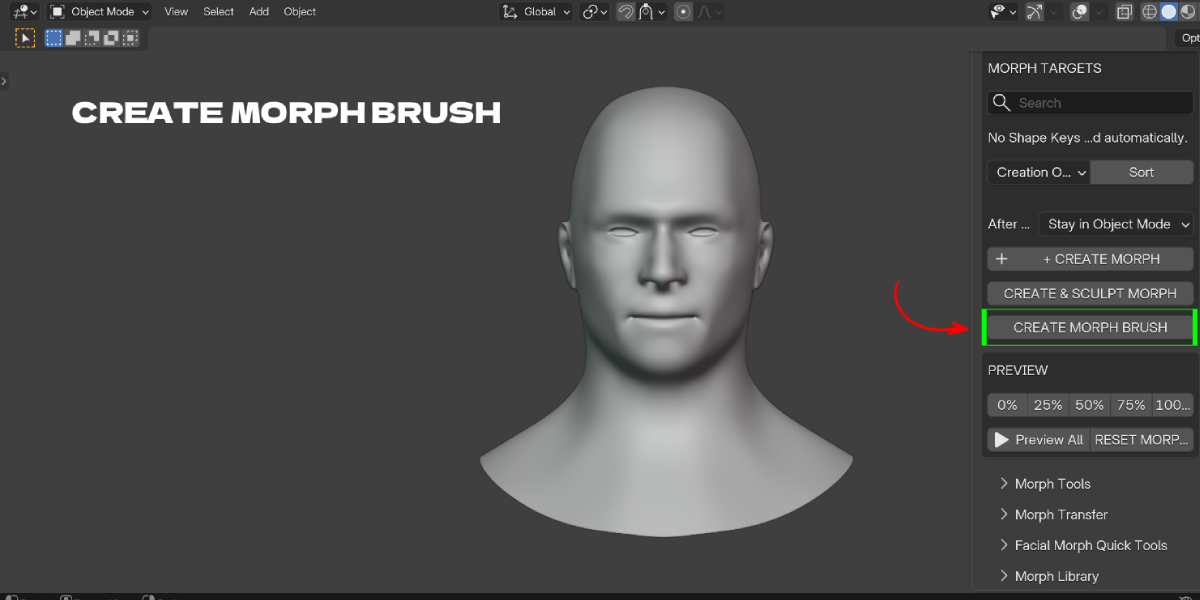
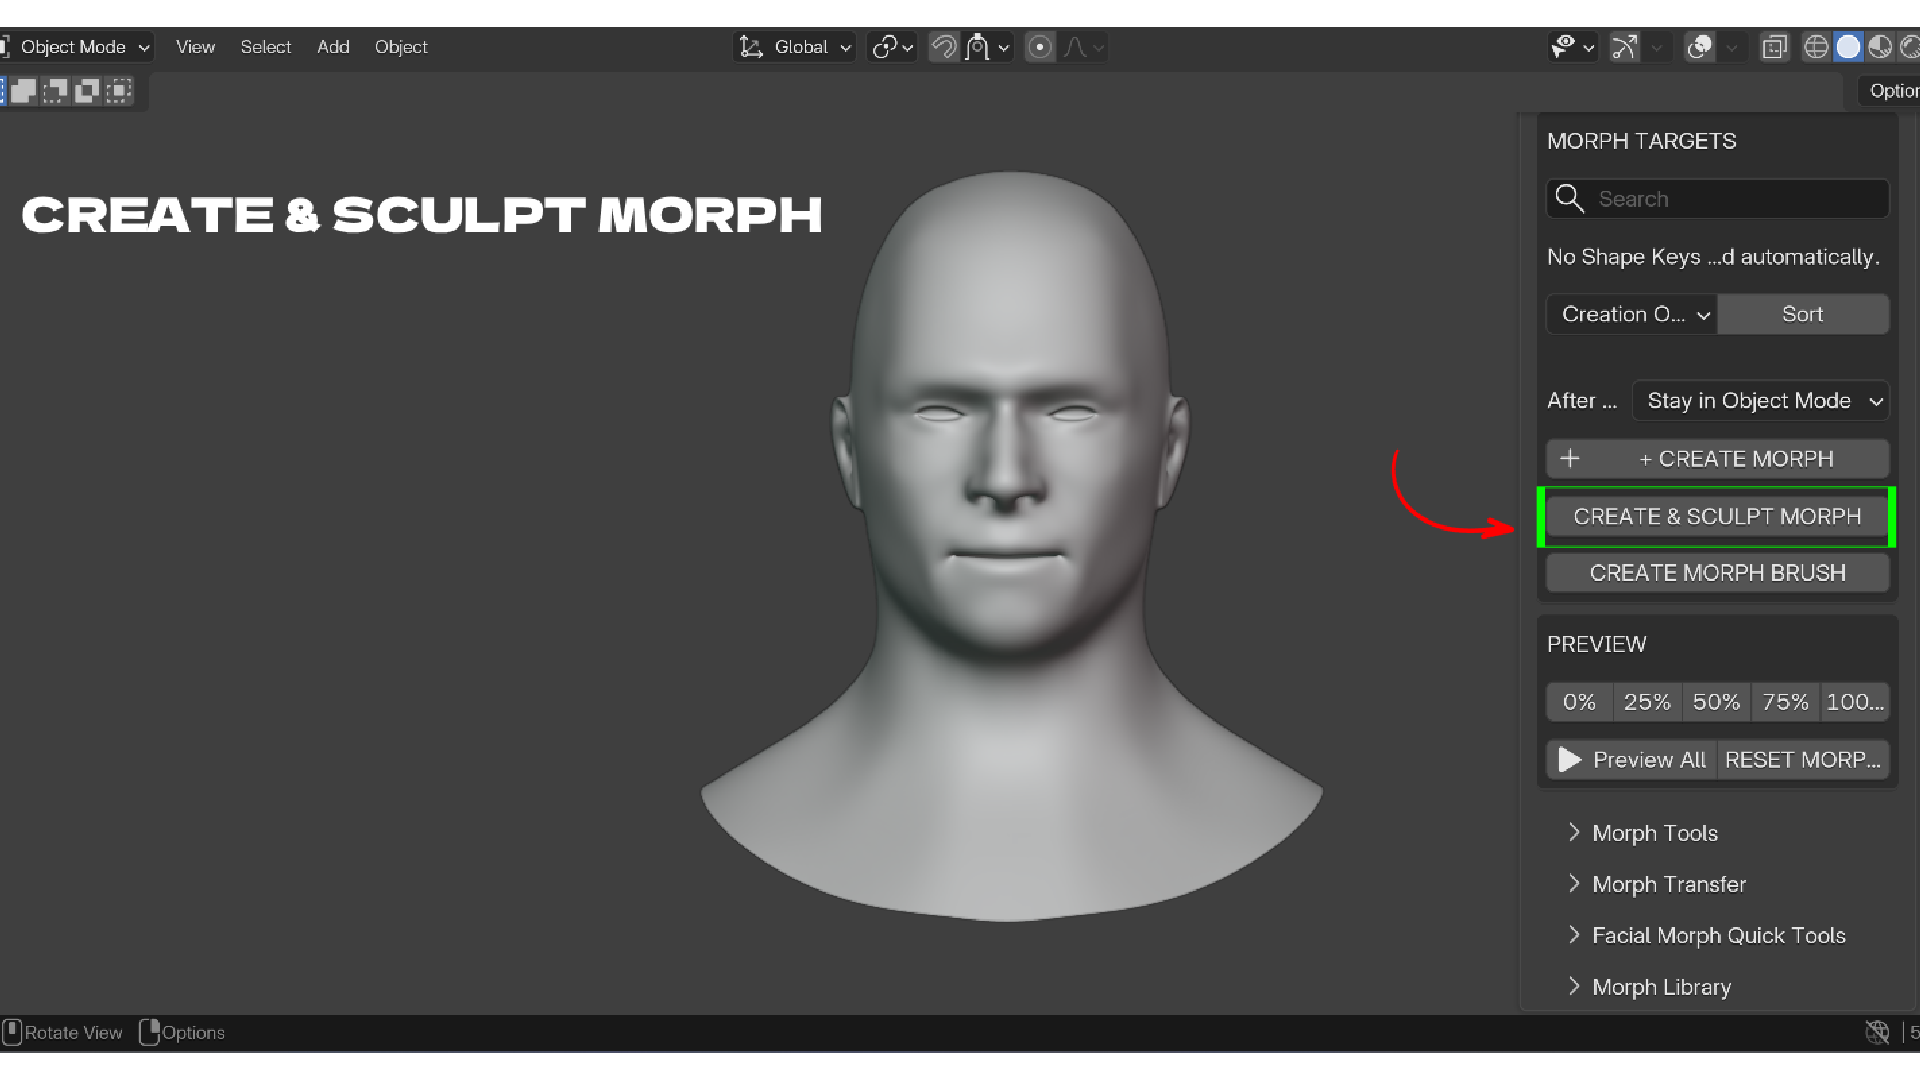
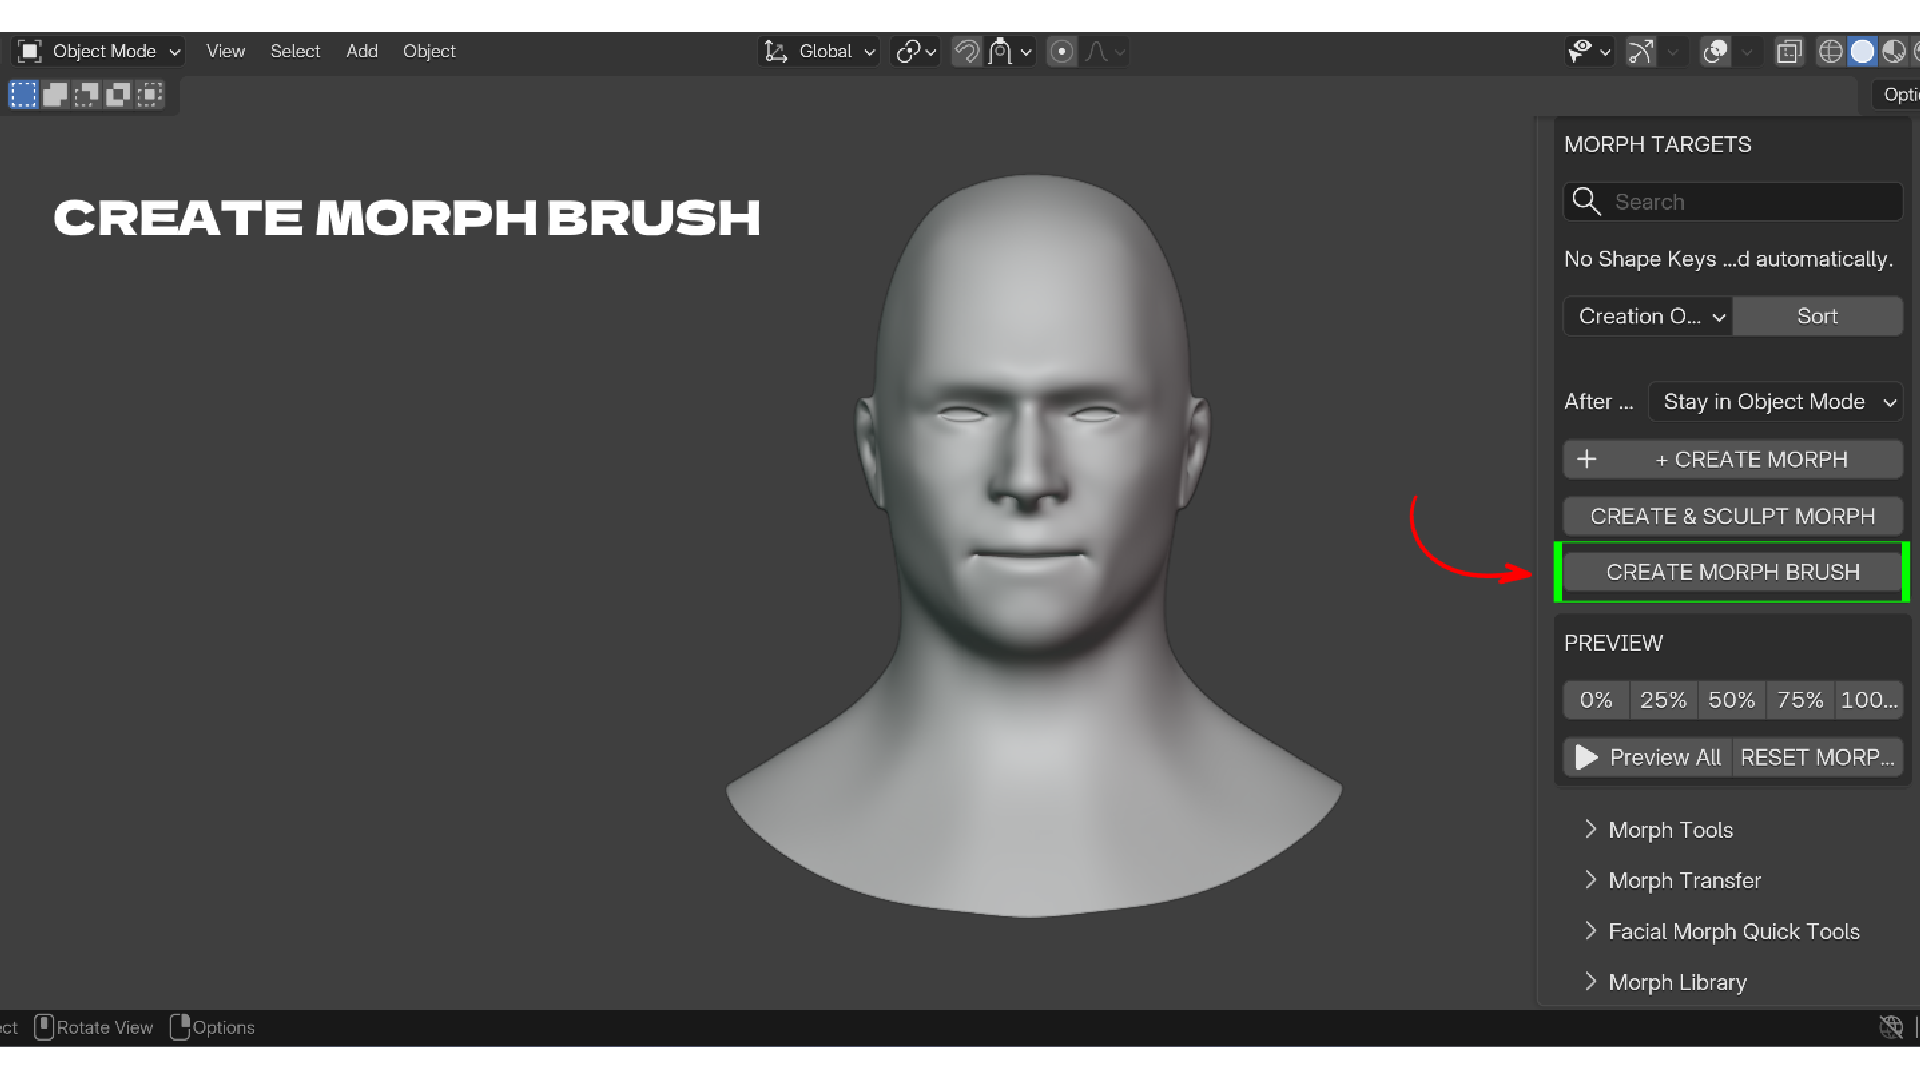
Create and sculpt in one step "Create & Sculpt Morph" adds a Shape Key from Basis, isolates it with Show Only Shape Key, and drops you straight into Sculpt Mode. "Create Morph Brush" does the same on your currently selected Shape Key, so you can jump back into an existing morph with native sculpt brushes instead of starting over. When you're done, Save Morph restores every other morph's value and your previous mode automatically — nothing gets left at the wrong influence by accident.
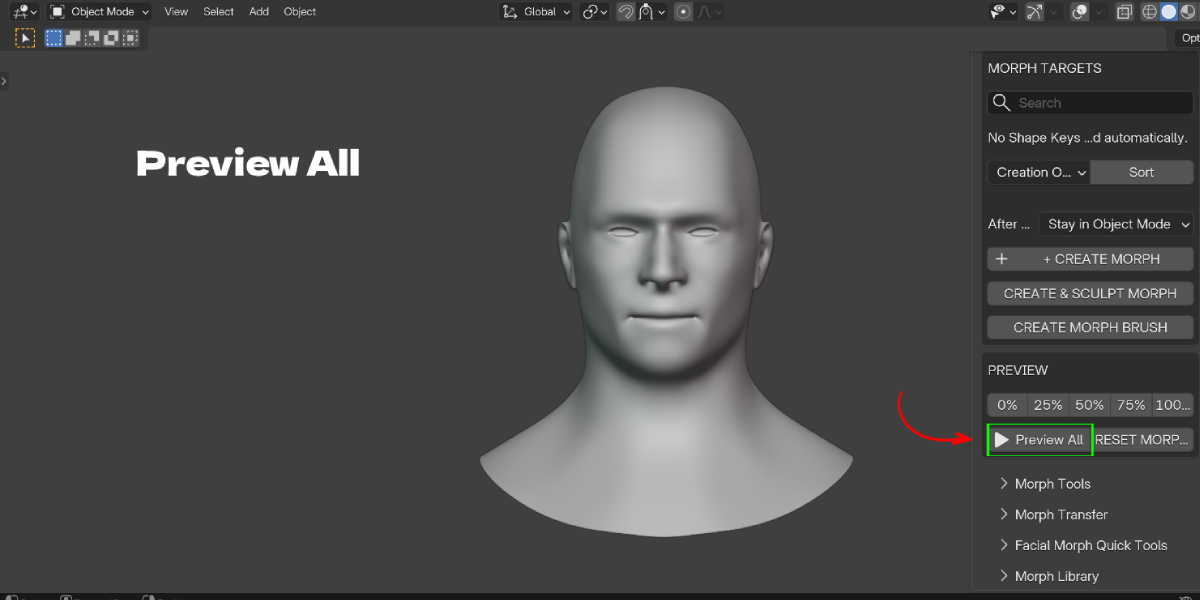
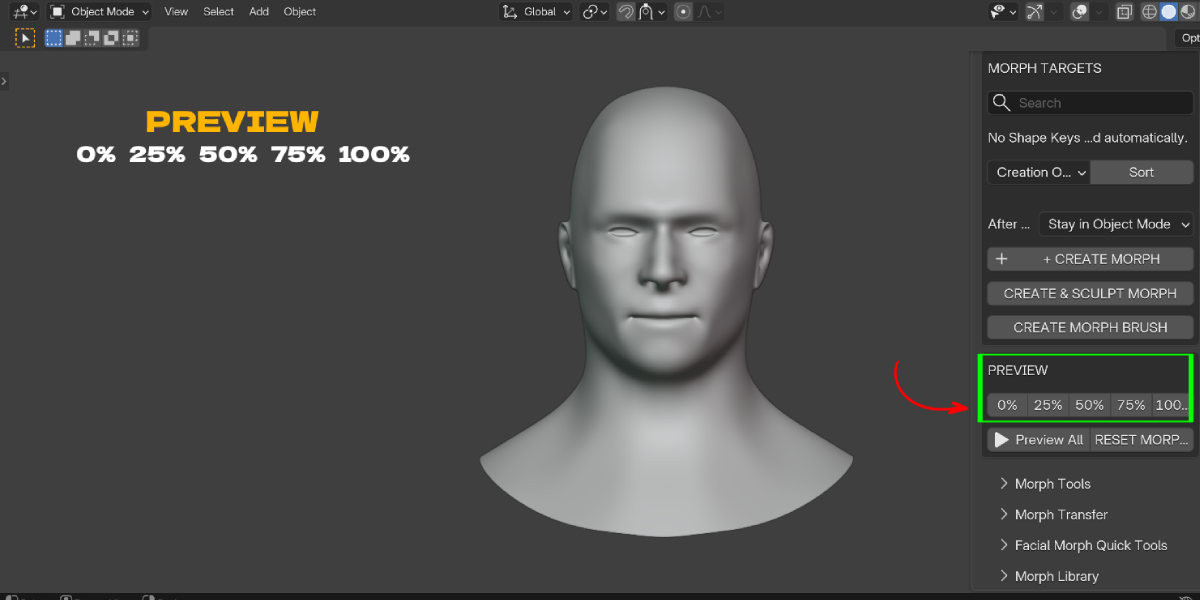
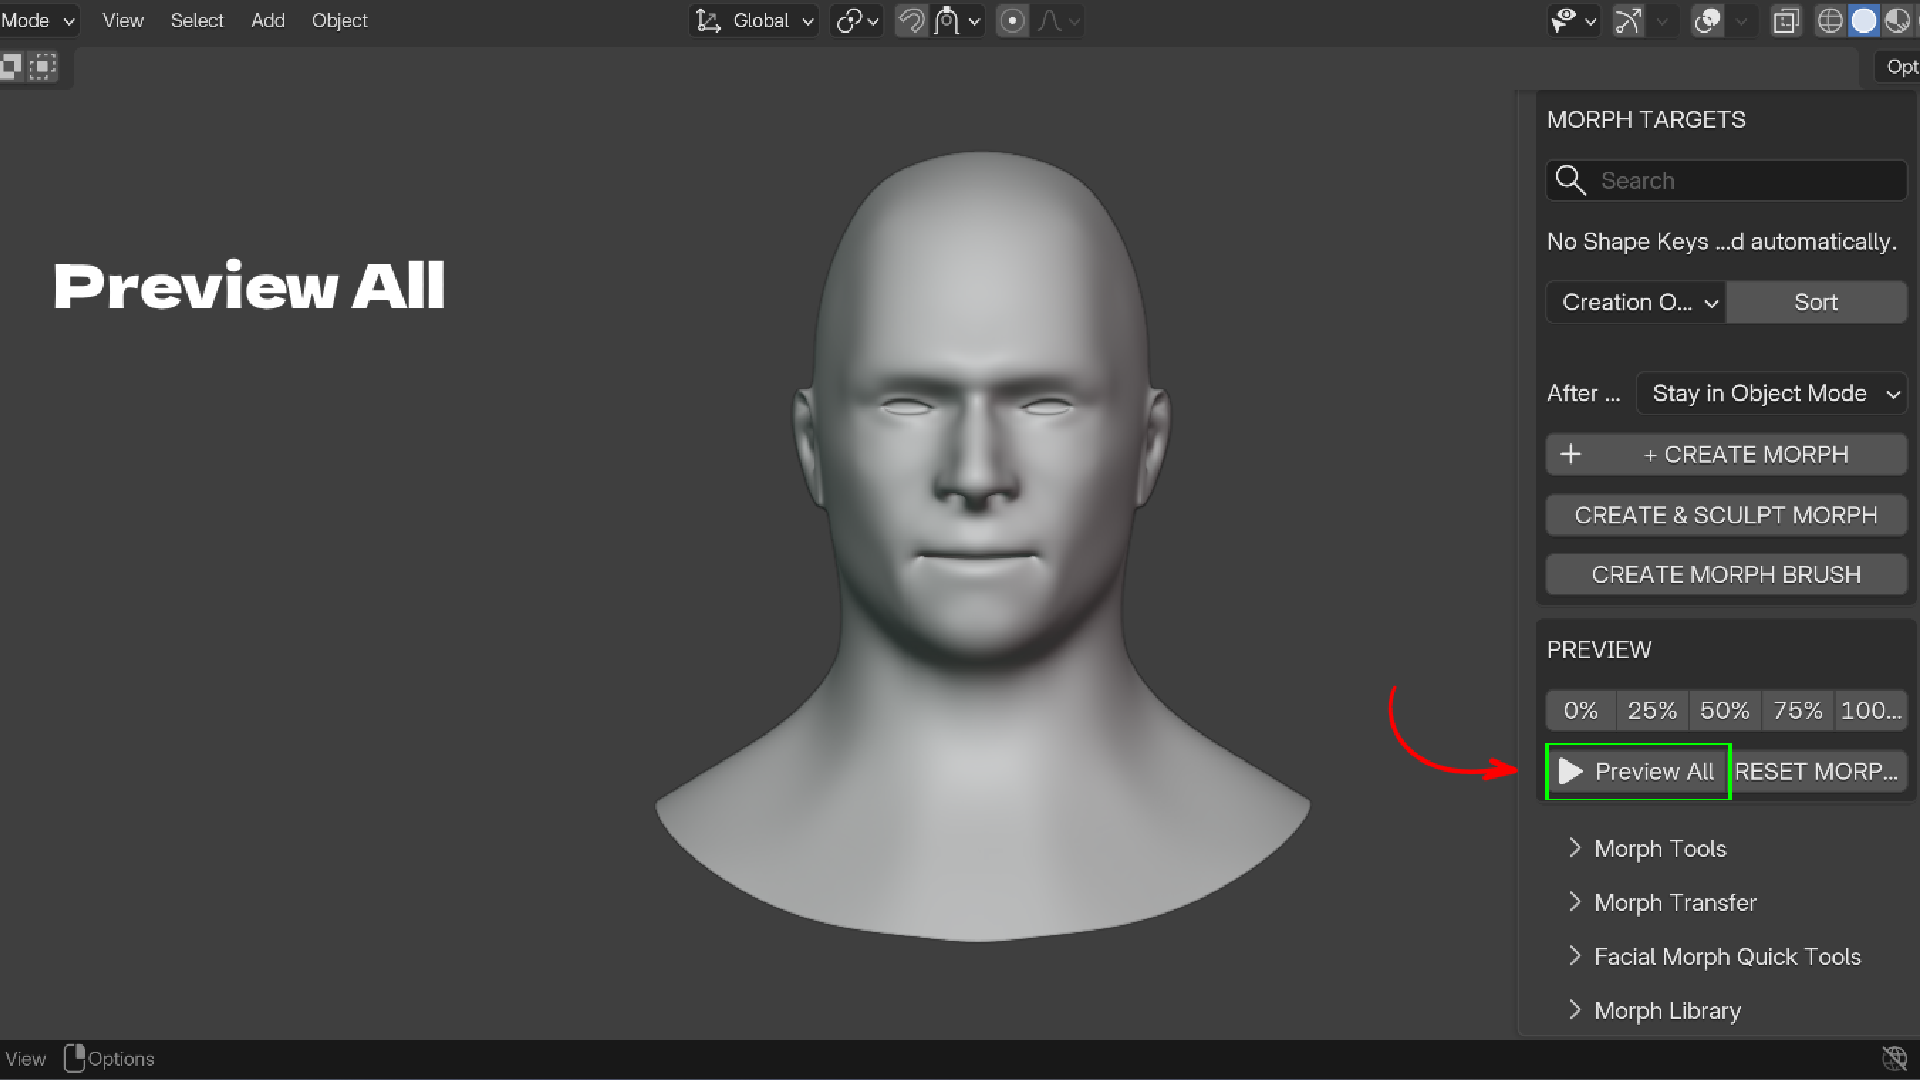
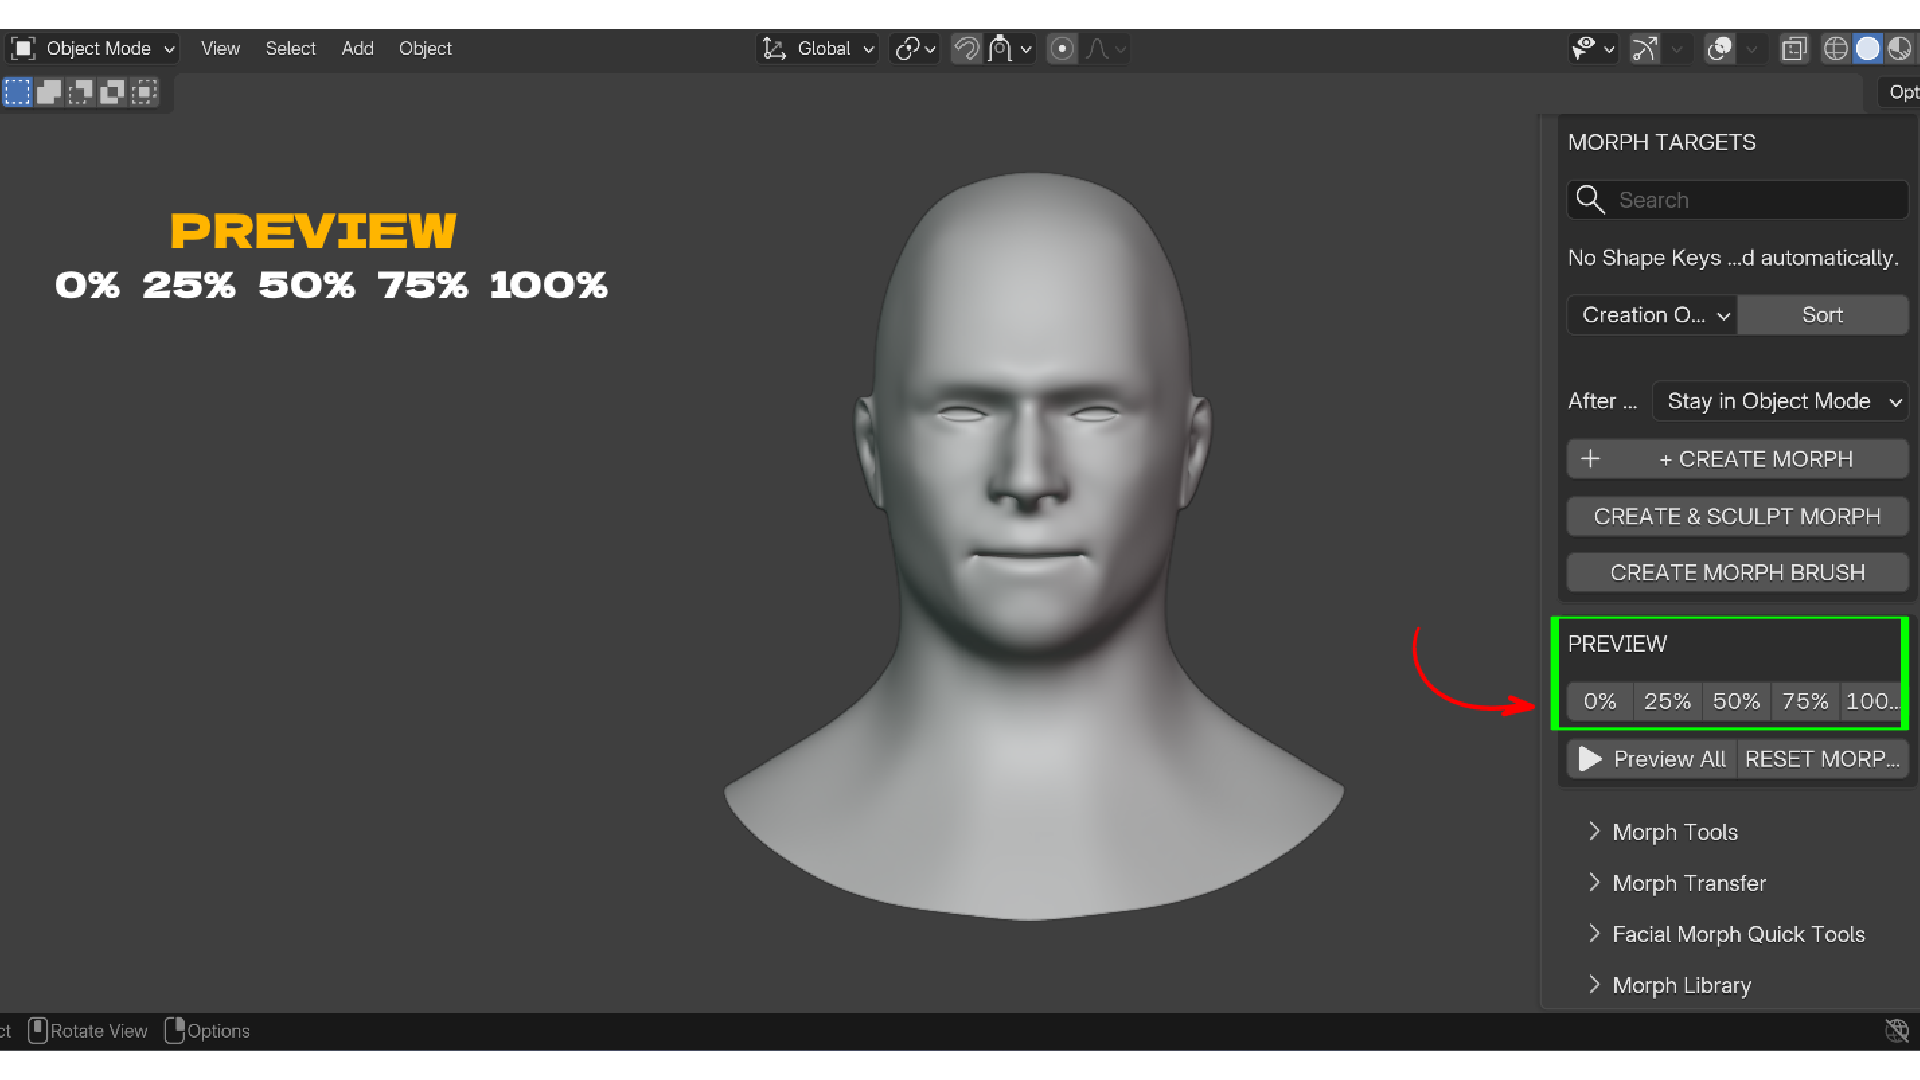
See the shape before you commit to it One-click preview buttons at 0%, 25%, 50%, 75%, and 100% isolate the active morph at that exact influence. Preview All cycles every enabled morph at full strength on a timer so you can flip through a character's whole expression set without touching a single slider, then Esc restores everything to where it was.
Mirror without re-sculpting Three mirror tools cover three different needs. Mirror Morph copies a one-sided sculpt (say, a left cheek raise) to the opposite side using nearest-vertex matching against the mirrored Basis — with an adjustable tolerance for meshes that aren't perfectly symmetric. Symmetrize Morph forces an existing morph to be symmetric by overwriting one side from the other, useful for cleaning up a sculpt that drifted off-axis. Full Mirror (Swap) calls Blender's own native Shape Key mirror operator when you just need a straight left/right swap. You set which side is "character left" once, and every mirror tool respects it.
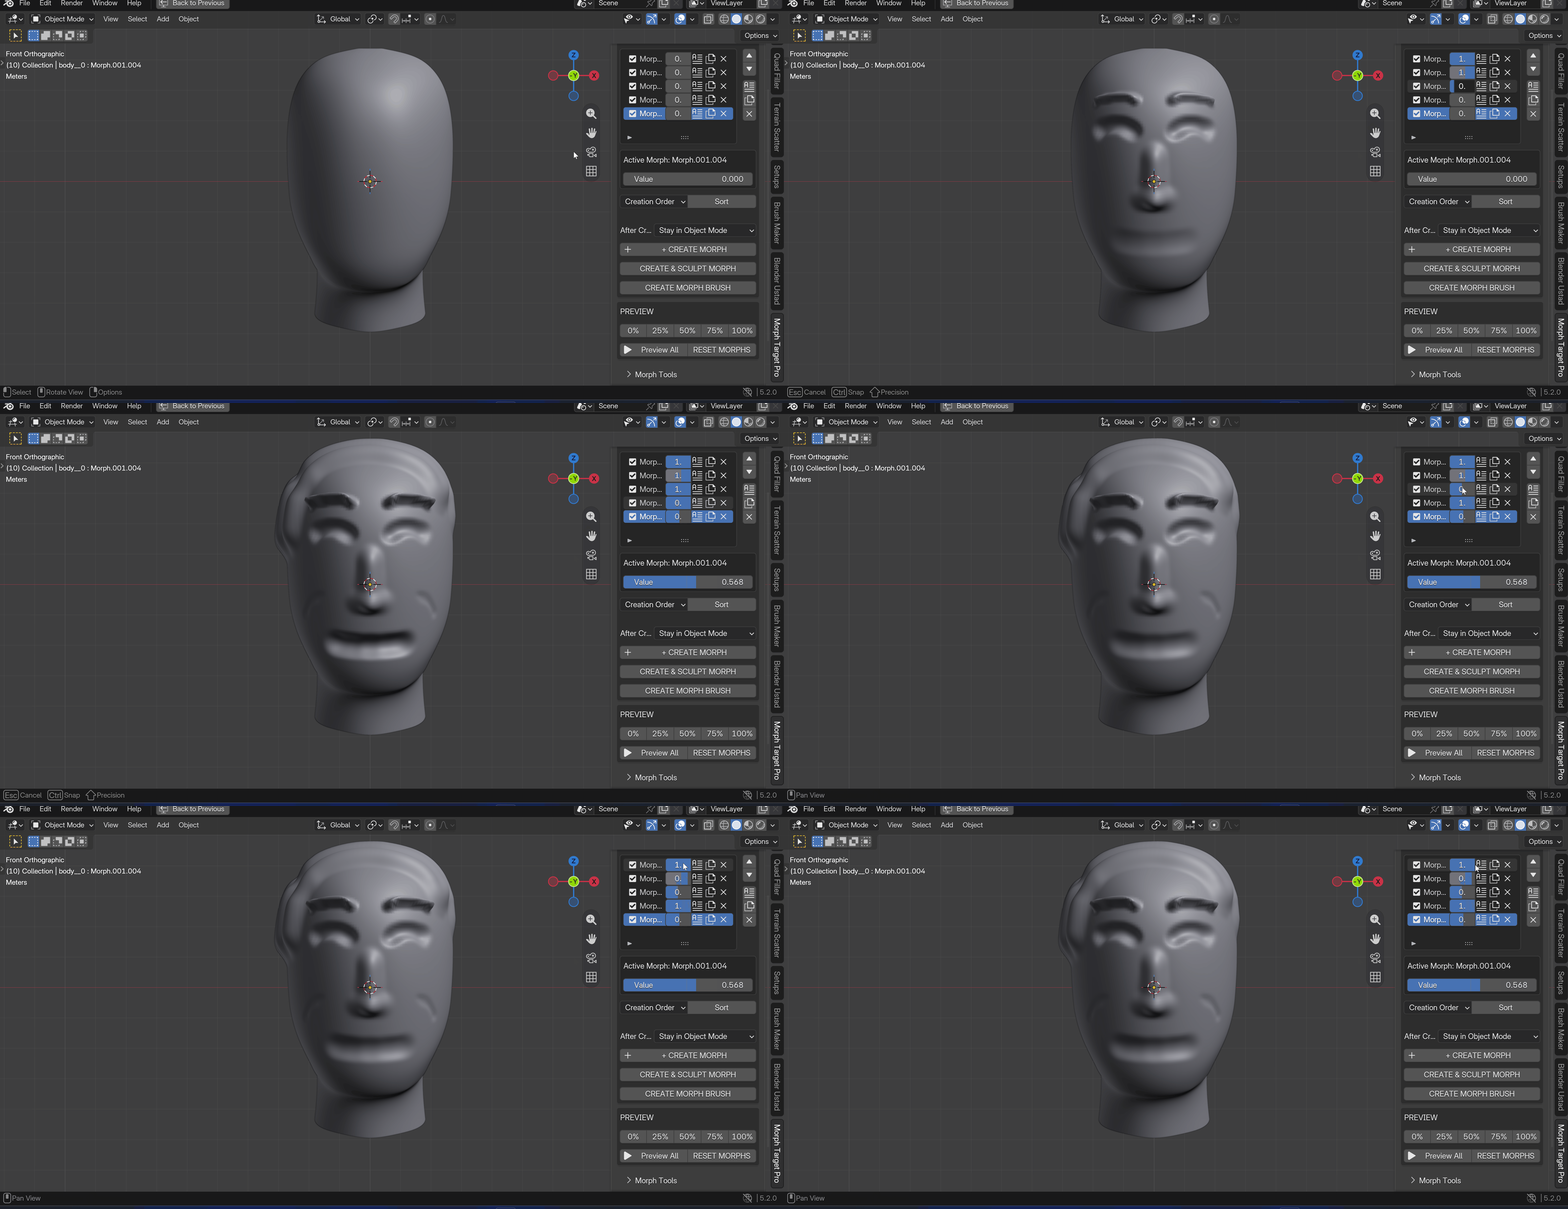
Move a morph library between meshes Built a full set of visemes or facial morphs on one mesh and need them on a topology-matched variant — a different body type, a retopologized version, a base mesh update? Morph Transfer copies Shape Key offsets by vertex order, with an explicit compatibility check (vertex count plus optional strict topology/connectivity matching) before anything happens, so you get a clear error instead of a silently broken morph. Transfer the active morph or the whole set, and choose whether to overwrite morphs that already exist on the target.
Catch the morphs that shouldn't be there As a rig grows, empty Shape Keys, duplicate sculpts saved under a different name, and forgotten unused morphs pile up quietly. Cleanup Scan checks every non-Basis morph for near-zero displacement, duplicate geometry data, likely-unused candidates (zero value, no animation, not used as another key's Relative Key), and duplicate-style names like Smile.001. Nothing is deleted automatically — you review the findings, check the ones you agree with, and Apply Selected Cleanup removes only those.
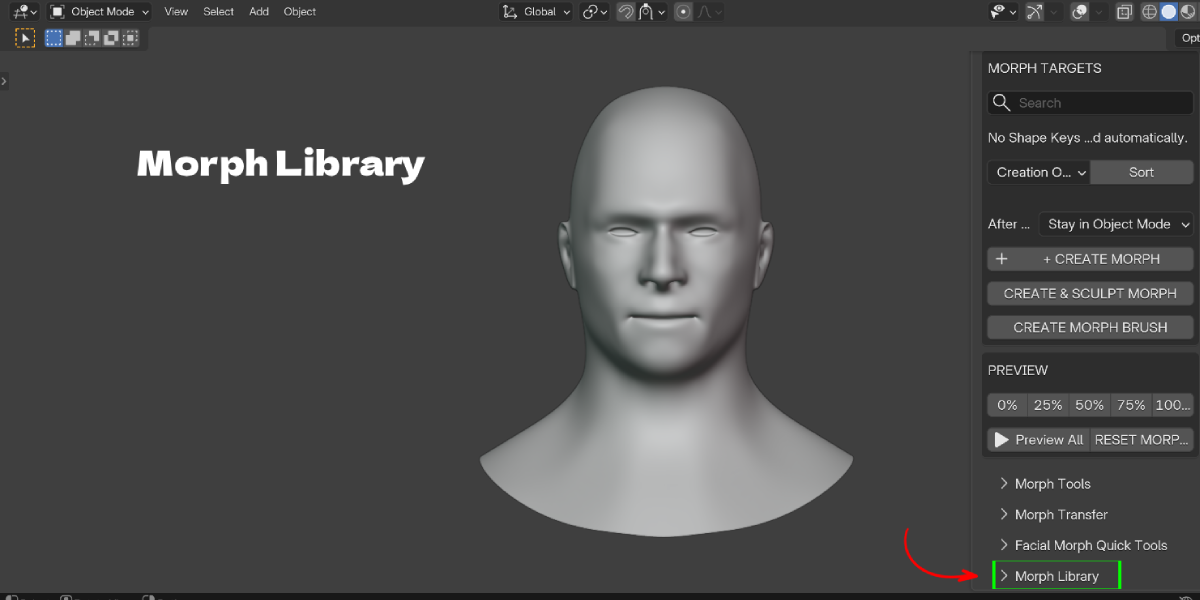
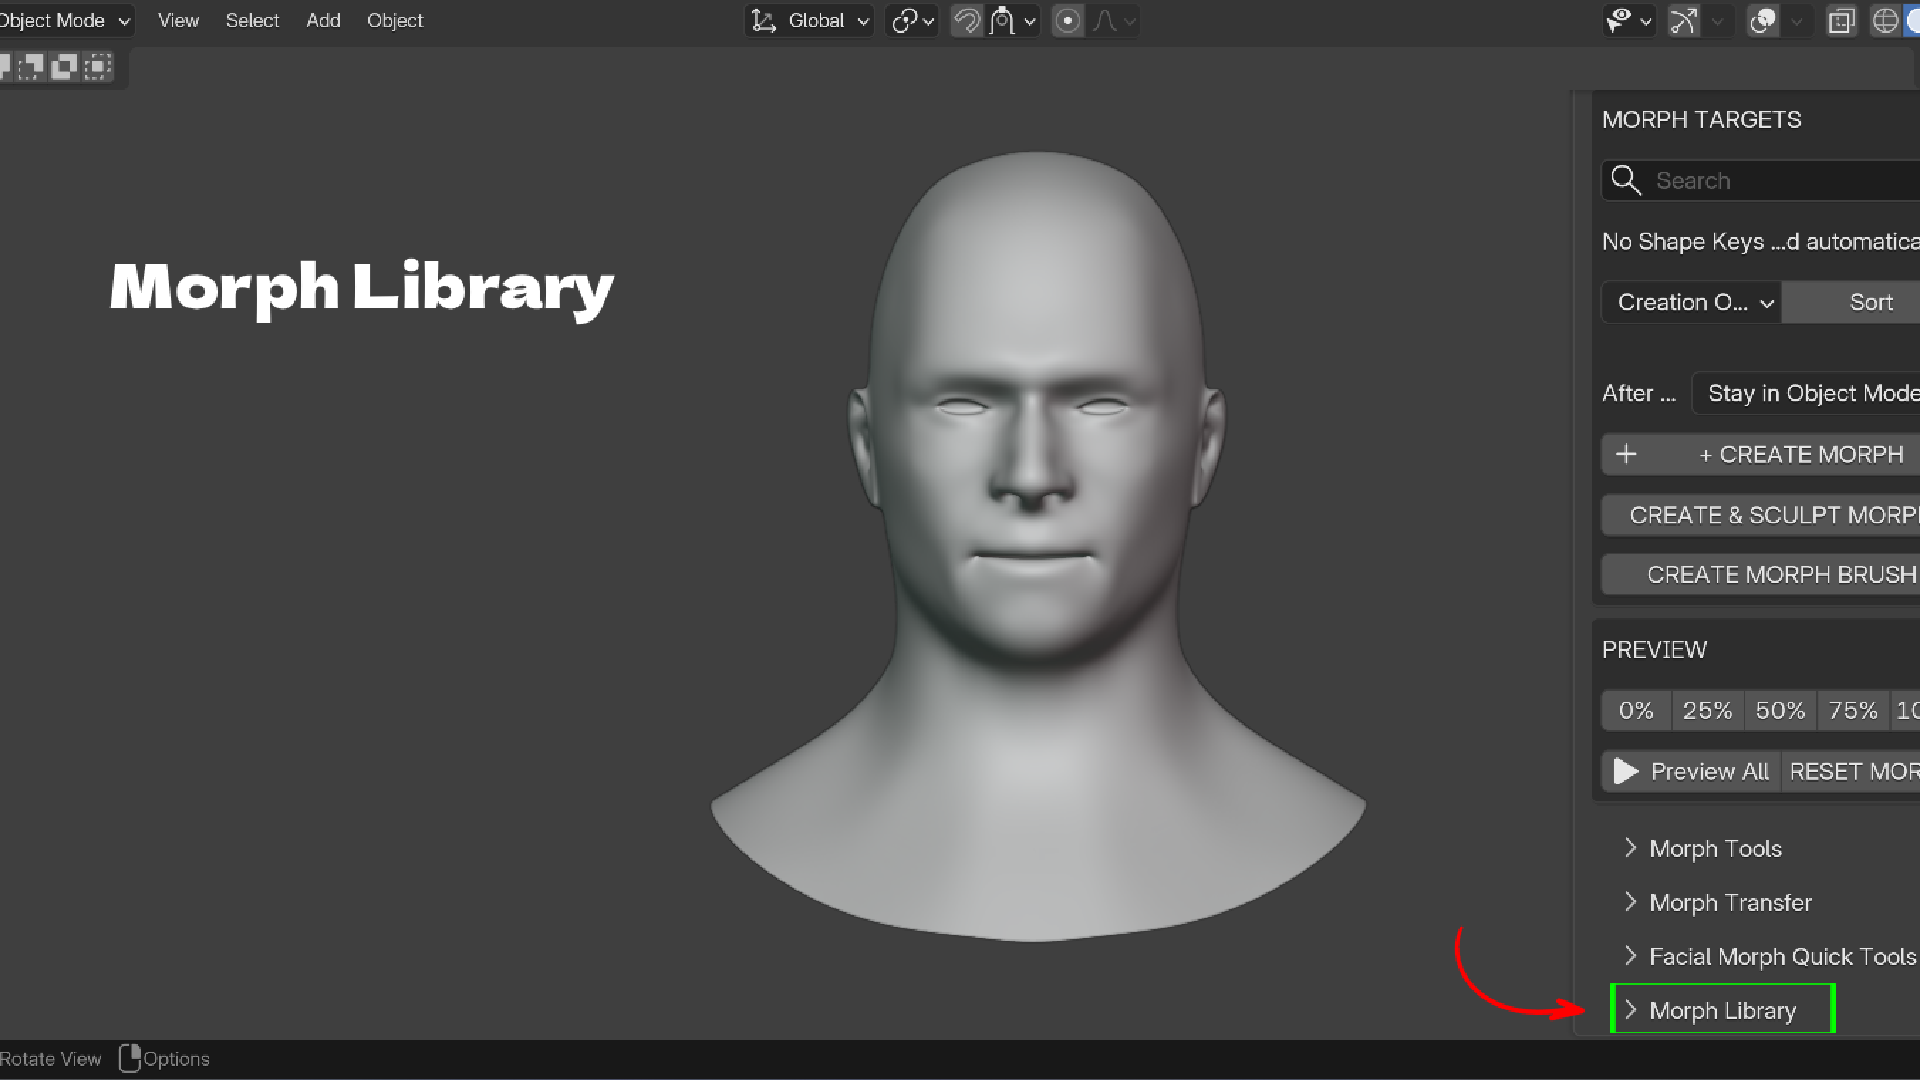
Reuse morphs across projects Save any Basis-relative morph to a local library stored in your Blender user configuration. Library presets store the actual sparse vertex deltas — not a screenshot or a placeholder — tagged by category (Face, Mouth, Body, Custom) and searchable by name. Apply a preset to a new mesh and Morph Target Pro checks vertex count and a topology hash first, so you're not silently applying a morph built for a different mesh.
Start facial rigs faster Eight one-click shortcuts — Smile, Frown, Angry, Blink L, Blink R, Mouth Open, Mouth Close, Eye Squint create a real, named Shape Key and drop you into Sculpt Mode immediately. It's a starting point for a standard facial morph set, not a scripted result: you still sculpt the shape, the addon just removes the setup steps in between.
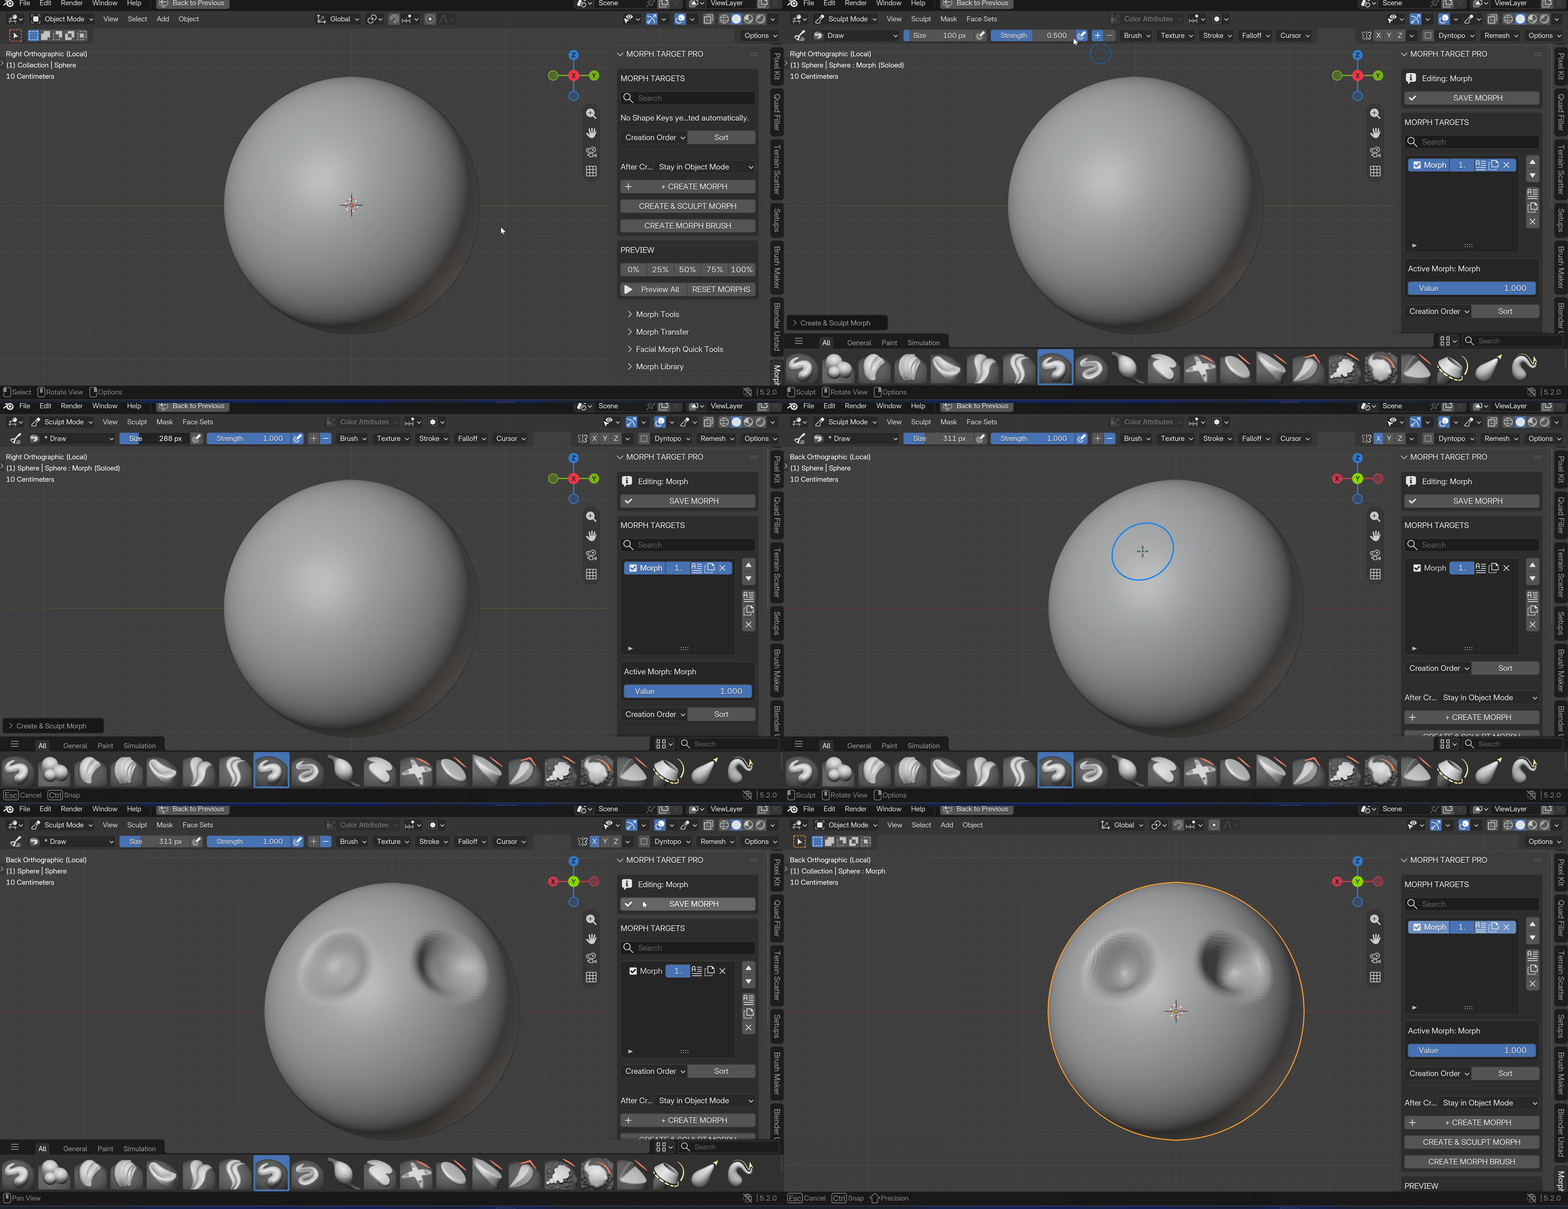
Manage the list without leaving the panel Rename, duplicate (with all point data), delete (with a check that blocks deleting a morph another key depends on as its Relative Key), reorder, and sort —alphabetically or by the order you created them in. A search field filters long morph lists instantly. Reset Morphs zeroes every influence in one click when a preview session leaves values scattered.
Why It's Built This Way
Morph Target Pro doesn't reimplement sculpting, doesn't store morphs in a proprietary format, and doesn't hide Blender's own Shape Key value control. The active morph's real value slider sits right in the panel, still bound to Blender's animation and driver system. That's a deliberate choice: your Shape Keys stay compatible with FBX/glTF export, Unreal and Unity morph target pipelines, rigging add-ons, and every other tool that reads Blender's native Shape Key data. Morph Target Pro is the workflow layer on top — not a replacement underneath.
Requirements
- Blender 4.2+ (Extension) or Blender 3.6+ (legacy add-on install)
- Works on any mesh using Relative Shape Keys (Blender's default and the standard for game/animation morph targets)
- No external dependencies
KEY FEATURES WITH BENEFITS
| Feature | Benefit |
|---|---|
| Create & Sculpt Morph / Create Morph Brush | Skip the manual Shape Key + Show Only Shape Key + Sculpt Mode setup. One click gets you sculpting the actual morph, and Save Morph restores every other value automatically. |
| Live Preview (0–100%) and Preview All | Judge a morph's silhouette at any influence instantly, or auto-cycle a full expression set to review a character's range without manually toggling sliders one by one. |
| Directional Mirror & Symmetrize | Sculpt one side of a face once. Mirror it to match, or force symmetry on a sculpt that drifted — both use real vertex-position matching, not a topology guess. |
| Full Mirror (Swap) | Native Blender mirror-swap available in the same panel when you need a straight left/right flip instead of a copy. |
| Compatible-Mesh Morph Transfer | Move a whole facial rig's worth of morphs to an updated or variant mesh in one operation, with compatibility checks that stop bad transfers before they happen instead of after. |
| Cleanup Scan | Find empty, duplicate, and likely-unused morphs before a rig ships bloated — review every finding and choose exactly what gets deleted. |
| Local Morph Library | Save real sculpted morphs (not placeholders) once, reuse them across meshes and projects, organized by category and protected by a topology check on apply. |
| Facial Morph Quick Tools | Eight named starting points for a standard viseme/expression set, each dropping straight into Sculpt Mode. |
| Rename, Duplicate, Delete, Move, Sort, Search | Manage a 50+ morph list without ever opening Object Data Properties — everything lives in one sidebar tab. |
| Native Shape Key data underneath | Every morph is a standard Blender Shape Key. Exports, drivers, animation, and other add-ons keep working exactly as they do without this addon installed. |
WORKFLOW BENEFITS
- Fewer mode switches. Sculpting a morph normally means several manual steps between Object Mode and Sculpt Mode for every single expression. Morph Target Pro collapses that into one click and restores state automatically when you save.
- Symmetry without redoing work. Directional mirror and symmetrize mean you sculpt a face's asymmetry once, not twice.
- Safer batch operations. Transfer and Cleanup both run compatibility checks and require explicit selection before anything destructive happens — you don't lose morphs to a silent mismatch or an accidental delete.
- Rigs stay lean. Cleanup Scan surfaces the empty and duplicate morphs that accumulate naturally as a character evolves, so file size and export complexity don't creep up unnoticed.
- Morphs move with your pipeline, not around it. Because everything is a native Shape Key, your existing FBX/glTF export setup, game-engine morph target pipeline, and rigging tools need zero changes to keep working.
- Reusable expression sets. A face morph library saved once on a hero character can be applied to every topology-matched variant afterward, instead of re-sculpting standard expressions per character.
USE CASES
- Game character artists building blend shape sets (visemes, facial expressions) for Unreal, Unity, or Godot morph target import.
- Character riggers who need clean, mirrored, correctly named Shape Keys before handing a mesh to an animator.
- Facial animation / lip-sync setups that need a consistent viseme library across multiple characters sharing a base topology.
- Indie and solo devs managing morph libraries across several characters without rebuilding expressions from scratch each time.
- Technical artists doing mesh revisions who need existing morphs transferred onto an updated or retopologized version of a character.
- Anyone cleaning up an inherited or long-running character file with dozens of Shape Keys and no record of which ones are actually used.
