 chelik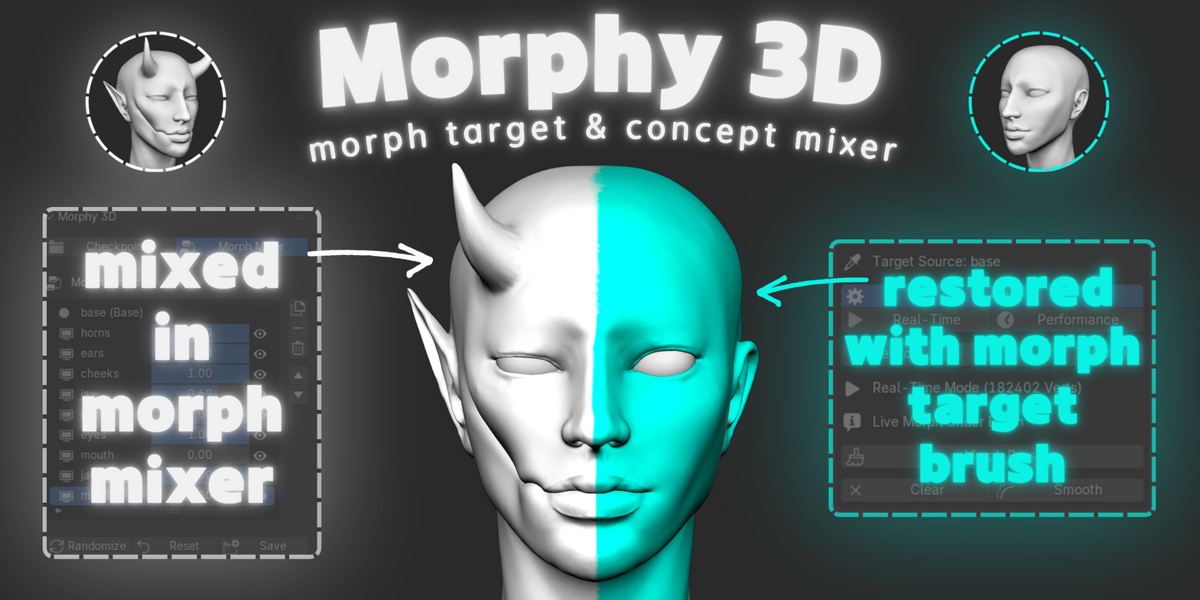
MORPHY 3D
OFFICIAL DOCUMENTATION
https://superhivemarket.com/creator/products/morphy-3d/previewhttps://superhivemarket.com/creator/products/morphy-3d/previewhttps://superhivemarket.com/creator/products/morphy-3d/previewComplete user manual for Morphy 3D: Morph Target & Concept Mixer. This guide covers installation, shortcuts, core sculpting workflows, the dual-engine architecture, parametric mixing, and production export pipelines for Blender 4.2 LTS, 4.3, 5.0, 5.2 and newer.
//Installation & Activation
Open Blender and navigate to Edit > Preferences > Addons. Click the arrow icon in the top right header, choose Install from Disk, select the downloaded morphy_3d.zip archive, and enable the checkbox next to the addon.
To access the interface, open any 3D viewport in sculpt mode, press [N] on your keyboard to reveal the sidebar, and switch to the Morphy 3D tab located at the top.
//Shortcuts & Controls
morphy 3D includes dedicated keymaps and brush modifiers for distraction-free full-screen sculpting:
Hotkey [D] Opens the radial 3D pie menu in sculpt mode with all core operators, brush toggles, and mask utilities.
Hotkey [E] in performance mode, applies the painted cyan morph zone directly into raw mesh geometry via numpy simd.
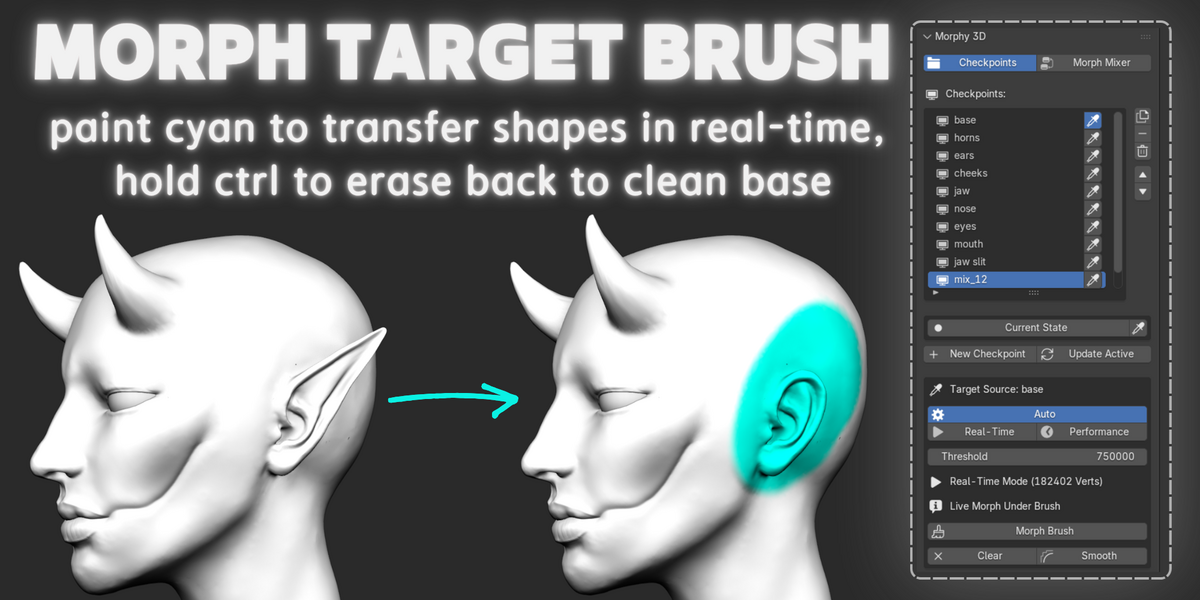
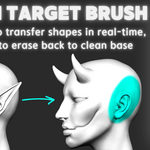
Hold [Ctrl] while brushing with morph brush, seamlessly erases the cyan stroke back to the clean active baseline shape.
Hold [Shift] runs smooth brush over the cyan mask to create a soft, gradual transition boundary.
//Quick Start Workflow
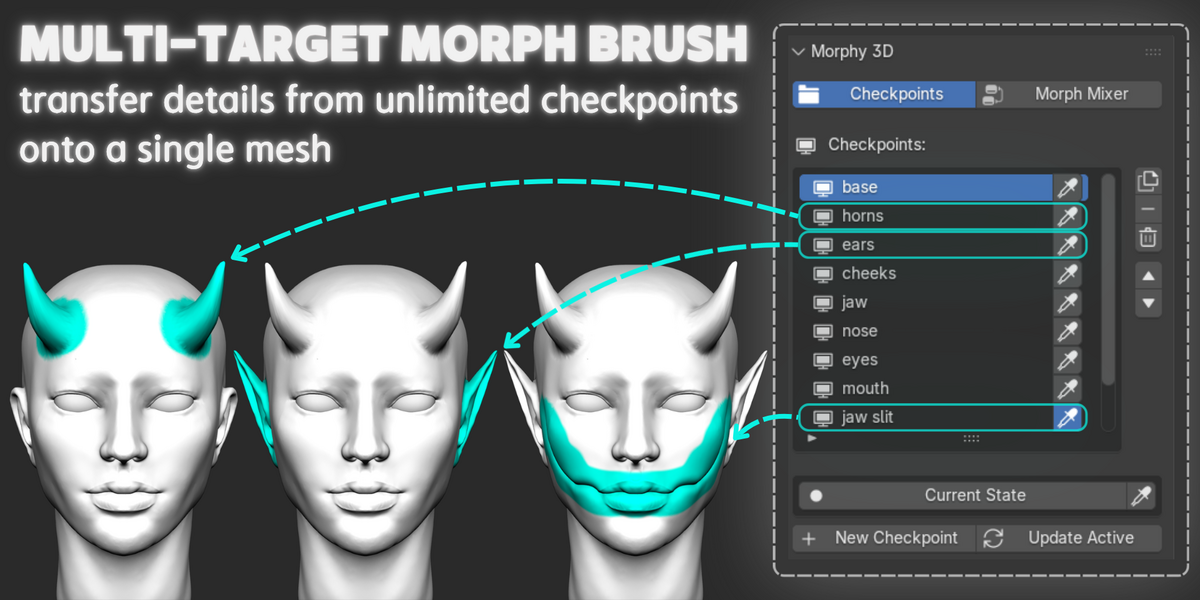
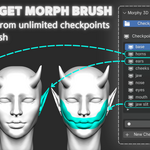
Step one: open your sculpted model in sculpt mode. in the Morphy 3D panel, click New Checkpoint to register checkpoint_00 as your permanent, immutable base mesh.
Step two: sculpt secondary features, expressions, ears, or horns on your model using any standard sculpting brushes like clay strips or grab. Click New Checkpoint again to capture your modified form into a new layer. Double-click any slot in the list to rename it.
Step three: to transfer shapes, click the eyedropper icon next to your desired target checkpoint. Morphy 3D automatically samples that layer, commits any previous live strokes, and equips the morph brush with neon cyan paint.
Step four: paint over the areas you want to transfer. Clicking another eyedropper seamlessly commits the previous feature and switches to the new target. To selectively erase any transferred feature back to neutral, sample your base checkpoint with the eyedropper and paint over it.
//Adaptive Dual-Engine Architecture
Morphy 3D includes an adaptive engine mode that switches between real-time and performance workflows based on your polygon count. The threshold is set to 750,000 vertices by default, but you can adjust this value anytime depending on your computer hardware performance.
Real-Time Mode (meshes under 750k vertices):
Deformation occurs live directly under your stylus tip via a lightweight vector geometry nodes graph. When you switch to clay strips or any standard sculpt brush, the background guardian automatically bakes the evaluated shape into the raw mesh and clears the modifier.
Performance Mode (750,000+ polygons by default):
In performance mode, deformation does not occur in real-time under the brush. you paint the morph zone onto the mesh, and then press [E] or click apply to transfer the shape directly into the geometry.
//Parametric Concept Mixer
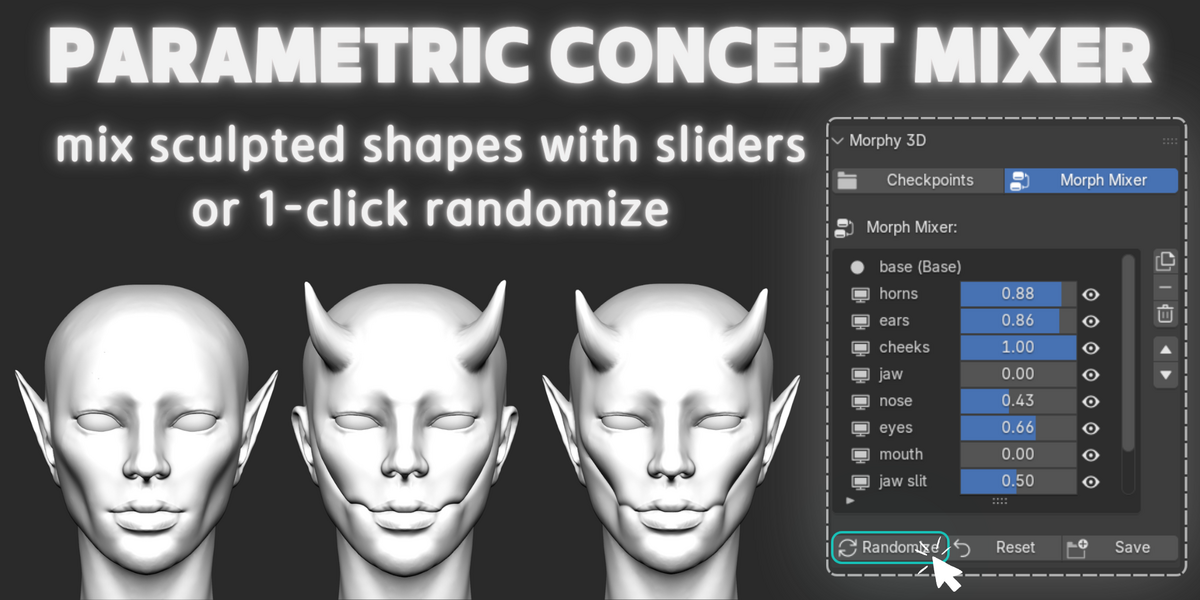
The morph mixer tab provides real-time multi-channel parametric blending across your entire checkpoint library:
Weight sliders: blend multiple anatomical checkpoints simultaneously from 0.0 to 1.0 with real-time vector math.
Eye icons: temporarily mute individual layers without losing slider positions.
Randomize button: procedural generator that instantly shuffles active layer weights to synthesize unexpected character archetypes.
Reset button: immediately zeroes all weight channels back to the baseline neutral mesh.
Save button: bakes the current visual hybrid mix into a clean, permanent new checkpoint layer in your library.
//Smart Stash Protection
Accidental progress loss is solved at the architecture level. if you sculpt new details on an active checkpoint and switch to another version without manually clicking update active, Morphy 3D detects the vertex coordinate delta and automatically stashes your live sculpting into the dedicated current state dock at the bottom of the list. you can browse your version gallery freely knowing your unbaked sculpting is safe and ready for one-click recovery.
//Production Export Suite
Morphy 3D connects your sculpting directly into animation and game production pipelines:
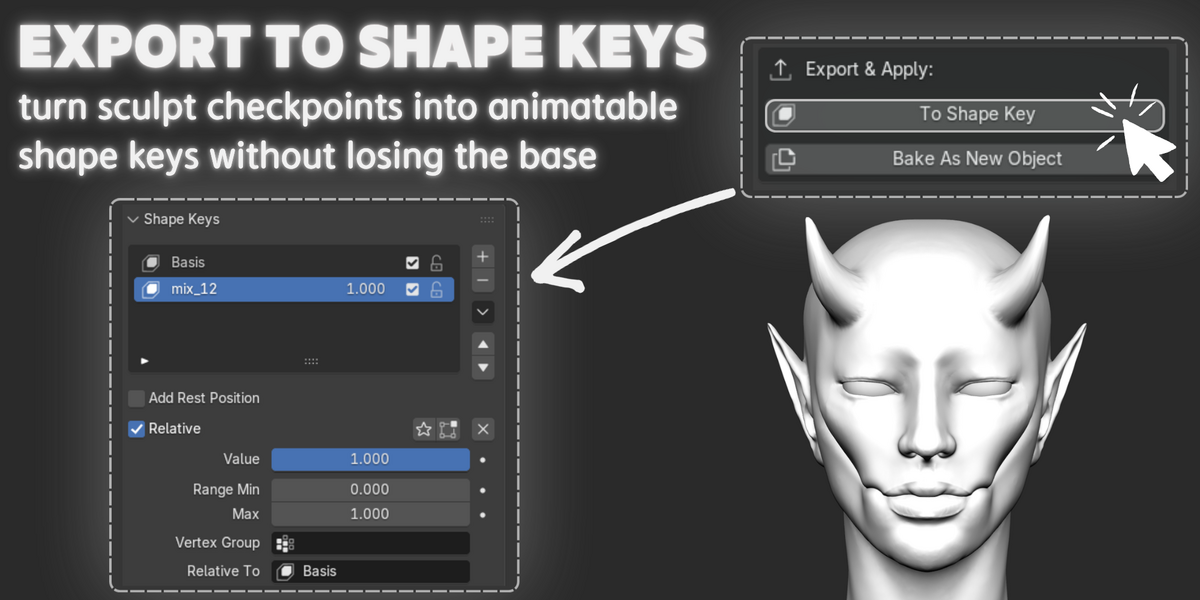
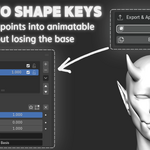
To shape key: transfers your active checkpoint or evaluated mix directly into native blender shape keys with automatic basis alignment and zeroed initial weights, ready for facial rigging, vrchat, unreal engine, and unity.
Bake as new object: generates an in-place clean duplicate mesh in global space, neatly organized inside an isolated morphy bakes collection in the outliner.
//Technical Guidelines & Best Practices
Topology & remeshing: dynamic topology (dyntopo) is not supported and will be automatically disabled to protect your checkpoints. however, voxel remeshing works normally without breaking your workflow.
Dyntopo auto-fuse: activating morphy 3d operators automatically disables dyntopo to prevent accidental vertex count destruction.
Viewport shading: morphy 3d automatically sets viewport color to vertex attribute when painting. for optimal presentation during shape mixing, use matcap shading with cavity set to world.
$22
Have questions about this product?
Login to message
| Published | 1 day ago |
| Blender Version | 4.2 - 5.2 |
| Extension Type | N/A |
| Render Engine Used | Cycles, Eevee |
| License | GPL |
Discover more products like this
zbrush Brush blendshapes character Morph Sculpt anatomy sculpting morph target concept art shape keys Workflow