 Achat
Achat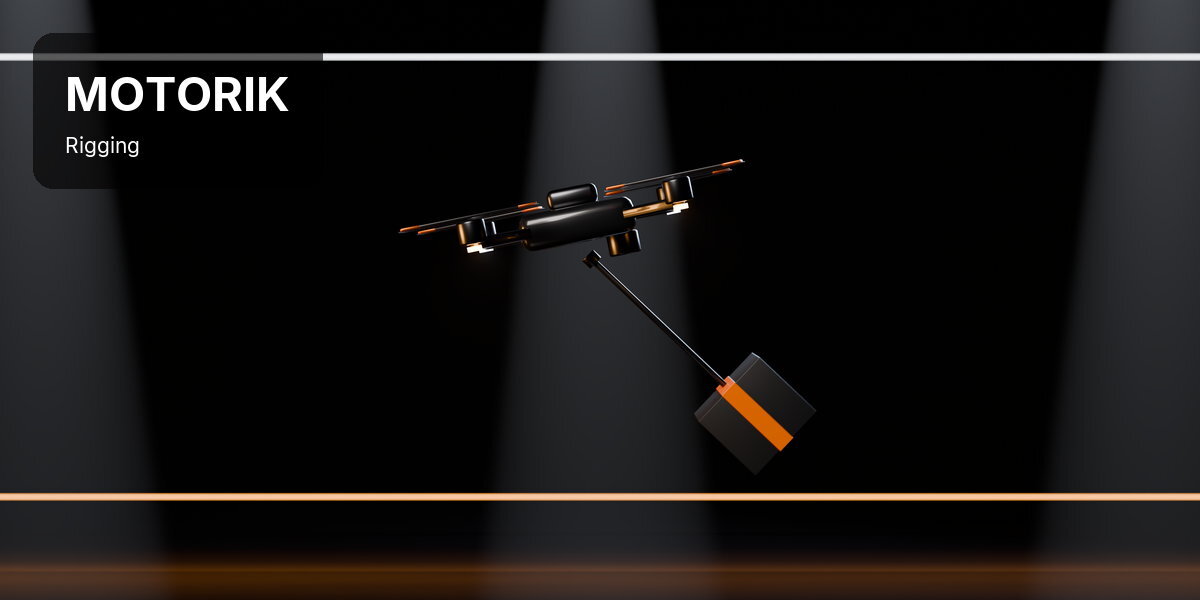
INSTALLATION
Blender > Edit > Preferences > Get Extensions > Install from Disk, pick the motorik .zip (or drag it into Blender). The panel is in the 3D Viewport sidebar (N), tab Motorik.
QUICK START
- Open the sidebar in the 3D Viewport (N) and click the Motorik tab.
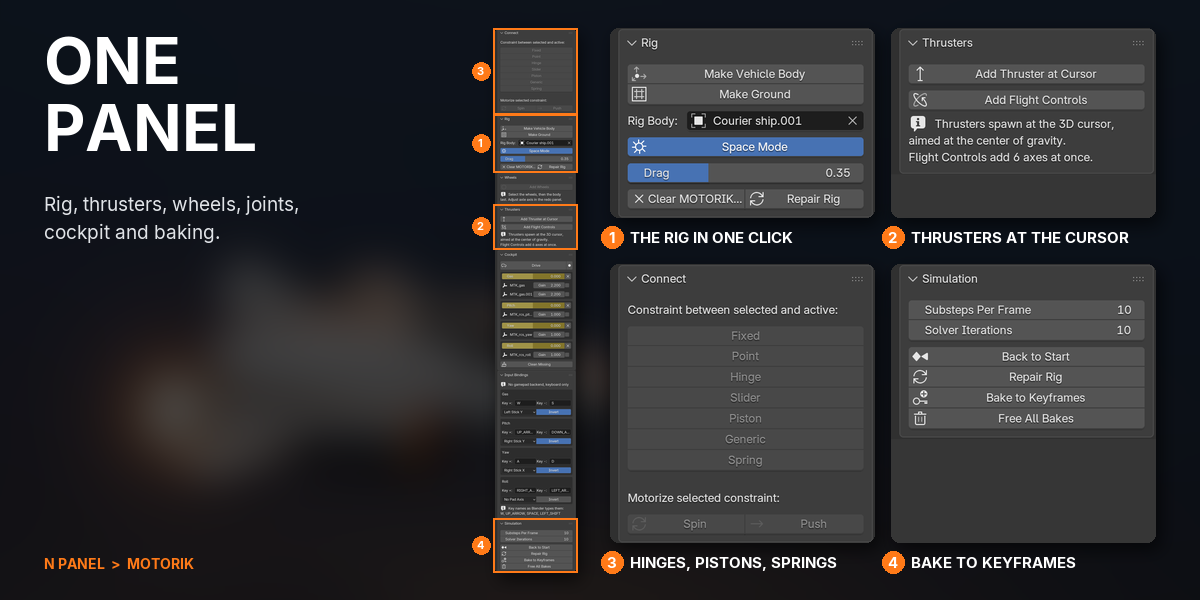
- Select your ship and click Make Vehicle Body. Its origin is the centre of gravity; other selected objects ride along as parts.
- Turn on Space Mode, Shift+right-click behind the ship to place the 3D cursor, and click Add Thruster at Cursor.
- Press Space and drag the thrust slider in the Cockpit, or press Drive and use W and S.
- Car or rover: select the wheels, then the body last, click Add Wheels, then select the floor and click Make Ground.
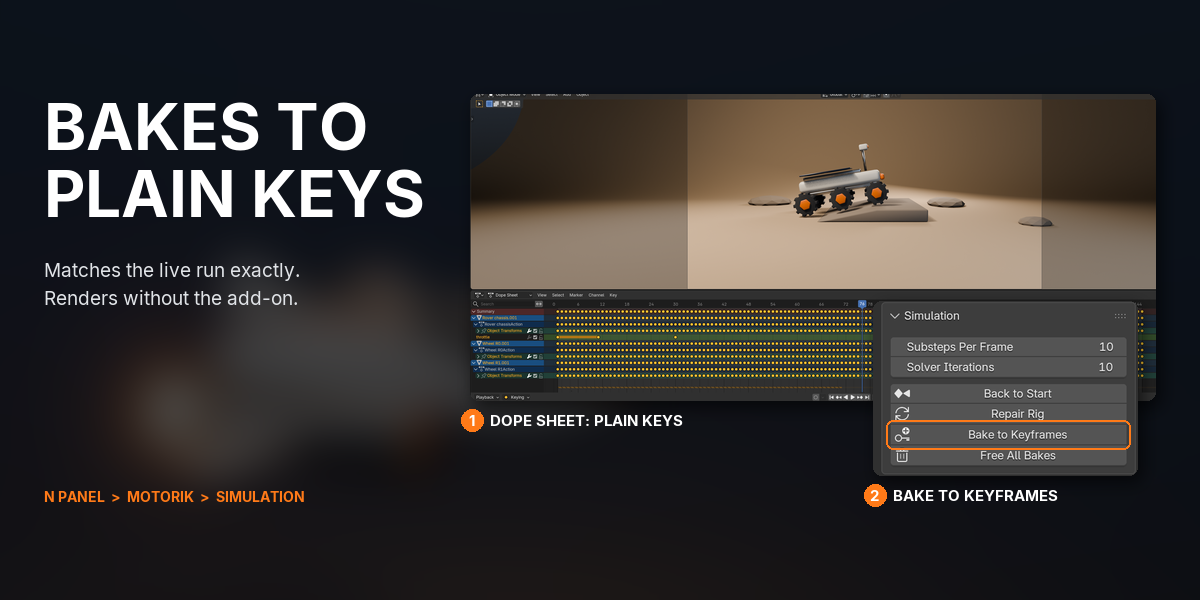
- When it looks right, open Simulation and click Bake to Keyframes.
FEATURES
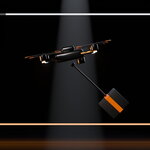
1A THRUSTER WHERE THE CURSOR IS

Place the 3D cursor where the engine sits and click Add Thruster at Cursor. It aims through the centre of gravity, so the ship flies straight and coasts when you let go. Space Mode turns gravity off in one click.


2SIX AXES OF FLIGHT
Add Flight Controls puts thrust, strafe, lift, pitch, yaw and roll on any body at once, each with its own slider and keys already bound.


3DRIVE IT LIVE, KEEP THE TAKE
Press Drive and fly with your keyboard or a gamepad while the simulation plays. Turn on Record and the take is saved as keyframes, ready to replay and bake.

4WHEELS IN ONE CLICK

Select the wheels, then the body, and click Add Wheels. Every wheel gets an axle and a motor on one shared throttle, and mirrored wheels still spin the right way.

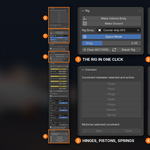

5HINGES, PISTONS AND SPRINGS
Seven joint presets connect any parts: fixed, point, hinge, slider, piston, generic and spring. Objects get physics automatically, with the pivot at the midpoint, the active object or the 3D cursor.
6MOTORIZE ANY JOINT
Select a hinge and click Spin, or a slider and click Push. It becomes a motor with its own slider, its frame already turned the right way.


7SECONDARY MOTION BY ITSELF
Hang a parcel on a point joint or mount a lamp on a spring, and it swings and settles on its own whenever the vehicle moves.
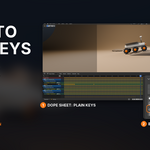
8BAKES TO PLAIN KEYFRAMES
Bake to Keyframes turns the simulation into ordinary location and rotation keys that match the live run exactly. The rig itself is plain Blender too, so it plays on a render farm without Motorik.
9A COCKPIT OF SLIDERS
Every control is a slider in one panel, with each motor's gain and an on/off switch beside it. Controls are custom properties, so you can keyframe them like any value.
GOOD TO KNOW
- Wheels are rigid hinges: no suspension and no steering geometry. Turn a car with a yaw Flight Control (raise Power to about 200 for a car-sized body) or animate it. For realistic car handling, use a dedicated car rig.
- The defaults suit light bodies. Heavy or large vehicles need more Power or Torque in the redo panel, or a higher Gain in the Cockpit.
- An object's origin is its centre of gravity. Set origins before you rig, or thrusters aim off-centre and the ship spins.
- Hinges have no angle limits, so a motorized door keeps turning while its control is on. Keyframe the control, or set limits in Physics properties.
- The Spring preset is loose (stiffness 10, damping 0.5) and Generic starts with no limits. Tune both in Physics properties.
- Baking takes the bodies out of the simulation. Undo to get the live simulation back.
- Rig buttons stop playback and jump to the start frame first: rig in the rest pose.
- Gamepad support covers Windows x64, macOS and Linux x64. Everywhere else, drive with the keyboard.
- After heavy duplicating, deleting or undoing on a rig, click Repair Rig before you play. Save before duplicating a rigged vehicle.
SUPPORT
Email [email protected].
Have questions about this product?
Login to message
| Blender Extension Compatible | Yes |
| Published | about 5 hours ago |
| Blender Version | 4.2 - 5.2 |
| Extension Type | Add-on |
| Render Engine Used | Cycles, Eevee |
| License | GPL |
Discover more products like this
physics vehicle rig car rig rigging rigid body simulation thrusters constraints gamepad motors Spaceship animation