 mkeyworks


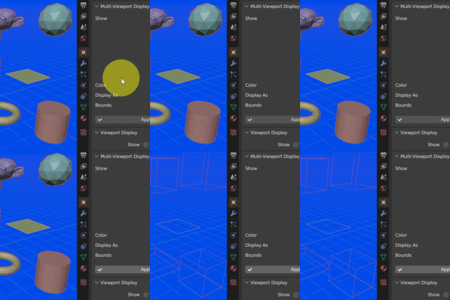
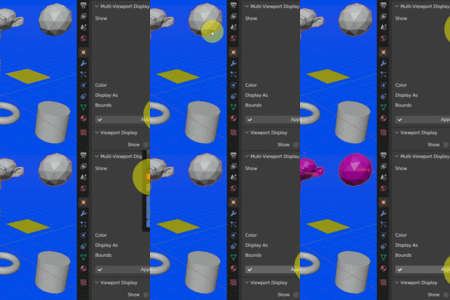
Installation
-
Download the add-on file from Superhive.
-
Open Blender.
-
Navigate to:
Edit → Preferences → Add-ons -
Click the "Install…" button.
-
Select the downloaded file
-
Click "Install Add-on".
-
Enable the checkbox:
Multi-Viewport Display (Category: Object)
Accessing the Add-on
After installation and activation, open:
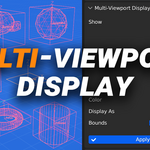
Properties Panel → Object Tab → Multi-Viewport Display
The panel is only visible when one or more objects are selected.
Usage Instructions
-
Select one or multiple objects in the 3D Viewport.
-
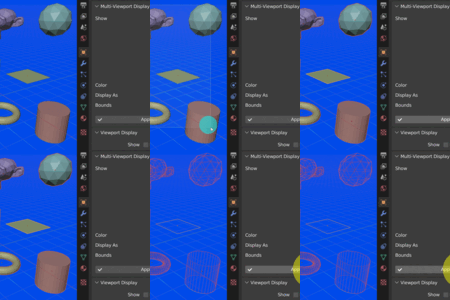
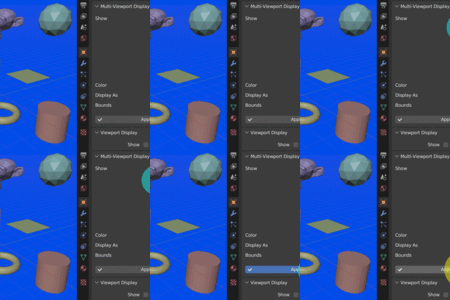
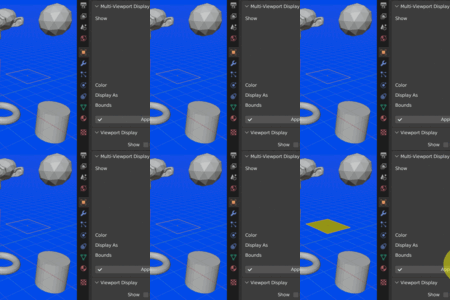
Adjust desired properties from the following controls in the panel:
Show Section
| Property | Description |
|---|---|
| Name | Displays the object name in the viewport |
| Axes | Shows the local axes indicator |
| Wireframe | Displays geometry wireframe |
| All Edges | Displays all edges regardless of smoothing |
| Texture Space | Shows UV texture bounds |
| Shadow | Enables viewport shadow casting |
| In Front | Renders object in front of other scene geometry |
Display and Shading Section
| Property | Description |
|---|---|
| Color | Overrides viewport display color (RGBA) |
| Display As | Switch between Textured, Solid, Wireframe, or Bounds |
| Show Bounds | Toggles visibility of bounding box |
| Bounds Type | Choose box, sphere, cylinder, cone, or capsule bounds representation |
-
Select "Apply to Selected"
This applies all chosen display settings to the currently selected objects.
Have questions about this product?
Login to message
| Dev Fund Contributor | |
| Published | 10 months ago |
| Blender Version | 3.0 - 5.0 |
| Extension Type | N/A |
| Render Engine Used | Cycles, Eevee |
| License | GPL |
Discover more products like this
3D view management 3dviewport viewport display batch 3d viewport