Multibevel 3.1
 CreateVisions


MultiBevel 3.1 Documentation
Installation
Setting Up MultiBevel 3
- Download the .zip file containing the add-on
- Open and go to Edit > Preferences > Add-ons
- Click Install and locate the downloaded .zip file
- Select the file and click Install Add-on
- Enable the add-on by checking the box next to MultiBevel 3
- The panel will appear in 3D View > N-Panel > MultiBevel
What's New in MultiBevel 3.1
MultiBevel 3.1 focuses on a smarter, more reliable edge editing experience and adds new ways to customize your layers visually. The update also resolves several issues reported by the community.
Depth-Aware Edge Selection
The visual edge editing mode now uses a surface raycast to determine which edges are actually visible to the camera. Previously, clicking near an edge could accidentally select an edge on the far side of the mesh. The new system performs a depth test against the mesh surface, ensuring that only edges on the front-facing side can be selected.
For edges at the silhouette boundary of your mesh — where no geometry is behind them — a smart fallback ensures they can still be reliably selected from any angle.
Interactive Layer Colors
The color swatch next to each layer is now fully interactive. Click it to open Blender's color picker and choose any color you like. The edge visualization in the viewport updates in real time as you change the color — no need to toggle visibility or restart anything.
Toggle Edge Selection
In the visual edge editing mode, clicking an edge that was already added now removes it again. This toggle behavior makes it much faster to fine-tune your edge selections — you no longer need to switch between Add and Remove mode just to undo a single click.
Bug Fixes in 3.1
- Edge selection through mesh: Fixed a critical issue where clicking near an edge could select an edge on the back side of the mesh. The selection is now depth-aware and only targets visible edges.
- Visualization after Apply: The layer visualization ("Show Layer") no longer turns off after applying changes in the edge editing mode. It now stays active and immediately reflects the updated edges.
- Preset checkboxes: The "Complete Presets" and "Parameter Presets" toggle checkboxes now work correctly. Previously, toggling them had no visible effect on the interface.
What's New in MultiBevel 3.0
MultiBevel 3.0 introduced powerful preset systems and enhanced layer management that make beveling complex models faster and more intuitive than ever. This version brought Complete Presets for saving entire bevel configurations, Parameter Presets for quick access to your favorite settings, and a new Shape Slider built directly into each layer.
Complete Presets – Save and Reuse Entire Bevel Setups
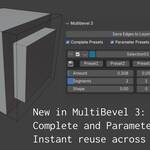
The most powerful feature in MultiBevel 3 is Complete Presets. These let you save your entire bevel setup with a single click — including bevel amount, segments, and shape settings. Perfect when you've found the perfect bevel configuration and want to apply it to new layers instantly.
Complete Presets are global to your Blender scene, meaning they stay available even when you switch to different objects. Once you've created presets for a project, they automatically appear for any new object you work on.
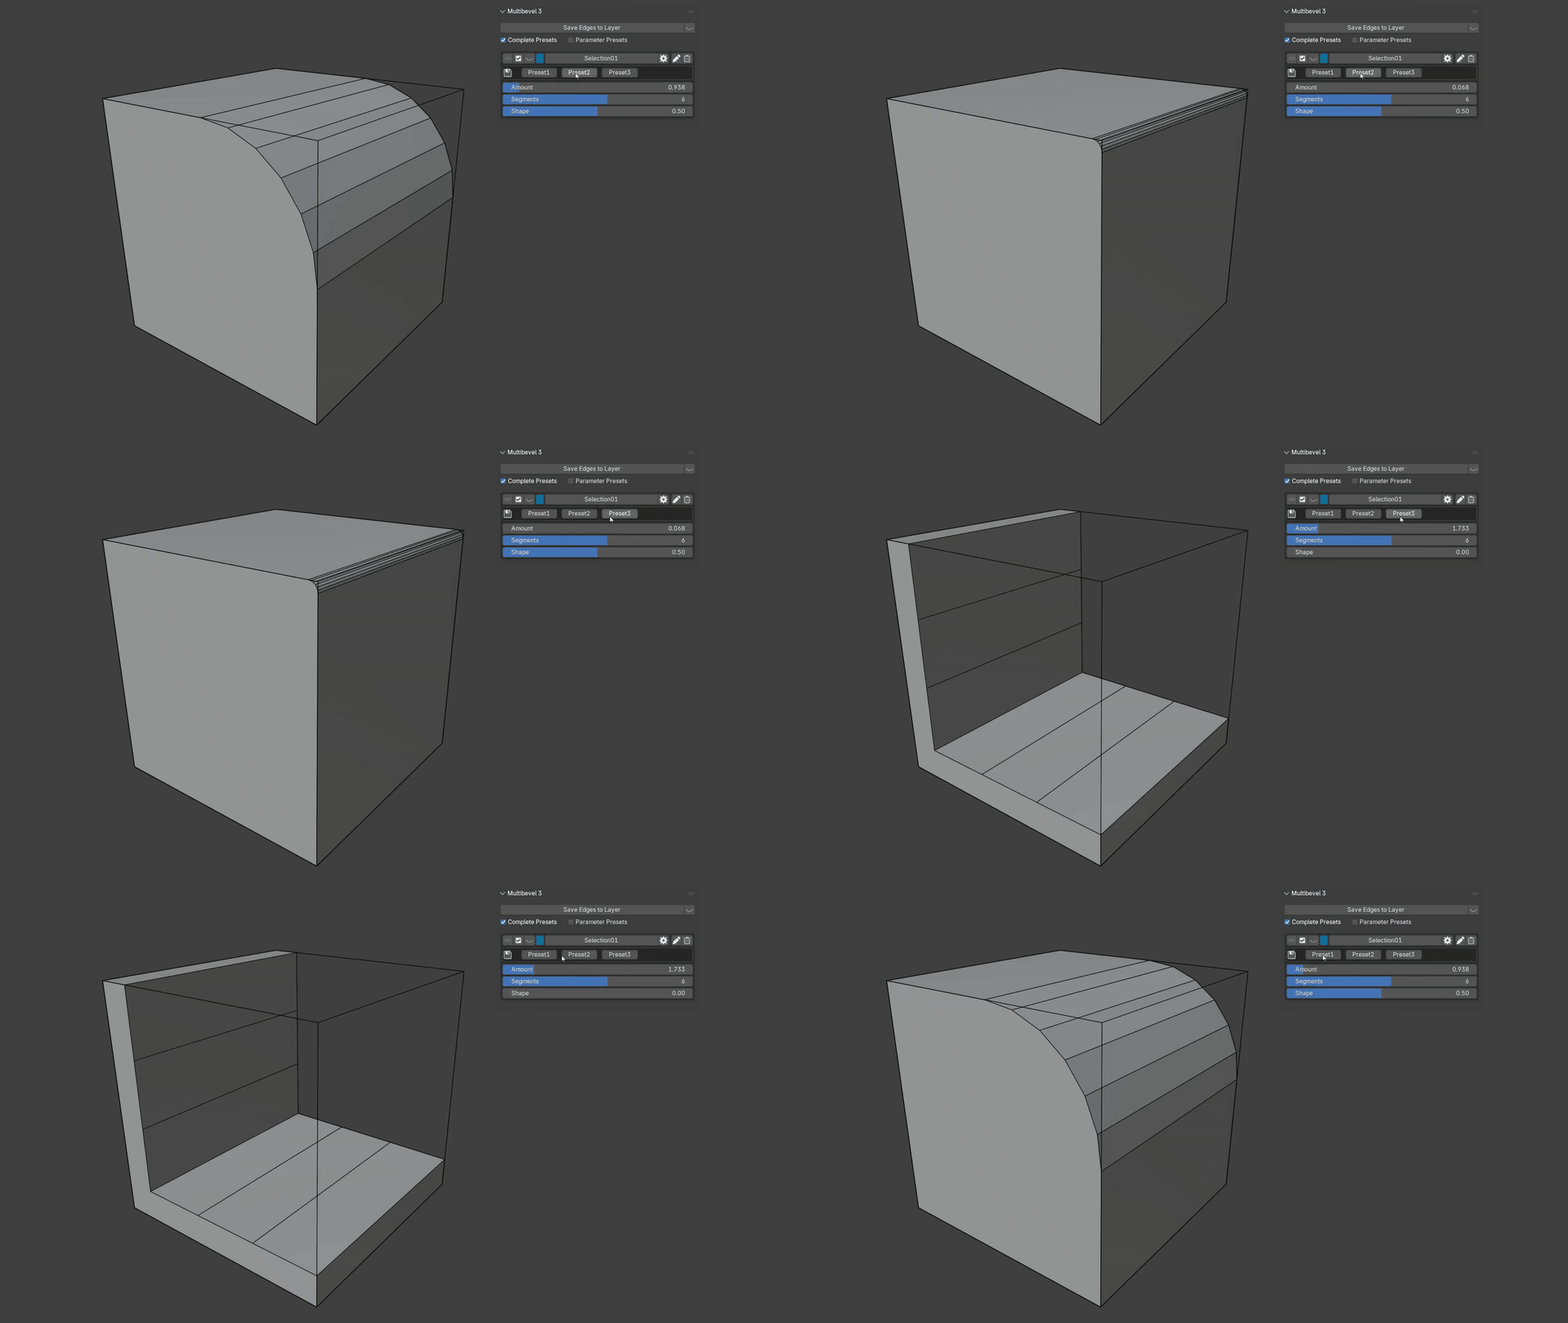
The preset system includes up to 4 preset slots that can be easily managed:
- Click the disk icon to save current layer settings as a new preset
- Click any preset button to instantly apply those settings to the current layer
- Ctrl+Click a preset to overwrite it with current settings
- Alt+Click a preset to rename it
- Shift+Click a preset to delete it
Parameter Presets – Customize Your Workflow
Not everyone works the same way, so MultiBevel 3 lets you customize your workflow with Parameter Presets. Each parameter (Amount, Segments, and Shape) can have its own set of 3 preset values that you define based on your project needs.
Want your Amount presets to be 0.01, 0.05, and 0.15 for precise mechanical modeling? Or maybe you prefer 0.1, 0.3, and 0.8 for stylized work? Simply click the settings icon next to any parameter row to customize your presets exactly how you like them.
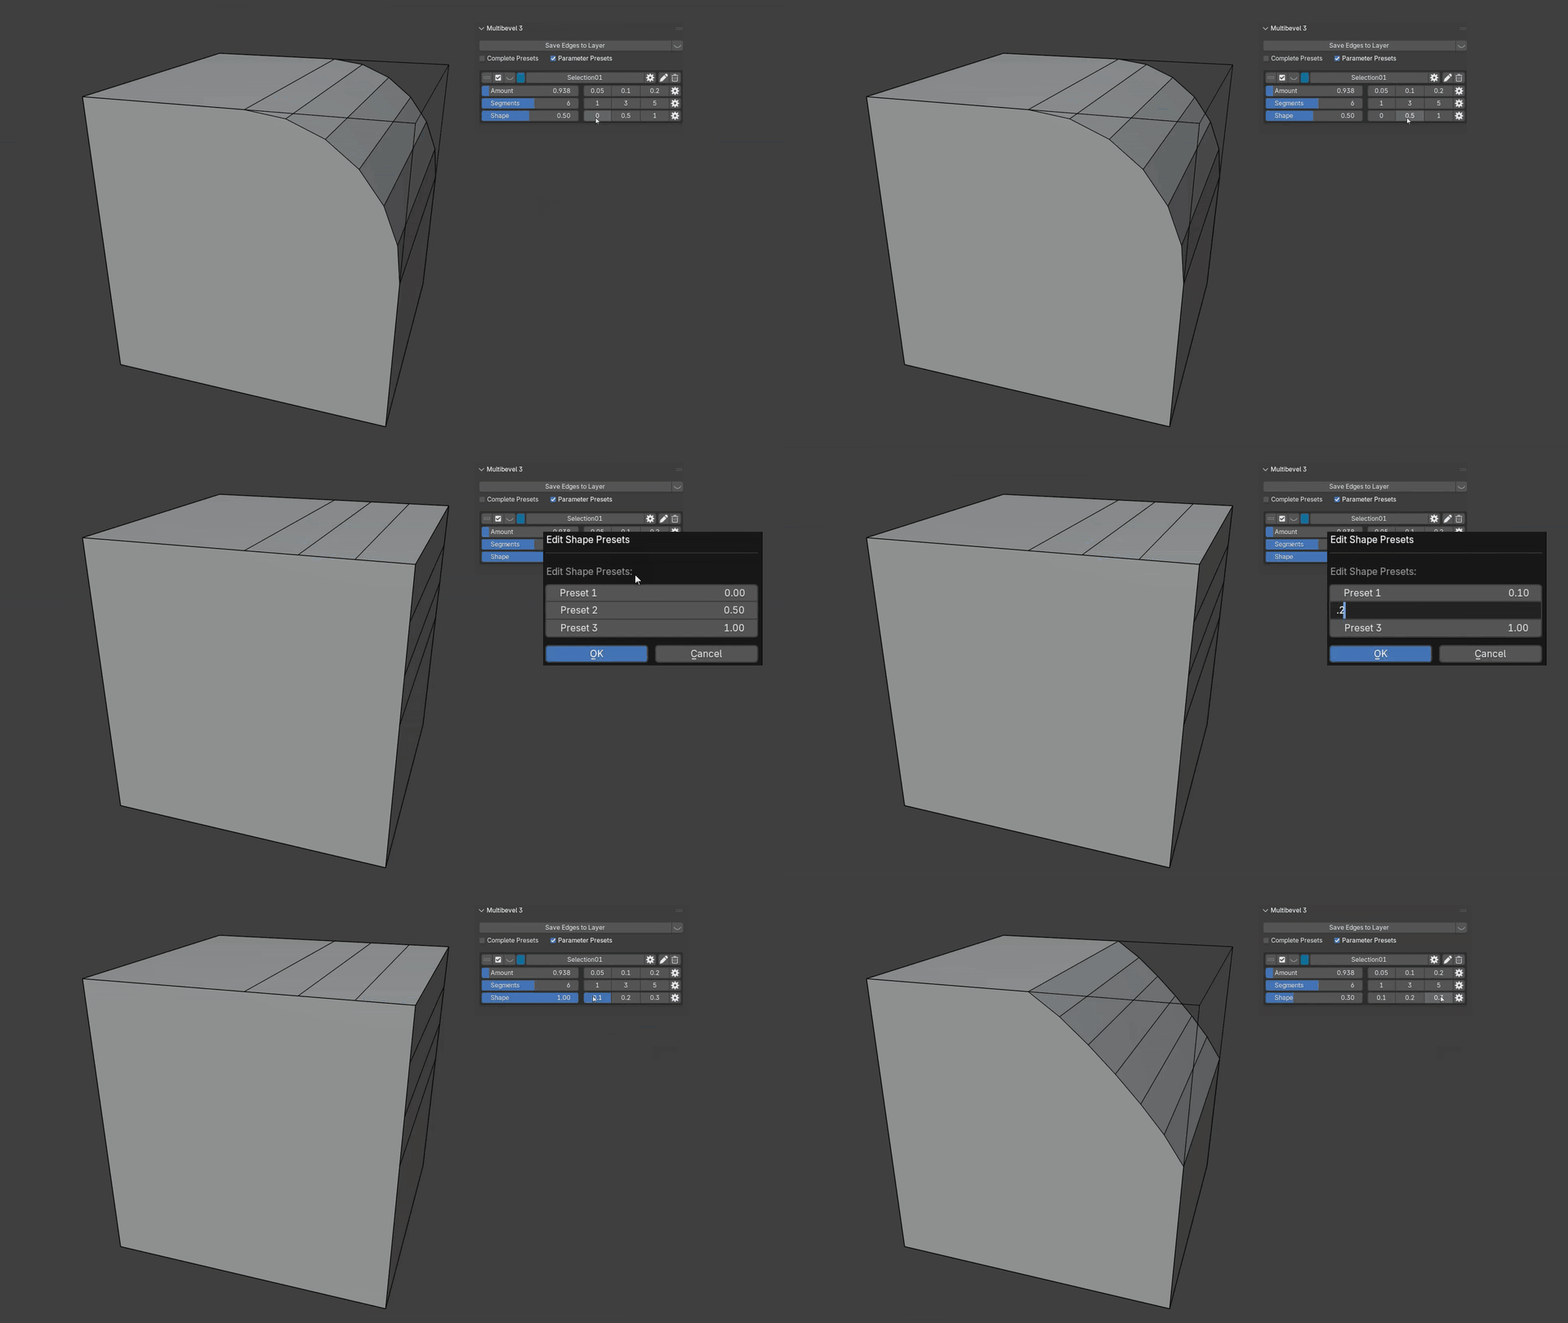
Parameter Presets are remembered per Blender file, so each project can have its own customized workflow. If the preset buttons feel overwhelming, simply uncheck "Parameter Presets" in the panel to get a clean, streamlined interface with just the sliders.
Built-in Shape Control
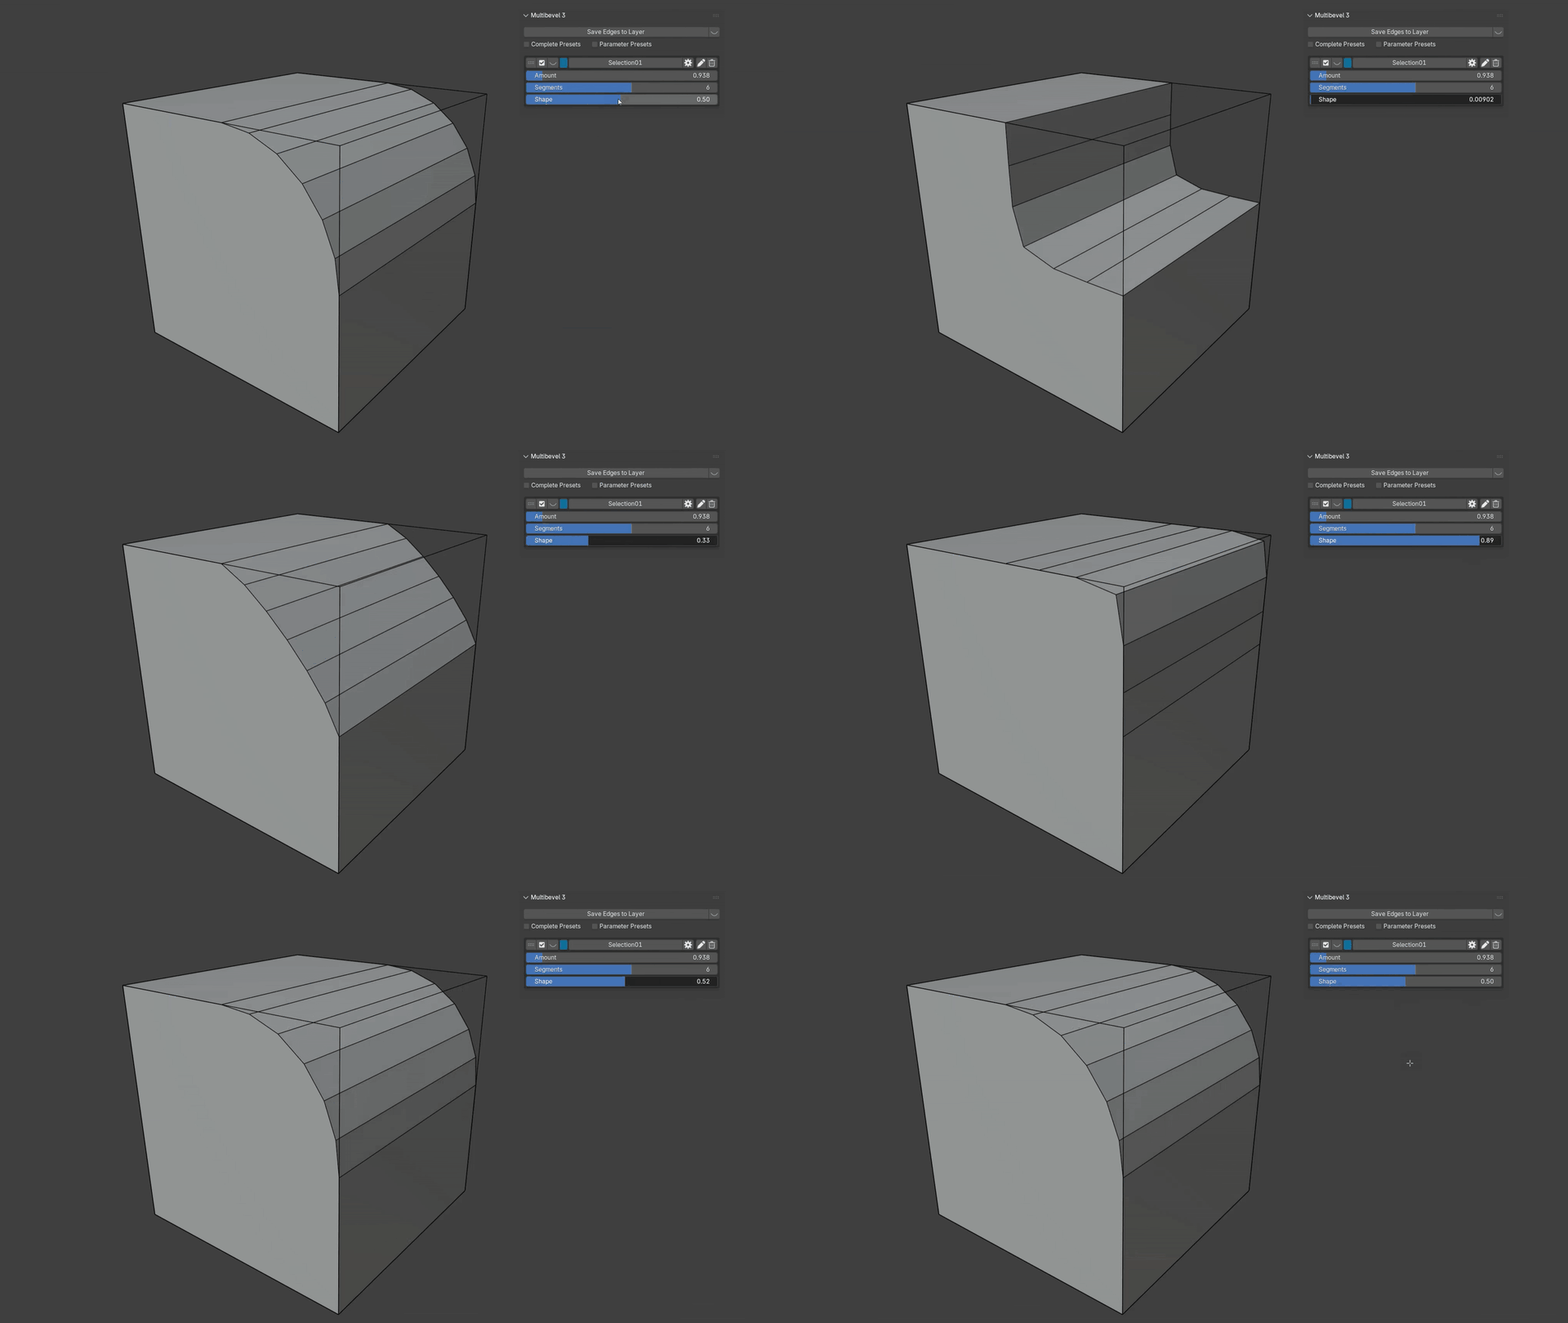
MultiBevel 3 includes Blender's Profile (Shape) parameter directly in each layer's controls. No more jumping between the add-on panel and the modifier properties — everything you need is right at your fingertips.
The Shape slider works exactly like Blender's native control: 0 creates concave bevels, 0.5 gives linear bevels, and 1.0 produces convex bevels. Combined with Parameter Presets, you can quickly switch between your favorite shape profiles.
Getting Started
Creating Your First Layer
- Select Edges: Switch to Edit Mode and select the edges you want to bevel
- Save Layer: Click Save Edges to Layer in the MultiBevel panel
- Name Your Layer: Enter a unique name (MultiBevel suggests names automatically) and click OK
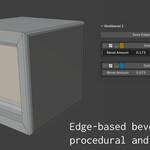
- Add Bevel Modifier: Click the bevel icon next to your new layer
- Adjust Settings: Use the Amount, Segments, and Shape sliders to perfect your bevel
Your edges are now saved as a custom layer with its own Bevel Modifier! MultiBevel automatically generates sequential names like "Selection01", "Selection02", etc., but you can always rename layers later.
Visual Edge Editing Mode
Interactive Edge Selection
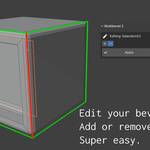
Click the gear icon next to any layer to enter Visual Editing Mode. This powerful feature lets you add or remove edges by clicking them directly in the 3D viewport — no more tedious manual selection!
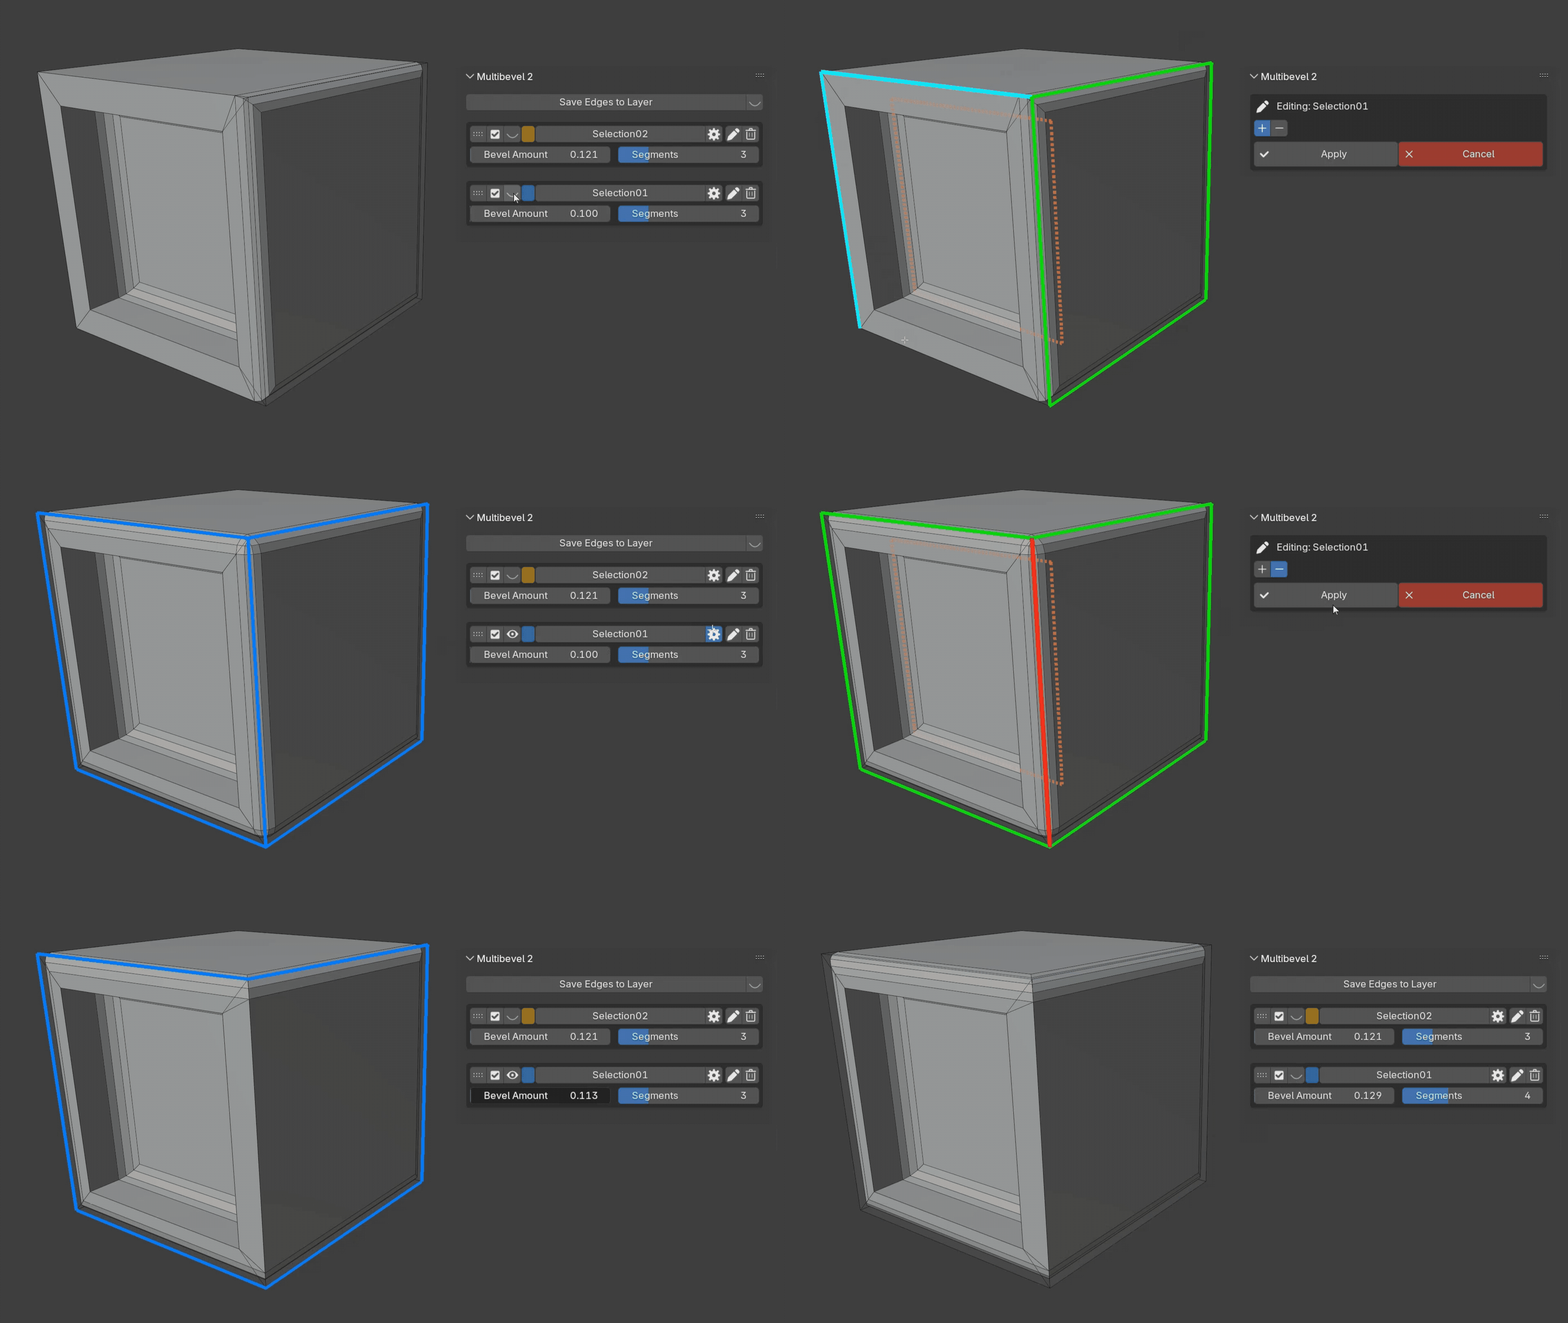
The interface shows clear visual feedback for every edge:
- Green edges: Currently in this layer
- Cyan edges: Being added to the layer
- Red edges: Being removed from the layer
- Orange dashed edges: Belong to other layers
Edit Mode Controls
While in Visual Editing Mode, use the panel buttons to switch between tools:
- Add Mode: Click edges to add them to the layer. Click an already-added edge to remove it again (toggle).
- Remove Mode: Click edges to remove them from the layer. Click again to cancel the removal (toggle).
- Apply: Save all changes and exit edit mode
- Cancel: Discard changes and exit edit mode
Multi-Layer Visualization
Color-Coded Layer Preview
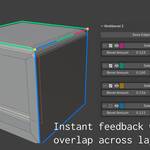
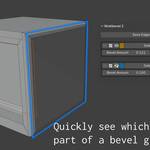
MultiBevel makes it easy to see which edges belong to which layers through an intelligent color-coding system. Each layer gets its own unique color that remains consistent throughout your project.
New in 3.1: Click the color swatch next to any layer to open Blender's color picker and choose a custom color. The edge visualization updates in real time.
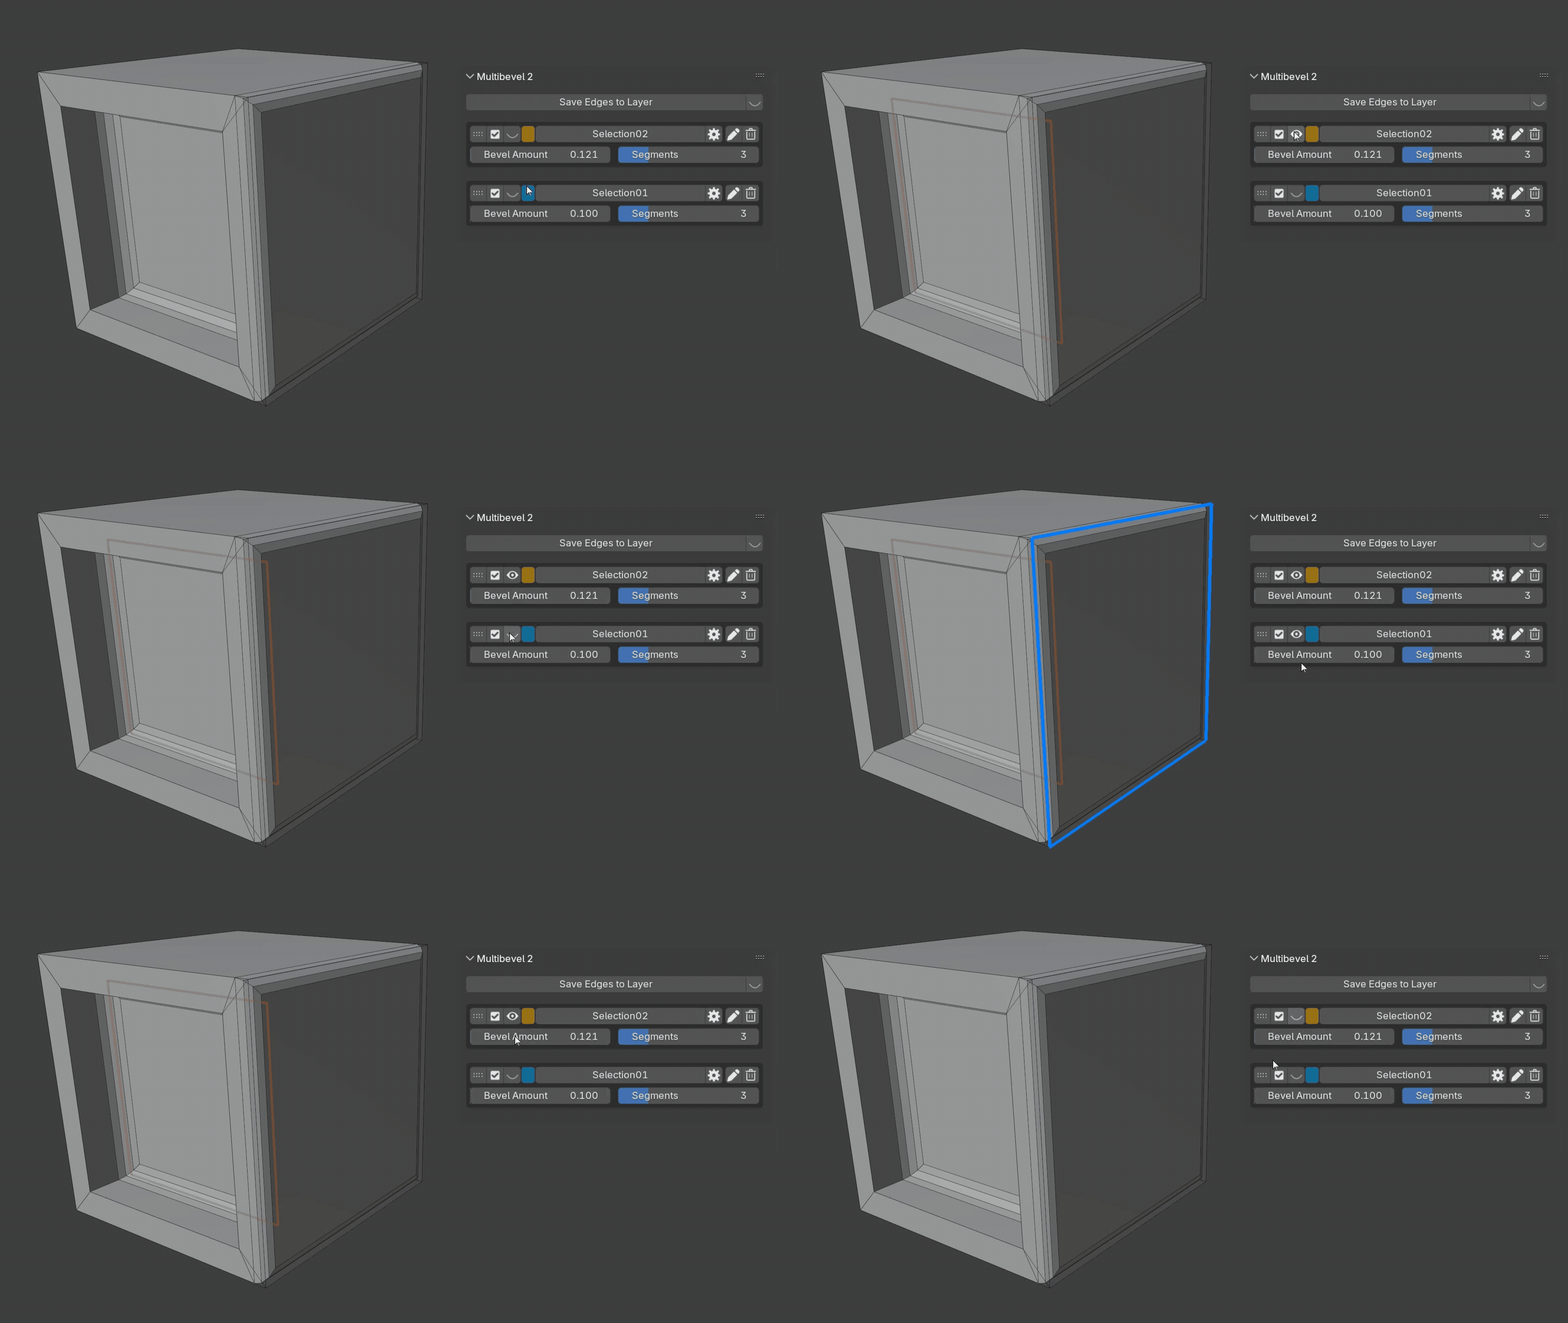
- Eye Icon: Show/hide individual layers in the viewport
- Show/Hide All: Toggle all layer visualizations at once with a single click
- Multi-Color Edges: Edges shared between layers display as colored segments
- Conflict Markers: Yellow dots mark vertices shared between multiple layers
- Custom Colors: Click any layer's color swatch to pick your own color
Smart Conflict Detection
MultiBevel automatically detects and highlights potential conflicts when edges are shared between multiple layers. The system shows you exactly where overlaps occur and handles them intelligently.
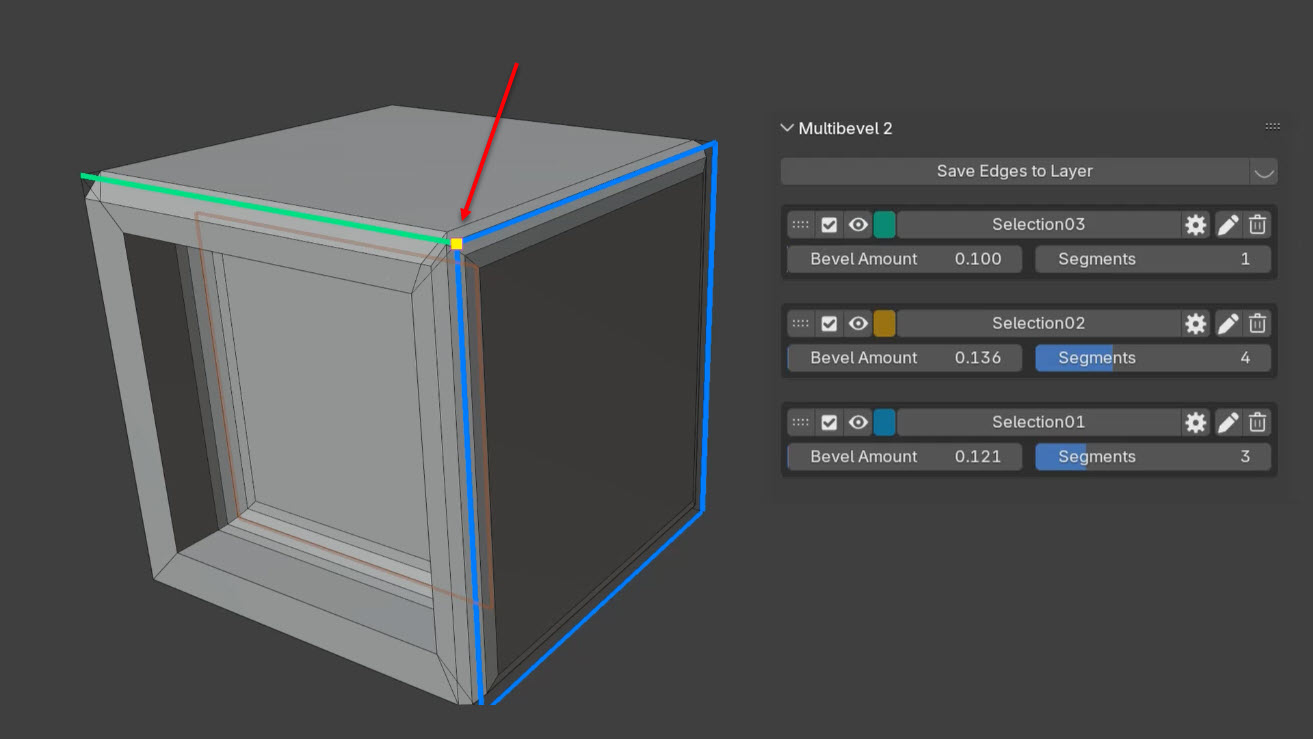
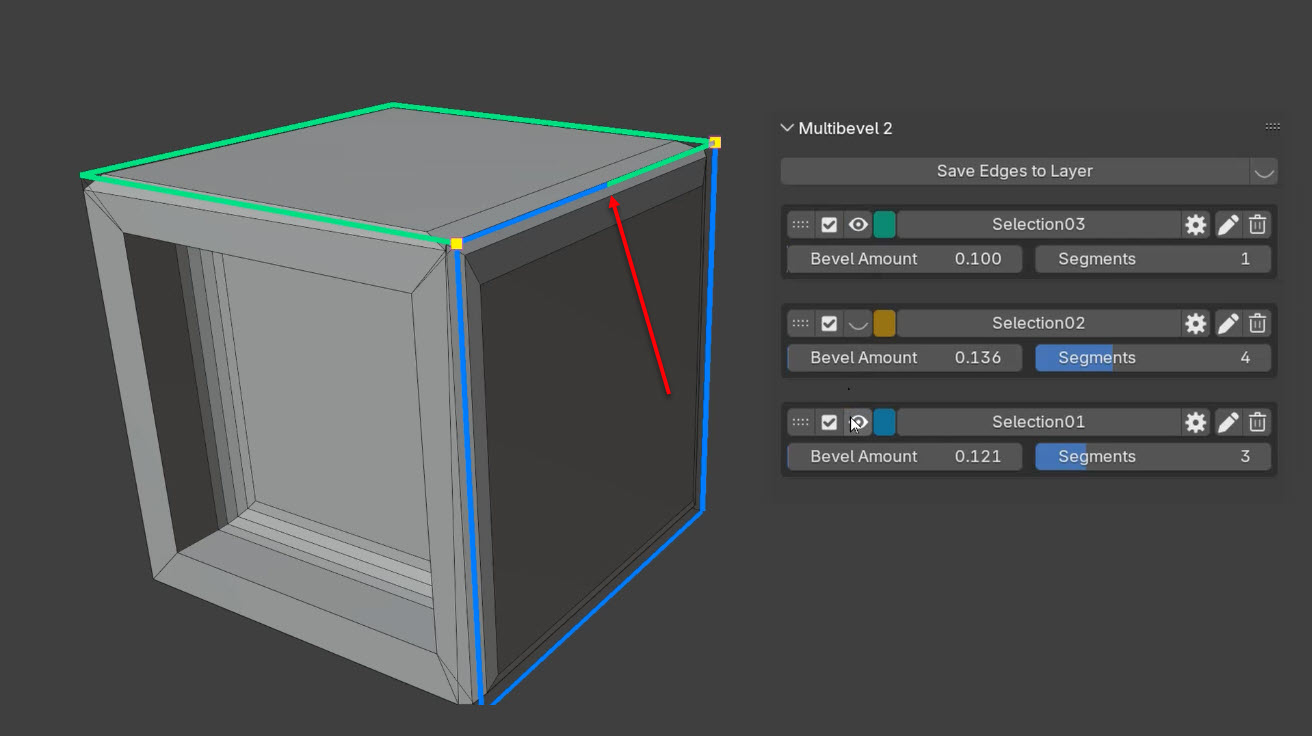
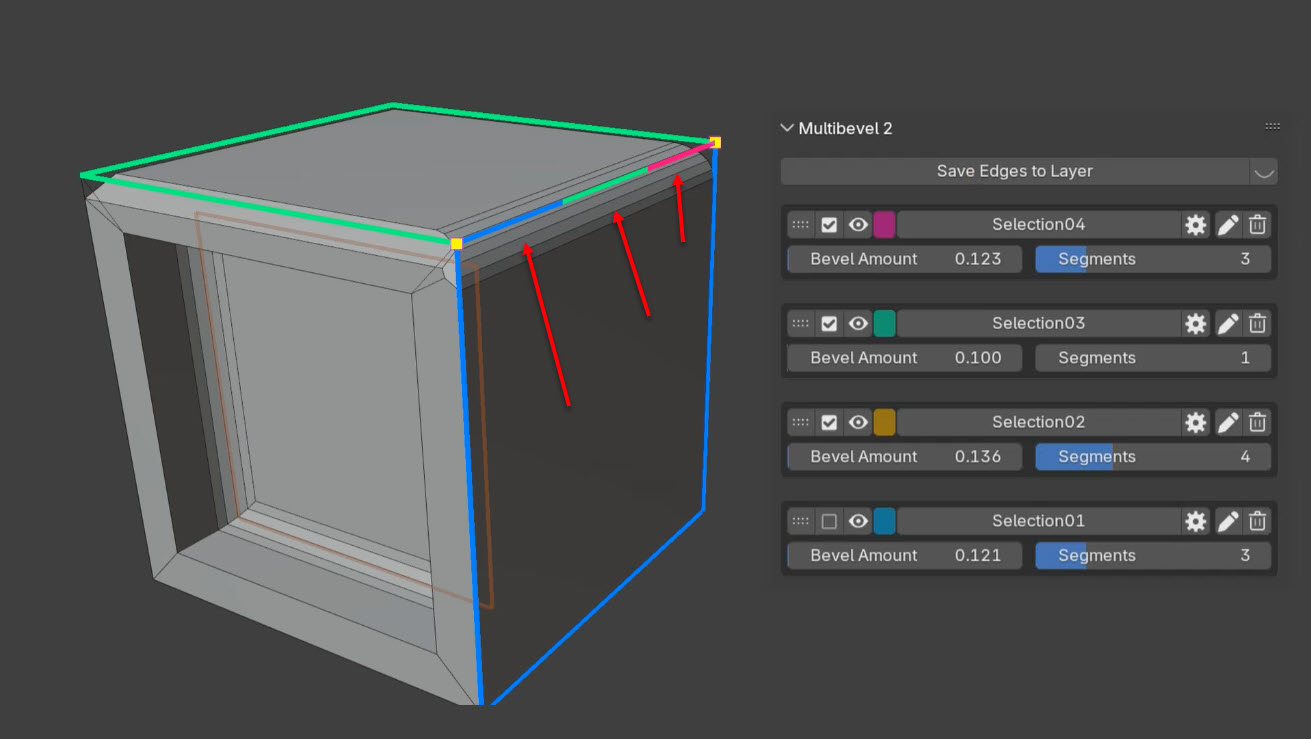
- Yellow squares: Mark vertices shared between multiple layers
- Segmented edges: Show each layer's color when edges overlap
- Non-destructive management: Use layer toggles to manage overlaps without permanent changes
Layer Management
Organizing Your Layers
Keep your bevel layers organized with MultiBevel's comprehensive management tools:
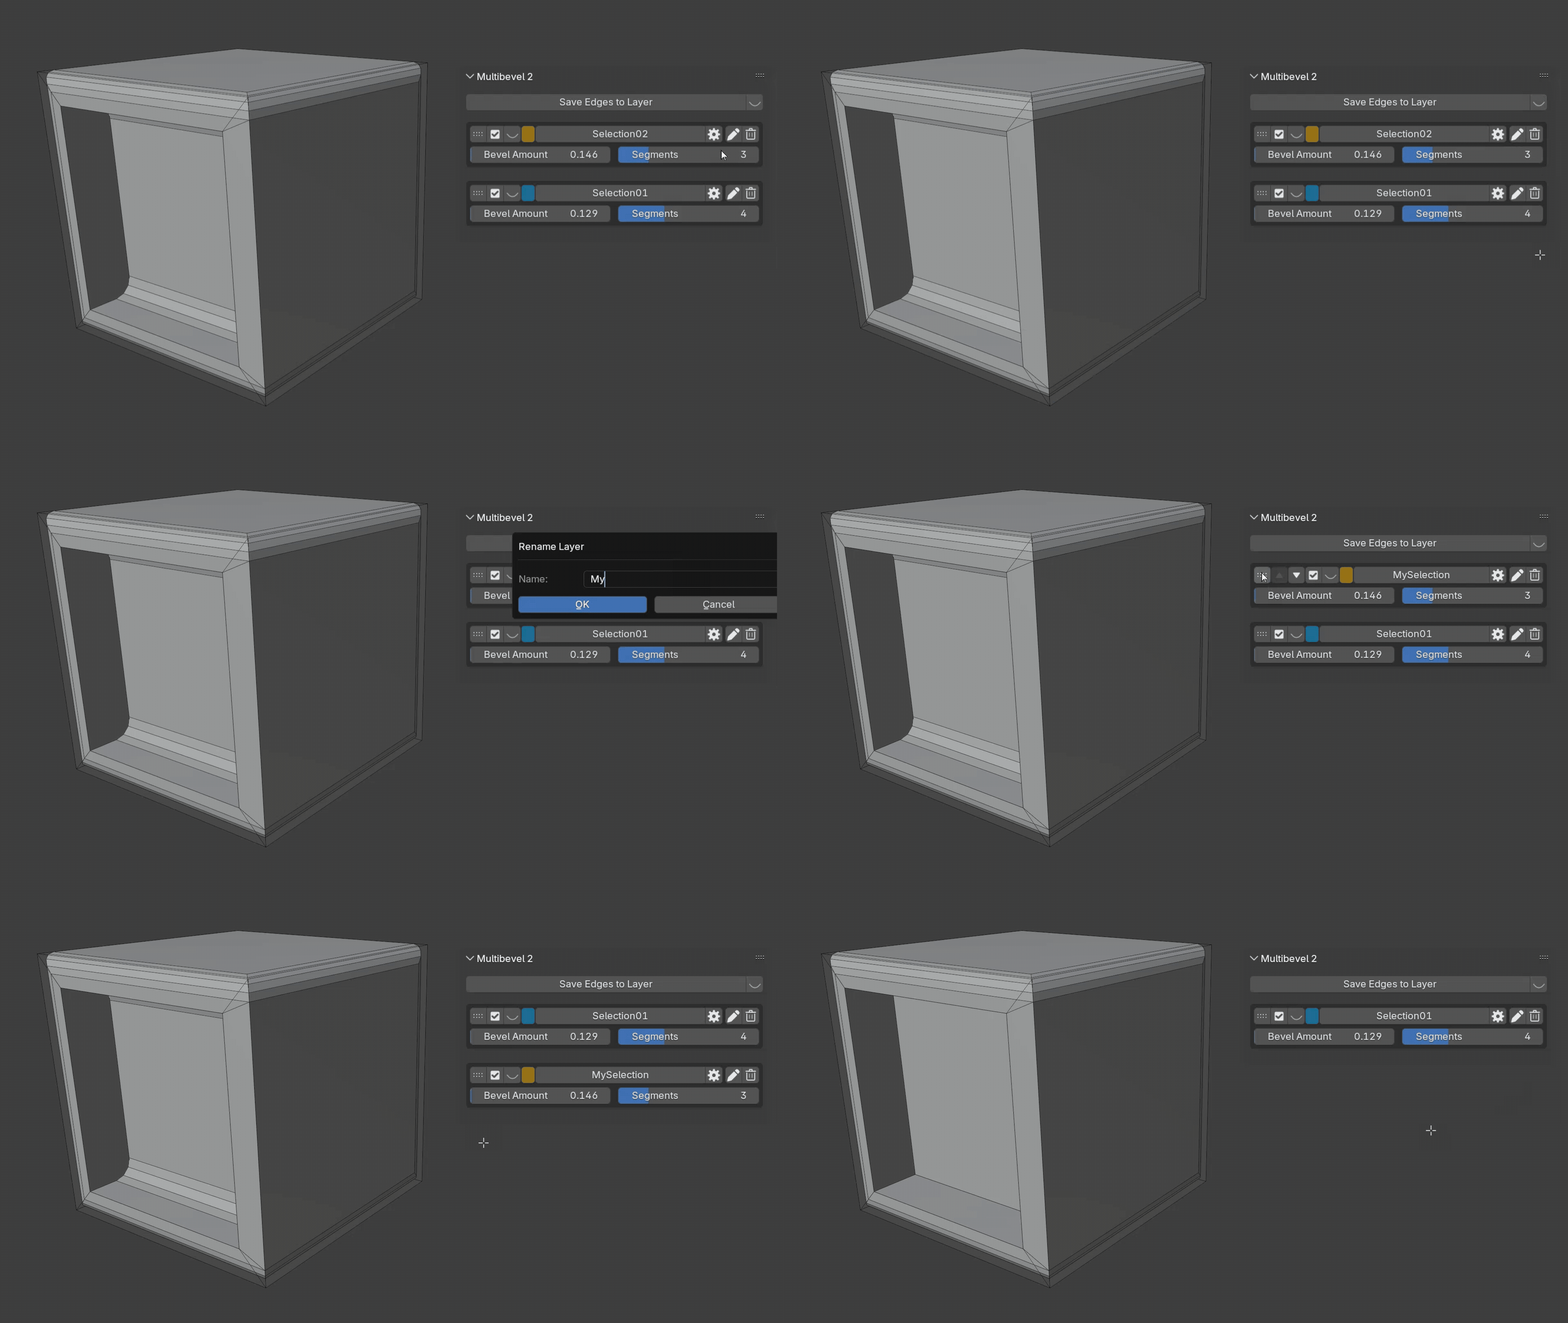
- Rename: Click the pencil icon to give layers meaningful names
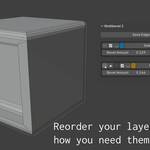
- Reorder: Click the grip icon to select a layer, then use arrow buttons to move it up/down
- Delete: Click the trash icon to remove a layer and its modifier
- Toggle Visibility: Use the checkbox to enable/disable bevel modifiers per layer
Automatic Smart Features
- Smart Naming: New layers get automatic sequential names like "Selection01", "Selection02"
- Custom Colors: Each layer gets a unique color — click the swatch to customize it
- Conflict Prevention: Duplicate layer names are automatically prevented
- Automatic Modifier Setup: Bevel modifiers are created with proper weight-based settings
- Synchronized Controls: Panel sliders stay in sync with modifier properties
Panel Overview
Main Controls
- Save Edges to Layer: Creates new layer from selected edges
- Show/Hide All: Global visibility toggle for all layer visualizations
- Complete Presets: Enable/disable the complete preset system
- Parameter Presets: Enable/disable individual parameter preset buttons
Per-Layer Controls
- Grip Icon: Select layer for reordering
- Move Arrows: Move selected layer up/down in the list
- Checkbox: Enable/disable the layer's bevel modifier
- Eye Icon: Show/hide layer visualization in viewport
- Color Swatch: Click to change the layer's color via color picker
- Layer Name: Click to select all edges in this layer
- Bevel Icon: Add bevel modifier (appears when no modifier exists)
- Gear Icon: Enter visual edit mode for the layer
- Pencil Icon: Rename the layer
- Trash Icon: Delete the layer and its modifier
Bevel Settings (when modifier exists)
- Bevel Amount: Control bevel width (hold Shift for precision)
- Segments: Control bevel segments (hold Shift for precision)
- Shape: Control bevel profile from concave (0) to convex (1)
- Parameter Buttons: Quick preset values (when Parameter Presets are enabled)
Working with MultiBevel 1 Legacy
MultiBevel 3 includes full backward compatibility with MultiBevel 1 projects. Your existing edge attributes and bevel modifiers will continue to work seamlessly, and you can gradually upgrade them to take advantage of the new layer-based system and preset features.
Legacy Feature Highlights
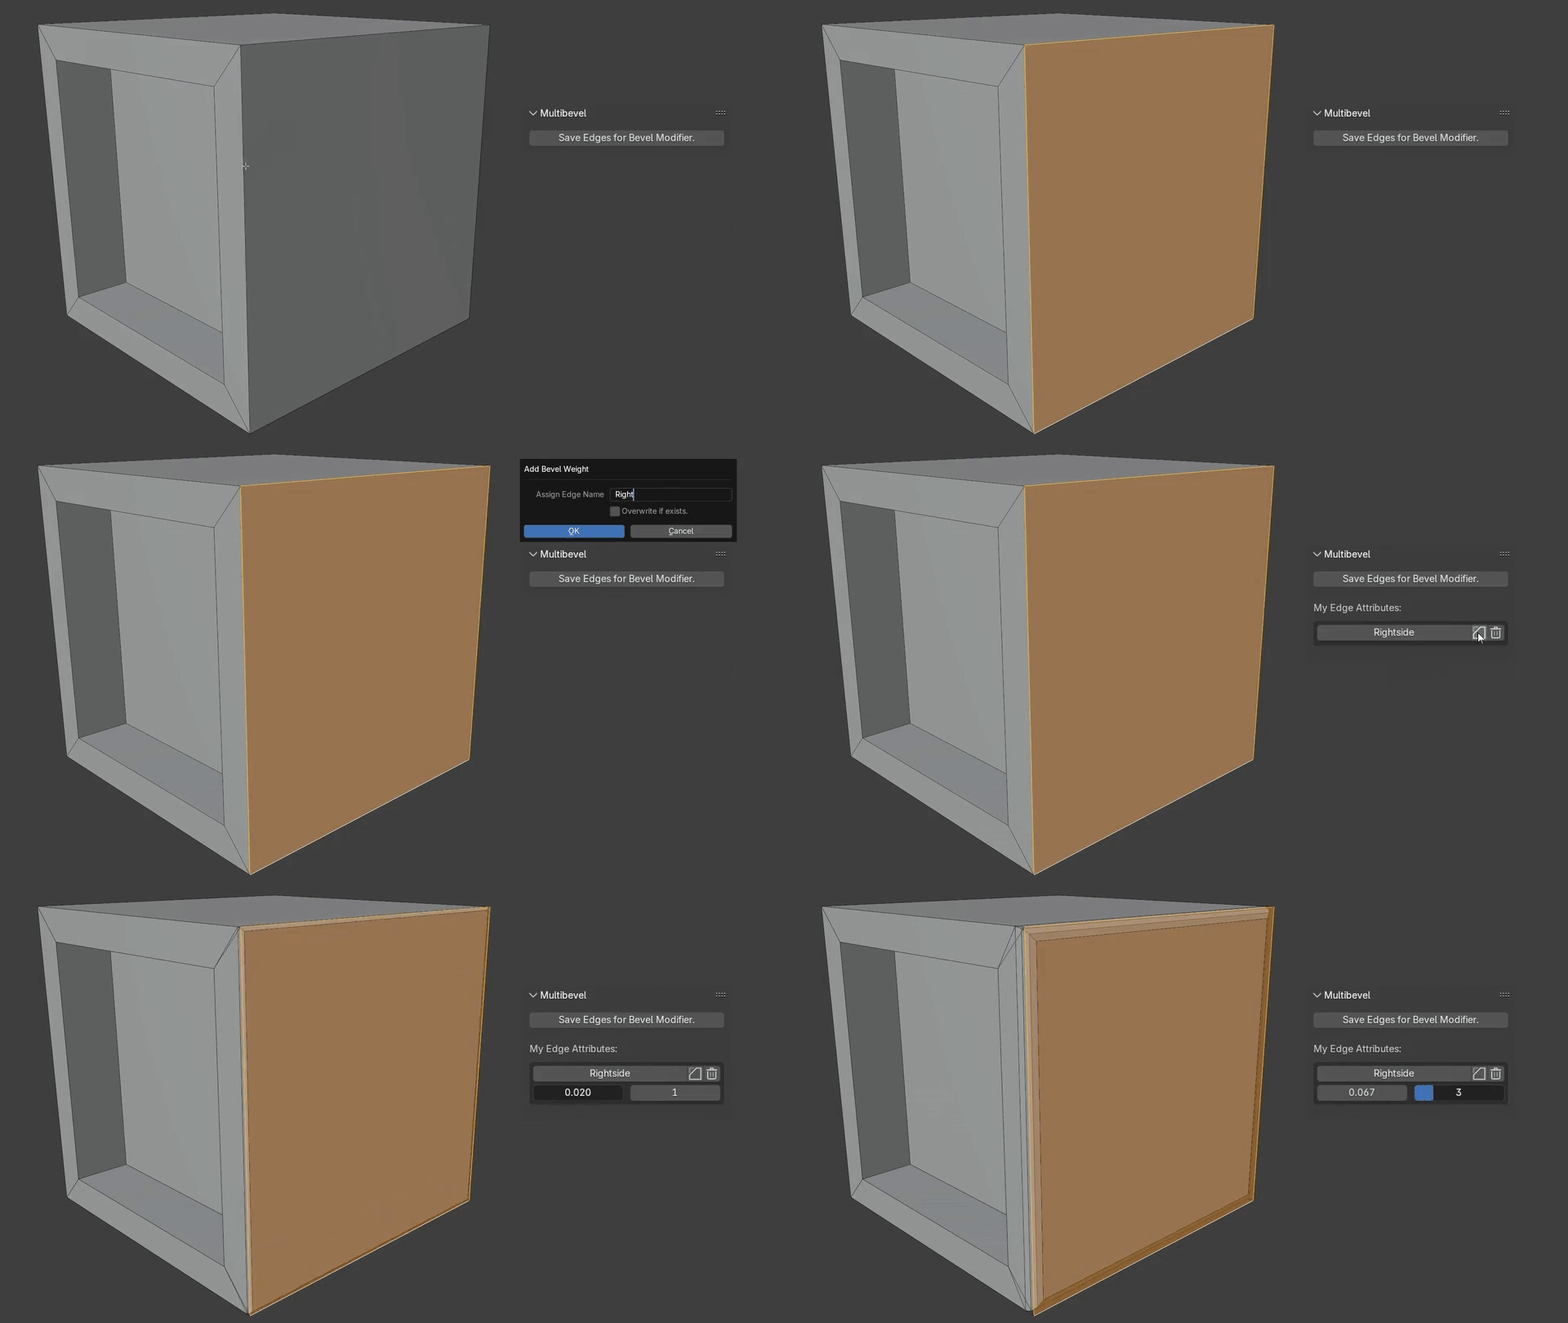
The original MultiBevel workflow is still available and works exactly as before:
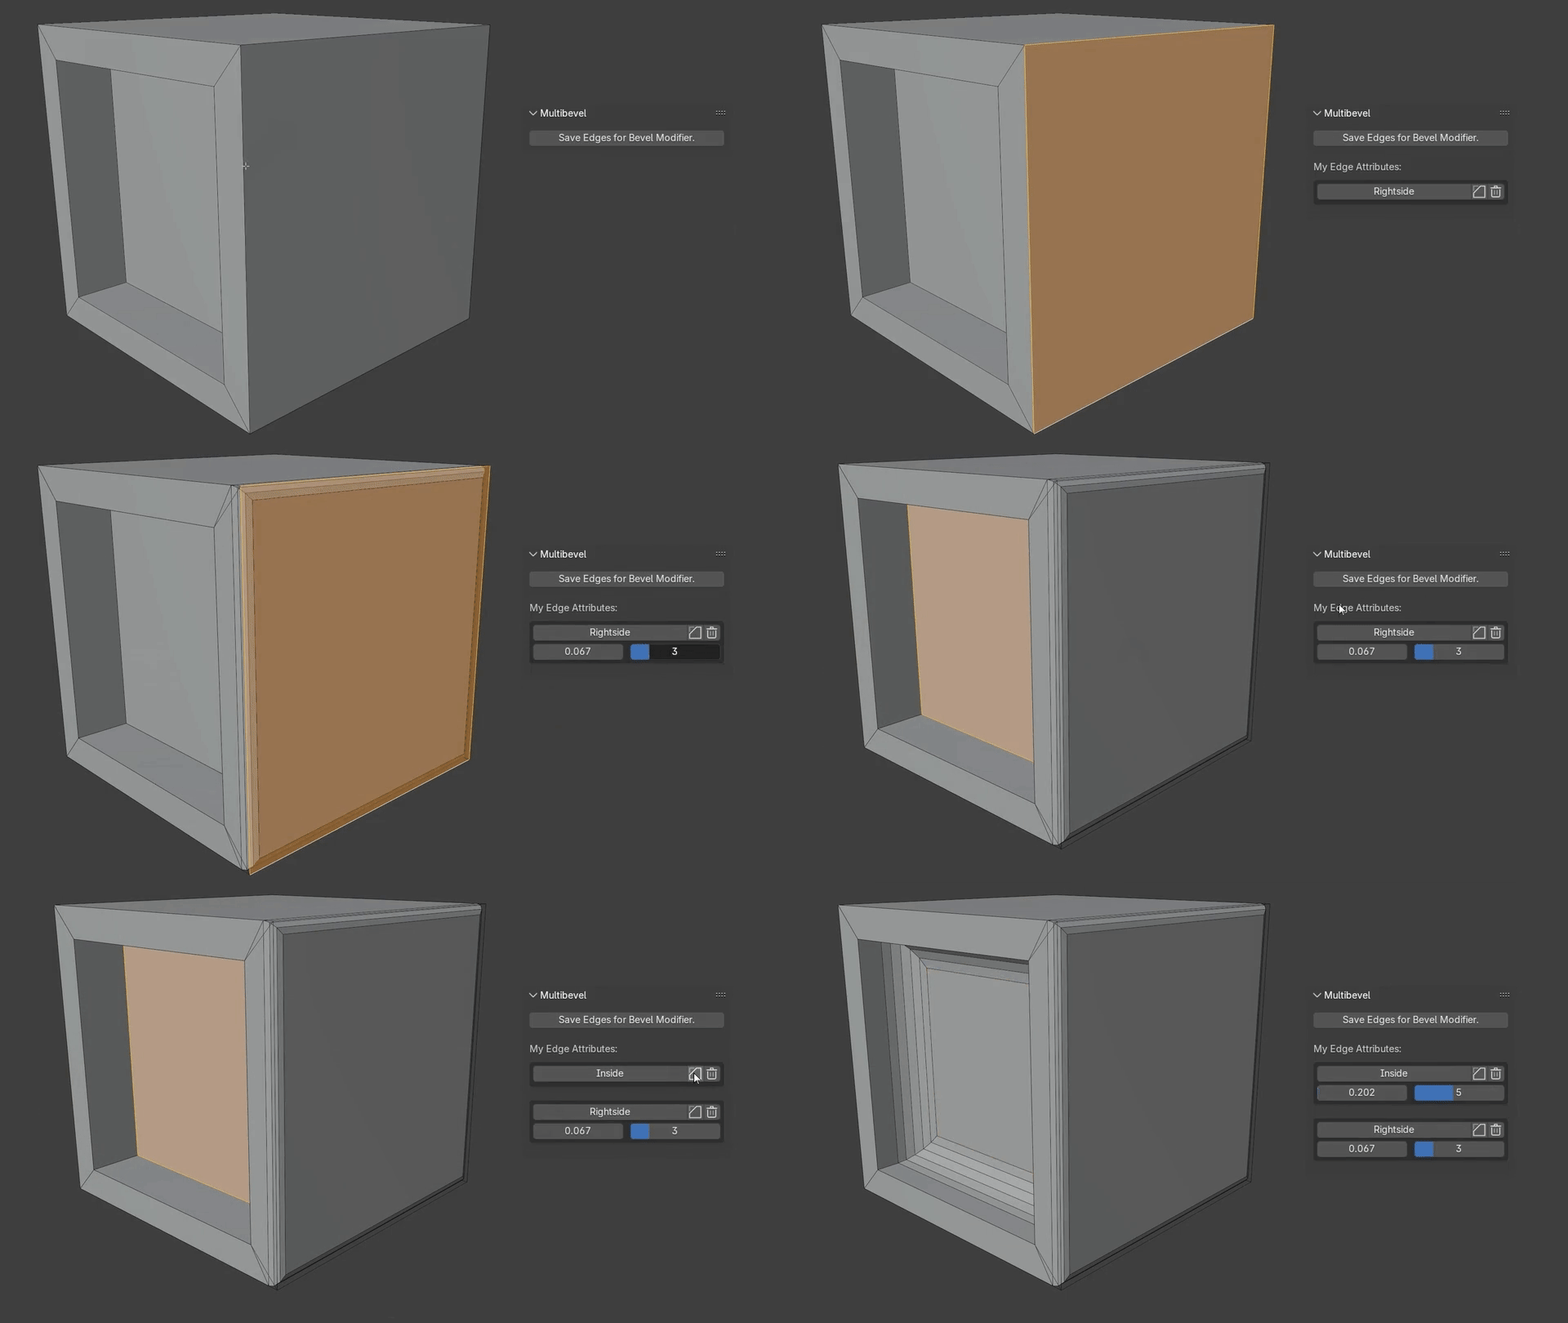
- Automatic Attribute Creation: Edge attributes and bevel modifiers are created automatically
- Easy Edge Recall: Click layer names to instantly select their associated edges
- Modifier Synchronization: Panel settings stay synchronized with modifier properties
- Streamlined Workflow: Focus on creativity rather than repetitive setup tasks
Troubleshooting
Common Issues and Solutions
Problem: Layer visualizations not showing colors
Solution: Click the eye icon next to individual layers to enable visualization, or use the "Show/Hide All" button
Problem: Bevel modifier not updating when adjusting sliders
Solution: Always use the MultiBevel panel sliders for synchronized updates. Changes made directly in modifier properties won't reflect in the panel
Problem: Cannot create layer with existing name
Solution: Choose a different name or enable "Overwrite if exists" in the layer creation dialog
Problem: Visual editing mode not responding to clicks
Solution: Make sure you're clicking directly on edges. The selection is depth-aware, so only edges visible from your current camera angle can be selected. Try rotating your view if an edge is difficult to reach.
Understanding Edge Conflicts
When edges belong to multiple layers, this is completely normal and expected behavior. MultiBevel handles these situations intelligently:
- Visual edit mode clearly shows which layers an edge belongs to
- Deleting a layer only affects that layer's data, leaving other layers intact
- Bevel weights are managed automatically across all layers
- Shared vertices are highlighted with yellow markers for easy identification
Compatibility Requirements
- Blender Version: 4.3.0 or higher required
- Object Type: Works with mesh objects only
- Mode Support: Functions in both Edit and Object mode
- Data Persistence: All layer data and presets save automatically with your .blend file
Discover more products like this
Edge Bevel Non-Destructive Modeling MultiBevel Parametric Bevel modeling Bevel Modifier chamfer blender addon bevel beveling Workflow hard surface