 lolpoly


Video
guide:
https://www.youtube.com/watch?v=IxOd5toon44
How
to install:
Just drag the Multisculpt .zip
file into your viewport,
OR:
Open your preferences
from Edit / Preferences
Under the Get Extensions tab, go to the
upper right corner, press the down arrow button and choose "Install
from Disk"
Navigate to the Multisculpt .zip file and select
it. Check Enable on Install at the top right, then press Install from
Disk at the bottom right. Save preferences if you want it to be
loaded automatically when starting Blender.
How
to use:
My
preferred method for most operations is via the modified
Modes Pie Menu. It’s
enabled by default, its checkbox is located in
Preferences/Add-ons/Multisculpt. There you can also choose your
preferred pie
menu variant.
Note:
The default Modes Pie hotkey should be overridden, but if you have
another custom ctrl+tab hotkey, you may need to resolve the keymap
conflict manually.
The rest
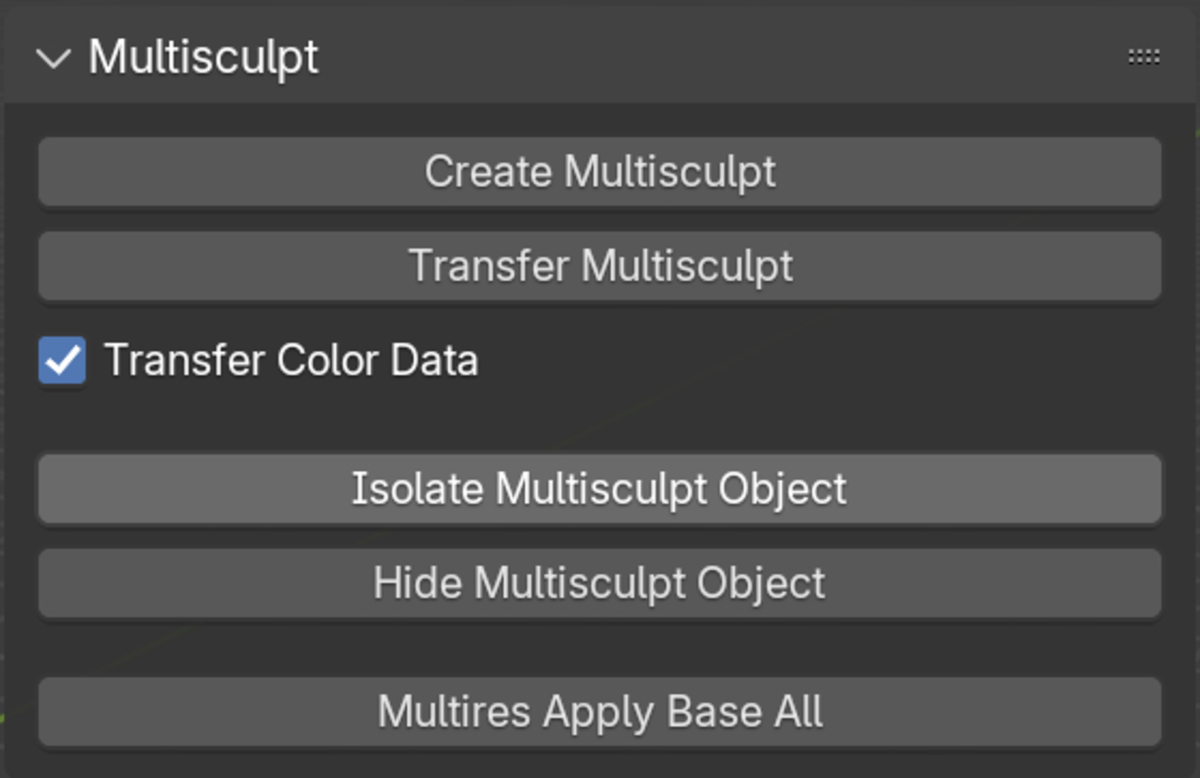
of the extension is located in the side panel (N-panel),
under the tab "Multisculpt"
1.
Select
at least two mesh objects.
There's
no need to filter your selection, any non-mesh objects will be
filtered automatically.
2.
Using
the Modes Pie Menu, go into either Sculpt, Vertex Paint, Weight
Paint, or Texture Paint Mode.
Alternatively you can press
Create Multisculpt from
the N-Panel.
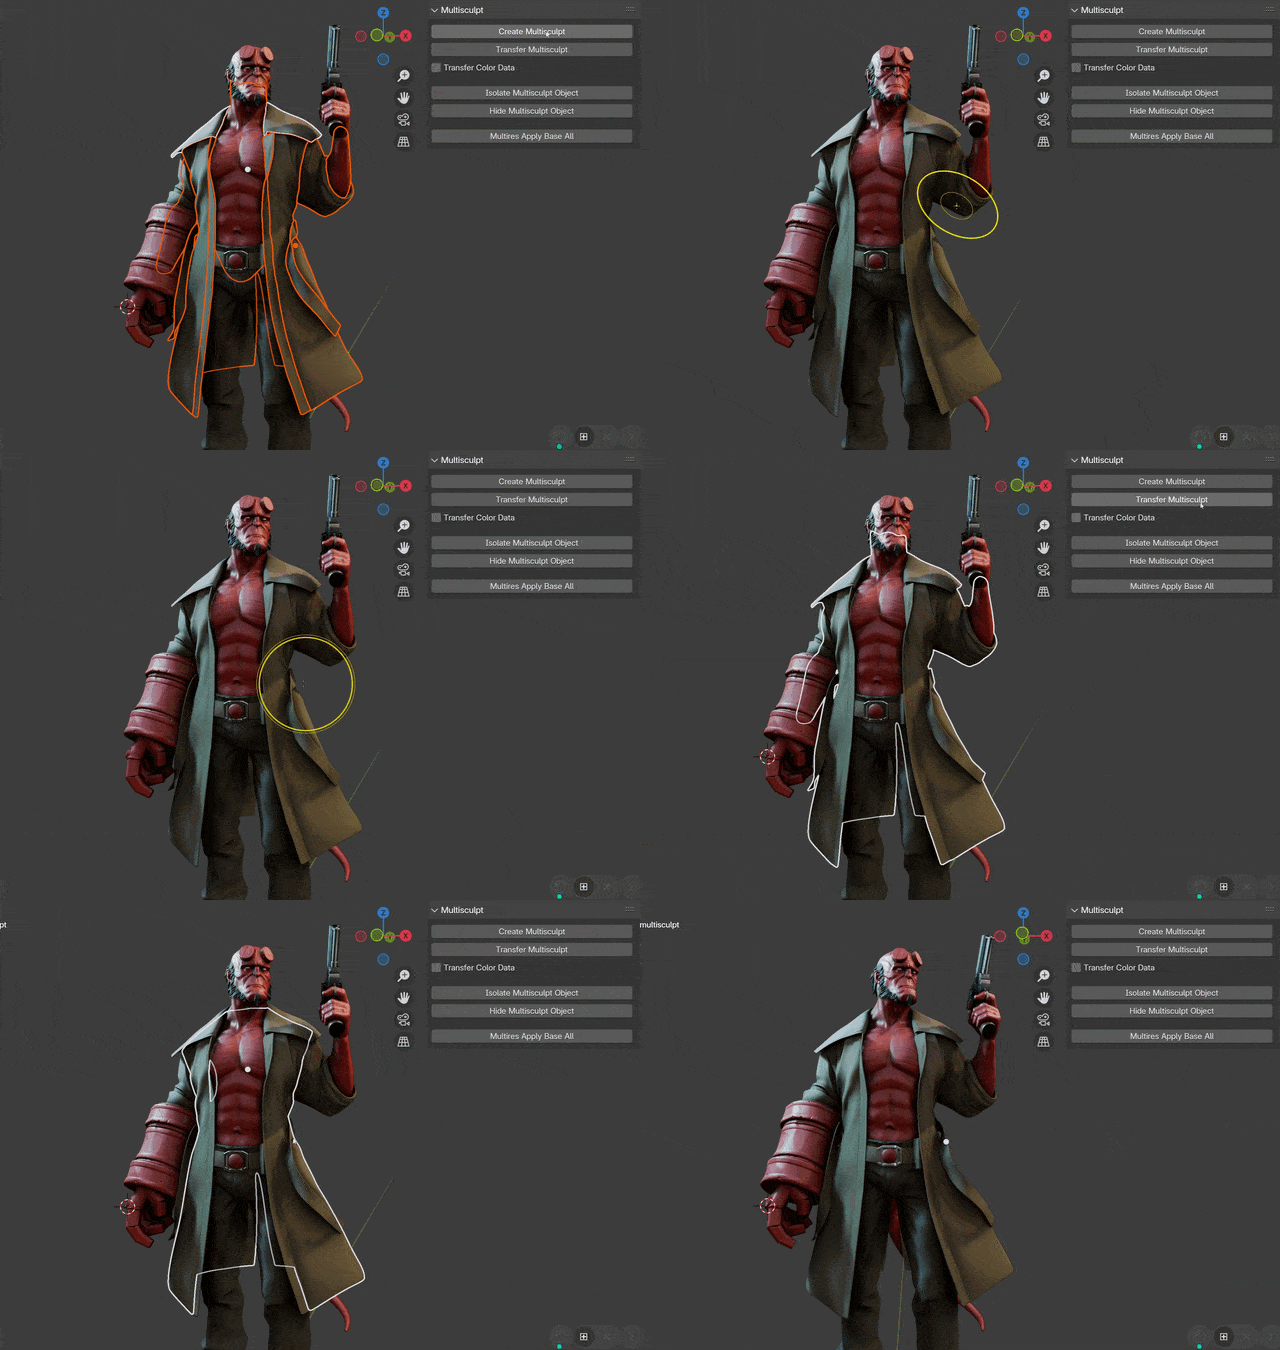
A proxy object is created from your selection and the
original objects are automatically hidden. All modifiers, attributes, etc. will be
preserved on your original objects,
The "Keep Common Modifiers" checkbox allows for any modifiers that are present on all objects to be propagated to the Multisculpt proxy object. This is primarily meant for Armature modifiers, but can be useful in some other cases. Just note that with some modifier types, like Mirror, Bevel, or Boolean for example, you may get unexpected results, as the modifiers get unified with the same parameters for the Multisculpt object (original modifiers will still be preserved and unaffected).
The "Use Current Multires Level"
checkbox gives you the option to use the current Sculpt Mode Multires
level on any objects with a Multires modifier, instead of their base
geometry. All modifiers are still preserved as they are. All other
objects that don't have Multires will still use their base geometry.
Note that when transferring back, the
modifications are transferred to the same subdivision level, but not
automatically applied to the base geometry. You can quickly do that
for all objects by using the Apply Base All button.
Also
Note that if color transfer is enabled, any objects that
are using their multires level instead of the base geometry will be
skipped for the color transfer step, as Blender doesn't support
vertex colors on Multires subdivision levels.
3.
Manipulate your
proxy object
in any
way you like, without
changing the
vertex count of the object. This means no
extruding / beveling / deleting geometry, etc. It's
also important to not change
the vertex count of any of the original objects before
transferring your multisculpt changes.
4.
Using
the Modes Pie Menu, go into Object Mode
(either
once or twice if using Auto Fast or Auto menu variant),
or go to Multisculpt Transfer if using Manual pie menu variant, or
press Transfer
Multisculpt in the
N-Panel.
All
your changes will be transferred back to the original objects.
Modifiers, transformations, UVs, etc. are all preserved.
Note:If
you want to transfer color or vertex group data, make sure that the
checkbox in the N-panel is enabled!
Also
note that when using the default Auto Fast pie menu variant you
may lose sculpt undo steps when transferring from inside Sculpt Mode.
If this bothers you, please switch to the Auto variant.
Color
is transferred from the active color attribute of the Multisculpt
object to the active color attribute of each original object. If the
original object doesn’t already have a color attribute, it will be
automatically created.
Vertex group data of
each group is only transferred to objects that the group
affects
Auto
Clear Instancing checkbox will automatically make any
of your original objects’ mesh datablocks single-user, so that they
may receive unique changes.
4.Transformations may optionally be transferred to either a new shape key, the active shape key, or the basis.
You also have the option to compensate any deformations from existing (and currently active) shape keys.
Extra
Buttons:
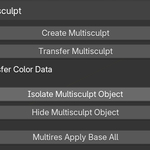
Isolate Multisculpt Object (in
Modes Pie Menu, or N-Panel)
Press this button while you have
at least one object selected, which has an existing Multisculpt
object associated with it, or you have a Multisculpt object selected,
and it will hide all original objects and show the Multisculpt
object.
Hide Multisculpt Object (in Modes Pie
Menu or N-Panel)
Hides the currently selected Multisculpt
proxy object and shows all of its corresponding original
objects.
Multires Apply Base All
Note:
In version 2.0, this is done automatically whenever you
Create Multisculpt with any objects that have a multires
modifier.
This button will run the "Apply Base"
command on any selected objects that have a Multires modifier. This
is so that their base subdivision level has any multires displacement
you may have previously sculpted. By doing this first, whenever you
create a multisculpt proxy object, it will be the same shape as what
you see in Multires.
Ideally, this should be done by default,
but it's extremely slow. Thankfully, we have this separate one-off
operation that we can perform whenever we need to. The button I've
provided just does it automatically for all selected objects with a
multires modifier. If any of the objects with multires have shape
keys, they will be skipped, because the shape keys override the
result from the apply base command anyway.
Should you encounter any bugs, or other issues, please get in touch and let me know so I can fix them!
-
$16
Single seat license. Unlimited commercial use.
-
$45
Up to 5 seats. Unlimited commercial use.
-
$85
Up to 10 seats. Unlimited commercial use.
Have questions about this product?
Login to message
| Blender Extension Compatible | Yes |
| Sales | 900+ |
| Rating | 11 ratings |
| Dev Fund Contributor | |
| Published | over 1 year ago |
| Blender Version | 4.2 - 5.2 |
| Extension Type | Add-on |
| License | GPL |
