 Take Refuge 3D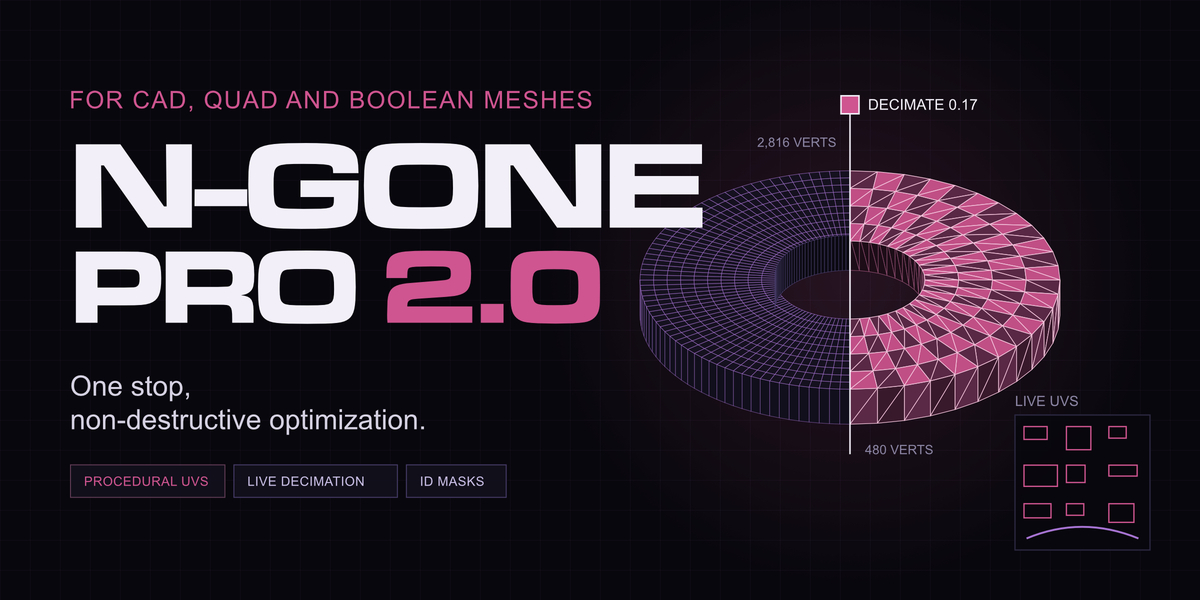
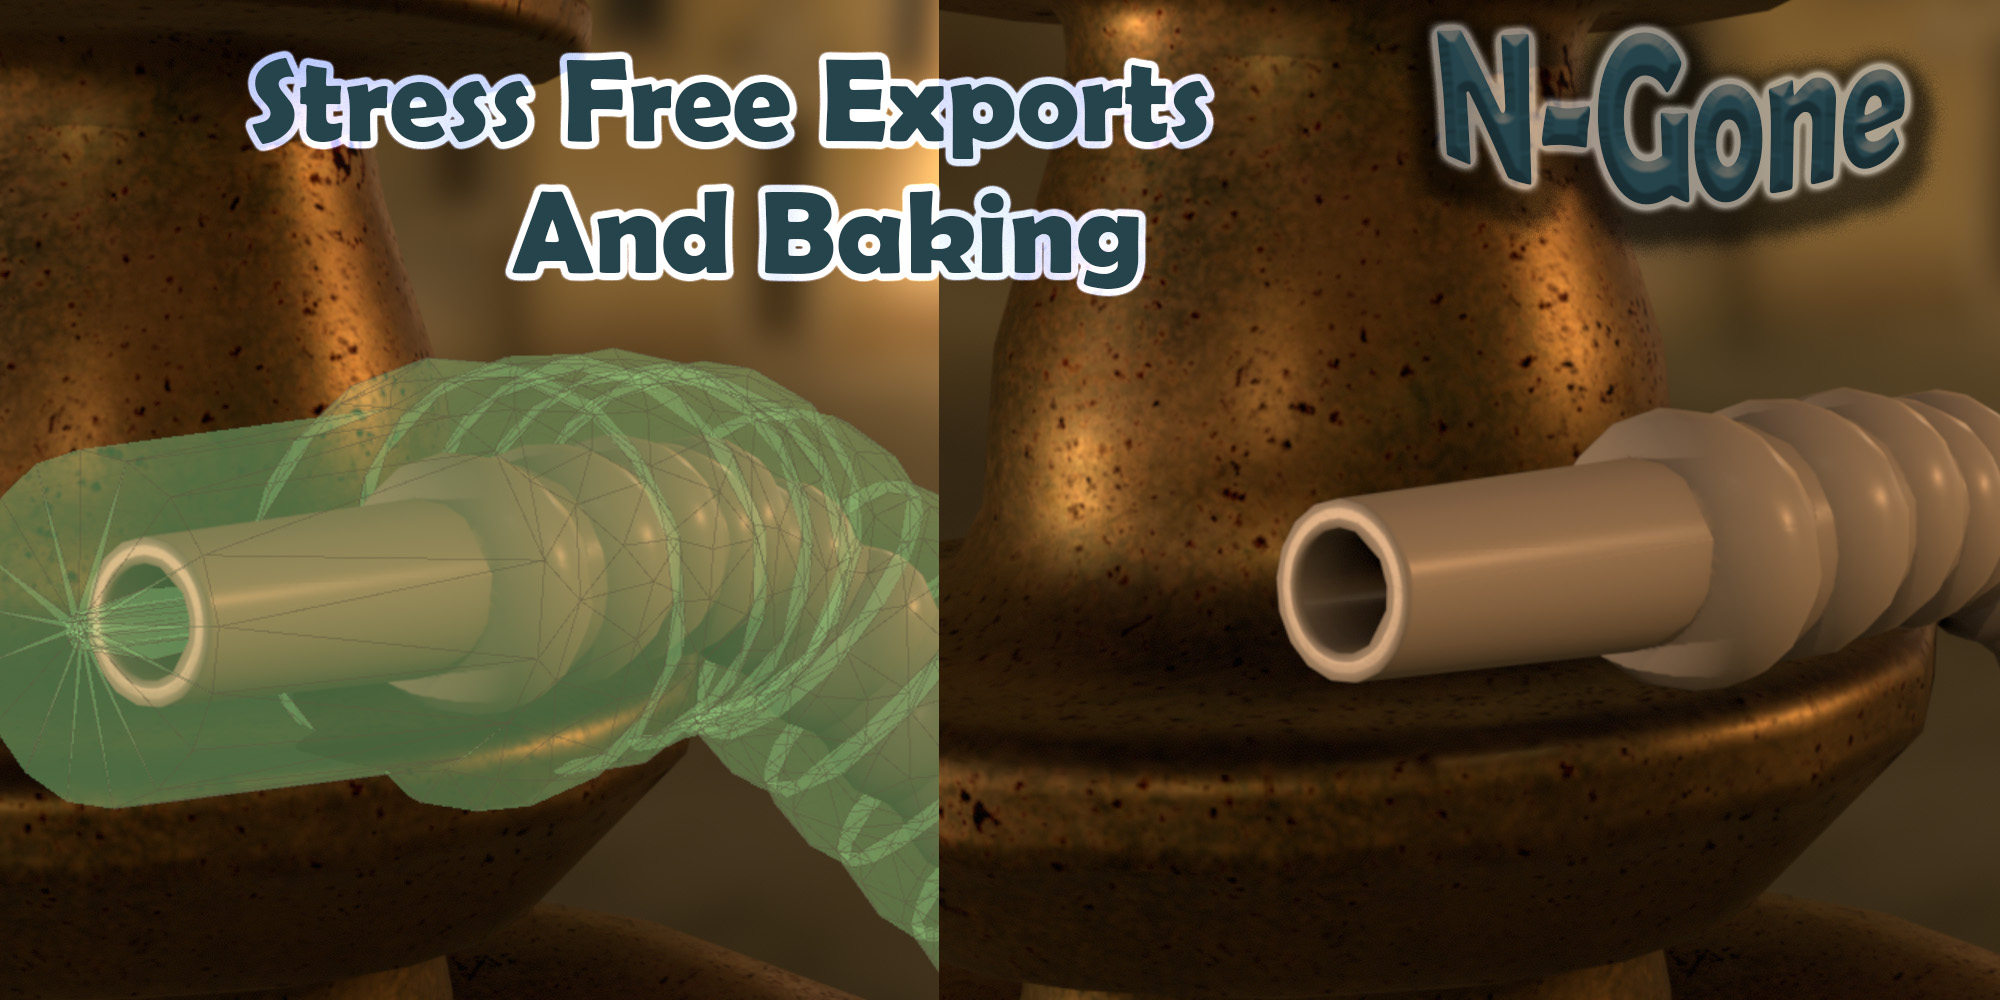
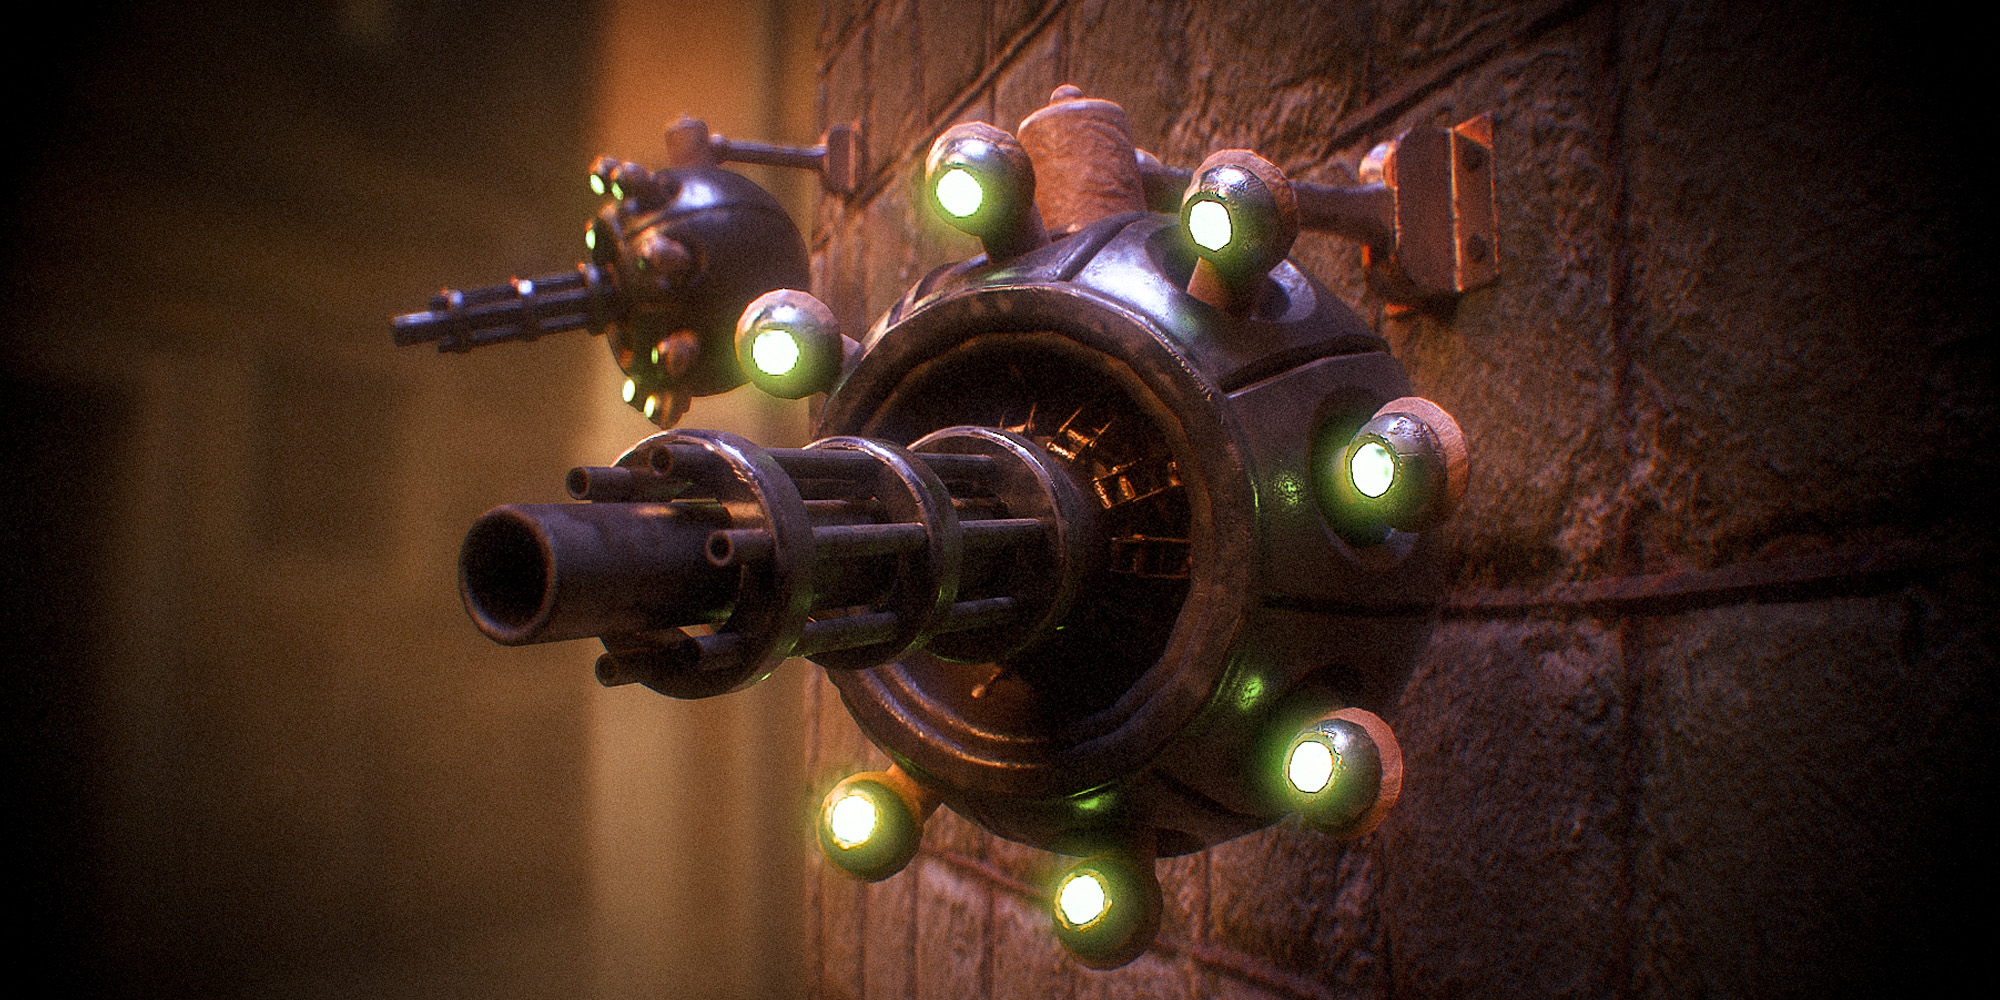
CAD, QUAD, BOOLEAN.
BROKEN?
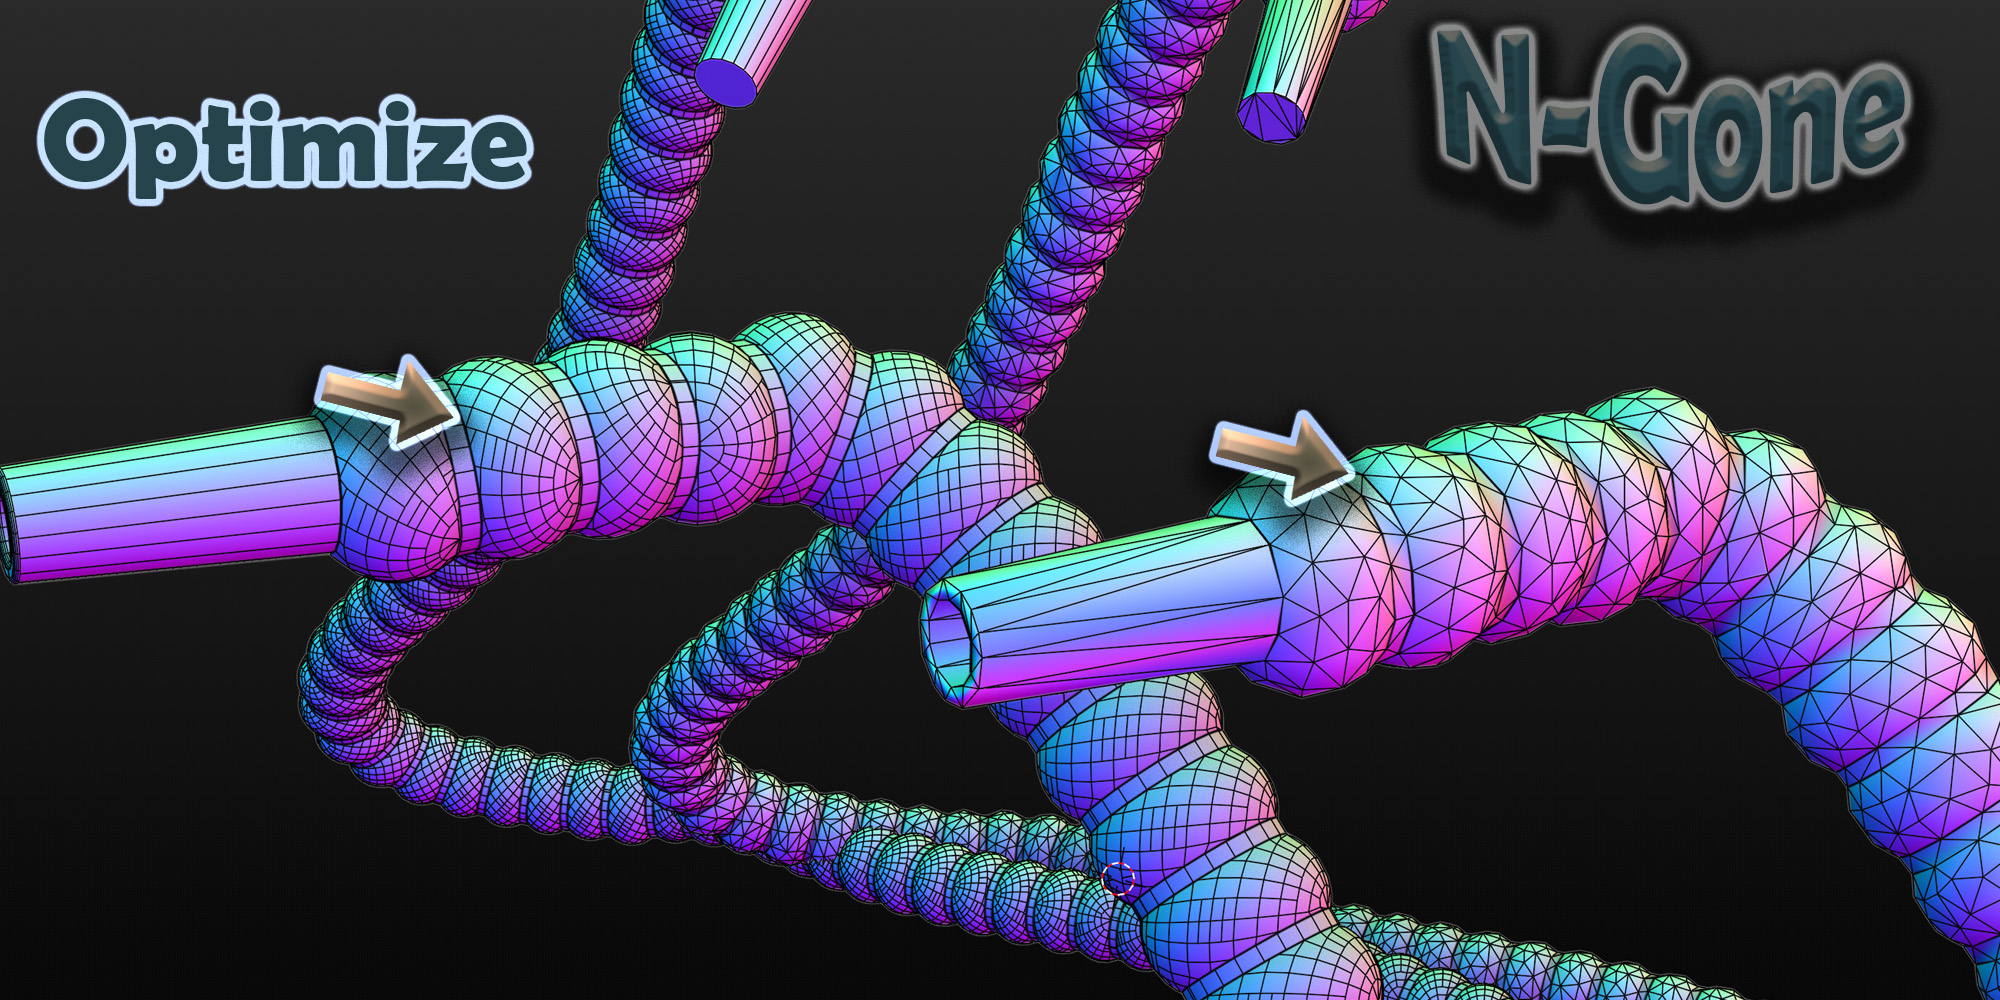
N-Gone Pro is a workflow for optimising N-Gon and Quad based meshes, built to take the pain out of CAD and Boolean models.
TURN HOURS INTO MINUTES.
One Stop Shop for Managing and Optimizing Exports.
UVS, POLY-COUNT, VERTEX MASKS and more.
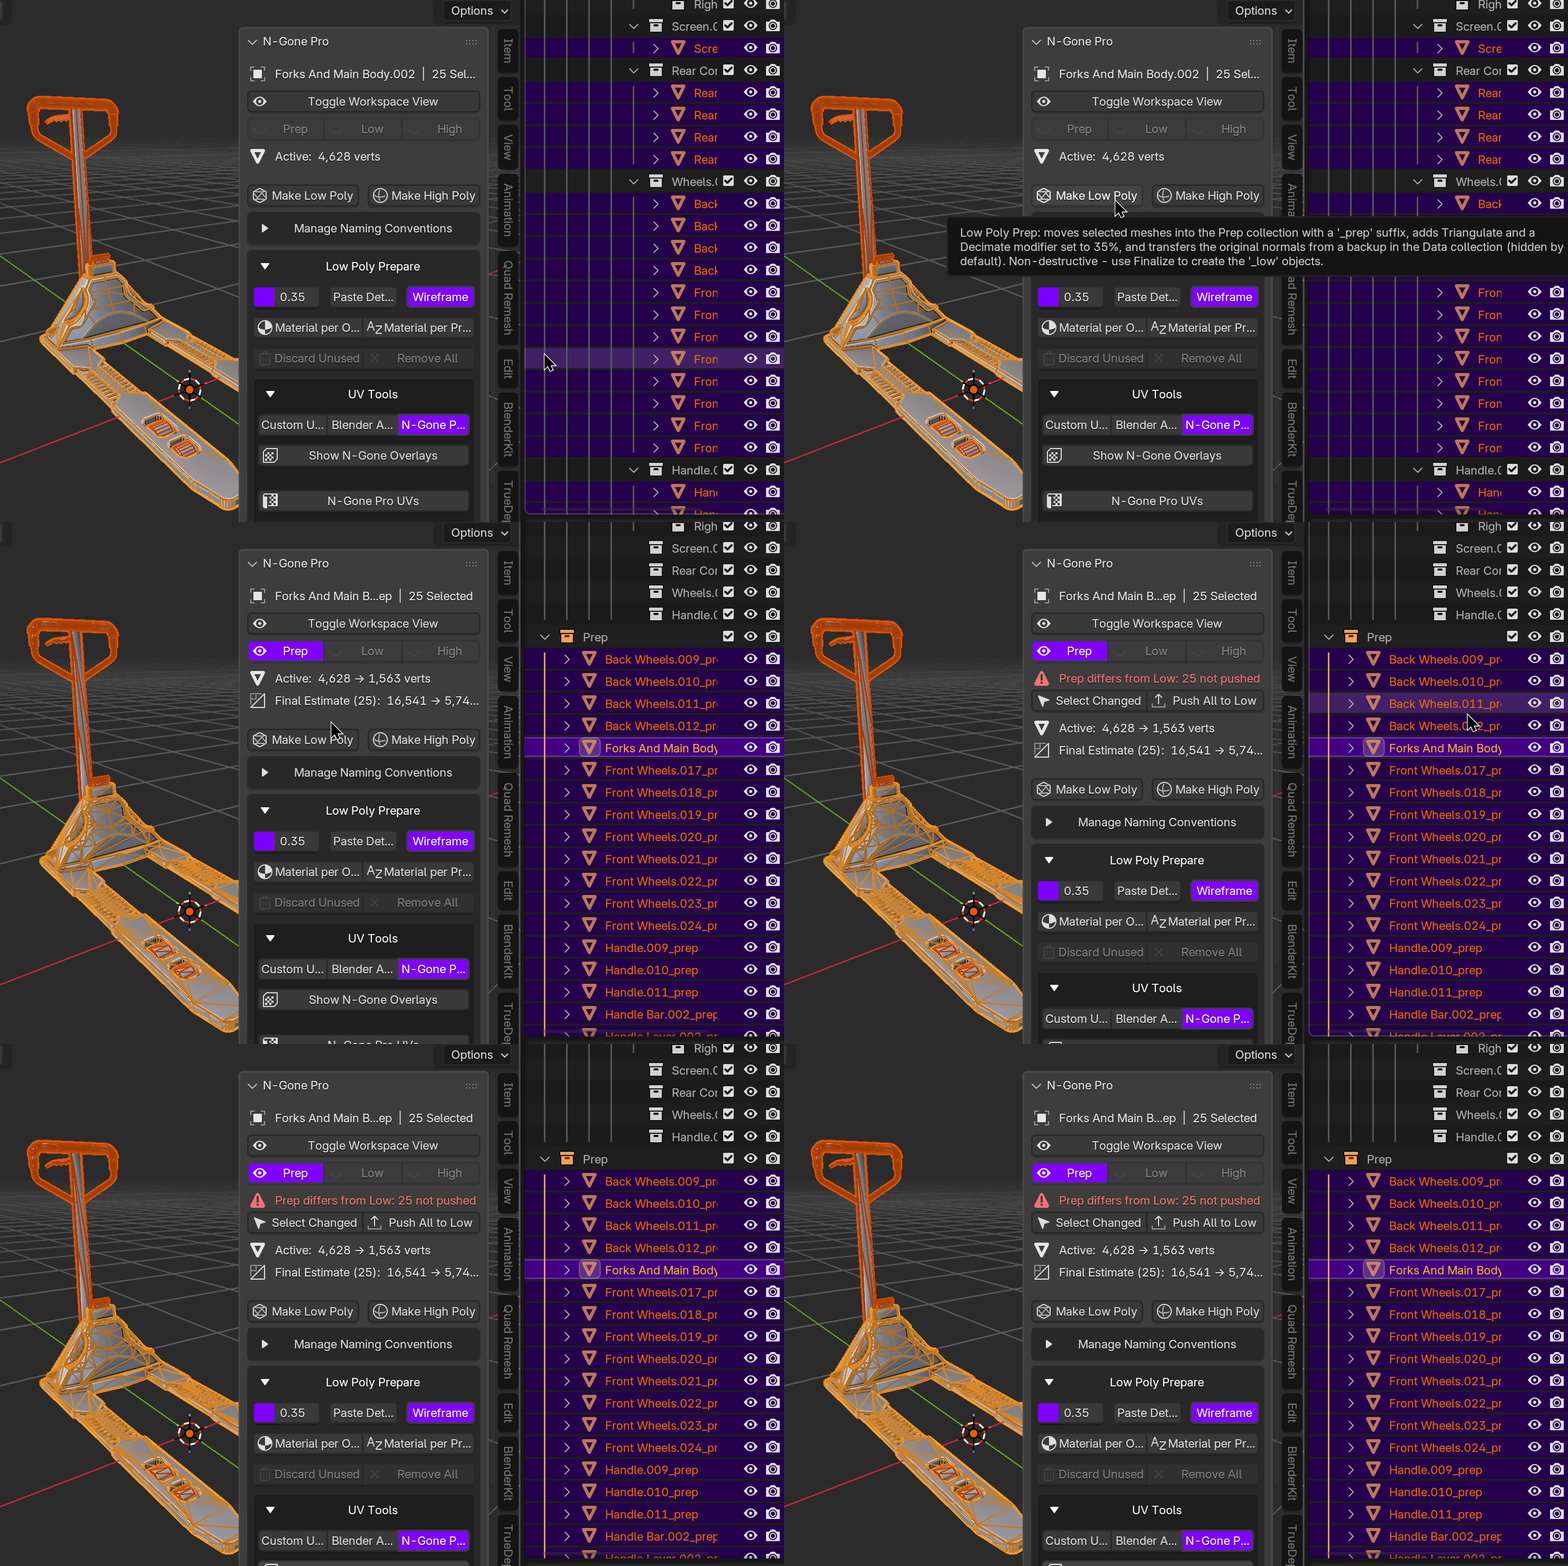
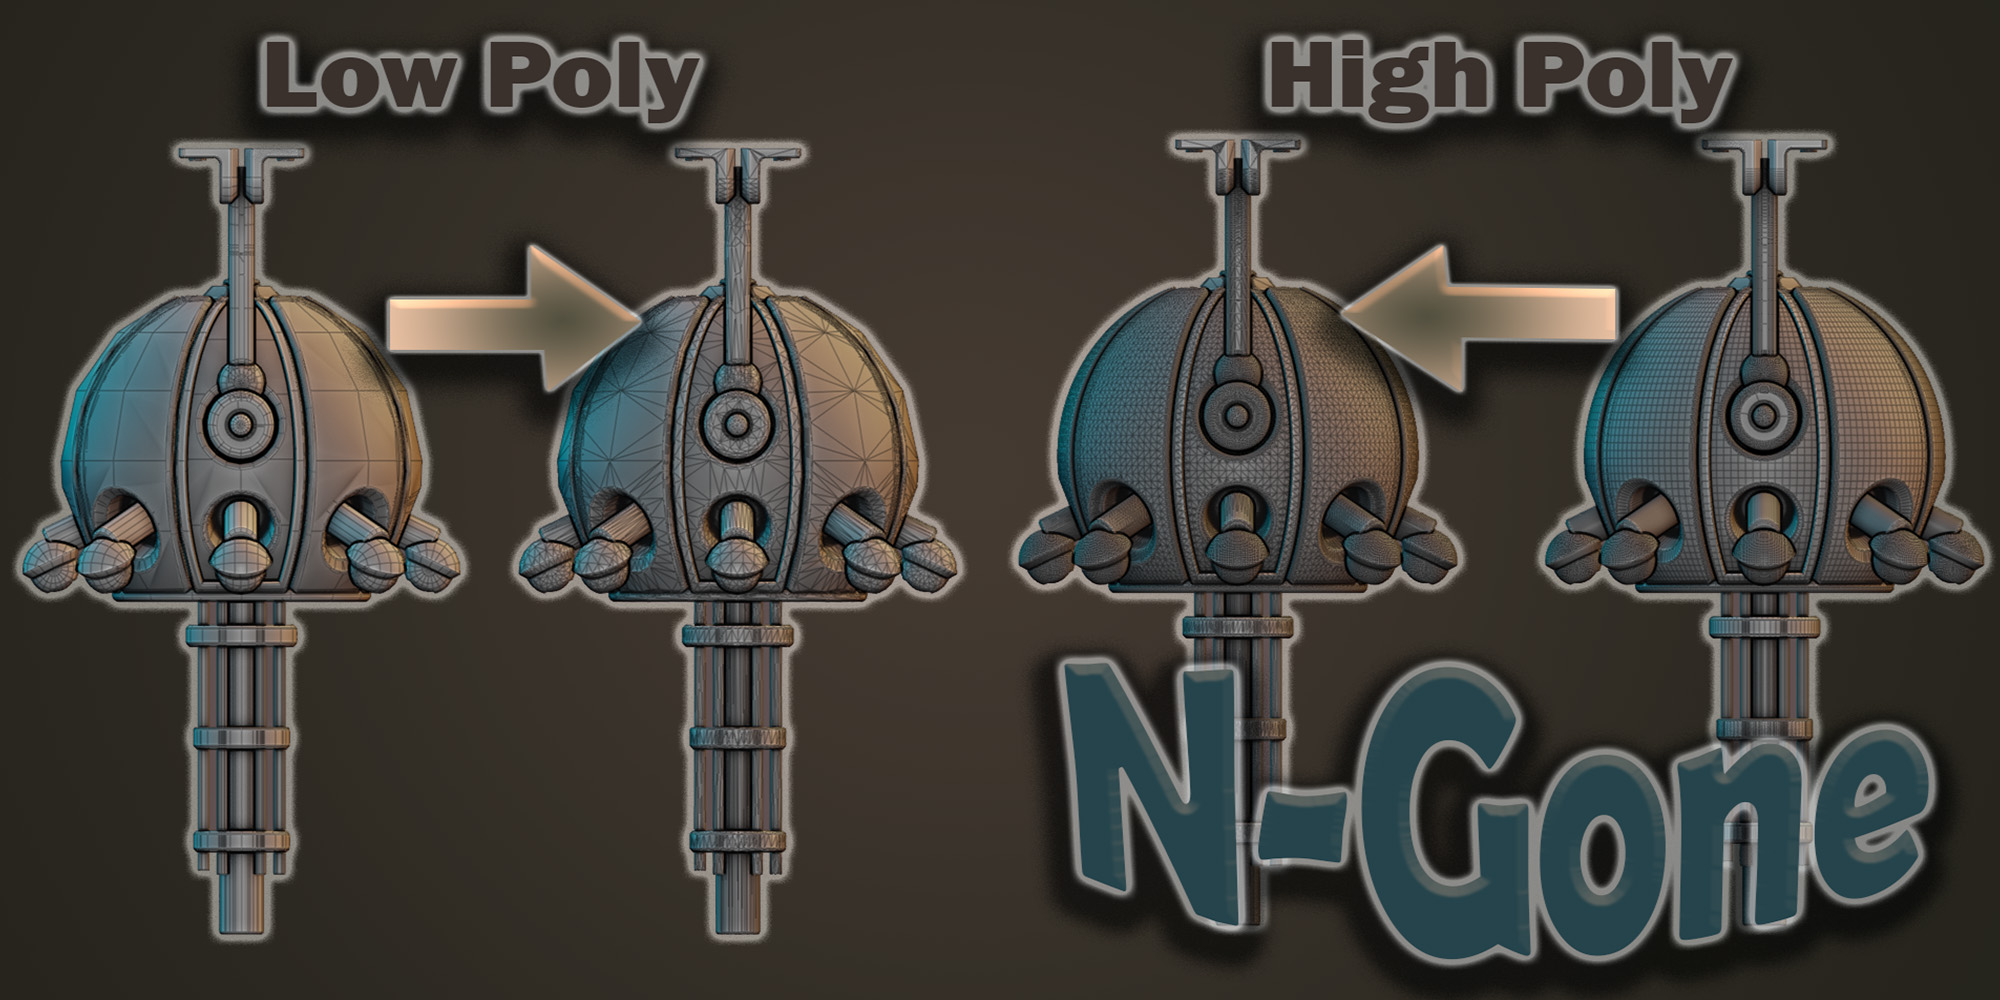
HIGH AND LOW POLYS, IN BATCHES.
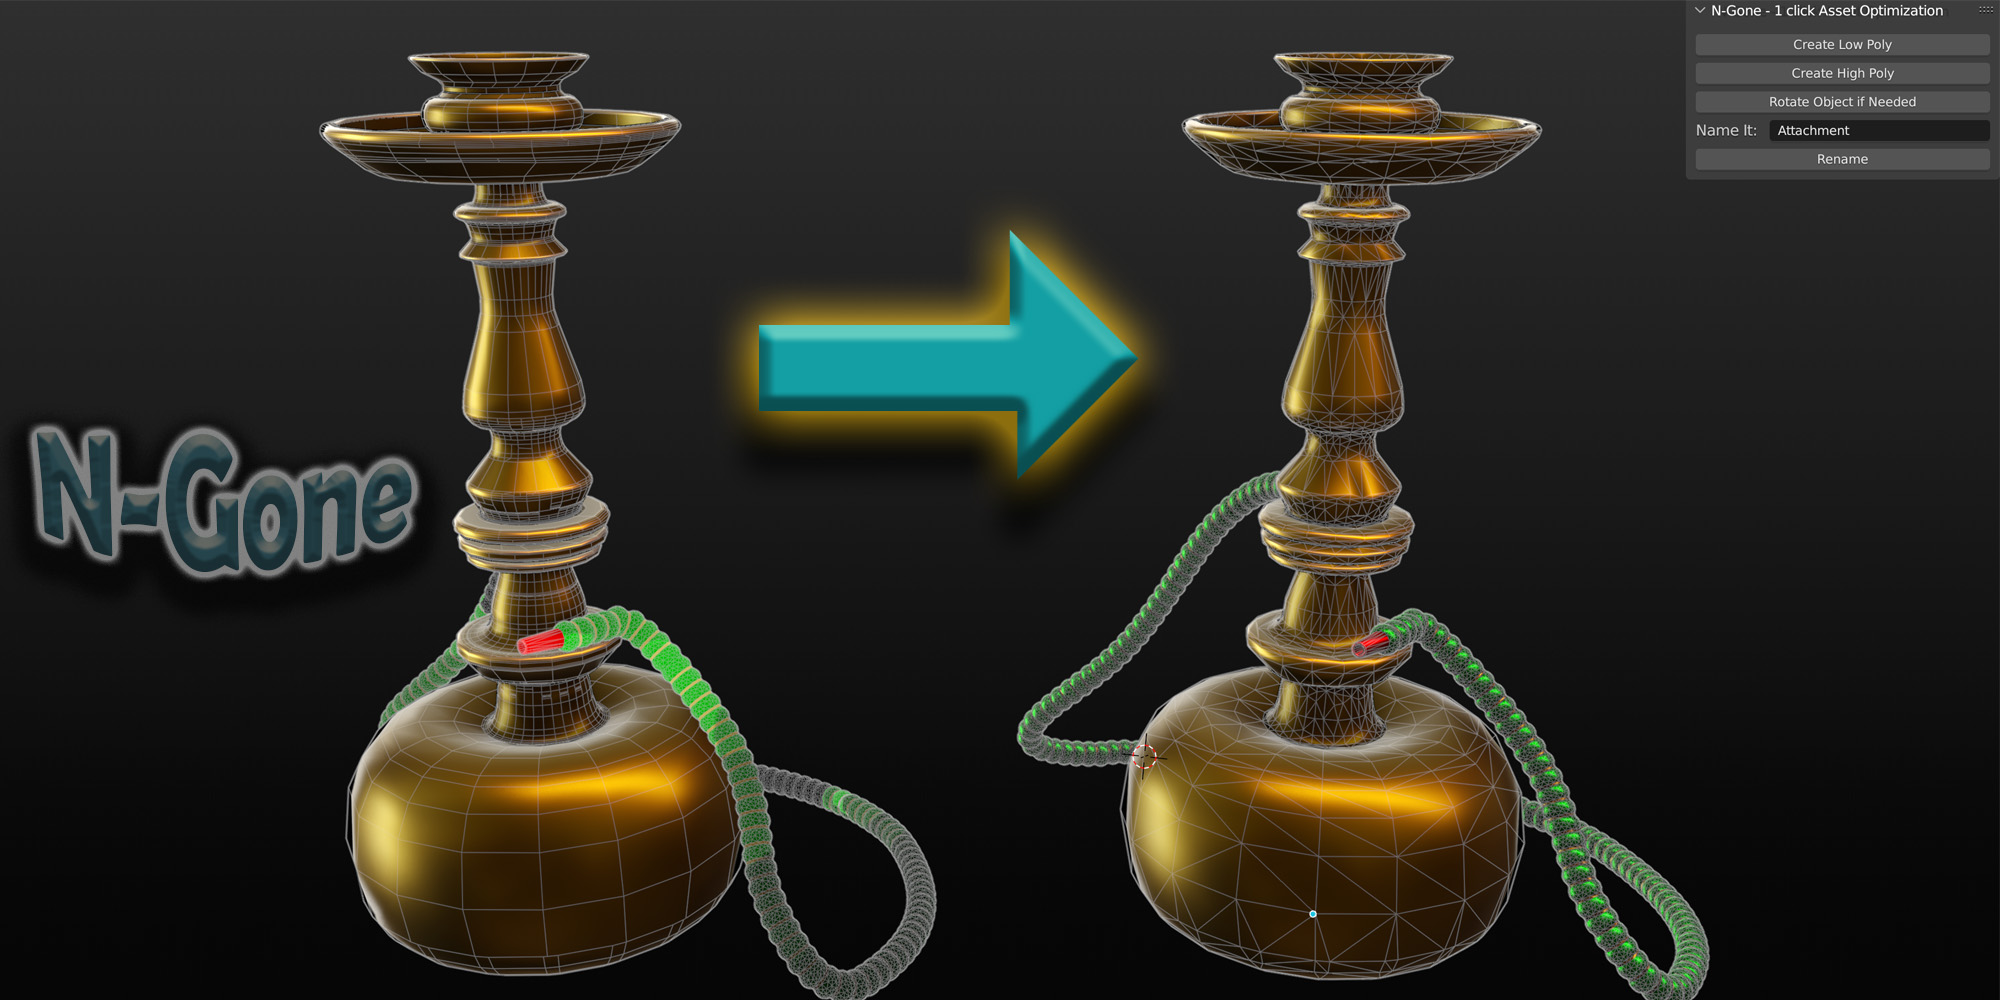
Select as many objects as you like and make their high and low poly versions in one go. Your meshes move into a Prep collection where Triangulate, Decimate and the normal transfer stay live as modifiers.
When you’re happy, Finalize builds the finished _low objects. Change your mind later and Finalize again. The same low is rebuilt in place, with the same name, in the same collection.
POLY COUNT, RIGHT IN THE VIEWPORT.
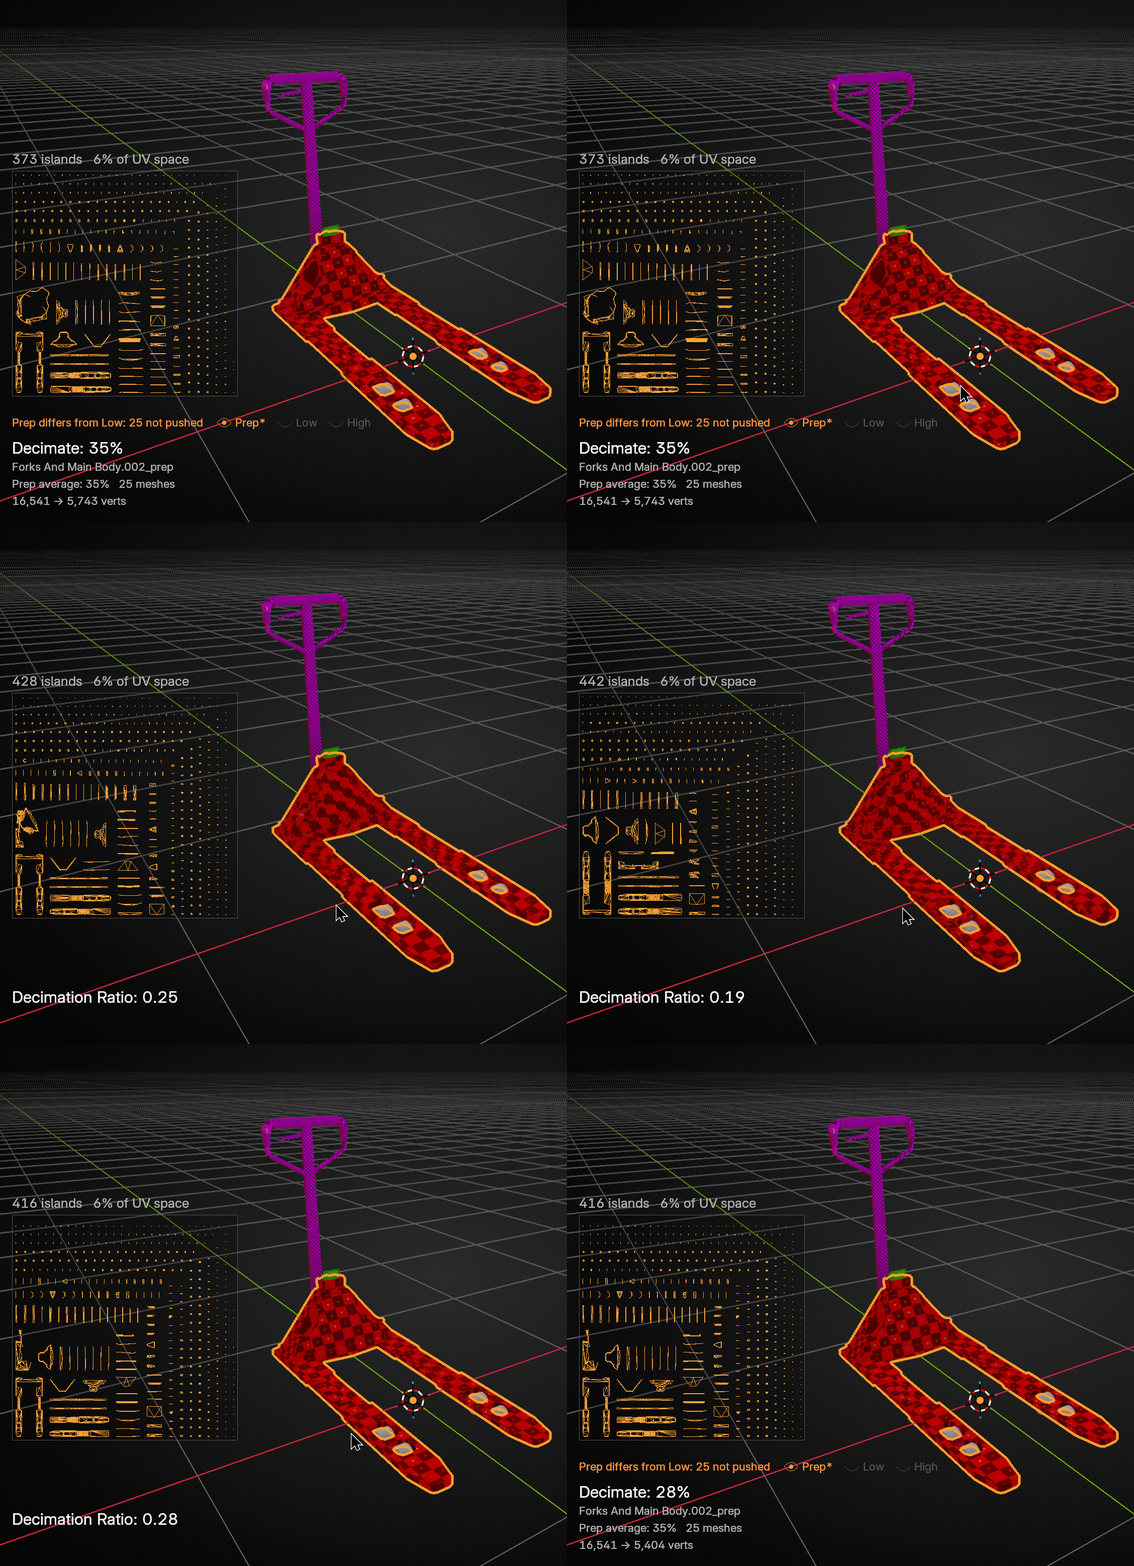
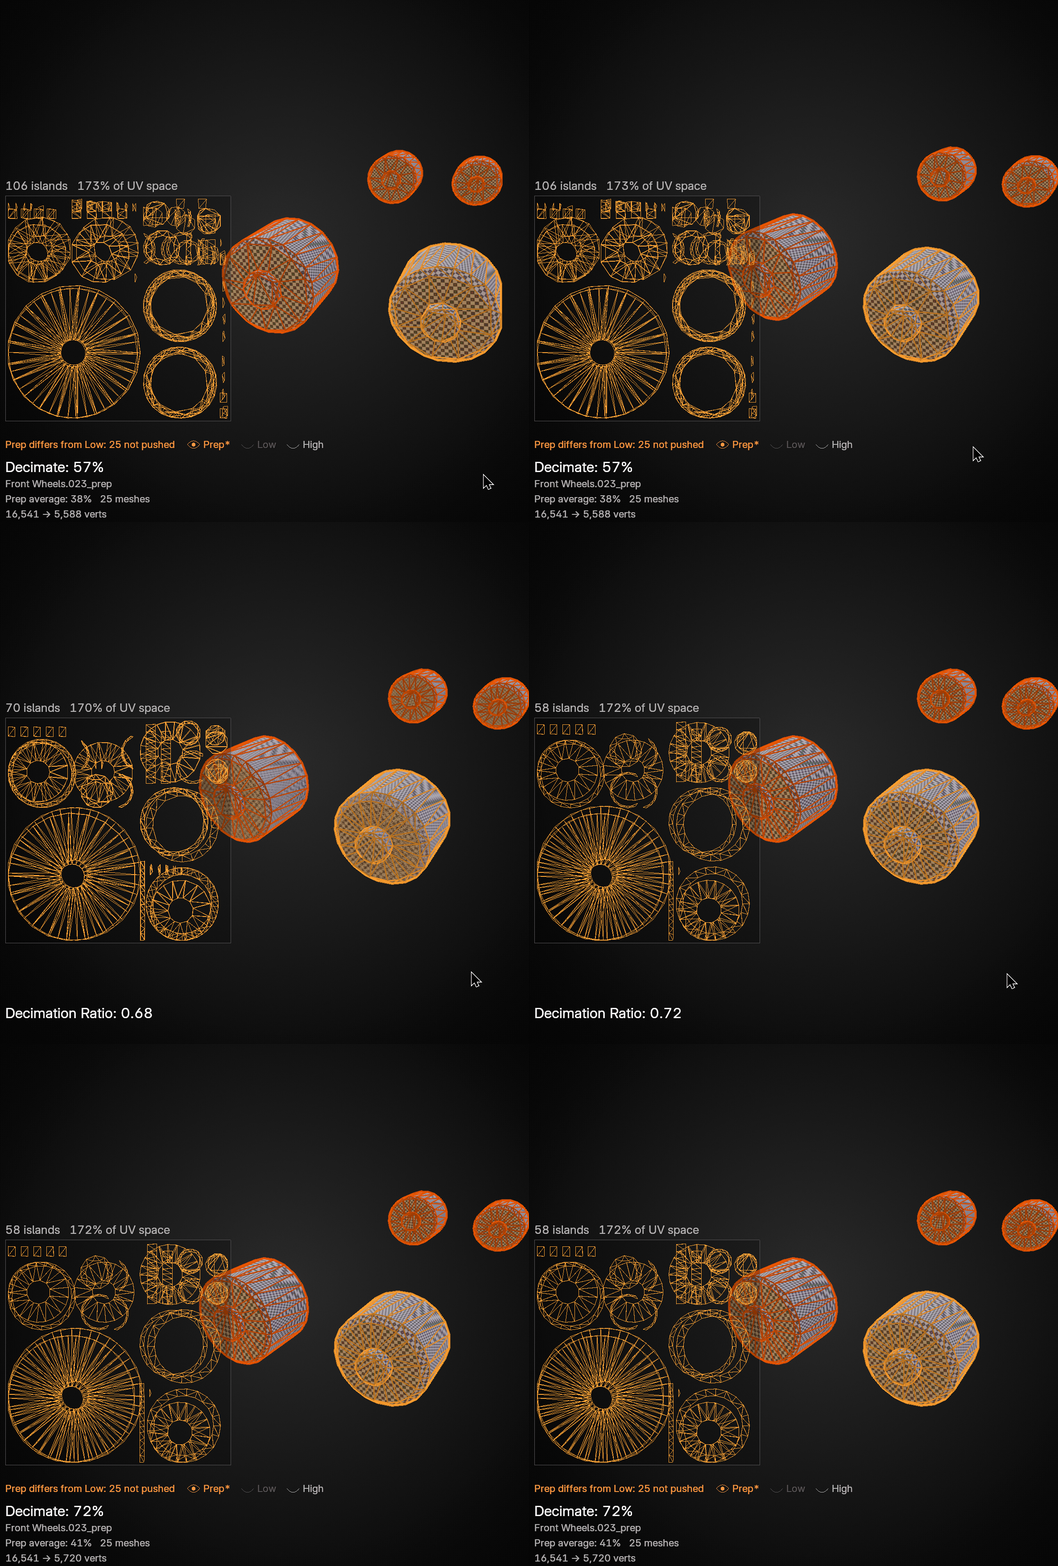
Change the detail on multiple objects at once and watch the result live, no dramas. Press D and drag, type an exact value, or hold Shift for fine control.
The panel shows the active object before and after modifiers, plus a Final Estimate of what all your finished lows will come to.
SEAMS ONLY WHERE THEY’RE NEEDED.
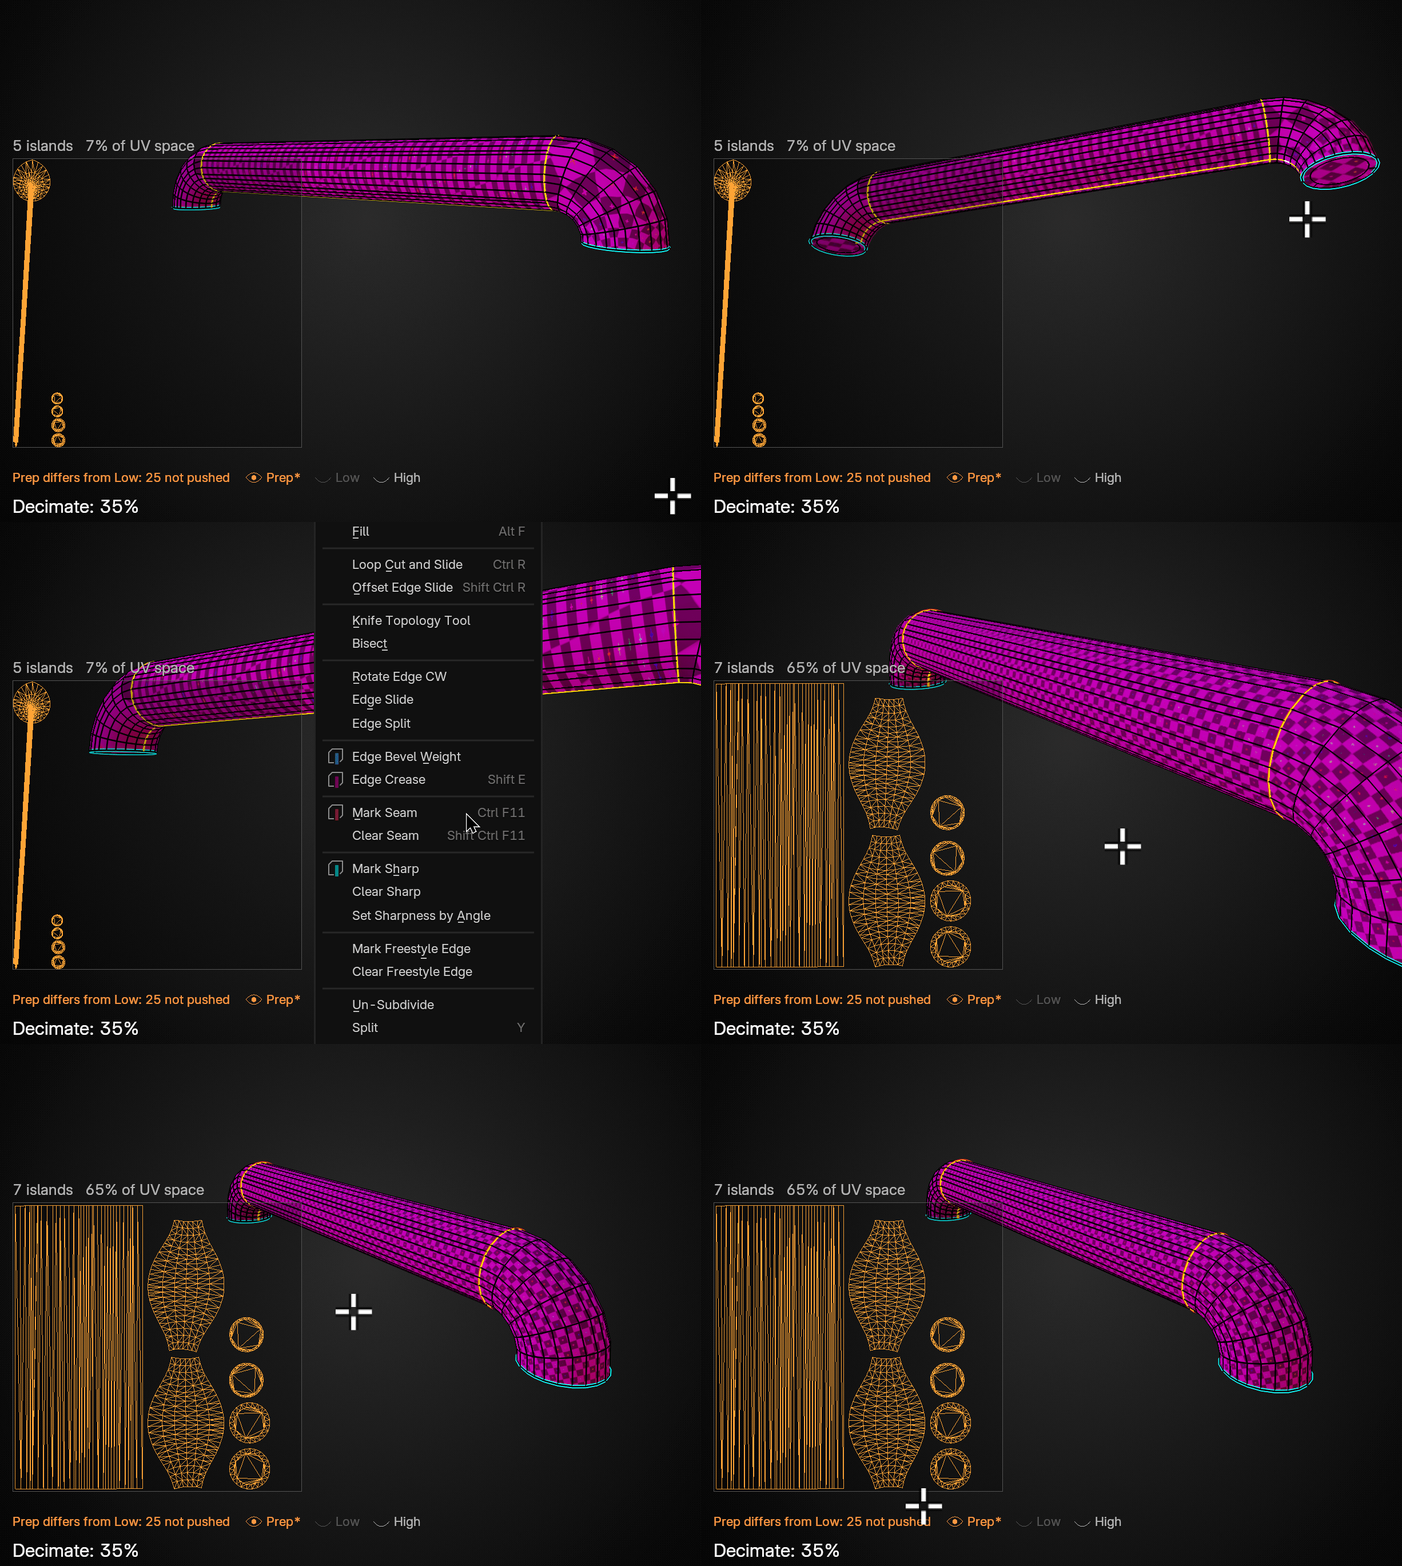
The N-Gone Pro UV modifier is a geometry nodes setup built for hard surface work. It cuts seams from the edge angle, from Sharp Edges and, on Blender 5.0+, from your own UV Seams, and it reuses the custom normals you get from CAD apps like Plasticity.
You can also use it while you model in Blender and skip the unwrapping entirely. N-Gone Overlays draw the layout, island count and coverage in the corner of the viewport, so there’s no UV editor to open.
INTELLIGENT ID MASKS.
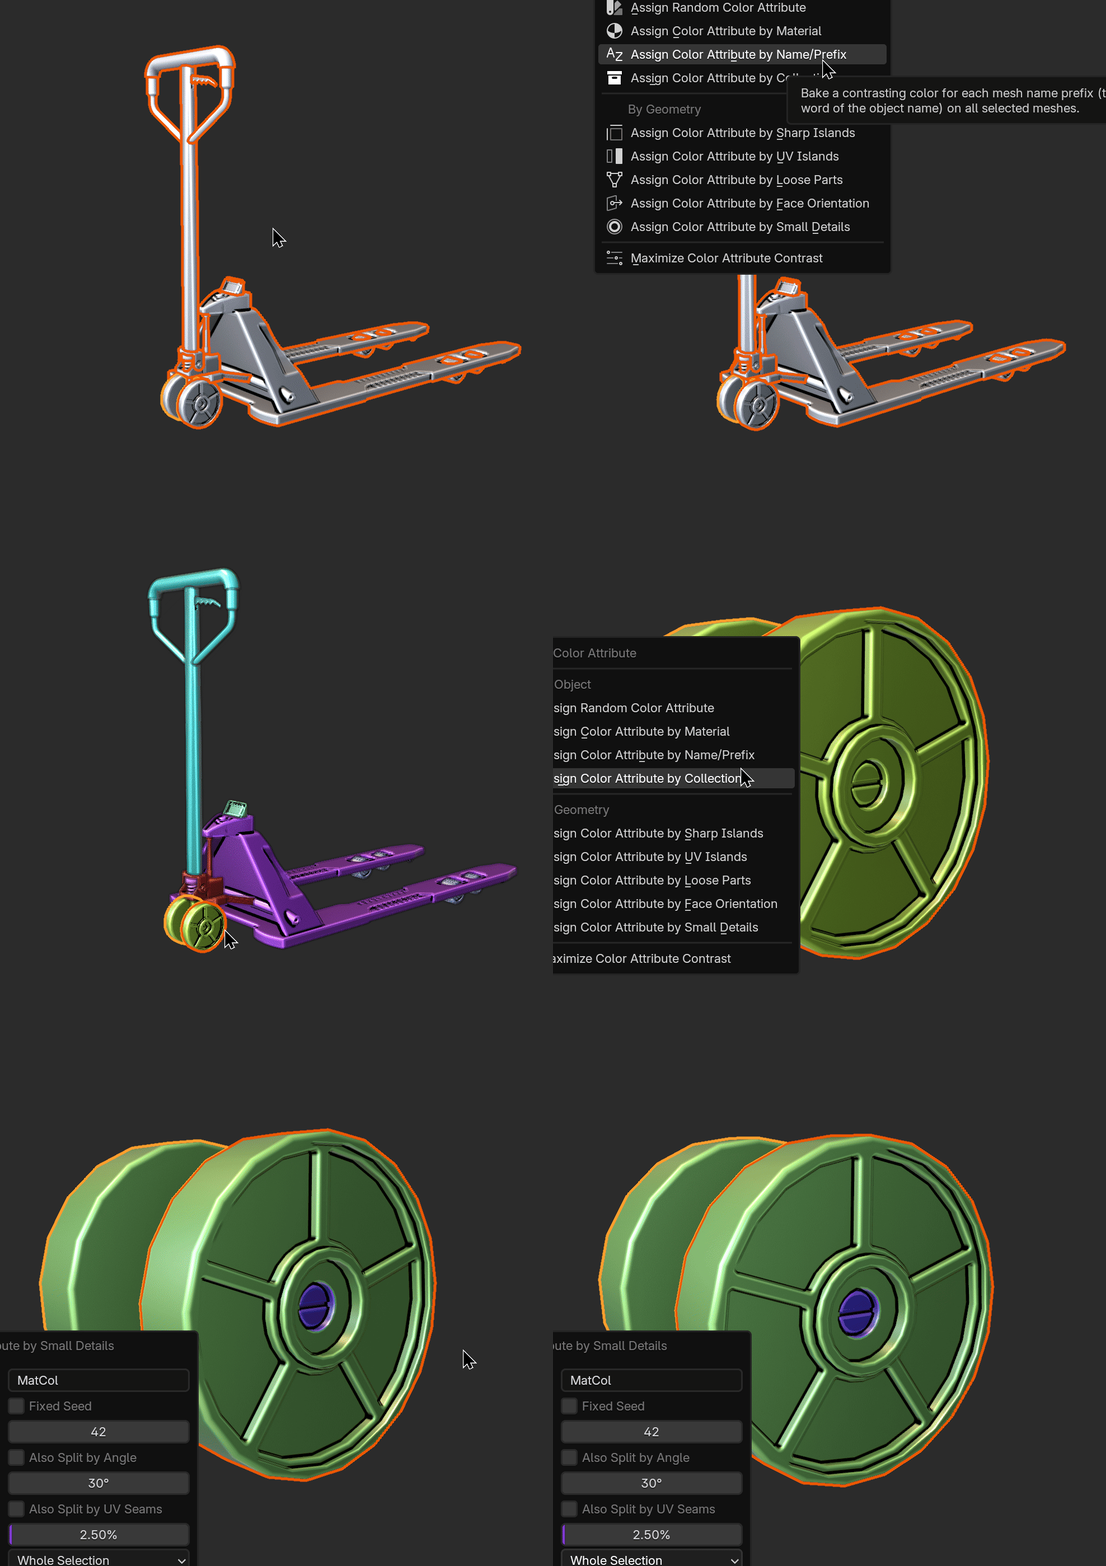
A whole new set of vertex colour tools for bake masks, including automatic masking of small details like screws, bolts and insets. In Object Mode, Alt+V opens every tool as a menu at your mouse.
ID materials go on in one click, show a checker through the N-Gone UVs, and come off again with your original materials exactly as they were.
ALSO IN THE PANEL.
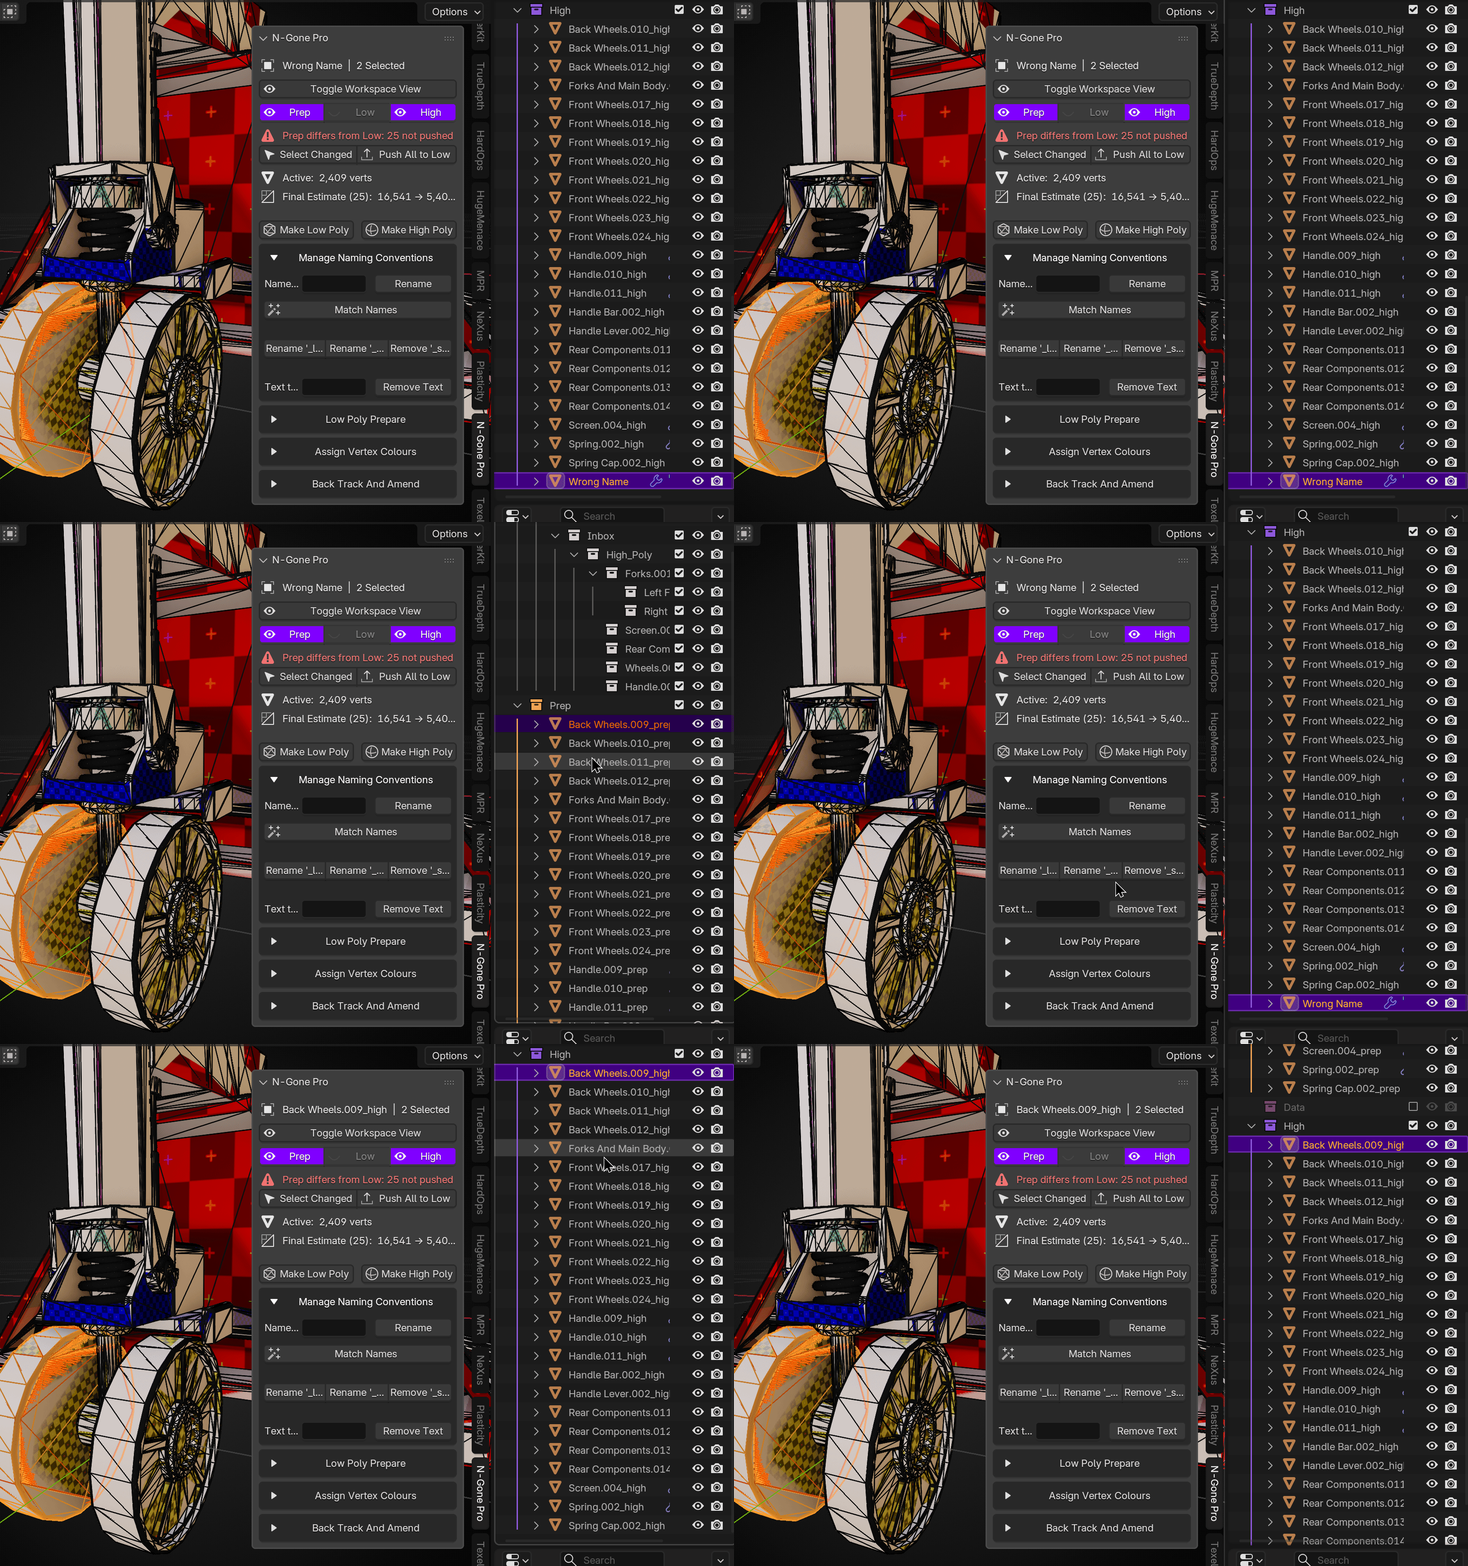
Smart Naming
Standardise names for baking in a single click. Rename highs and lows together and each pair gets matching names, with the suffix at the end where bakers expect it. Rename one half of a pair and its partner follows.
Focused Workspace
A stripped-back viewport for the finer details, so you can read topology and make precise adjustments without the clutter. Toggle it from the panel, and your viewport’s background and overlays come back when you leave.
EVERYTHING IN 2.0.
CREATE, OPTIMISE, EXPORT.
Cut out the manual, error-prone steps between modelling and baking, whether you start from CAD, Booleans or sculpts. Freelancer, Indie and Studio licences, from $14.99.
THE DETAILS.
Change log
N-Gone Pro 2.0 is a complete rethink of how the add-on works. In 1.x, your low poly was made in one go, and changing anything afterwards meant starting again. 2.0 is built around a non-destructive Prep → Low workflow. Your low poly stays live and editable until you push it to the Low collection, and you can push it again as many times as you like. Poly count, UVs, ID materials and vertex colours are no longer separate steps. They now all live in one workspace.
New: Non-Destructive Prep → Low Workflow
- Make Low Poly now moves your meshes into a new Prep collection with a _prep suffix. Triangulate, Decimate and the normal transfer stay as live modifiers, so nothing is committed until you’re ready.
- The new Finalize Low Poly Preparation button builds the finished _low object in the Low collection with everything applied.
- Each prep stays linked to its low. Pressing Finalize again rebuilds the same low object in place, keeping its name and collection, rather than making another copy.
- Finalize works on the selected preps (or the preps of any selected lows), or on the whole Prep collection at once.
- Renaming and Match Names understand _prep, so prep, low and high objects all stay paired for baking.
New: Change Tracking
- N-Gone Pro now remembers exactly what each prep looked like when it was last pushed to Low. That covers the mesh, UVs, seams, sharp edges, shape keys, vertex groups, every modifier setting, transforms and materials.
- A status line at the top of the panel tells you when Low no longer matches Prep. It comes with one-click Select Changed and Push All to Low buttons.
- Clicking around in Edit Mode doesn’t count as a change. The check runs quietly in the background, so dragging sliders stays smooth.
New: N-Gone Pro UVs (Procedural Unwrap)
- A new geometry nodes modifier sits right after Decimate (if you’ve added it) and unwraps procedurally. Your UVs now update live with the mesh as you change the density. No more re-unwrapping after every tweak.
- Seams are made from the edge angle (Degrees), from Sharp Edges and, on Blender 5.0+, from your own UV Seams.
- Live Unwrap morphs the mesh flat into its UV layout in the viewport so you can check islands in place. It’s a preview only, and Finalize switches it off automatically.
- There are three packing presets: Fast, Balanced and Exact (Blender 5.0+). Fast is the default and the lightest. Exact packs tightest when you want a proper look at the layout.
- Pack modes on Finalize:
- One UV Map packs all your lows into a single shared layout, with islands scaled to their real-world size.
- Per Object gives each low its own layout.
- Per Material gives each material its own layout.
- Mute Other Modifiers lets you check the UVs on their own.
- Adding the modifier checks your viewport first. It offers to switch to Material Preview and add ID materials, so you can actually see the checker.
- It’s also available from Add Modifier > N-Gone Pro.
New: Choose Your UV Workflow
- UV Tools now offers three workflows: Custom, Blender Auto and N-Gone Pro.
- Blender Auto runs Cube Project or Smart UV Project after the modifiers are applied, so decimation can no longer break your UVs. All lows are then combined and packed into one layout.
- The Smart UV angle is now stored per object.
- Custom leaves the UVs to you, with a tip on when to unwrap so decimation doesn’t stretch them.
- You can optionally finalize with one shared material, a plain Principled BSDF ready for your baked maps.
New: N-Gone Overlays
- Your UV layout is drawn in the bottom-left corner of the 3D viewport and updates live with the modifier stack. No UV editor needed.
- The overlay also shows:
- the island count and UV coverage
- the active object’s decimation percentage
- Prep’s average decimation and vertex totals
- the Prep/Low sync status, with indicators for the Prep, Low and High collections.
- It’s drawn on top of the viewport and never touches the mesh, so what you see is the real unwrap.
New: ID Materials
- Material per Object or Material per Prefix is applied in one click. A prep and its low always share the same material.
- ID materials show a grid checker through the N-Gone UVs, tinted with each object’s colour. You can adjust the checker with ID Checker Scale.
- ID materials are fully non-destructive. Your original materials and per-face assignments come back exactly as they were when you turn them off.
- Vertex Colours from Material writes each ID colour straight into a colour attribute.
- Two clean-up buttons are included: Discard Unused and Remove All.
New: Assign Vertex Colours
- The old single Add Vertex Color button is replaced by a full ID mask toolkit:
- By Object: Random Color, By Material, By Name/Prefix, By Collection
- By Geometry: By Sharp Islands, By UV Islands, By Loose Parts, By Face Orientation, By Small Details (screws, bolts and insets are grouped as one)
- Maximize Color Contrast re-colours existing regions so they’re easy to tell apart in your baker.
- In Edit Mode, Assign Color to Selection colours the selected faces. Alt+L and Shift+Alt+L select and deselect linked faces by colour.
- In Object Mode, Alt+V opens every tool as a menu at your mouse.
- Options such as the layer name, seed and angle are in the redo panel after you click.
Improvements to the Decimation Slider (D)
- You can now type an exact value (0.35 and 35 both mean 35%). Hold Shift for fine control, and right click or Esc puts the original ratio back.
- Fixed the ratio readout never appearing in the viewport.
- Heavy scenes no longer lag behind the mouse while dragging.
Improvements to the Panel
- The panel has been reorganised into Manage Naming Conventions, Low Poly Prepare, Assign Vertex Colours, and Back Track And Amend.
- Low Poly Prepare was previously called Refine.
- UV Tools and Retain Details now sit inside Low Poly Prepare.
- New Prep / Low / High buttons show and hide each collection without digging through the outliner.
- The vertex readout now shows the Active object and a Final Estimate. The Final Estimate is the total across everything in Prep after modifiers (i.e. what your finished lows will come to).
- Tips and notes now wrap to the width of the panel.
Shortcuts
- Every shortcut can now be turned off or re-bound in the add-on Preferences.
Removed
- The Rotate and Merge buttons.
- One Click Low Poly (Experimental).
- The separate Cube Project UV and Unwrap, Combine & Pack buttons. They’re replaced by the UV workflows, which run as part of Finalize.
- The Ctrl+Alt+N shortcut for Toggle Workspace View. The button is still in the panel.
Compatibility
- Blender 4.2 to 5.2. Use UV Seams and the packing presets need Blender 5.0 or newer.
New: Pair-Aware Renaming
- Renaming with High and Low poly objects selected now names the corresponding pairs together with matching numbers (i.e. Rock.001_low and Rock.001_high) in a single click. No need to run Match Names afterwards.
- Renaming one half of a pair automatically renames its partner, so names always stay matched for baking.
- Fixed a bug where renaming a high poly object would mangle the suffix (i.e. "Chairhigh" instead of "Chair_high").
- Renaming now handles Blender duplicate numbers correctly, so names like Part_low.001 become Part.001_low with the suffix at the end where bakers expect it.
Improvements to Match Names
- Match Names no longer relies on the objects in the High and Low collections being in the same order. Pairs are now matched intelligently, with order used only as a fallback.
- Now serves as a repair tool for objects named outside the add-on and has moved directly below the Rename button.
Improvements to Rotate
- Rotate now also rotates the hidden data reference objects, so transferred normals no longer break when rotating after creating a Low or High poly.
Improvements to Workspace View
- Fixed viewports sometimes not restoring their background colour and overlays when leaving Workspace View, especially after splitting or closing viewports or switching workspace tabs.
- Viewports left stuck with the dark Workspace View styling (i.e. after restarting Blender while the mode was on) now fix themselves the next time you toggle the mode.
- The Toggle Workspace View button now shows when the mode is active.
Improvements to the Panel
- The N-Gone Pro tab no longer disappears when a non-mesh object is active and now activates when meshes are box-selected without an active object.
- New status line at the top showing the Active Object and number of selected objects.
- Vertex count now has its own row and shows the count before and after modifiers (i.e. Verts: 124,532 → 43,586) so you can see decimation results live.
Blender 5.x Compatibility
- Fixed "Paint Selected Faces Only" for Vertex Colours erroring in Blender 5.1 and 5.2. Still fully compatible with 4.2 onwards.
Removed
- Poly Fillets has been removed. It was useful in a few special cases, but I found it failed more often than it worked and needed heavy tweaking to get a good result. If you have old projects with Poly Fillets, you can still edit them using the modifier stack it created.
Other
- General bug fixes and code clean-up.
