 NexStudio
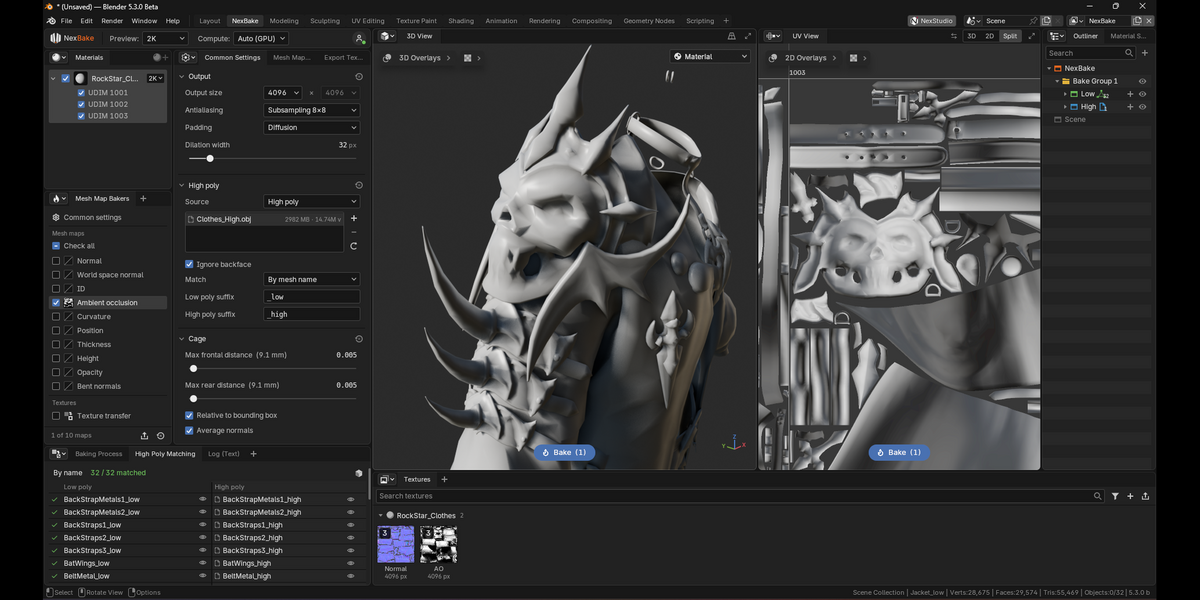
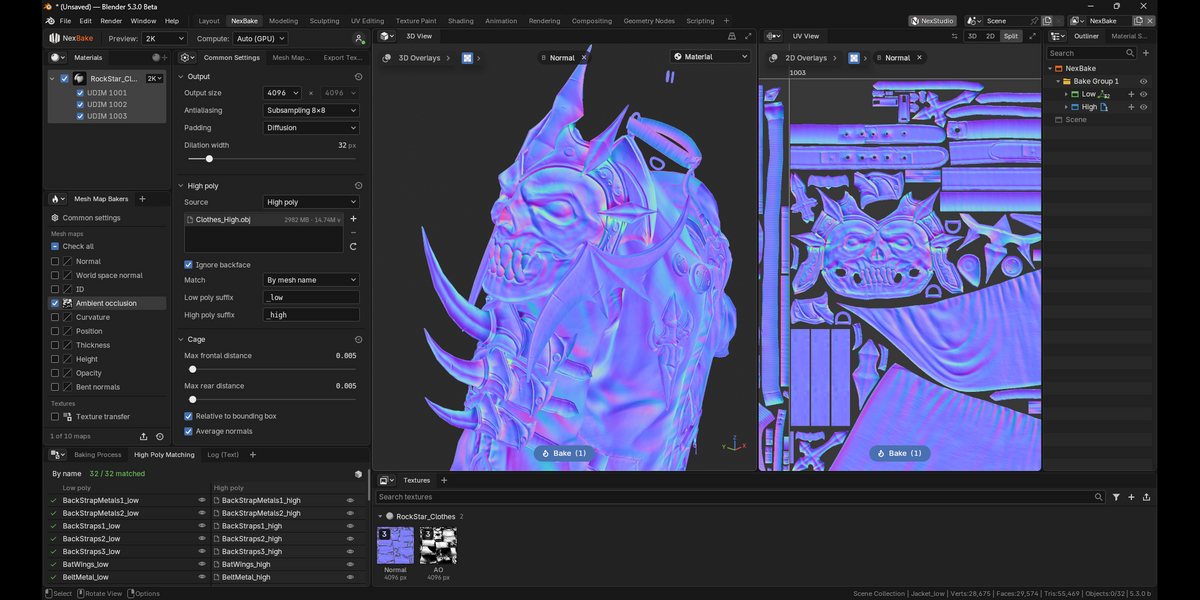
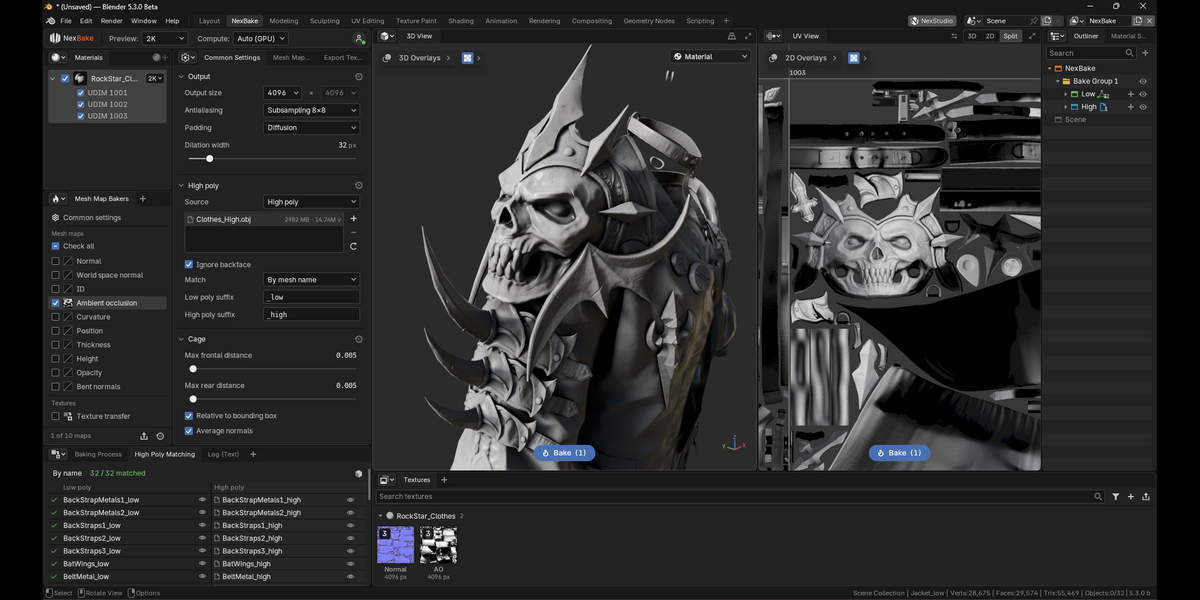
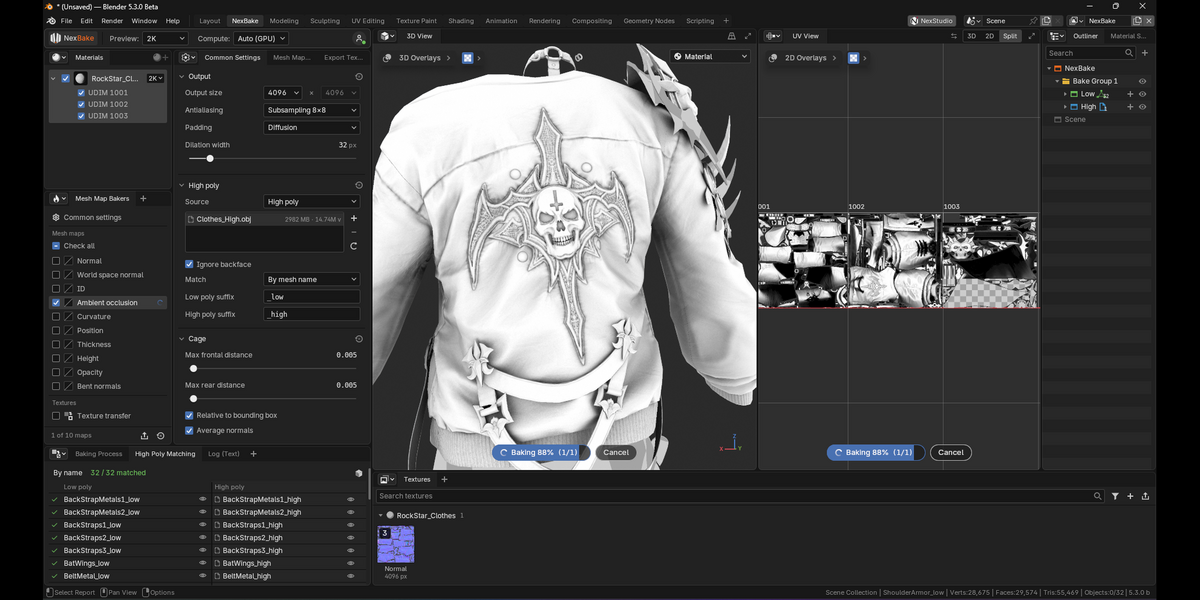
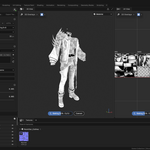
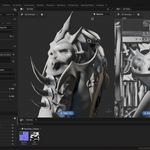
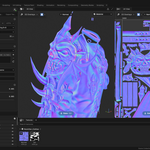
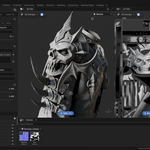
Website: nexstudio3d.com · Full guide: nexstudio3d.com/nexbake/docs · Video tutorial: nexstudio3d.com/nexbake/tutorial
NexBake needs Blender 5.1 or newer on Windows 10 or 11, or on a Mac with Apple Silicon.
1. Install
- Download the zip for your computer and keep it zipped:
windows_x64for Windows,macos_arm64for a Mac. - Drag the zip into the Blender window and press OK. (Or Edit > Preferences > Get Extensions > ⌄ > Install from Disk…)
2. Activate
- In the 3D View press N, open the NexBake tab and click Open NexBake.
- Click Sign in at the top right and confirm the code in your browser (a free NexStudio account).
- Choose Enter licence key…, paste the key from your purchase and press Redeem.
3. Add your meshes
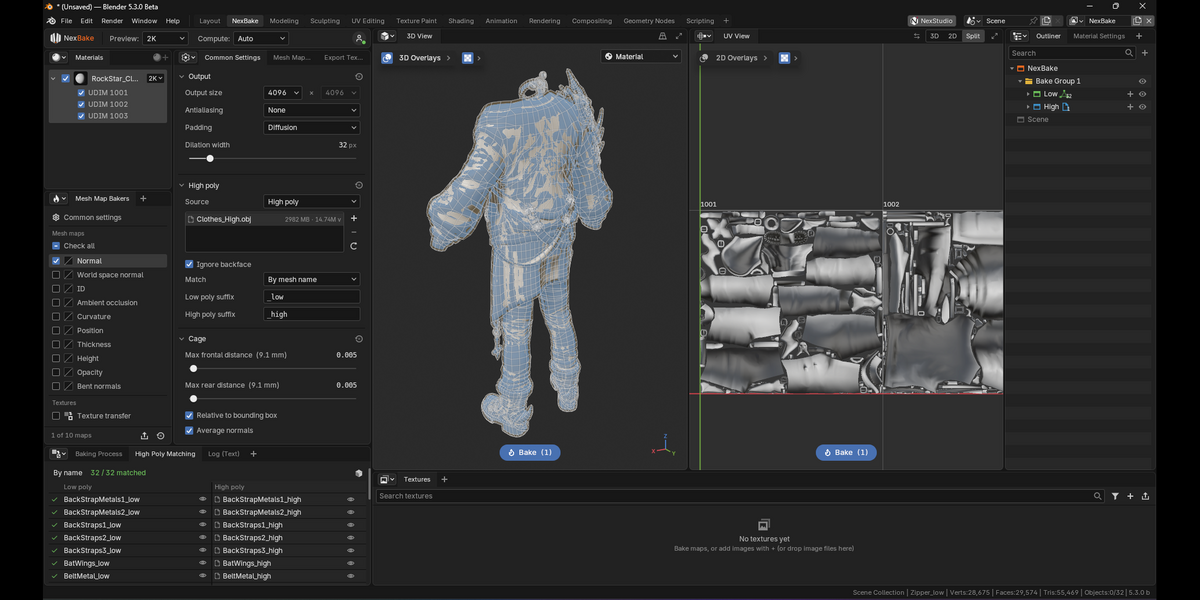
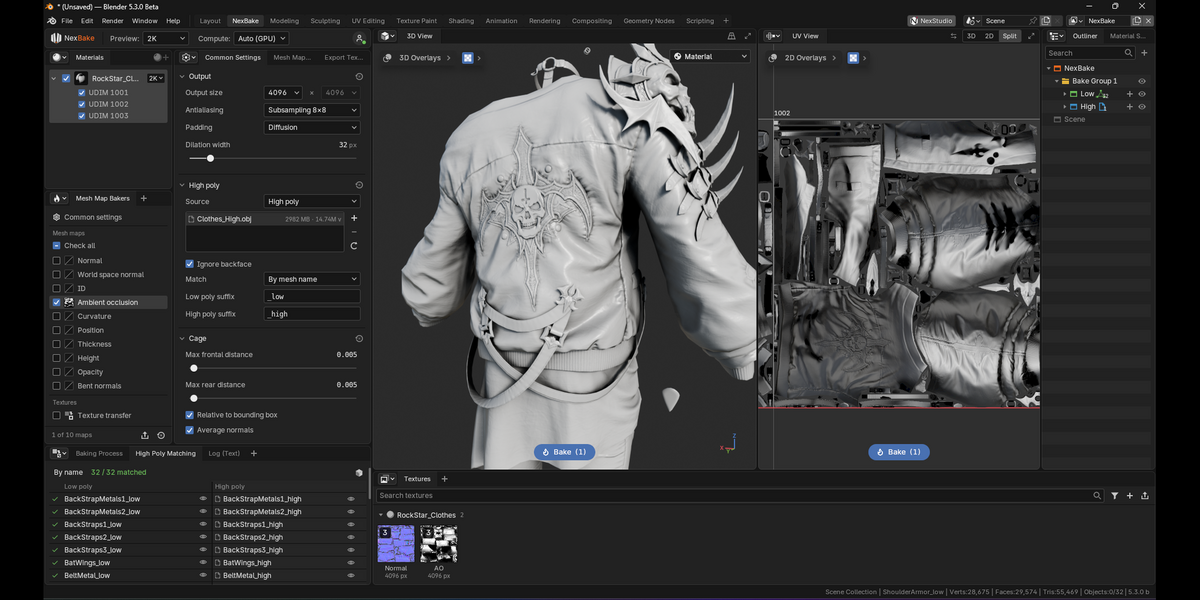
- Select the low poly (it needs a UV map) and click Add Low Poly.
- In Common Settings > High poly click + to add the high poly meshes or an
.objfile. - Name the pieces with
_lowand_high(Body_low,Body_high) and NexBake pairs them by itself.
4. Bake
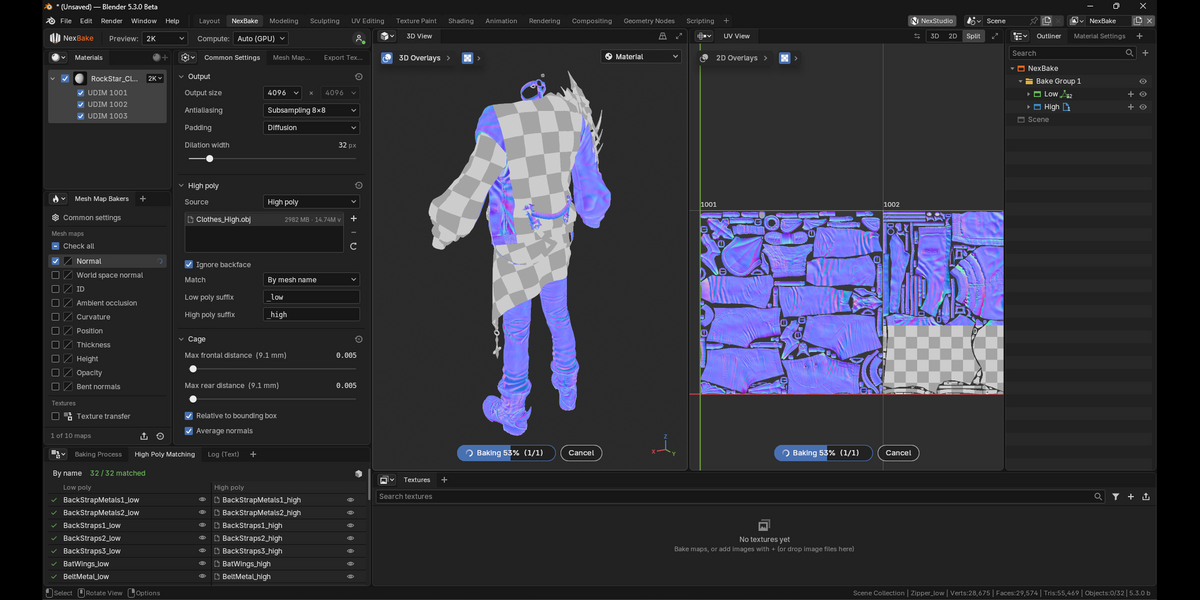
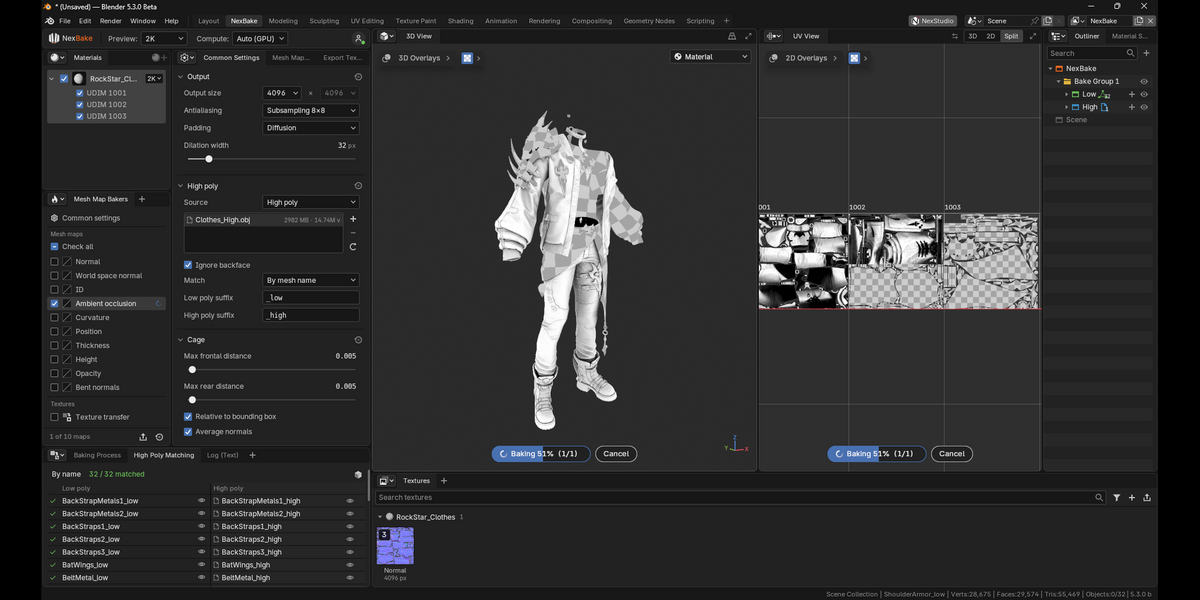
- Pick a preset (Game asset · 2K, Hero asset · 4K or Fast preview · 1K) or tick the maps you want.
- Click Bake. The maps fill in live on the model. A yellow ! shows anything that needs fixing first.
5. Export
- Open Export Textures, pick a folder and a format (PNG, EXR, TGA, TIFF) and click Export.
- Turn on Auto export to save every new bake by itself.
Need help?
Sign in does not work? Turn on Edit > Preferences > System > Network > Allow Online Access. For anything else write to us at nexstudio3d.com/contact.
Have questions about this product?
Login to message
| Blender Extension Compatible | Yes |
| Published | about 9 hours ago |
| Blender Version | 5.1 - 5.3 |
| Extension Type | Add-on |
| License | GPL |
Discover more products like this
normal map GPU normal baking ambient occlusion texture-baking PBR game assets bake curvature mesh maps