NexTopo: Auto Quad Remesh, LODs & Baking for Blender
 Dawid Gerula
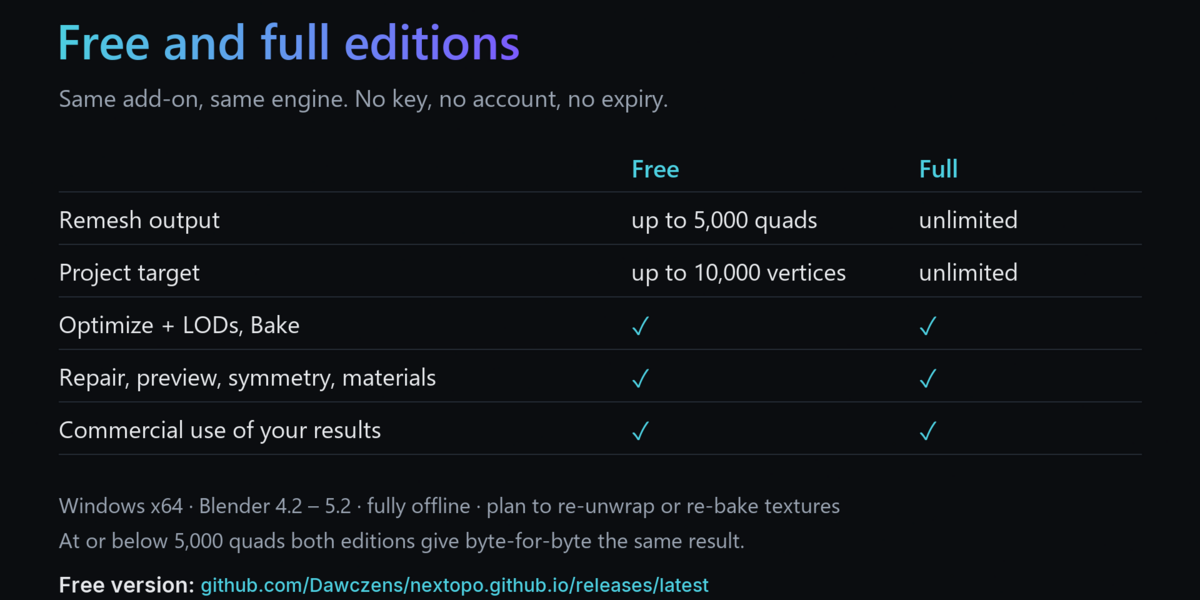
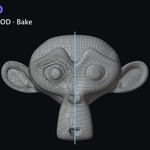
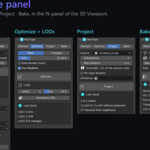
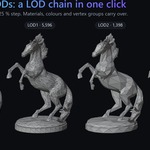
Documentation for NexTopo 1.0.0: install, the four tabs, every option, troubleshooting.
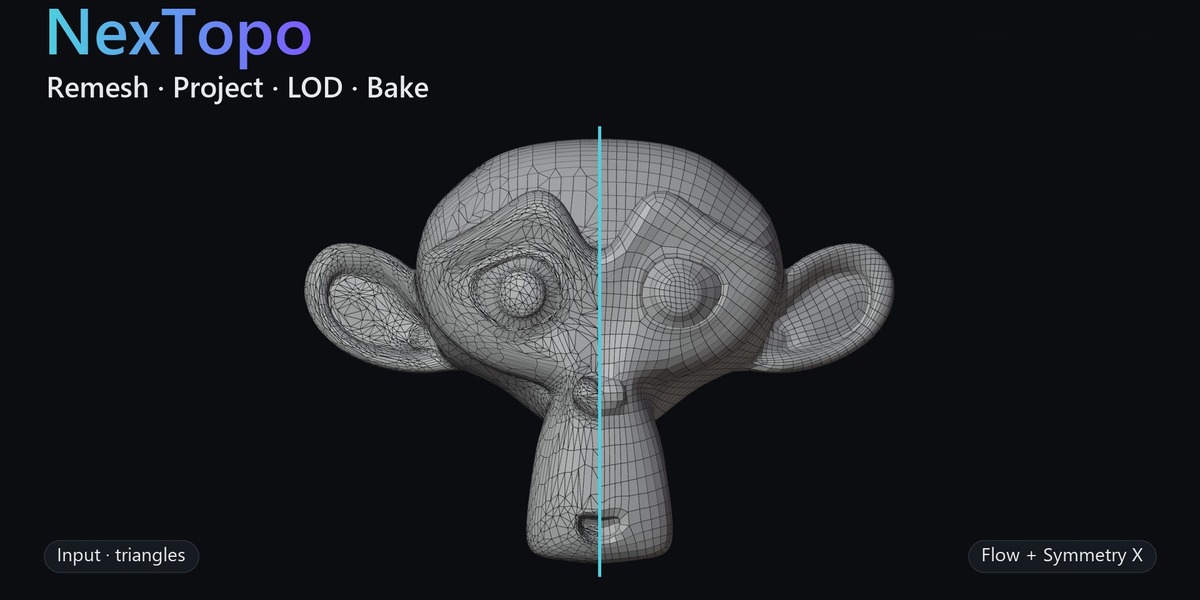
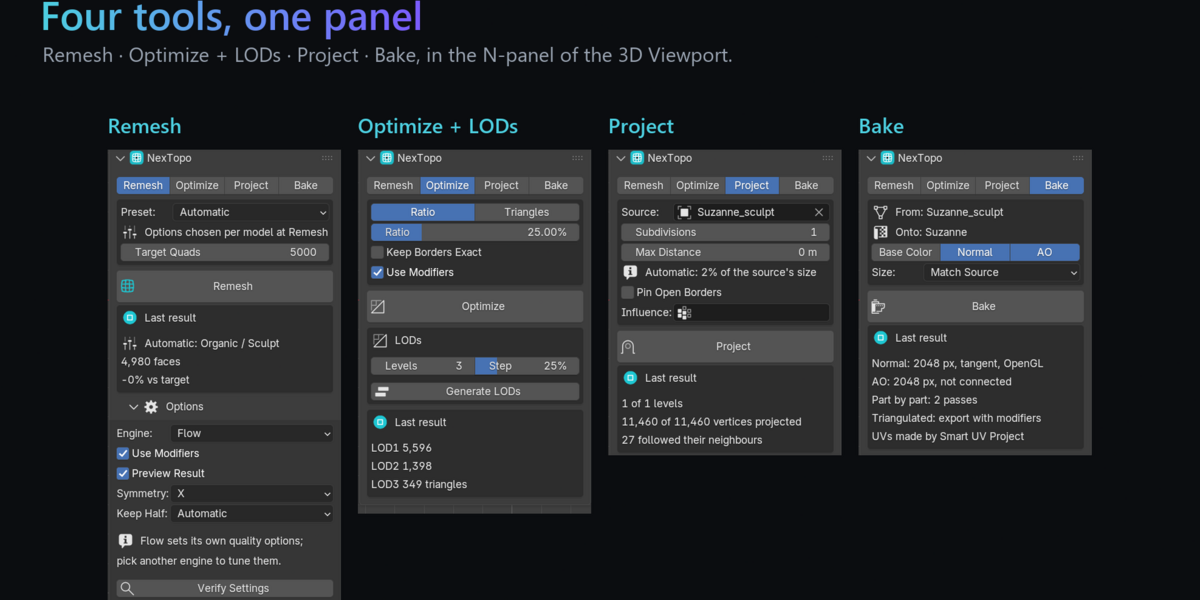
NexTopo is four tools in one Blender panel:
- Remesh turns a mesh into clean quad topology;
- Project fits a light mesh onto a detailed one;
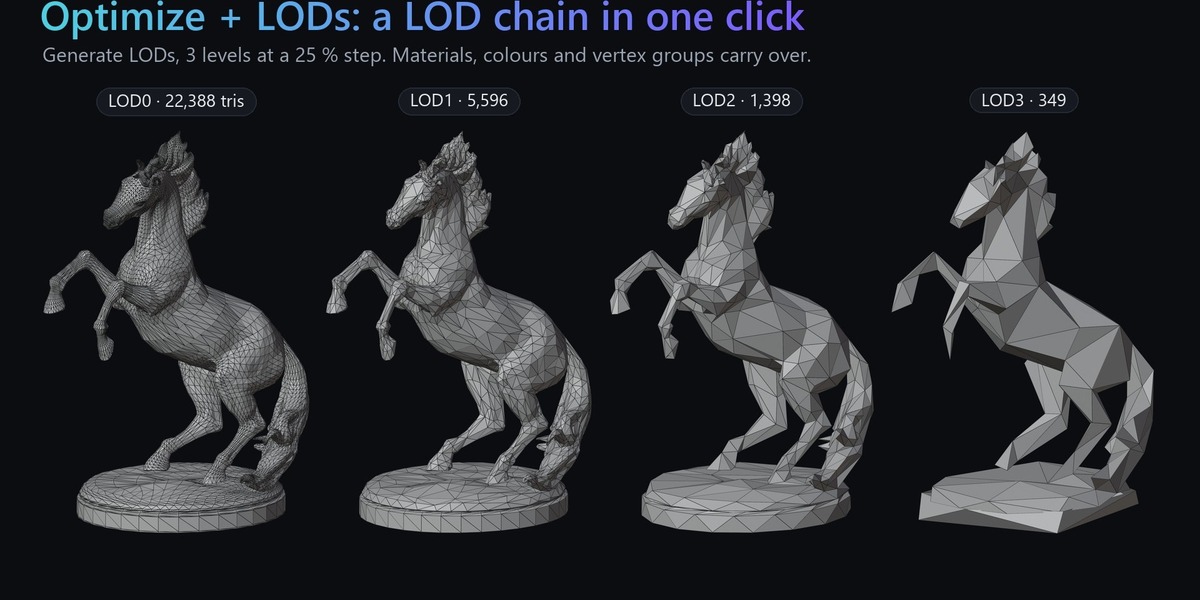
- Optimize makes a lighter mesh or a chain of LODs;
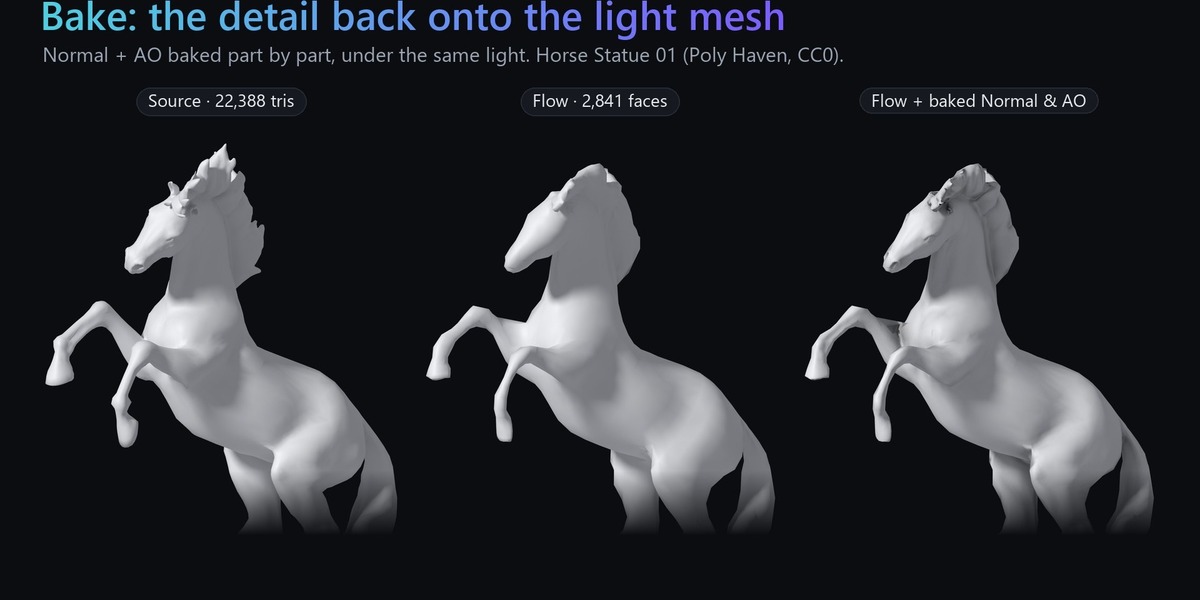
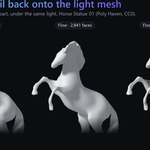
- Bake puts the detailed mesh's colour, surface detail and occlusion back onto the light one.
Requires Windows (x64) and Blender 4.2 LTS or newer (developed and tested on 5.2). macOS and Linux are not supported.
Watch the 40-second trailer: youtu.be/ONph2mcMSu8.
Get NexTopo
-
NexTopo (full): from the product page on Superhive. Your download is the zip
nextopo--windows-x64.zip. -
NexTopo Free: from GitHub, at github.com/Dawczens/nextopo.github.io/releases/latest.
- That link always opens the newest free release, and every future free version is published there.
- Download the zip
nextopo-free--windows-x64.zipunder Assets, not the "Source code" archives GitHub adds.
Install
- In Blender: Edit ▸ Preferences ▸ Get Extensions, open the ▾ menu at the top right and choose Install from Disk…
- Pick the zip you downloaded. Don't unzip it: Blender installs the extension from the zip itself.
- Open the 3D viewport sidebar (N key) and pick the NexTopo tab.
To update, install the newer zip the same way; it replaces the old version and keeps your preferences.
The engine is bundled inside the zip. Nothing else to install, and NexTopo never touches the network: no account, no activation, no phone-home.
Free and full editions
There are two downloads (see Get NexTopo above). They are the same add-on; they differ only in the engine binary inside, and neither involves a licence key.
| Free | Full | |
|---|---|---|
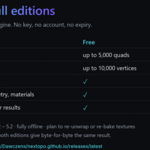
| Remesh output | up to 5,000 quads | unlimited |
| Project target | up to 10,000 vertices | unlimited |
| Everything else (repair, presets, preview, materials, symmetry, Optimize and LODs, Bake) | yes | yes |
At or below 5,000 quads both editions produce identical output: the cap changes what you may ask for, never how it is solved. Ask for more and the free edition remeshes at 5,000 and says so in the panel.
Installing the full zip replaces the free one in place; your preferences are kept. Preferences ▸ Add-ons ▸ NexTopo shows which edition is installed.
Windows: "Windows protected your PC"
The first time the engine runs, Windows SmartScreen may show a blue warning because the executable is new and not yet code-signed. Click More info ▸ Run anyway. You will only see it once.
If your organisation blocks unsigned executables outright, point NexTopo at your own copy of the engine: Preferences ▸ Add-ons ▸ NexTopo ▸ Engine Executable.
Remesh
- Select a mesh object in Object Mode.
- Set Target Quads to roughly the density you want.
- Press Remesh.
While the remesh runs, a card at the bottom of the viewport shows its progress (it hides when you turn the viewport's overlays off). Esc or Cancel stops it cleanly.
The result arrives as a preview: the original is hidden and the new topology is shown in its place.
- Accept keeps the result as a new object and restores your original.
- Discard throws the result away and brings your original back.
- Changing a setting and pressing Remesh Again replaces the preview, so you can iterate without piling up objects.
Turn off Preview Result if you would rather have the result applied directly.
Engines
Options ▸ Engine picks which remesher runs. You rarely need to change it.
-
Flow (default): quads laid along the shape at an even density.
- It chooses its own quality settings.
- On a model made of several separate parts, each part is remeshed on its own budget. A part may use one of the other engines when that gives the sounder result.
- QuadriFlow and Feature-line: the engines the presets and quality options steer. Switch to one of them when you want that control; the options appear under the engine.
Symmetry
Options ▸ Symmetry remeshes about the chosen local axis for an exactly mirrored result. Under Flow one loop runs down the mirror line and the two halves weld into one mesh. Keep Half picks which side's detail survives (Automatic picks the denser side). The model has to actually straddle the plane.
If the seam does not weld cleanly, the remesh runs again without the guide loop and the panel says so.
Presets and quality options (QuadriFlow and Feature-line)
The Preset dropdown sets the quality options in one go. Editing any of them switches the dropdown to Custom, so the label never lies about what is set. Under Flow only the target count of Game-ready applies.
| Preset | Use it for |
|---|---|
| Organic / Sculpt | Characters, creatures, sculpts. Even quad flow, no hard-edge detection. |
| Hard-surface / CAD | Mechanical parts, props, anything with chamfers or crisp feature edges. |
| Scan Cleanup | Photogrammetry and 3D-scan output: dirty, noisy, non-manifold input. |
| Game-ready / Low-poly | A lighter result at a low target count. |
- Optimize Layout (on): improves quad shape and reduces irregular vertices after remeshing.
-
Keep Hard Edges (on, 45°): finds feature edges by how sharply the surface bends and runs the flow along them.
- On tiny, dense features (fine gear teeth, heavy scan noise) it can over-constrain the flow and fold quads. If the result looks tangled, turn it off or raise the angle.
- Auto Detail (off): more quads where the surface curves. Costs 50-130 % more time.
- Match Target (off): re-solves until the face count lands close to what you asked for, about 2-3× slower.
- Repair Folds (on): relaxes folded quads back onto the surface. Cheap; leave it on.
- Use Modifiers (on): remeshes the mesh with its modifiers applied.
Verify Settings measures the model and suggests a preset, Symmetry or Thin Feature Detail. It shows the measurements first, so you can disagree with the reasoning.
What survives a remesh
A remesh replaces the topology outright, so anything attached to the old vertices is carried across:
- Materials and shading: every slot, and per-face assignment from the nearest source face.
- Vertex groups: interpolated, so rig weights survive. Armature modifiers and an armature parent come across too.
- Colour attributes and shape keys (resampled, keeping names, values and slider ranges).
- UV maps are carried approximately. Plan to re-unwrap, or bake onto the result (see Bake), for production texturing.
Reading the result panel
After a remesh the panel reports what actually arrived. Rows only appear when they have something to say:
- faces: how big the result is, and how far off the target.
- inverted: folded quads, from QuadriFlow or Feature-line.
- new boundary edges / new holes: the remesh tore the surface open. Raise the target count; if Symmetry is on, try turning it off.
- open edges (input was open): the model was already open there. Not damage.
- oversized edges: stray geometry, usually a loose or distant part in the source.
Project: fit one mesh onto another
The Project tab moves the vertices of the active mesh onto another mesh's surface: a retopology onto the sculpt it was made over, a remesh onto its original, or a low-poly onto a scan. Pick the Source (it is never changed) and press Project.
- Subdivisions 0 (Refit) moves the mesh's own vertices and changes nothing else. The result is a shape key, NexTopo Project, at full strength: lower it to blend back, delete it to undo.
-
Subdivisions 1-4 make a copy, subdivide it one level at a time and project after each level, to pick up finer detail.
- A level that cannot be projected is dropped, and the copy keeps the last good one.
- With Preview on it arrives as a preview: Accept or Discard it like a remesh.
- Max Distance is how far a vertex may travel. 0 picks 2 % of the source's size. A vertex with no surface facing its way within that distance stays where it is.
- Pin Open Borders keeps the edge of a partial mesh fixed. Influence takes a vertex group: weight 0 stays, 1 moves fully.
A vertex goes only to a surface that faces the same way, so the two sides of a thin part, two lips or two close fingers do not swap. A move that would fold a face is shortened or taken back. Projection cannot add detail the mesh has no vertices for: subdivide, or bake a normal map.
The result row counts the vertices projected and lists any that found no surface, were ambiguous or followed their neighbours. The per-vertex outcome is stored on the mesh as the attribute nextopo_project_status.
Optimize: a lighter triangle mesh, and LODs
The Optimize tab makes a lighter copy of the active mesh, all triangles, with Blender's own Decimate (Collapse) underneath. Set the Target as a share of the mesh's triangles (Ratio) or as a Triangles count, and press Optimize. With Preview on, the result arrives as a preview.
- Colours, materials and vertex groups carry over, so the original's rig still applies.
- Keep Borders Exact leaves the vertices on open borders where they are.
- Use Modifiers works on the mesh with its modifiers applied.
- Shape keys and custom split normals do not carry over, and a very small part can be decimated away. The result row says when either happened.
LODs. Set Levels and Step (each level keeps that share of the one before) and press Generate LODs.
- The levels are made from the original, as Name_LOD1, Name_LOD2… in a collection Name_LODs, all hidden.
- The Show buttons display one level at a time (LOD0 is the original).
- Generating again replaces the previous levels; a copy you made of a level is left alone.
Bake: colour, normals and AO onto a lighter mesh
The Bake tab renders a detailed mesh onto a lighter one's UV map with Cycles, one new image per map. Which mesh bakes onto which follows Blender's selected to active: select the detailed mesh, then the light one last, so it is active. With nothing else selected, a Remesh, Optimize or Project result bakes from its original. The tab names both before you press Bake.
- Base Color: the original's surface colour, textures and plain colours alike, connected to the material's Base Color.
- Normal: tangent space, OpenGL convention (+Y, as Blender, Unity and glTF read it), connected through a Normal Map node. Unreal Engine expects DirectX (−Y): tick Flip Green Channel on the texture there.
- AO: ambient occlusion from the original alone, reaching a tenth of the mesh's size. It is left in the material unconnected (the Principled BSDF has no occlusion input); connect it in your exporter or engine.
- Size: each image's width and height. Match Source uses the largest texture on the original, or 2048.
What the bake changes:
- The original and its materials are never changed. Each material on the light mesh is replaced by a copy (Name_baked) that reads the new images. Baking again reuses that copy.
- A mesh without a UV map gets a Smart UV Project first.
- A mesh with quads gets a NexTopo Triangulate modifier before its normal map, so the map matches the triangles you export. Export with modifiers applied (the default in FBX and glTF), or apply it.
- Baking blocks Blender until it finishes; AO takes longest.
Models made of parts bake part by part. When the detailed mesh is several separate pieces, each face of the light mesh reads only the piece it lies on, so a ray never lands on a neighbouring piece across a gap. Every piece still shades the occlusion. The result row says how many passes it took.
If a map fails, the maps before it are kept and the result row says where it stopped. If the first one fails, nothing is left behind.
Bake Base Color on the Remesh tab is the one-click version for a fresh remesh result.
Troubleshooting
"NexTopo engine binary not found" The install was blocked or incomplete. Reinstall the zip, or set the engine path in the add-on preferences.
The face count is off from the target
- Every remesher treats the target as approximate. Flow retries toward it on its own, and on a model of many parts it may spend more quads to keep small parts intact.
- On QuadriFlow or Feature-line, turn on Match Target.
The result has folded quads (QuadriFlow / Feature-line) Turn off Keep Hard Edges, or raise its angle, and keep Repair Folds on.
It is slow on a huge mesh Remesh time scales with the input size. Thin a multi-million-triangle scan with Optimize first, or be patient.
The result looks blocky in the viewport That is flat shading on a low target count. Raise Target Quads, or right-click ▸ Shade Smooth.
Dark spots in a baked map The light mesh covers a place where the detailed mesh is open or intersects itself (a foot sunk into a base). Close or separate it in the detailed mesh, or paint over the spot.
What NexTopo does with your data
Nothing leaves your machine. The add-on writes the mesh to a temporary folder, runs the engine there as a separate program, reads the result back and deletes the folder. There is no network access anywhere in the product.
 Included
Includes 12 months of
- Support from Dawid Gerula
- Product updates
Extend this product’s Support Period +12 months: 50% of product price
Have questions before purchasing?
Login to message
| Blender Extension Compatible | Yes |
| Published | about 17 hours ago |
| Blender Version | 4.2 - 5.2 |
| Extension Type | Add-on |
| License | GPL |
Discover more products like this
retopology remesh LOD Generator game ready quad remesh hard surface auto-retopology bake normal map scan cleanup offline addon