 Thiago Lage



CUT MODELS FOR 3D PRINTING
Cut it. Pin it.
Print it.
Ninja Cut splits a model into printable parts and gives every cut a pin and a socket that fit, so the halves line up by themselves when you glue them.
PRINT WHAT DOES NOT FIT THE BED
A model too big for the printer is just a model that has not been cut yet.
Cutting is the easy half. The hard half is gluing the pieces back in the right place. Ninja Cut does both in the sidebar, without leaving Blender and without a single boolean set up by hand.
01 / CUT
Three ways to cut, one of them your own
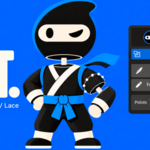
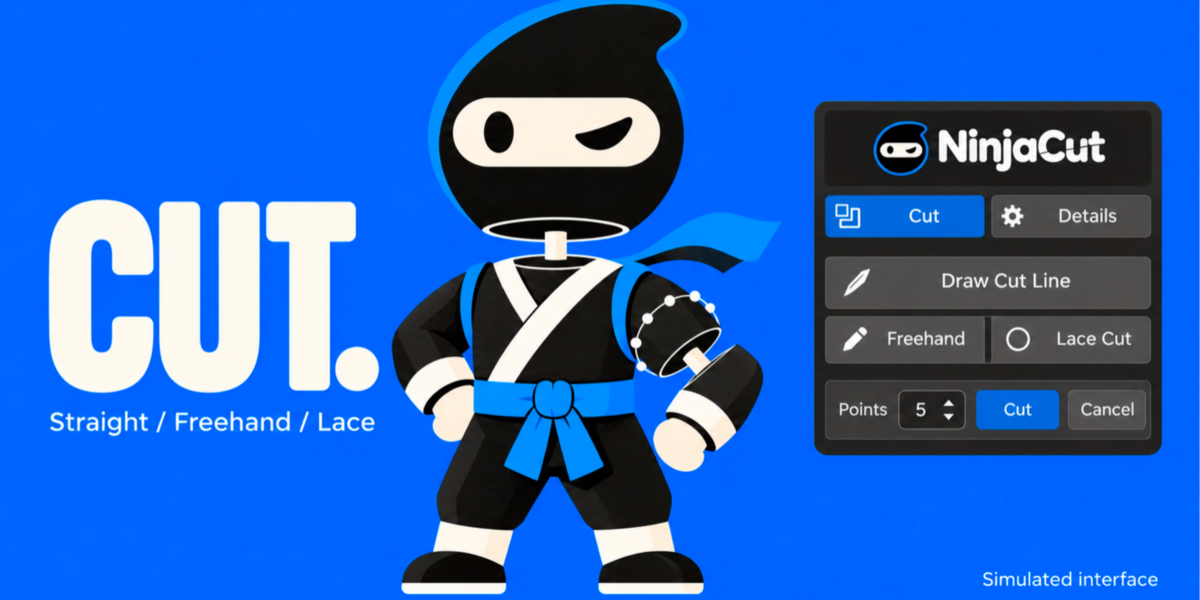
Draw Cut Line drags a straight cut across the model. Freehand follows the curve you draw. Lace Cut takes a rough stroke over an arm, a leg or a branch and snaps the loop around the model, like a ring, then cuts on the plane that best fits it.
Freehand and lace strokes become editable points before anything is cut: drag a point, Ctrl+click the line to add one, X removes the one under the cursor, and the Points slider resamples the whole stroke. Cut, or Enter, confirms. Esc cancels.
02 / PINS
A pin and a socket that fit, on every cut
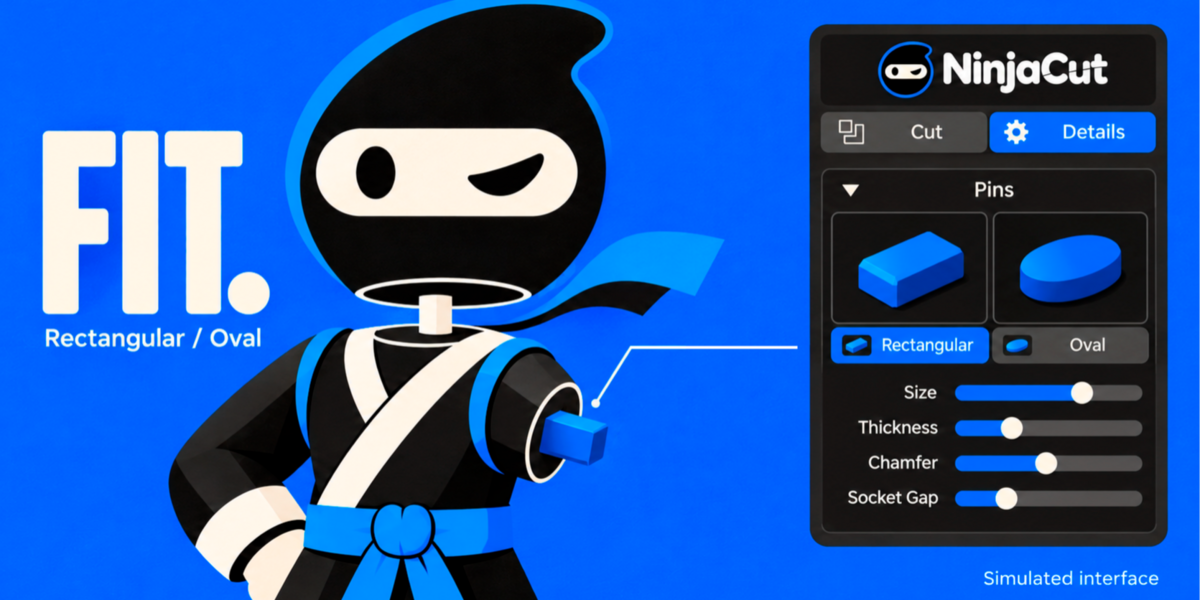
No second step and no modifier stack: the cut already carries its connector. Pick Rectangular or Oval from the two pictures and shape it while you watch — size, thickness, chamfer, taper, depth, offset, segments, socket gap and flip, all live in the viewport.
The pin is drawn as a blue silhouette that shows through the surface, so you see it inside the part while you adjust it. Depth is a multiple of the pin width, so the connector follows the size of the model instead of a fixed number of millimetres.
03 / EXPLODE
See both halves without moving anything
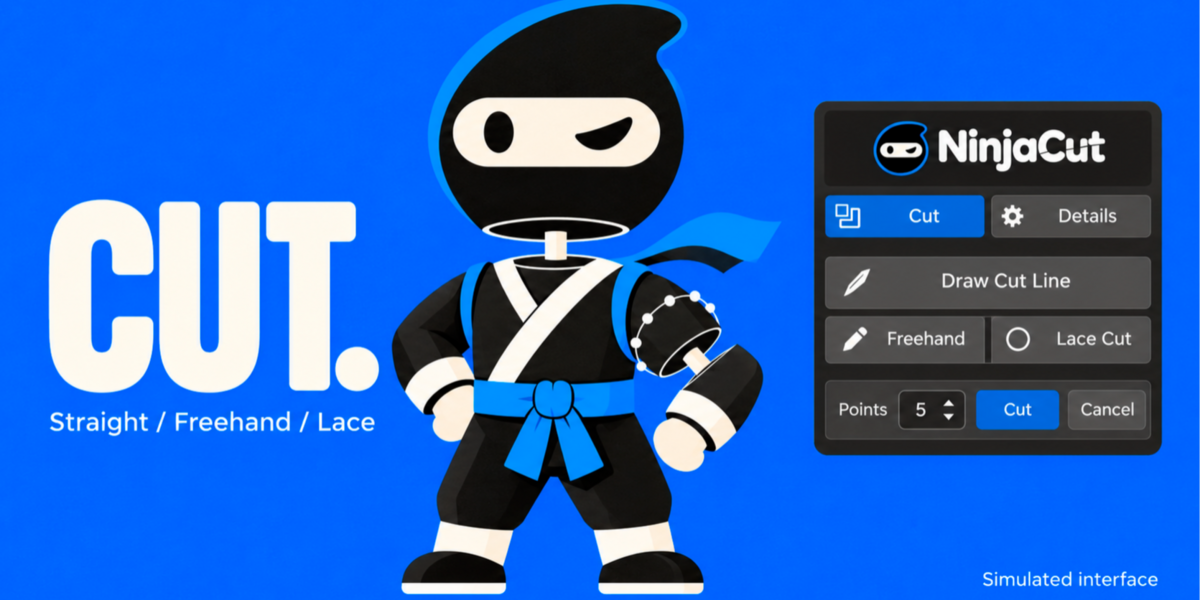
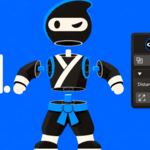
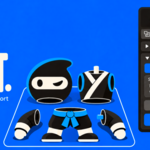
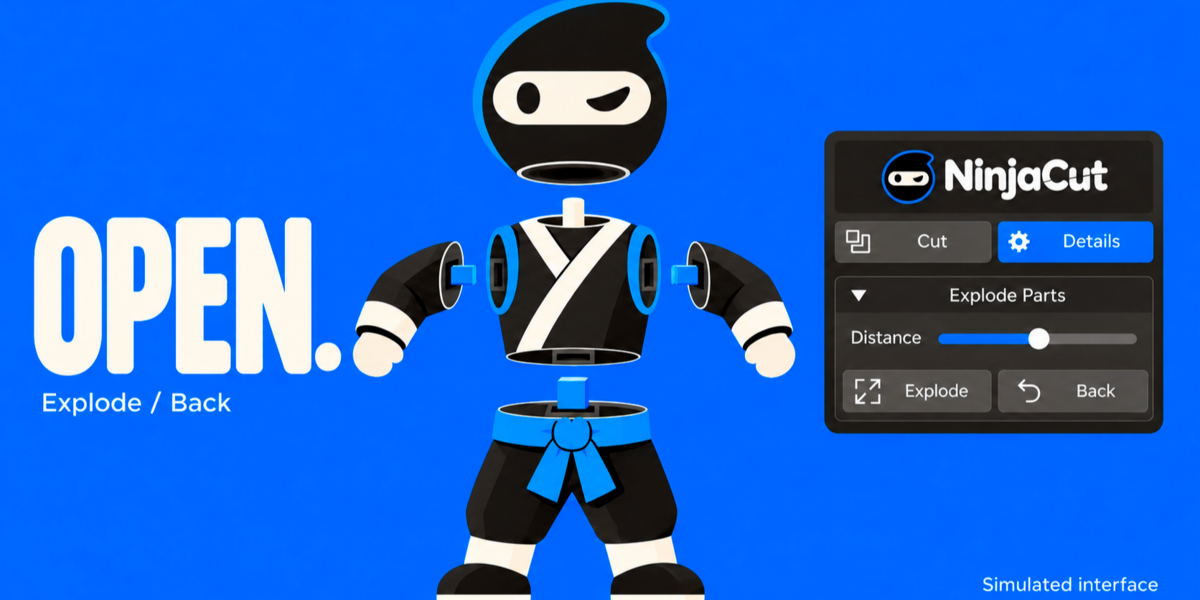
Every cut opens the parts so you can look inside right away. The Distance slider moves them in real time, and Back puts them together exactly where they belong, ready for the next cut.
04 / HOLES
Room for magnets and dowels
Set diameter and depth, place the hole on the surface to preview it where the cursor is, then add it. The size starts from the part itself, so you are adjusting a sensible hole instead of typing one from scratch.
05 / PRINT
Checked, oriented, exported
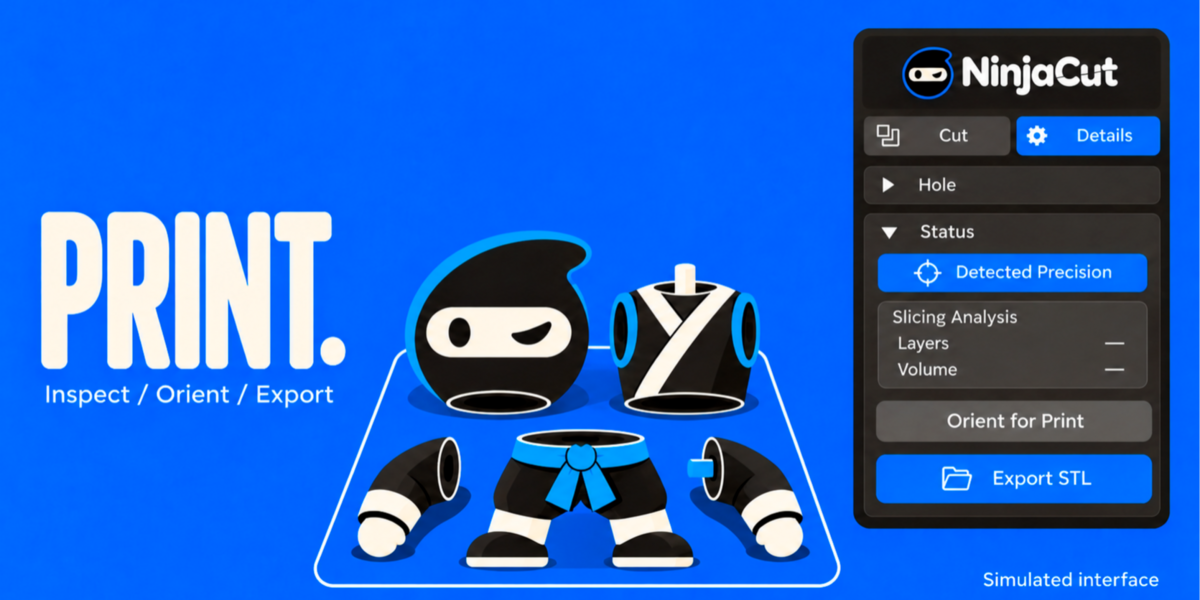
Detected Precision inspects the part and picks the analysis depth from the mesh itself. Slicing Analysis reports layers, volume and whether the mesh is closed. Orient for Print lays the cut faces flat on the bed. Export STL writes one file per part, in real millimetres, following the scene unit scale.
GOOD TO KNOW
Requirements & compatibility
- Blender 4.2 or newer. Developed and tested on Blender 5.2.
- Nothing else to install: no external libraries, no account, no internet connection.
- Install through Edit > Preferences > Add-ons > Install from Disk, with the ZIP from this product.
- Lengths follow Scene > Units, so set the scene to millimetres for printing work.
- The drawing tools need a 3D viewport, which is where you would use them anyway.
Before you get started
One pin and socket per cut pair: cut again for another pair. A mesh that is not watertight is still cut and capped, and Ninja Cut tells you about the open edges it found, so you can fix the model before printing.
Ninja Cut is licensed under GPL-3.0-or-later, as every Blender add-on must be.
Feature illustrations show simulated interfaces, not Blender screenshots. The mascot is illustrative and is not an included 3D model.
NINJA CUT
Cut the model.
Let the pins do the rest.
Three cutting tools, alignment pins you shape live, print checks and one STL per part — in the Blender sidebar.
Ninja Cut · Cut, pin and print