Ninja Cut
 Thiago Lage


Install
- In Blender, open Edit > Preferences > Add-ons.
- Open the menu at the top right and choose Install from Disk, then pick the ZIP from this product. Do not unzip it.
- Tick the box next to Ninja Cut if it is not already on.
- In the 3D Viewport press N and open the Ninja Cut tab in the sidebar.
To update, install the new ZIP the same way. To remove it, open the add-on in the list and press Uninstall.
Before you start
- Select a mesh object. The buttons stay grey until one is selected, and the panel says so.
- Set Scene > Units to Metric with a unit scale that matches your model. Every length in the panel is in real millimetres, and so is the STL.
- A closed (watertight) mesh gives the cleanest result. An open mesh is still cut and capped, and Ninja Cut warns you about the open edges.
The Cut tab
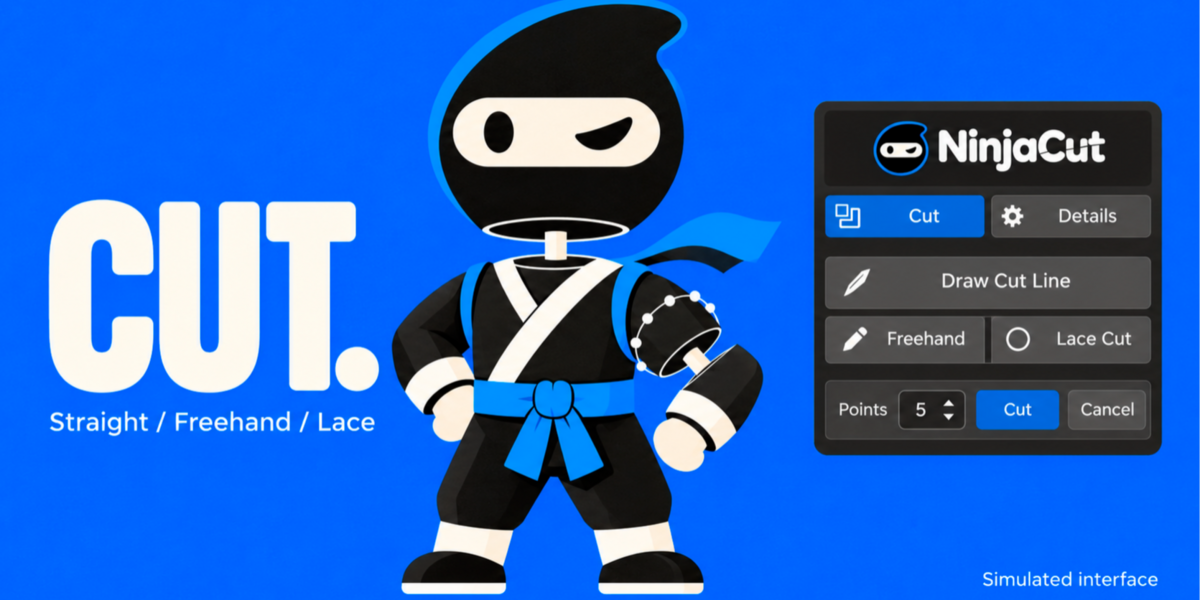
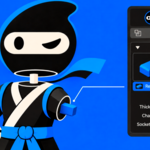
Three tools, all under the logo. Pick one, then draw on the model in the viewport.
Draw Cut Line
Drag a straight line across the model. The cut is the plane through that line, seen from the camera, and a live preview follows the mouse until you release.
Freehand
Draw a curve across the part. When you release, the stroke becomes editable points and the cut waits for you.
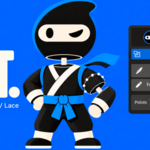
Lace Cut
Draw a rough stroke over a part, such as an arm, a leg or a branch. The loop snaps around the model like a ring, and the cut is the plane that best fits that loop.
Editing a stroke (Freehand and Lace Cut)
| Drag a point | Move it |
| Ctrl + click on the line | Add a point |
| X over a point | Delete it |
| Points slider | Resample the whole stroke with more or fewer points |
| Cut button, or Enter | Confirm and cut |
| Cancel button, or Esc | Throw the stroke away |
The Points slider and the Cut and Cancel buttons only appear while a stroke is being edited.
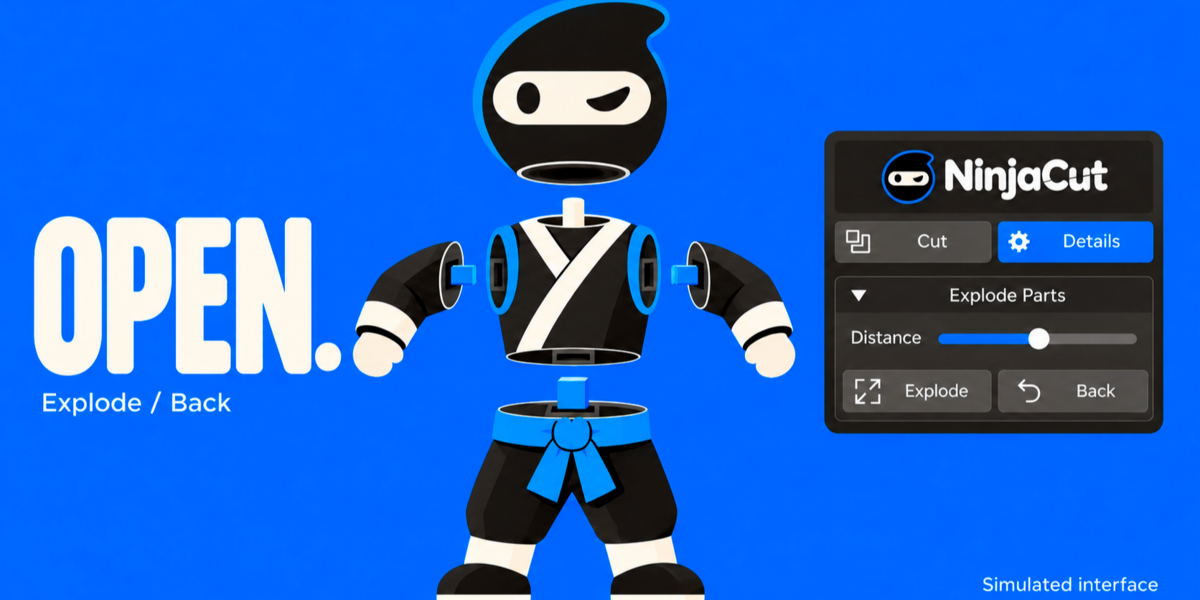
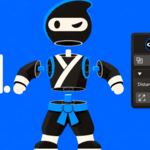
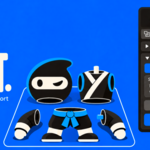
After every cut the two parts open apart so you can see both halves, and a pin and socket are already in place.
The Details tab
It unlocks once a cut pair exists. Sections open and close with a click; Pins starts open.
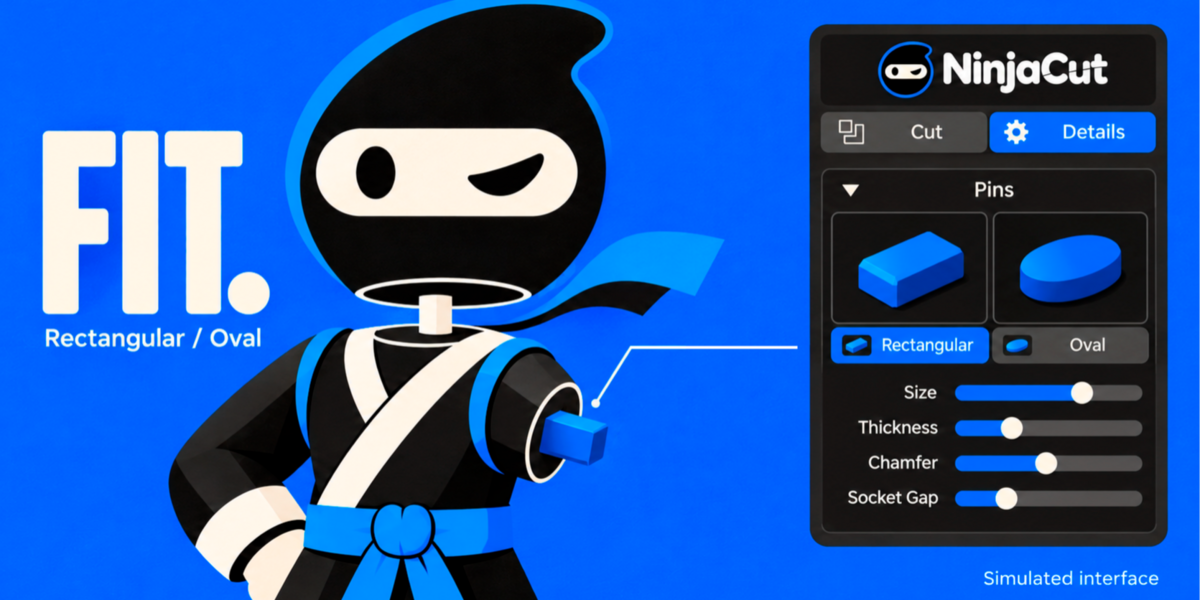
Pins
Choose Rectangular or Oval by clicking one of the two pictures. The pin shows in the viewport as a blue outline, even through the surface, and everything below updates it live.
| Size | Pin width, from 30% to 90%. Starts at 50%. |
| Thickness | Pin thickness. |
| Chamfer | Rounds the pin edges. |
| Taper | Narrows the tip of the pin so it slides into the socket. |
| Depth | How far the pin goes in, as a multiple of the pin width, so it scales with the model. It is capped so the pin never reaches through a thin part. |
| Offset | Slides the pin along the cut face, toward either edge. |
| Segments | Number of facets of the oval pin. Only shown for the Oval shape. |
| Socket Gap | Clearance between pin and socket, in millimetres. This is the printing tolerance. |
| Flip | Moves the pin to the other half and the socket to this one. |
Printing tolerance: if the parts will not go together, raise Socket Gap; if the joint is loose, lower it. Print a small test cut first and adjust from there.
Explode Parts
The Distance slider moves the parts apart in real time. Explode opens them and Back puts them together again, so you can pick up the assembled model.
Hole
For magnets, dowels or screws.
- Set Diameter (mm), Depth (mm) and Direction (Cut Normal, X, Y or Z). The sizes start from the size of the part.
- Press Place and move the cursor over the surface: the hole previews where it will go.
- Click to fix it. The button then reads Move, to pick another spot, and the settings still update the preview.
- Add makes the hole, Cancel drops it.
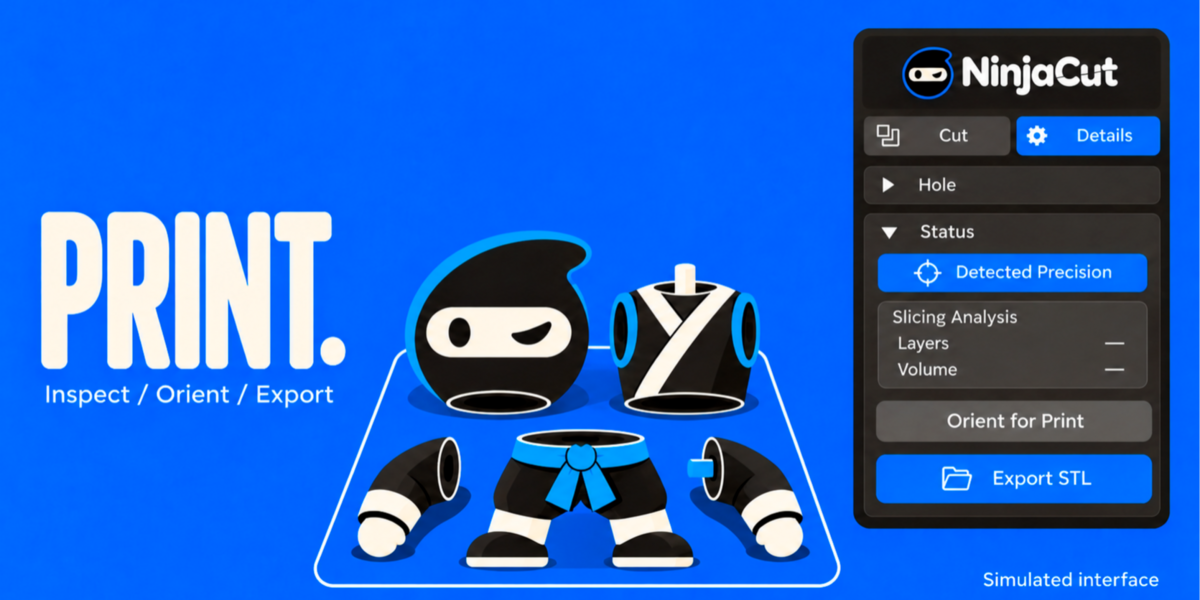
Status
- Detected Precision inspects the part and picks the analysis depth from the mesh size, then fills Slicing Analysis: layers, volume in ml and whether the mesh is closed or has open edges.
- Orient for Print lays the cut faces flat on the bed.
Export STL
The folder button at the bottom. Choose a folder and Ninja Cut writes one STL file per part, in millimetres.
Good to know
- Each cut pair has one pin and socket. To get another pair, cut again.
- You can cut a part that is already exploded: Ninja Cut brings the pair back together first, so Back still puts every part where it belongs.
- The drawing tools need a 3D Viewport; they cannot run from a script or the command line.
Support
Use Report a Bug in the add-on's entry under Edit > Preferences > Add-ons, or the product page's comments. When you write, include your Blender version, what you did and, if you can, the model.
Have questions about this product?
Login to message
| Published | 34 minutes ago |
| Blender Version | 5.2 |
| Extension Type | N/A |
| Render Engine Used | Arnold, Blender-Internal, Blender-Game-Engine, Cycles, Eevee, Freestyle, Luxrender, Mental-Ray, Octane, Vray, Yafaray |
| License | GPL |
Discover more products like this
split model 3d printing STL export print in parts dowel boolean cut alignment pins cut mesh miniatures socket cosplay slice model