 Adriflex
Install
With updates in Blender: drag the installation link from your Superhive receipt into Blender, then follow the prompts. Connection guide. Updates: Preferences > Get Extensions.
Manual ZIP: download without unzipping. Open Edit > Preferences > Get Extensions > top-right menu > Install from Disk, select the ZIP and confirm.
Draw your first patches
- Keep your original mesh. For dense meshes, use Nitro Retopo > Prepare Surface > Create Optimized Copy in the N-panel, in Object Mode. Check the suggested density and preserved detail.
- Select the working copy, enter Edit Mode, then N > Nitro Retopo > Draw Mode.
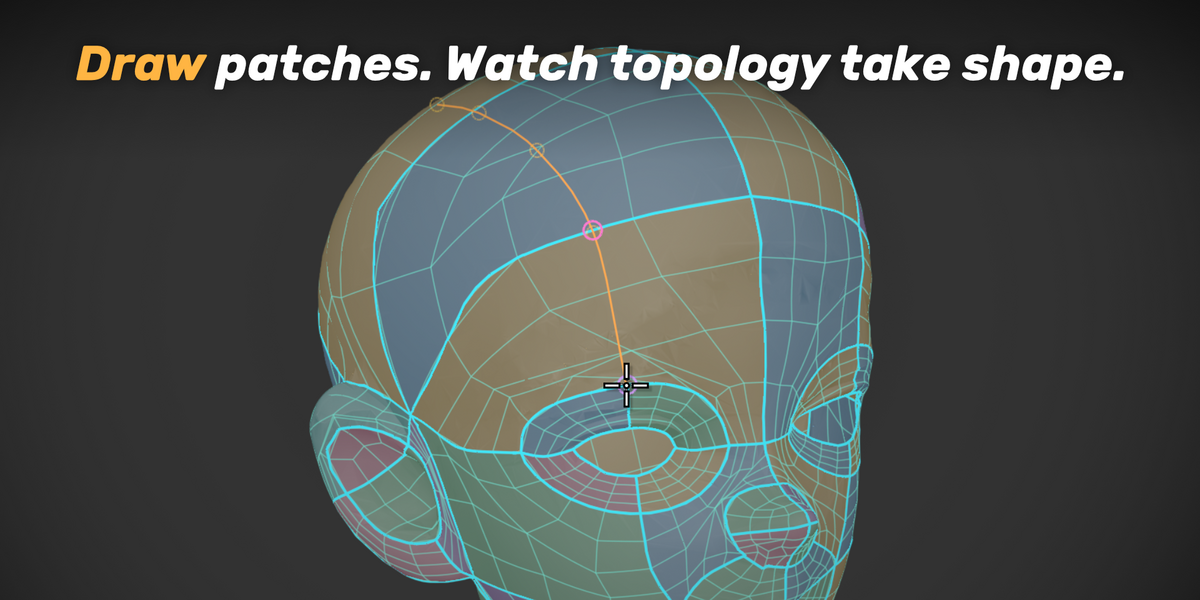
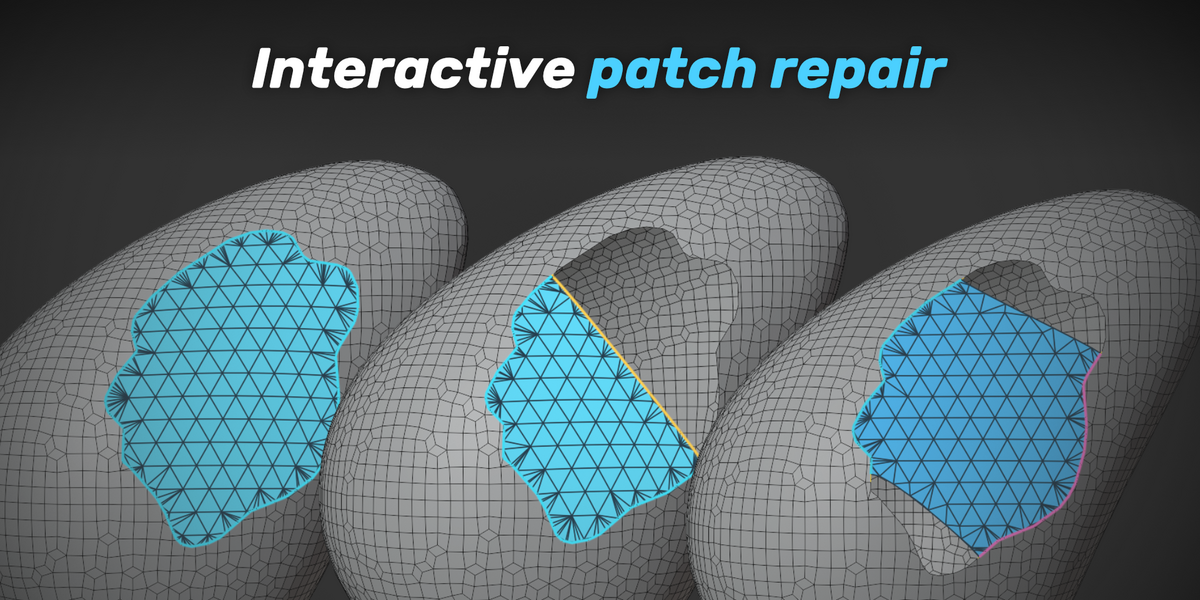
- Draw boundaries to build patches. Cuts happen on release and remain in the mesh as seams.
- Press G to generate a separate retopology mesh with automatic UV unwrap.
Essential shortcuts
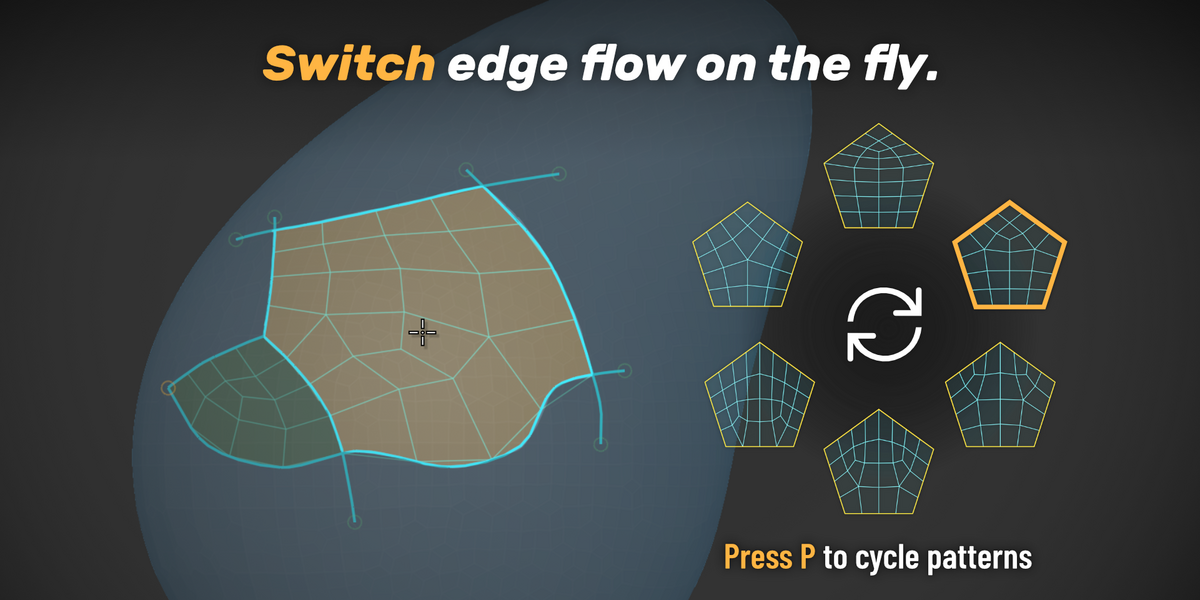
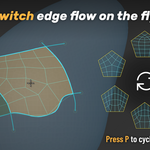
- P over a patch: change pattern. Hold V + click: toggle a corner.
- Hold E: erase. Release to return to the brush. Ctrl + drag: straight line.
- Hold C before starting a stroke: cut through. You can release C once drawing begins.
- O: ellipse. Hold Shift for a perfect circle; hold Space to reposition it.
- Esc: exit Draw Mode when no stroke is active.
Separate a part
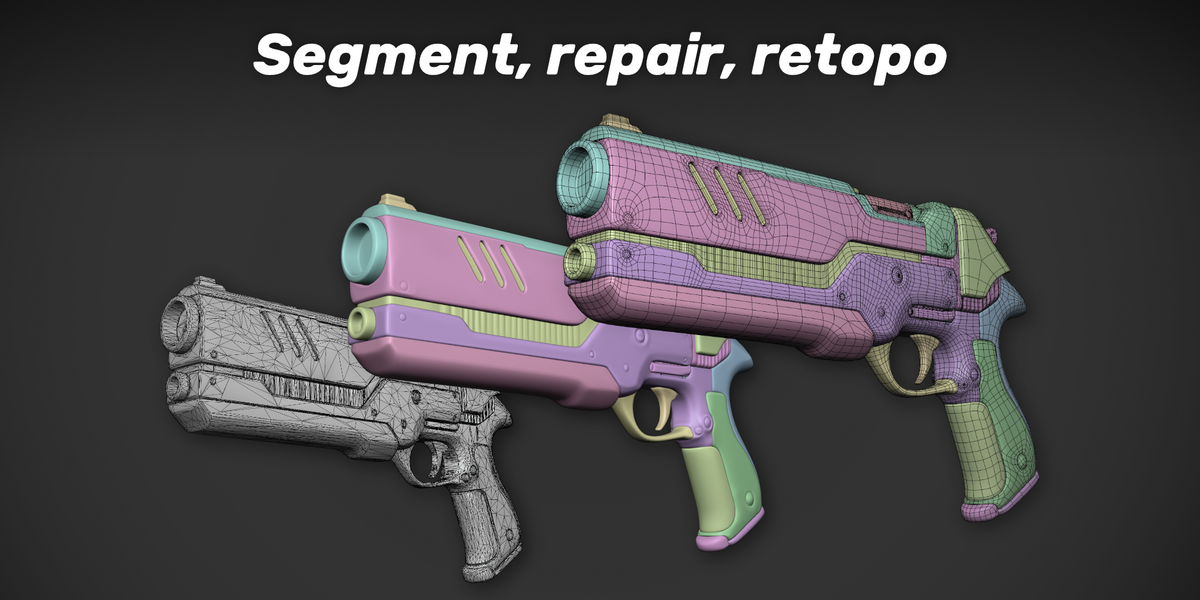
Exit Draw Mode. In Edit Mode, deselect all, select one face inside a closed seam boundary, then Ctrl + L > F9 > Delimit: Seam. Use P > Selection to separate it.
Stroke rejected?
A valid cut is sometimes impossible to find. Try shorter strokes or another viewing angle. Some cases still fail; cut reliability is being improved.
Have questions about this product?
Login to message
Discover more products like this
AI generated models Sculpt SDF mesh repair retopology 3D Scan mesh cleanup segmentation