 DrBlender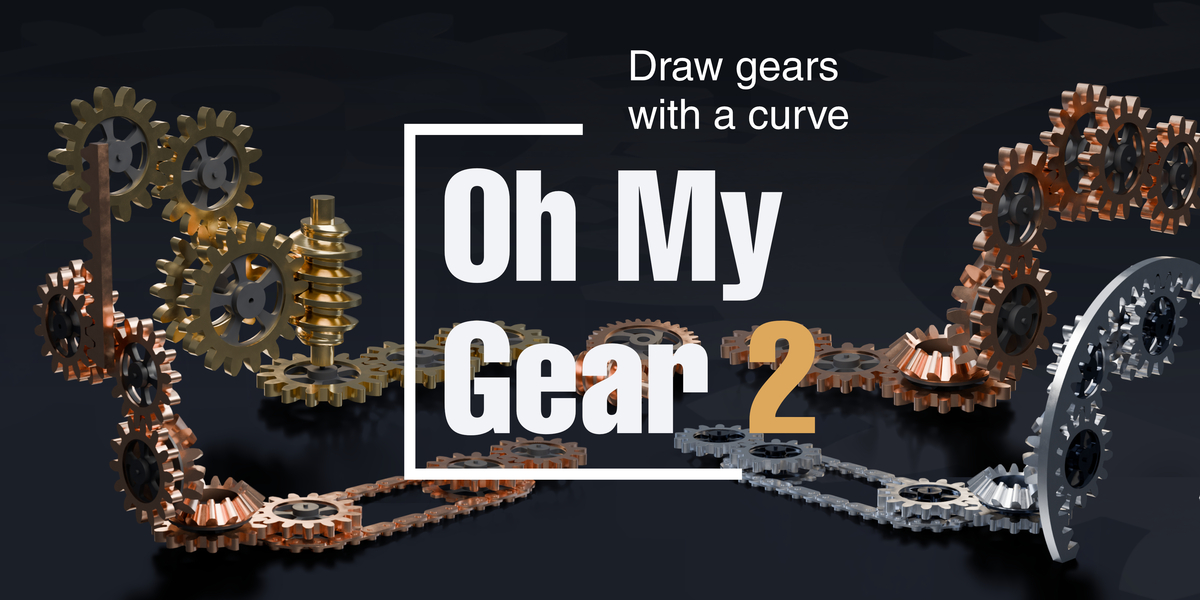

Every gear generator makes you build the train. This one you draw.
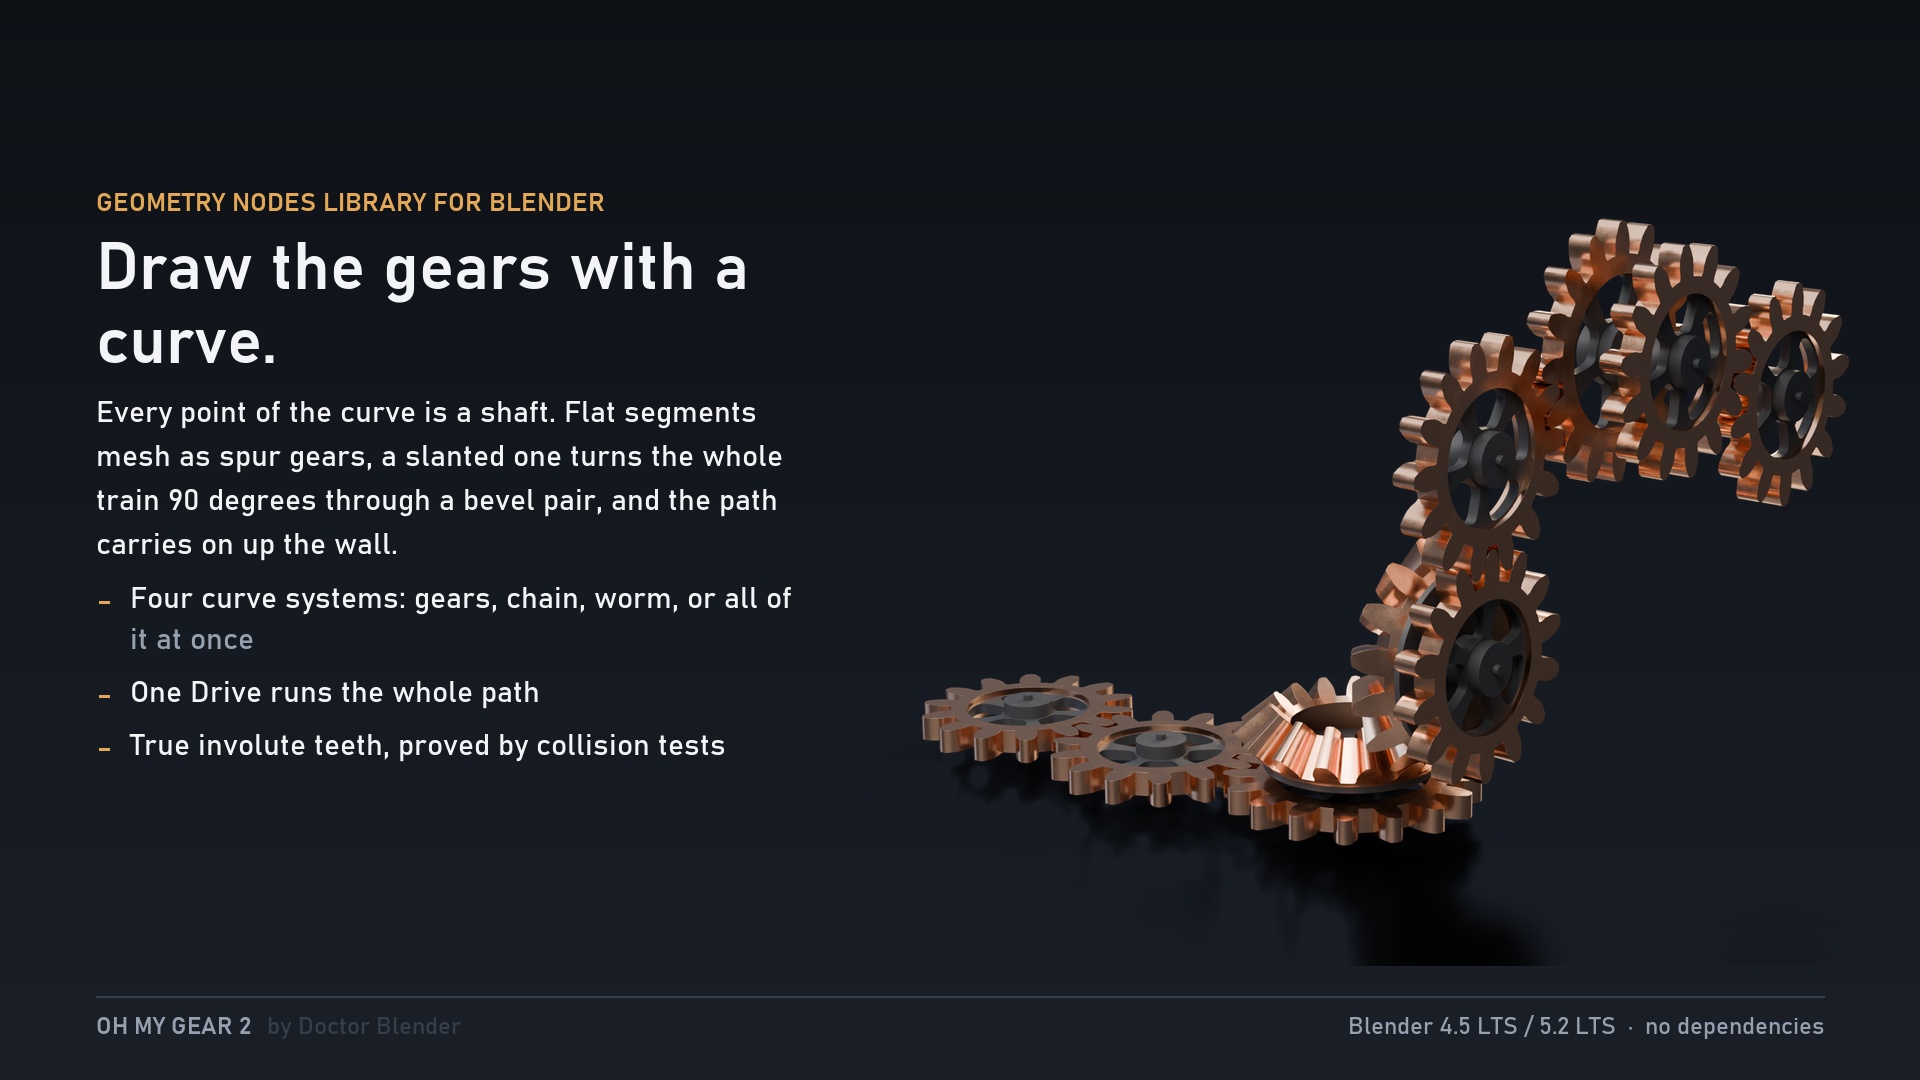
Put the modifier on a curve and every point of that curve becomes a shaft. Flat stretches mesh as spur gears. A slanted stretch turns the whole train 90 degrees through a bevel pair and the mechanism carries on in the new plane - up a wall, round a corner, wherever you drew it. Move a point and the entire train re-solves: tooth counts, centre distances, mesh phase, direction and ratio.
Oh My Gear 2 is a Geometry Nodes gear library for Blender 4.5 LTS and 5.2 LTS. It comes in two packages - Core for gears that mesh and trains on a flat curve, and Complete for everything else, including all four 3D curve systems. Scroll down to see exactly what is in each, and pick the one that fits.
- Draw it, do not build it - a curve in, a working mechanism out
- Real involute teeth, checked by collision test, not a lookalike
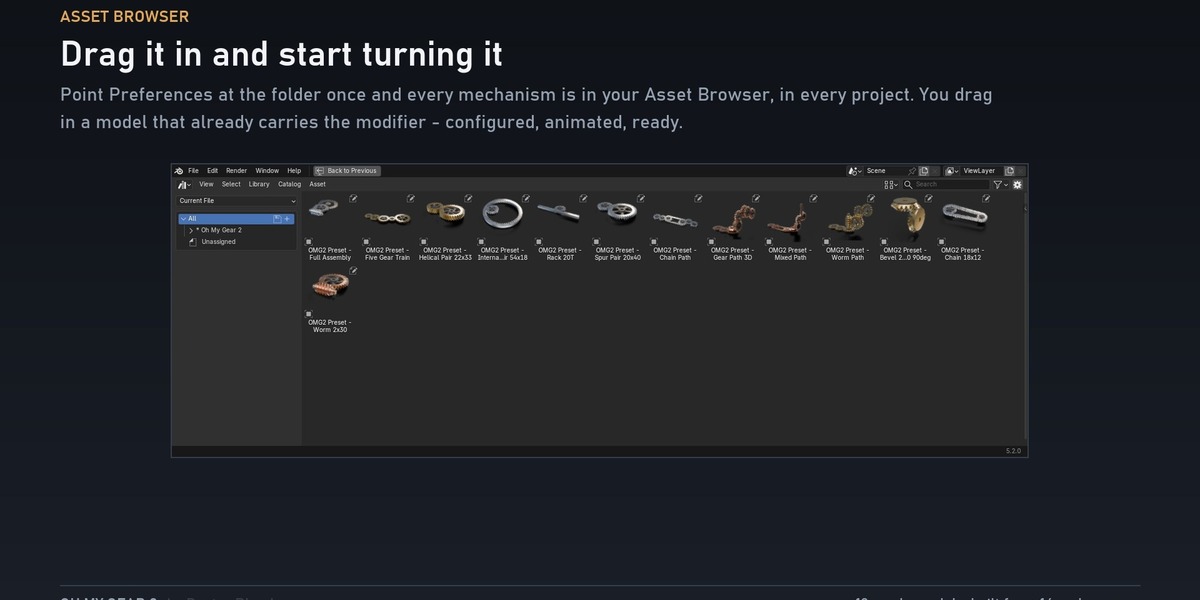
- 13 ready models you drag from the Asset Browser and they already turn (Complete), 3 in Core
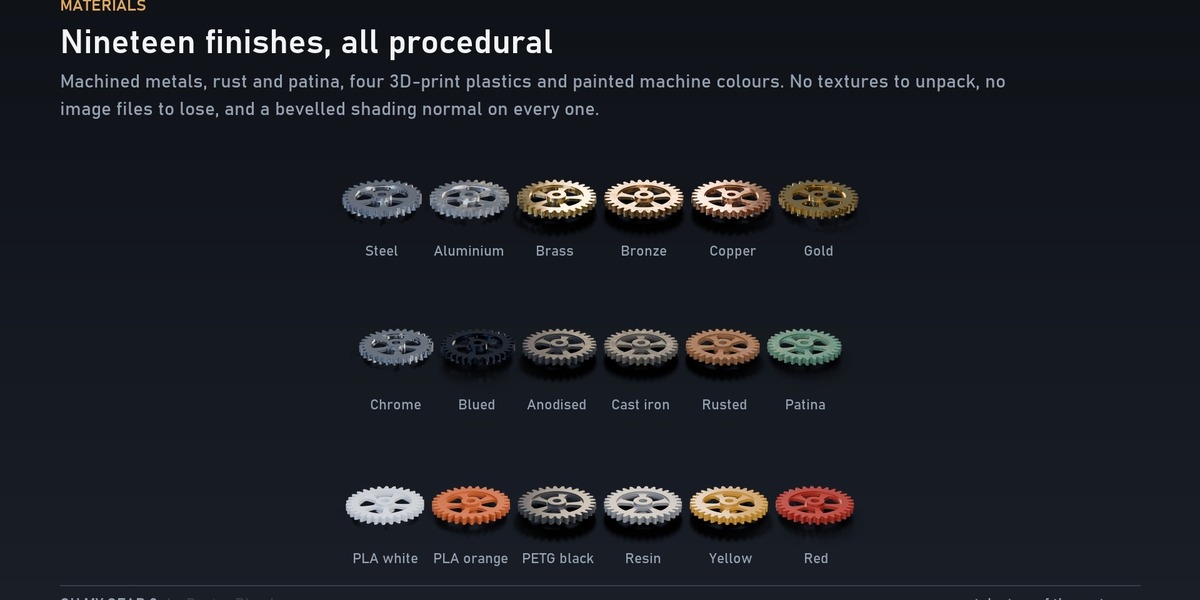
- 19 procedural materials - steel, brass, rust, patina, 3D-print plastics, enamel
- One value drives everything - type #frame/48 and it is animated
- Royalty free, no add-on to install, nothing to register
Draw the mechanism. Do not build it.
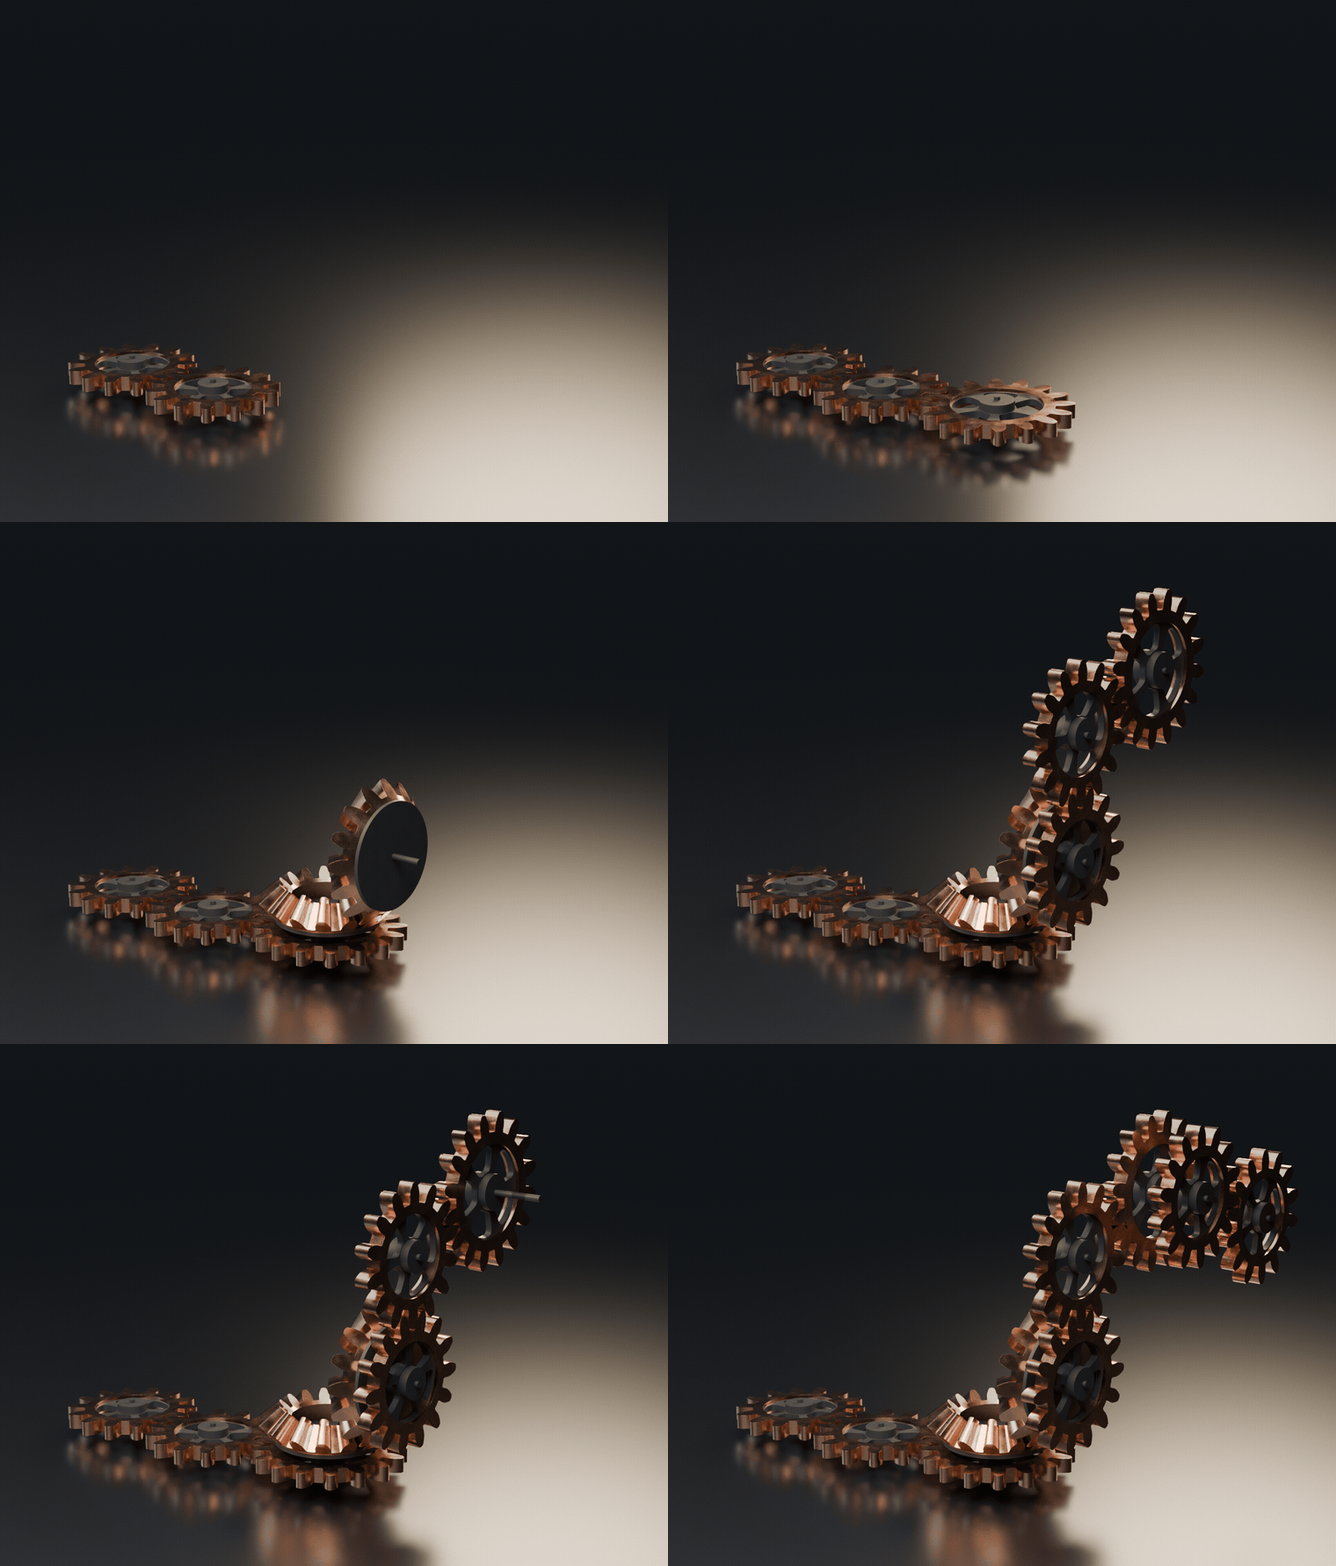
Draw the curve, get the train. Every point you drag re-solves the whole thing.
Gears are easy to model and miserable to mesh: the right centre distance, the right ratio, the right direction, and the teeth of one landing in the gaps of the next at every frame. Normally that is an afternoon of arithmetic and nudging, and it all breaks the moment the client moves something. Here the curve is the input and the solver does the rest.
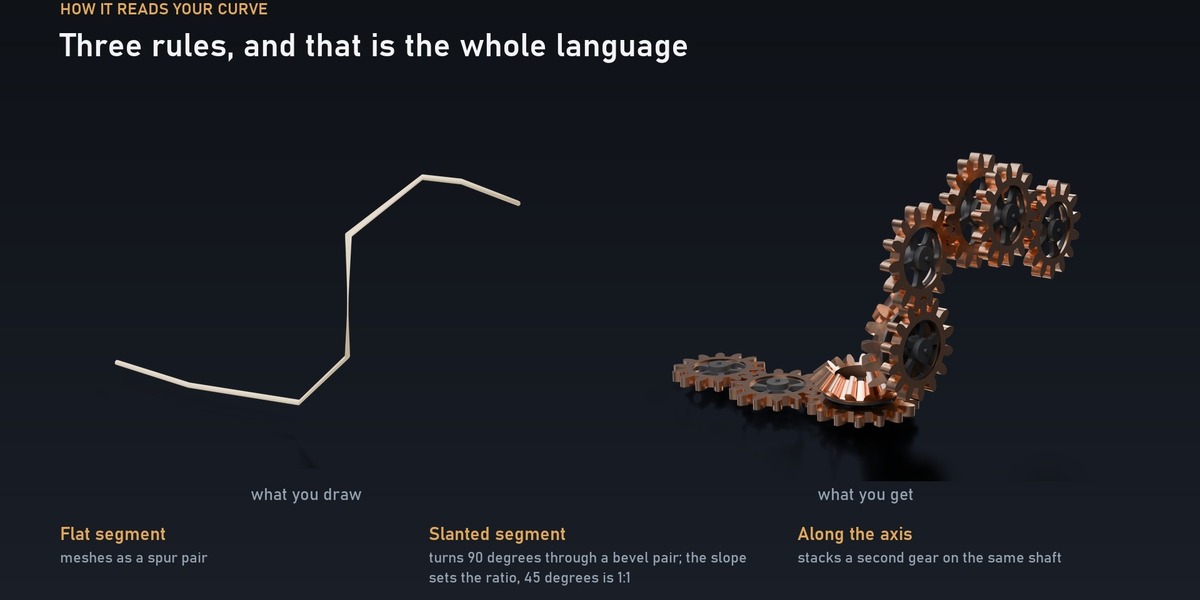
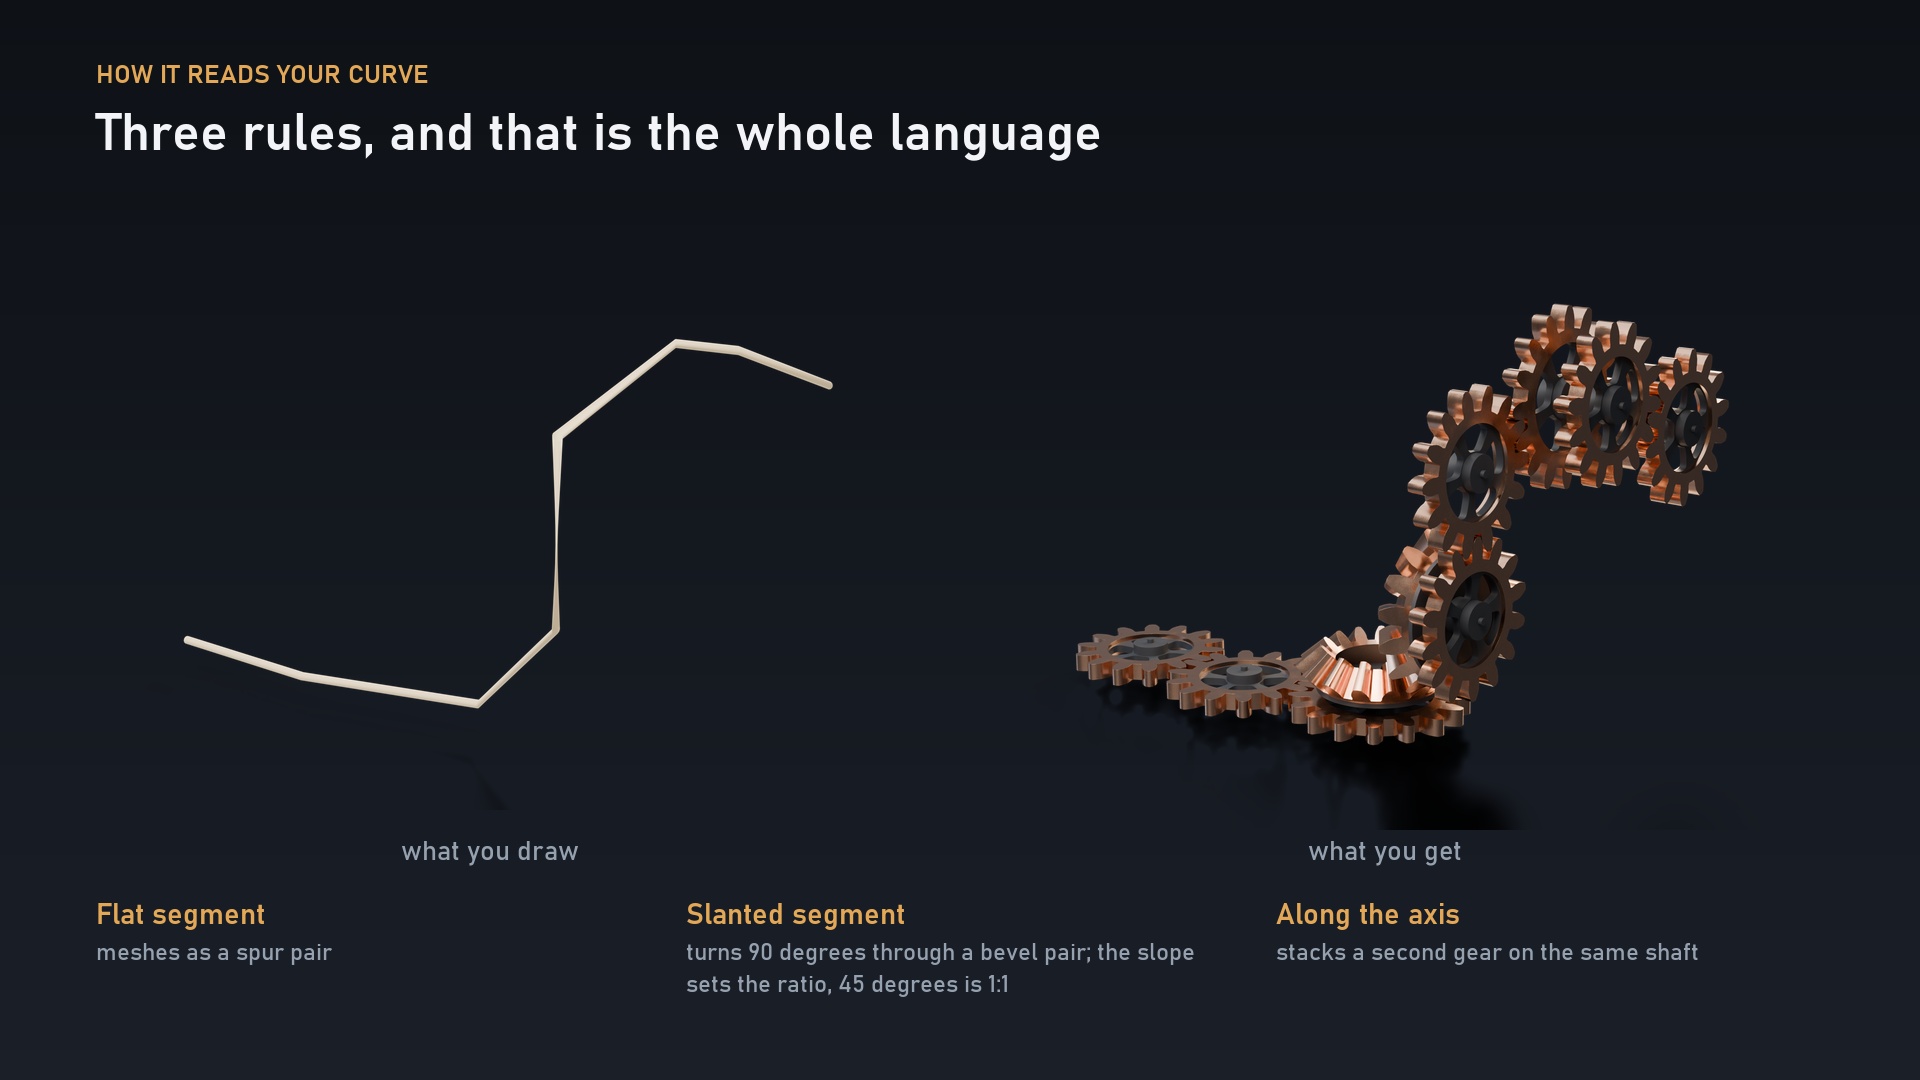 Three rules, and that is the whole language.
- A flat segment meshes as a spur pair.
- A slanted segment turns the train 90 degrees through a bevel pair. The slope of the segment sets the ratio; 45 degrees is 1:1.
- A segment along the axis stacks a second gear on the same shaft.
One curve, three rules, one Drive value, and a mechanism that actually turns. A twenty-five gear train re-evaluates in about half a millisecond, so you are dragging points in real time.
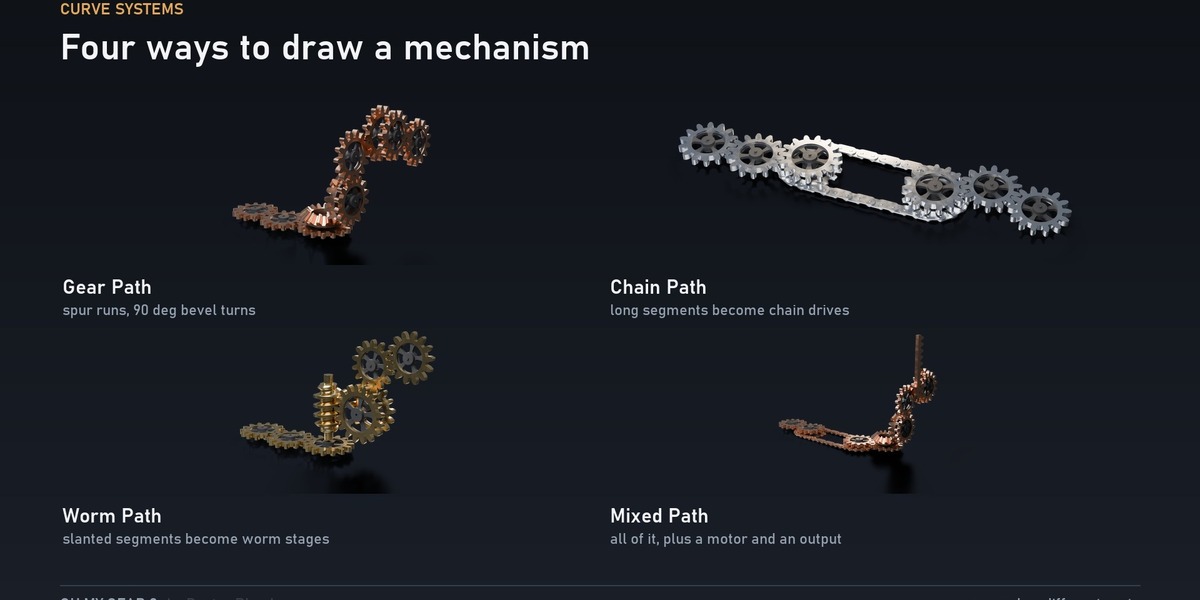
Four curve systems (Complete)
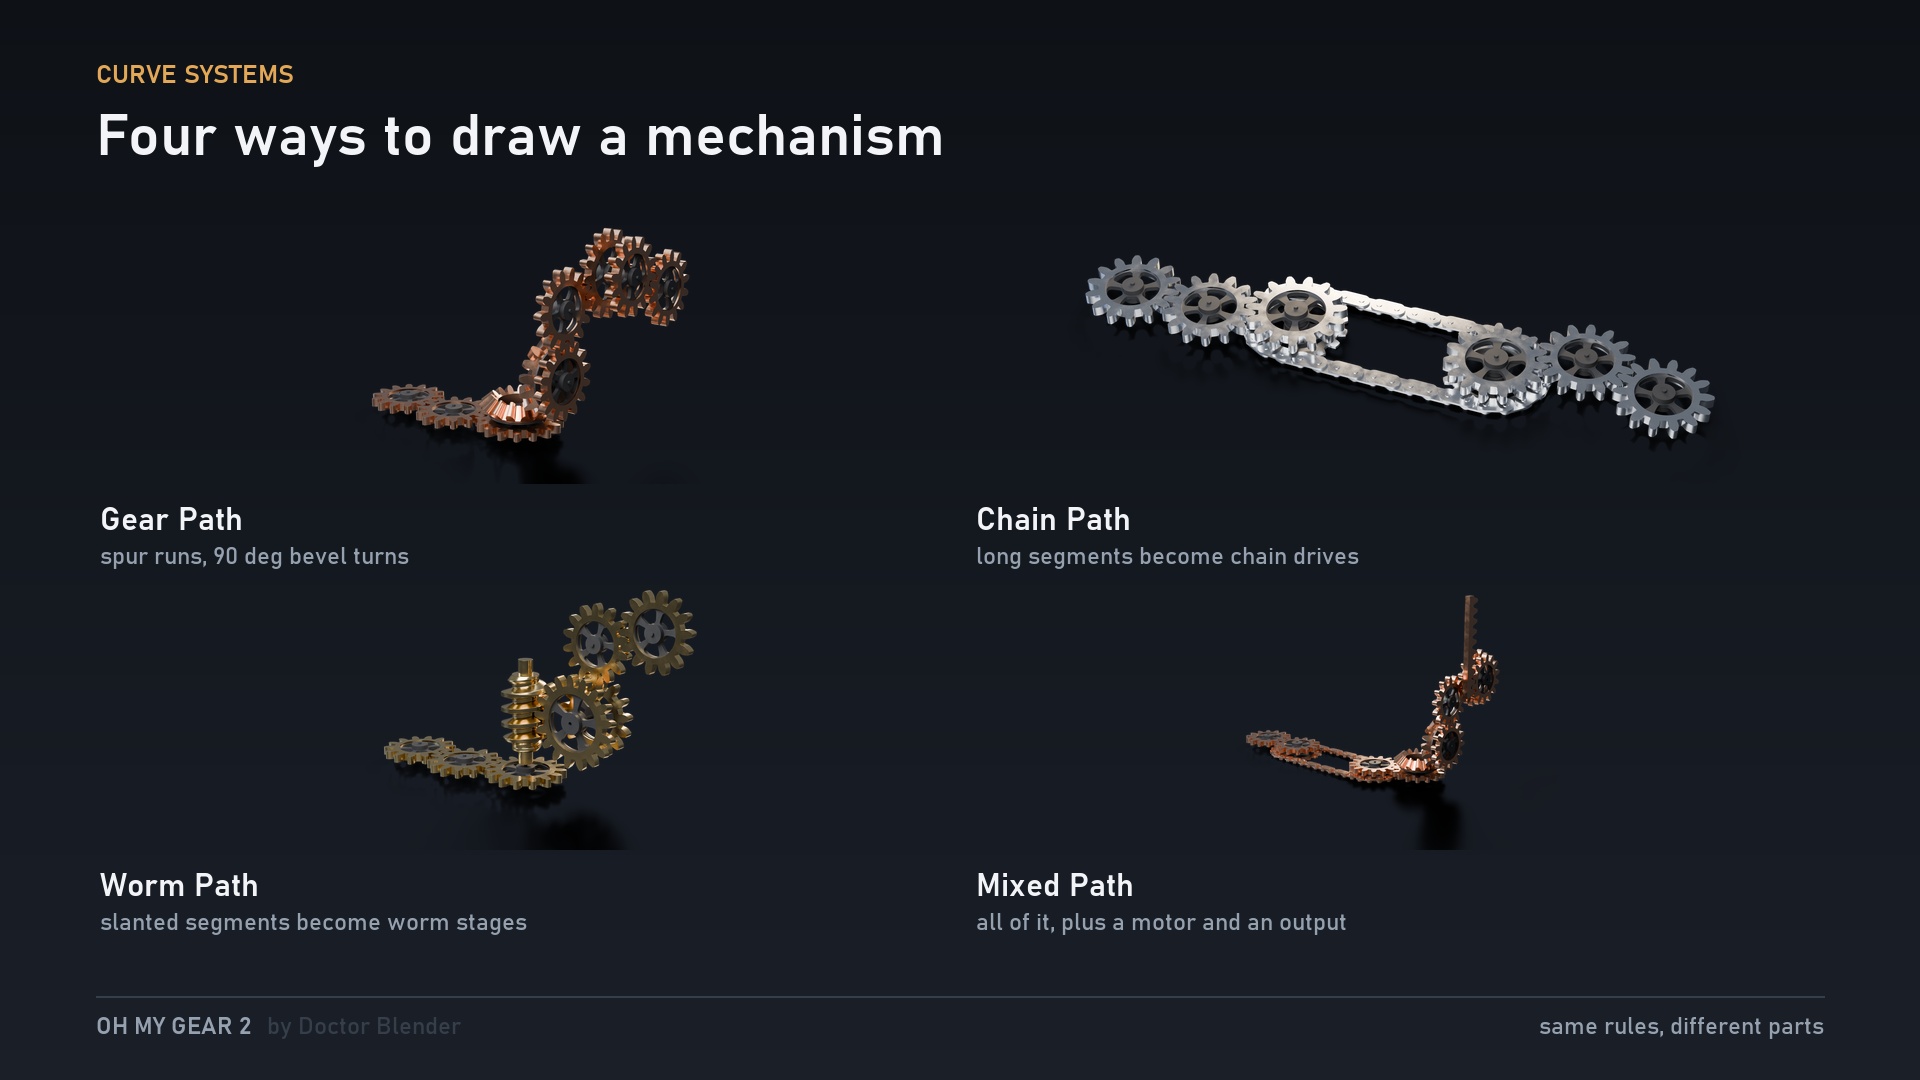
| System | Flat segment | Slanted segment | Extra |
|---|---|---|---|
| Gear Path | spur mesh | 90 degree bevel turn | |
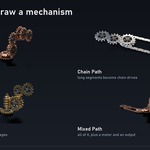
| Chain Path | spur mesh, or a roller chain past a distance you set | treated as flat | flip the chains |
| Worm Path | spur mesh | worm and wheel; the path continues upright | starts, diameter, hand |
| Mixed Path | spur or chain | bevel or worm | a worm motor at the start, a rack or ring gear at the end |
All four share one solver and one set of rules, so what you learn on one works on all of them. Core gets the flat version of this: a train of gears along a curve, solved the same way.
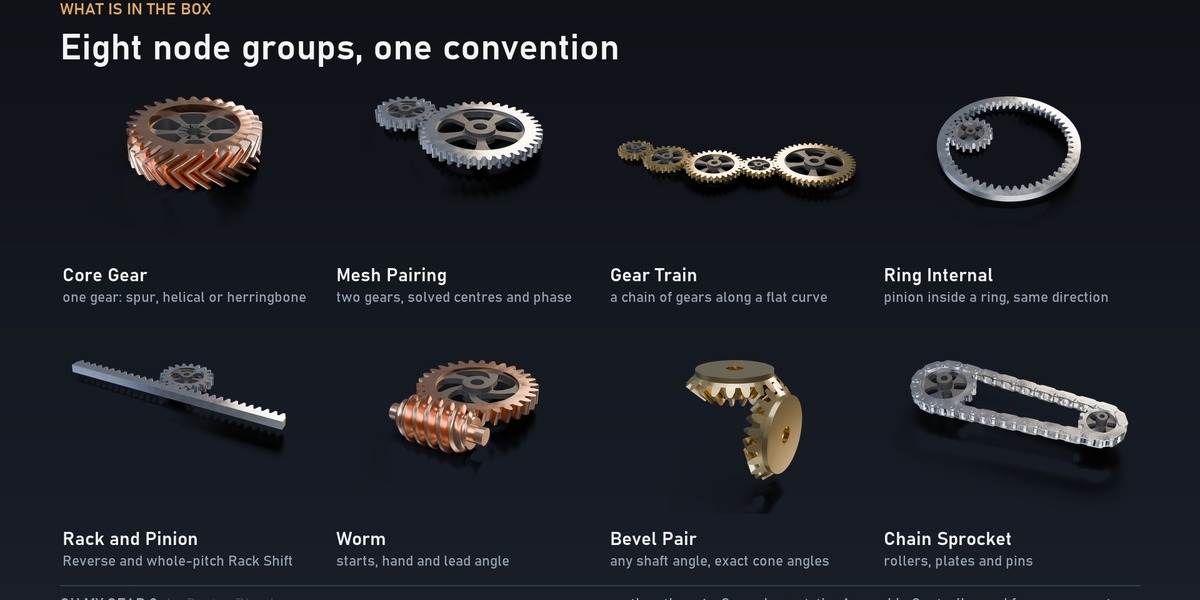
And every mechanism on its own
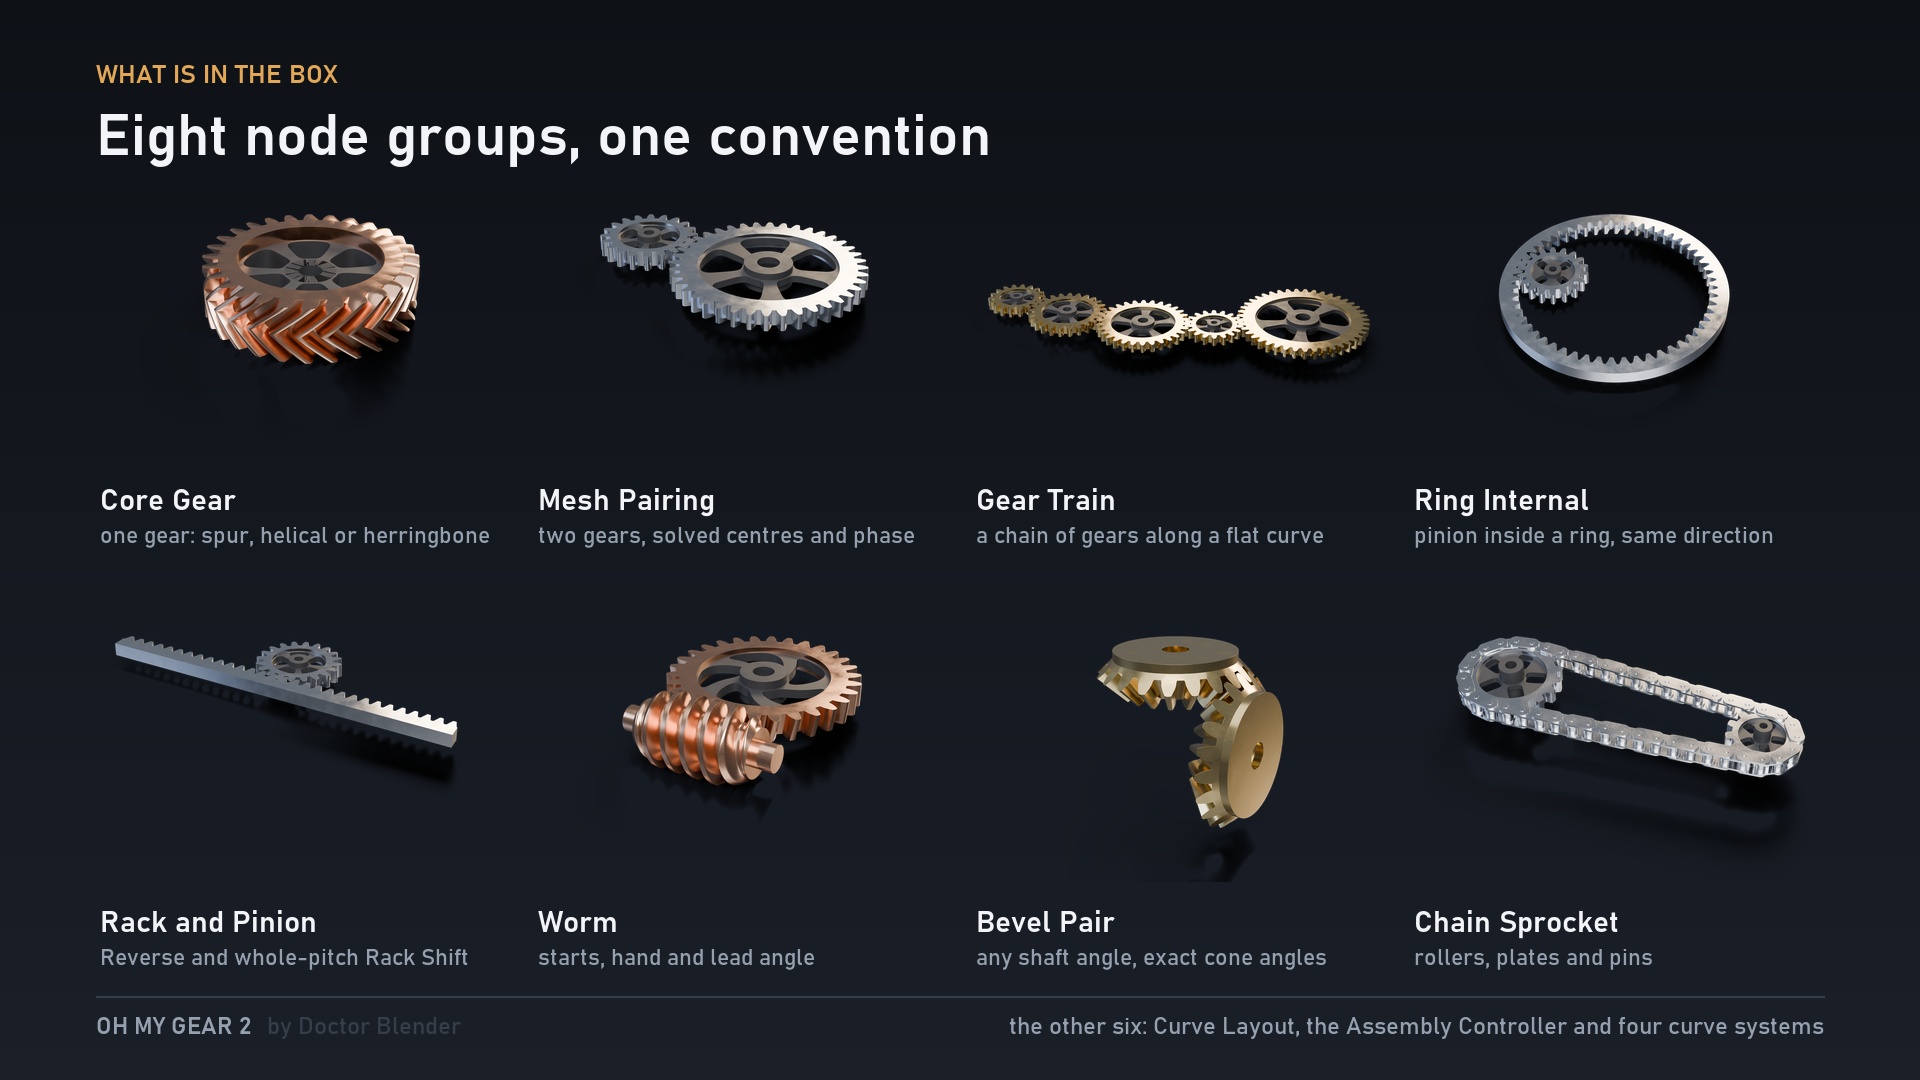
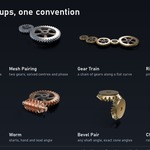
- Basic - Core Gear, Mesh Pairing, Curve Layout, Gear Train (in both packages), plus Ring Internal and Rack and Pinion (Complete)
- Extended (Complete) - Worm, Chain Sprocket, Bevel Pair
-
Assemblies (Complete) - the Assembly Controller: a worm, a spur pair and a rack stacked on shared shafts, all from one
Drive - Curve Paths (Complete) - the four systems above
Helical and herringbone are not separate assets: Helix Angle and Herringbone are inputs, and in a pair the driven gear takes the opposite hand automatically.
Drag it in and press play
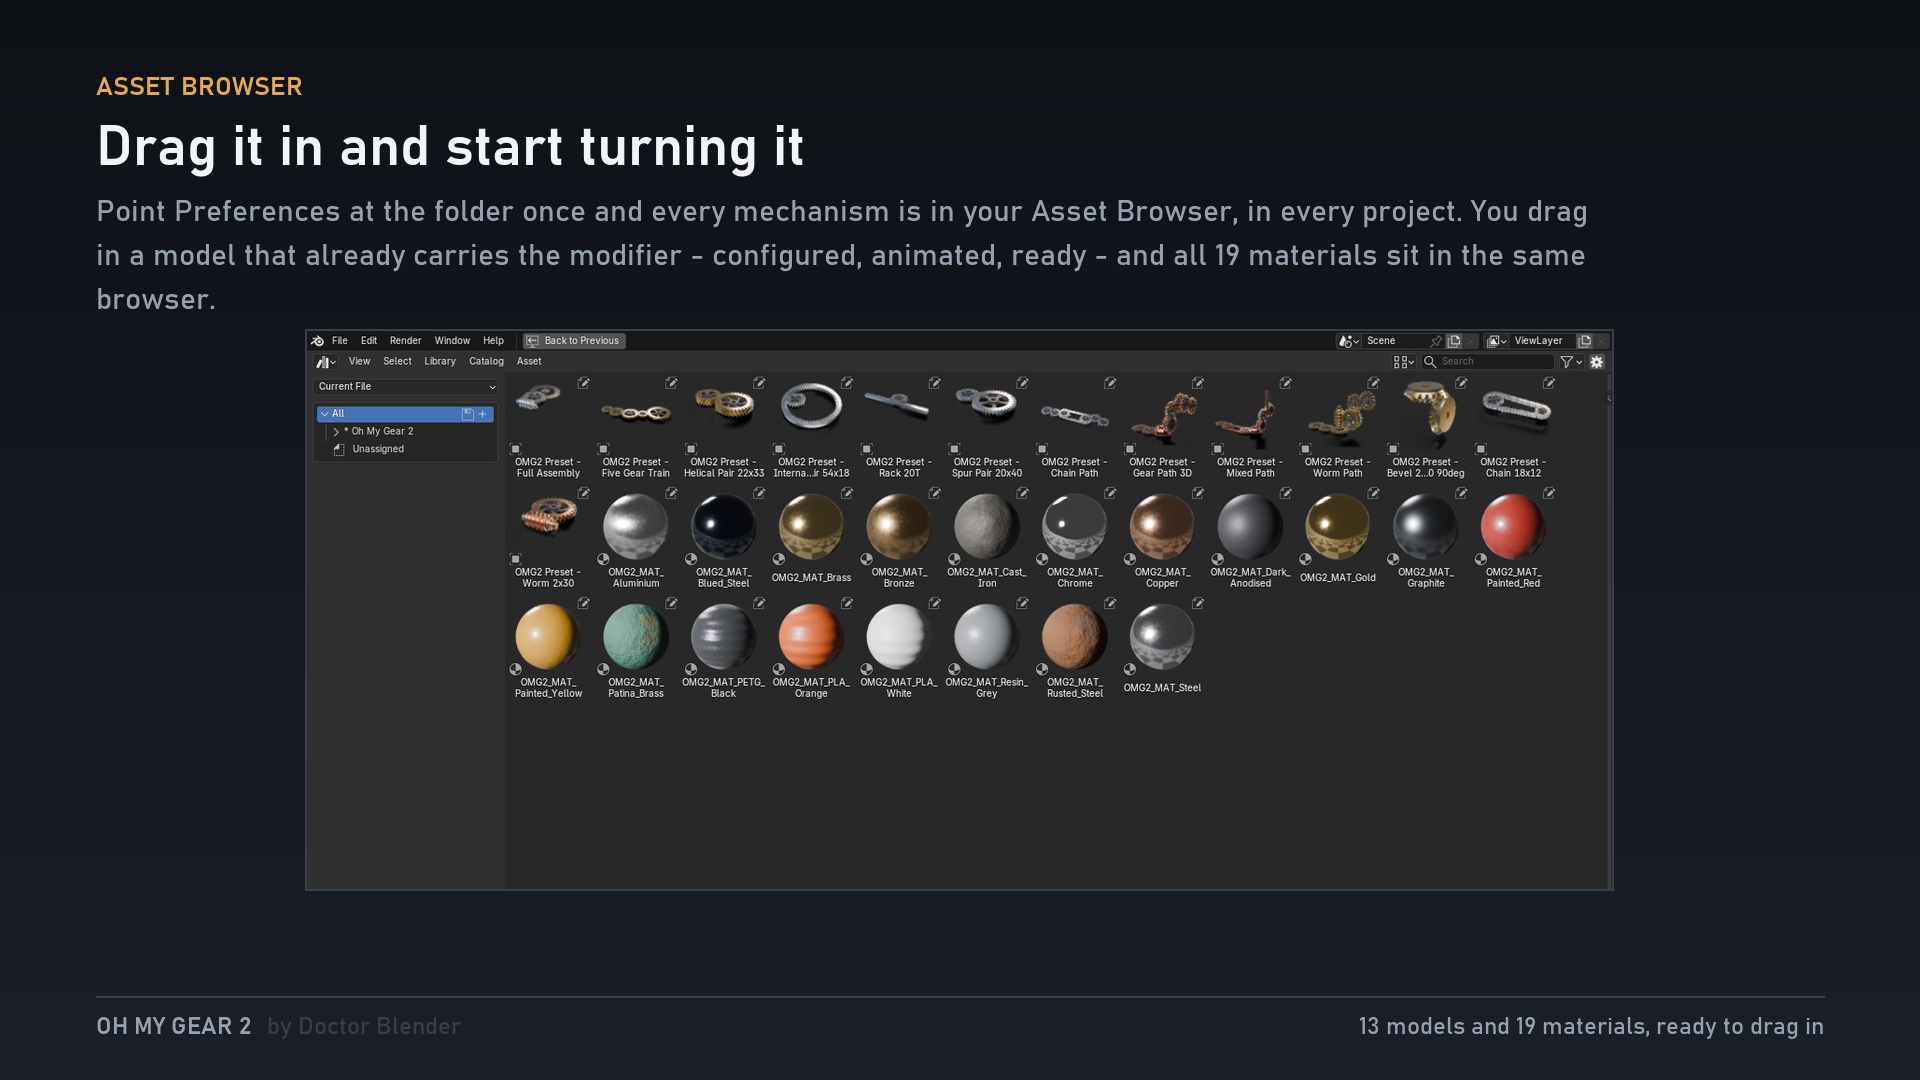
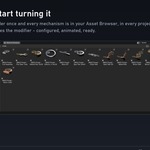
You do not get a bare node group to wire up. You get ready models: an object with the modifier already on it, already configured, already animated. Drag one into the viewport and it turns. Then open the modifier and change whatever you like.
The 19 materials sit in the same browser, each with a rendered thumbnail and a one-line description. Drag one onto anything.
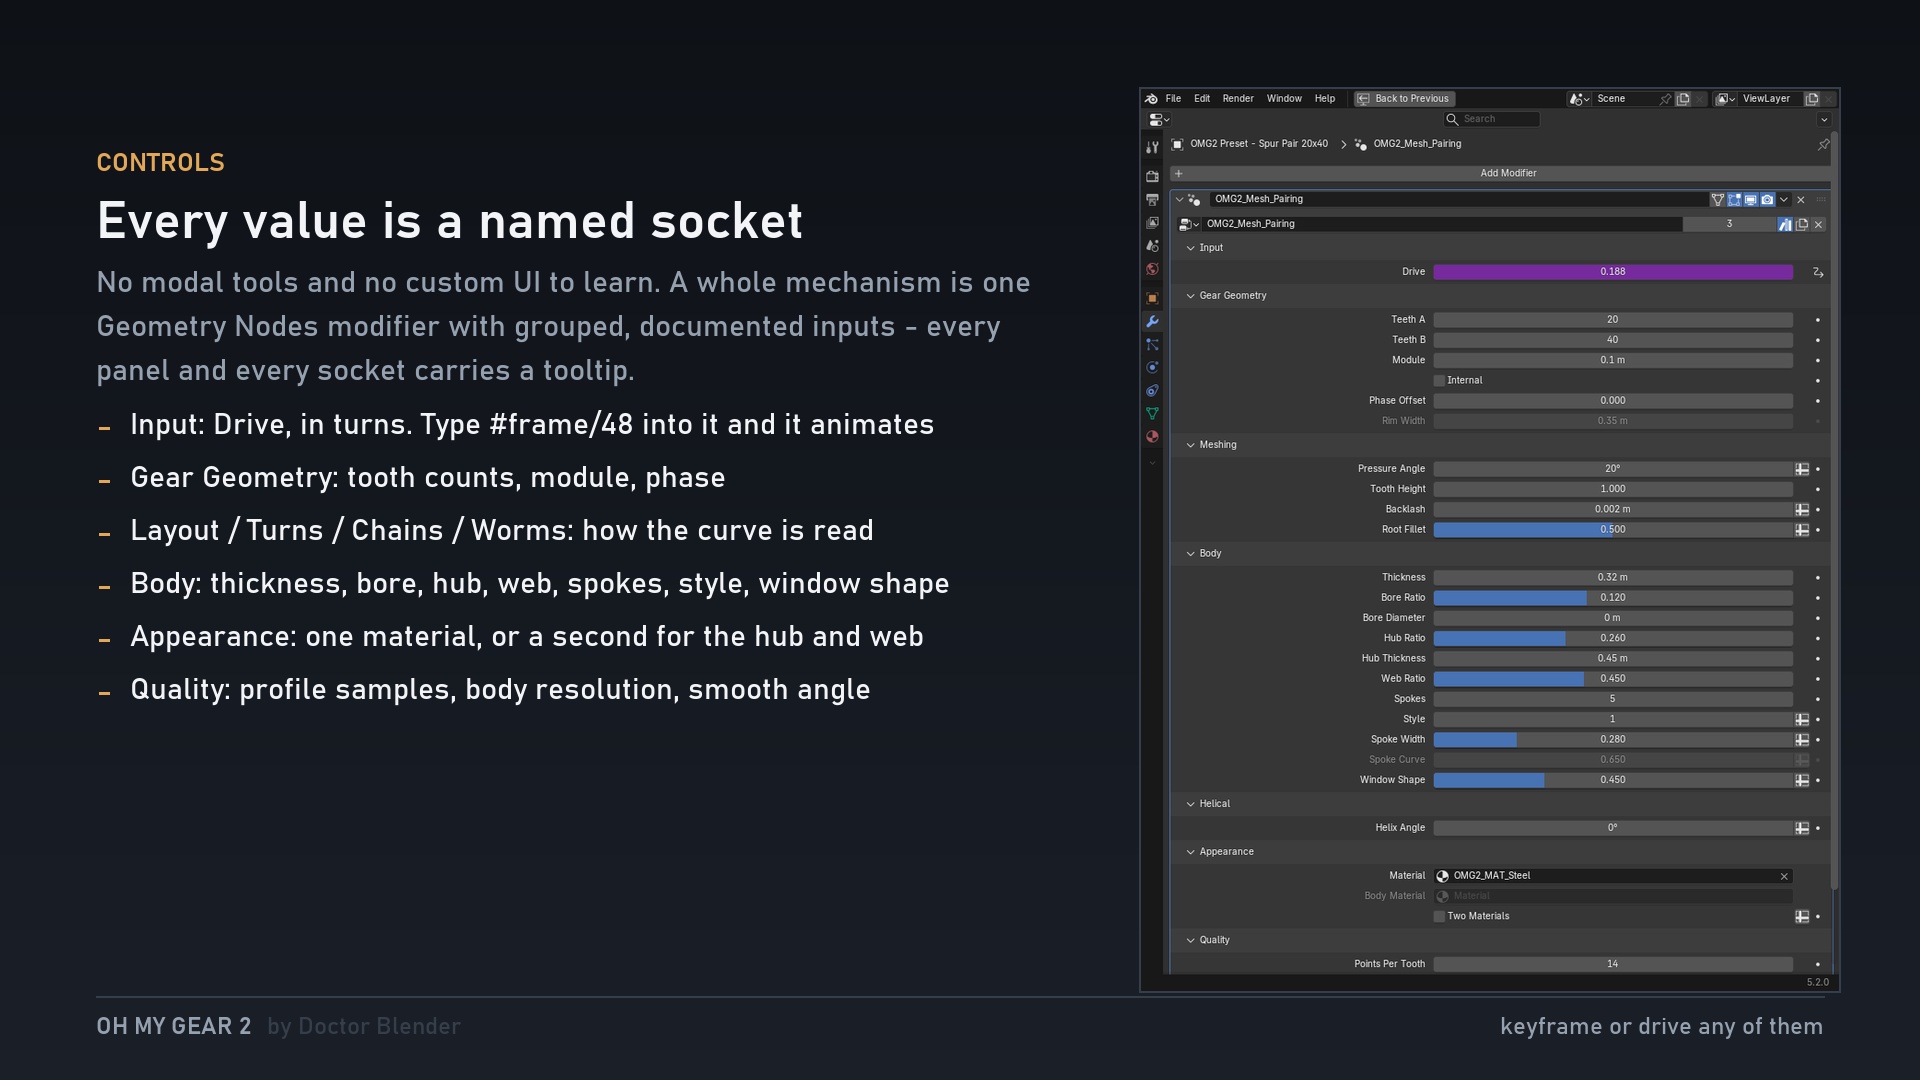
One Drive, in turns
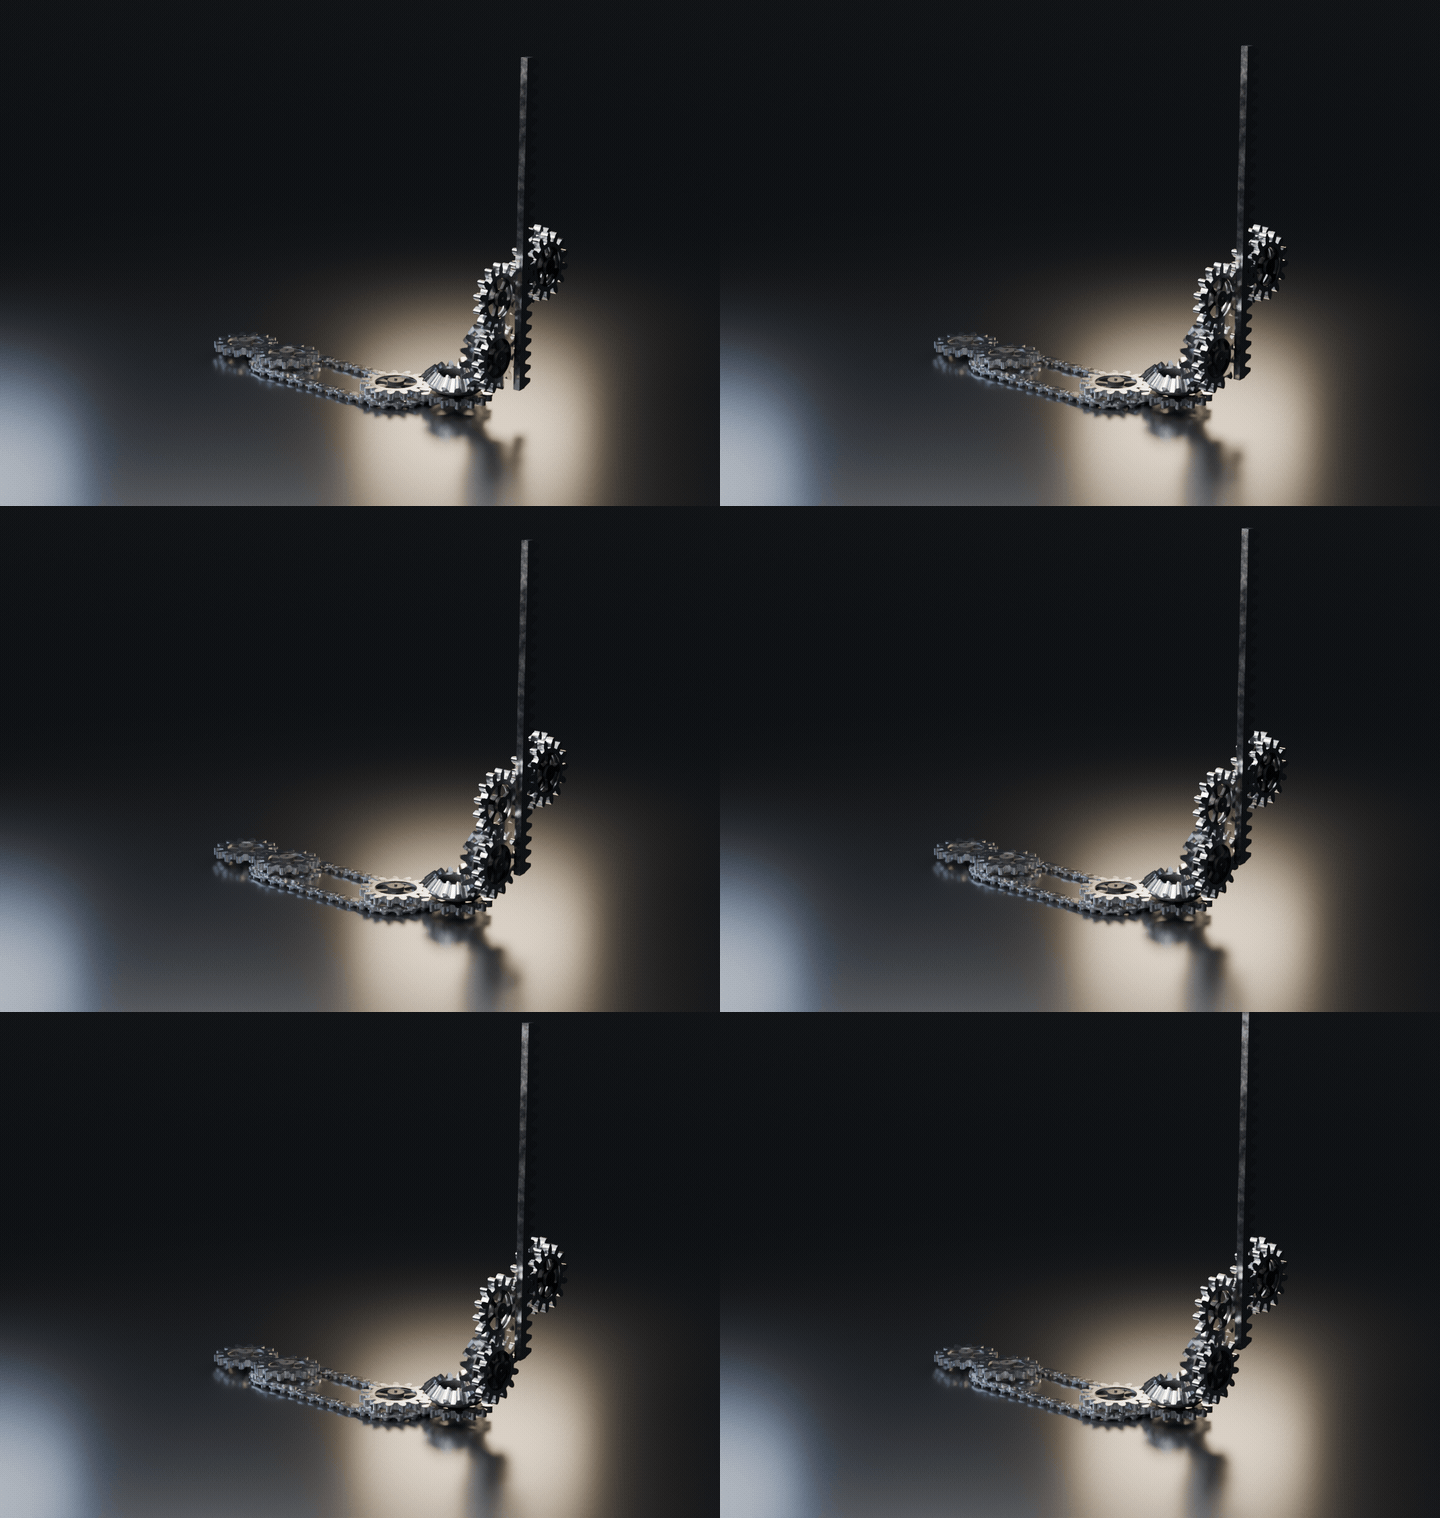
Drive = 1.0 is one full revolution. Click the field, type #frame/48, press Enter - that is the entire animation setup. Every gear, chain, worm and rack downstream follows at the right ratio and the right phase. Phase is in tooth pitches, so Phase = 1.0 shifts by exactly one tooth. No radians anywhere in the interface.
A real involute, not a lookalike
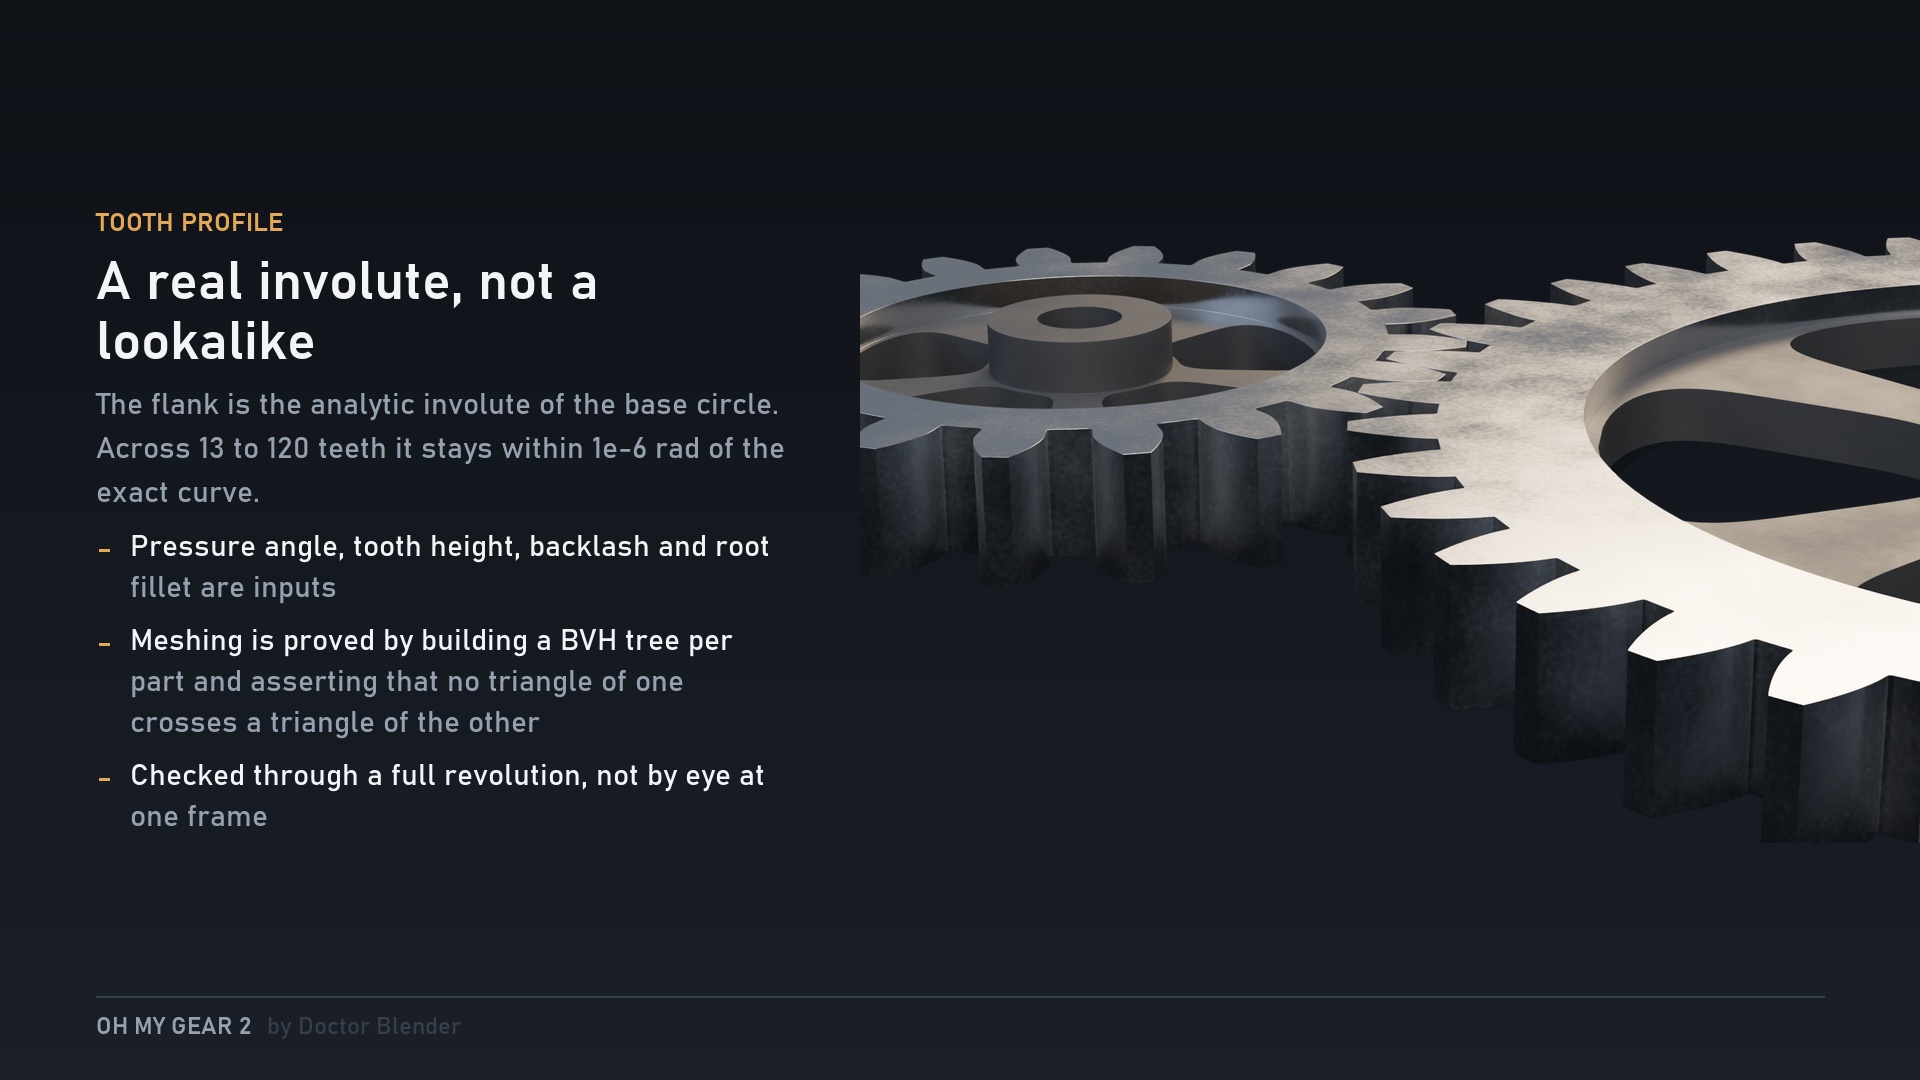
The tooth flank is the analytic involute of the base circle, not a rack profile stamped around a circle. Across 13 to 120 teeth it stays within 1e-6 rad of the exact curve. Pressure angle, tooth height, backlash and root fillet are inputs, not baked-in constants.
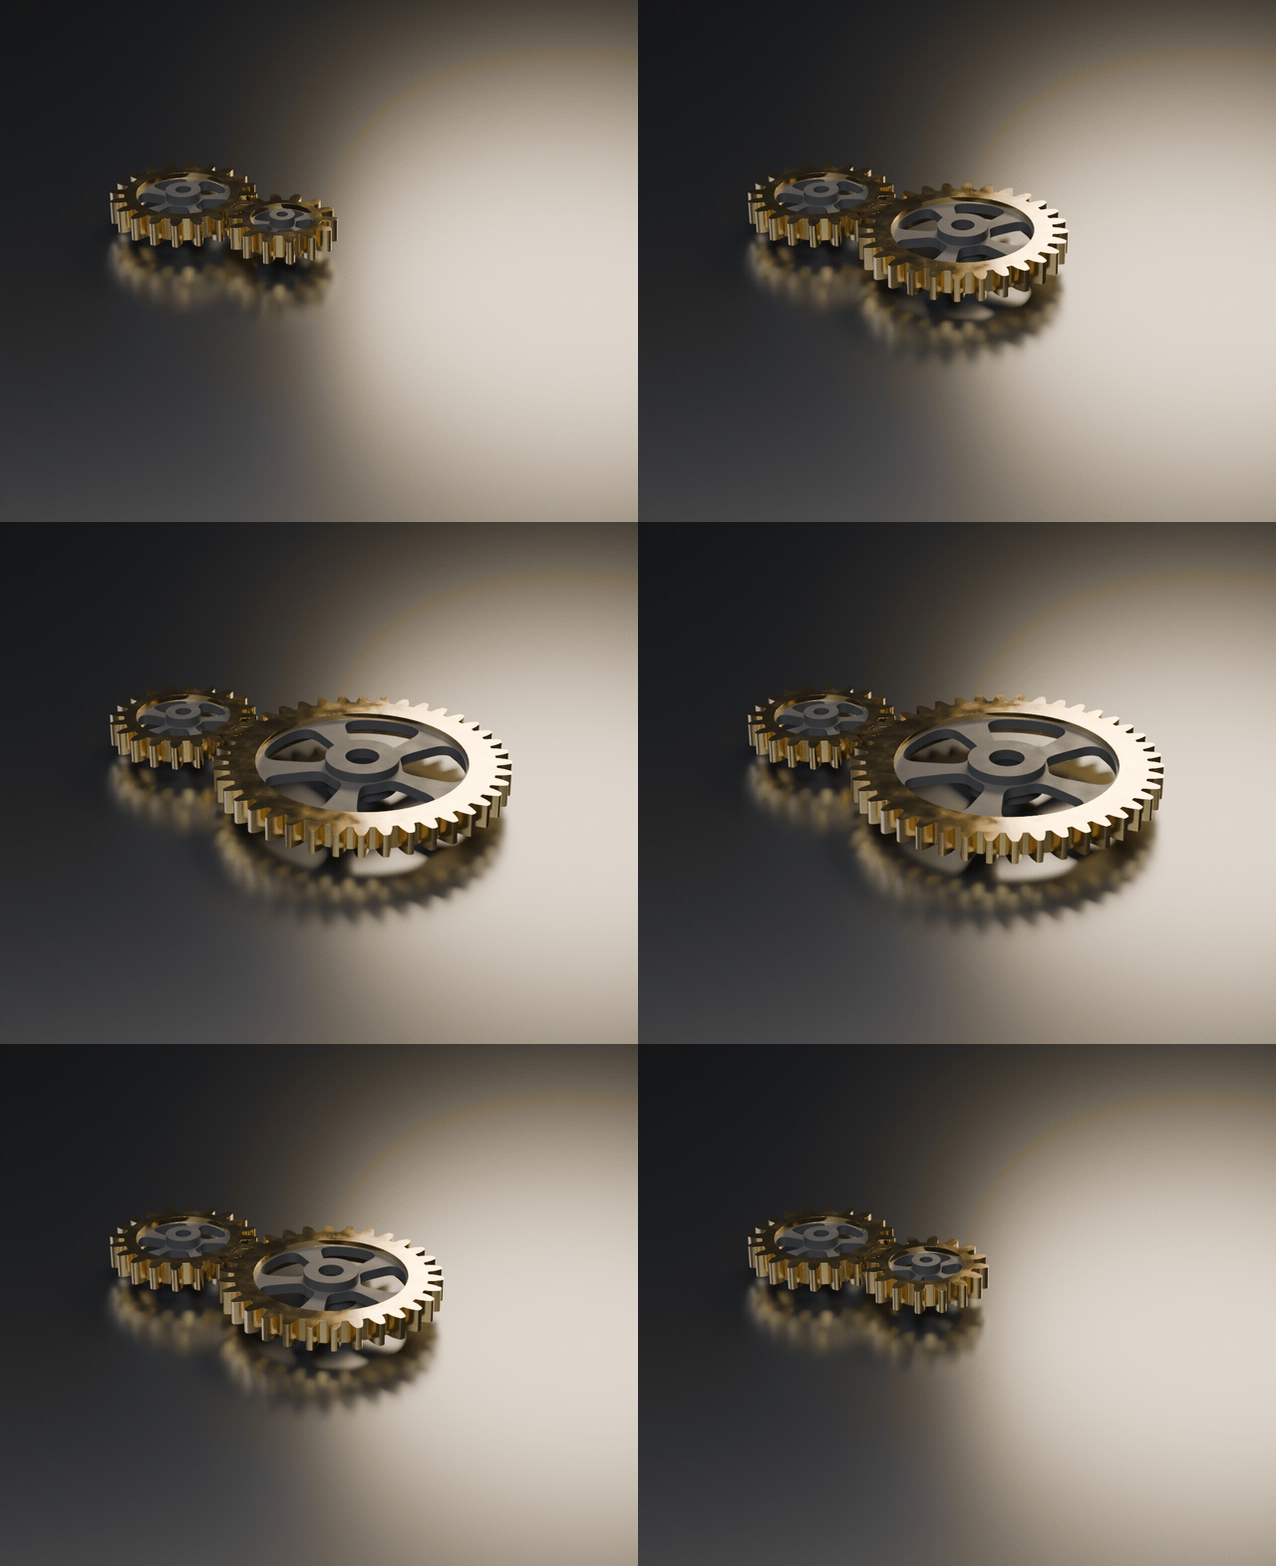
And it is checked, not asserted. A test suite builds a collision tree for every part and proves that no triangle of one gear crosses a triangle of its partner, sampled through a full revolution - for spur, helical, internal, rack, bevel and worm meshing, and for every combination the curve systems can produce.
Five body styles
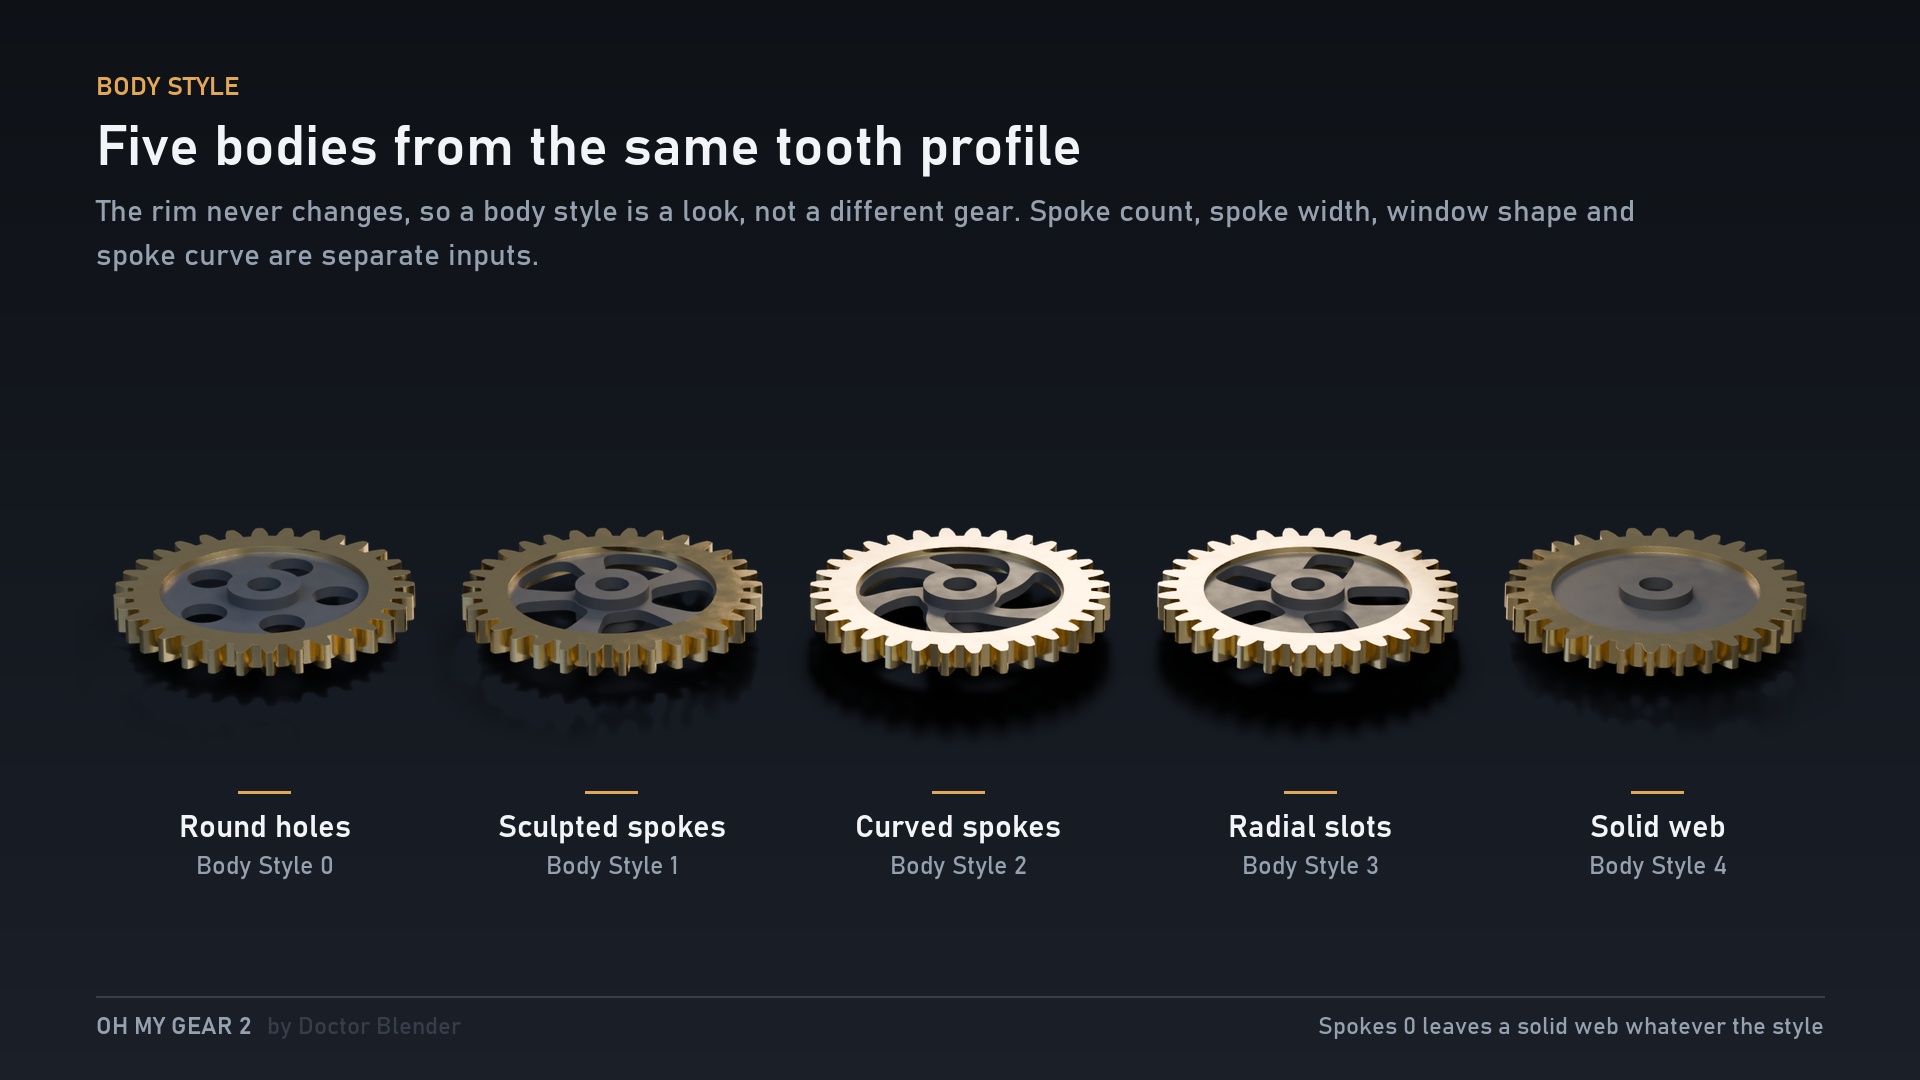
Round holes, sculpted spokes, curved spokes, radial slots and a solid web. The rim never changes, so a body style is a look, not a different gear. Spoke count, spoke width, window shape and spoke curve are separate inputs.
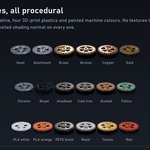
Nineteen materials, all procedural
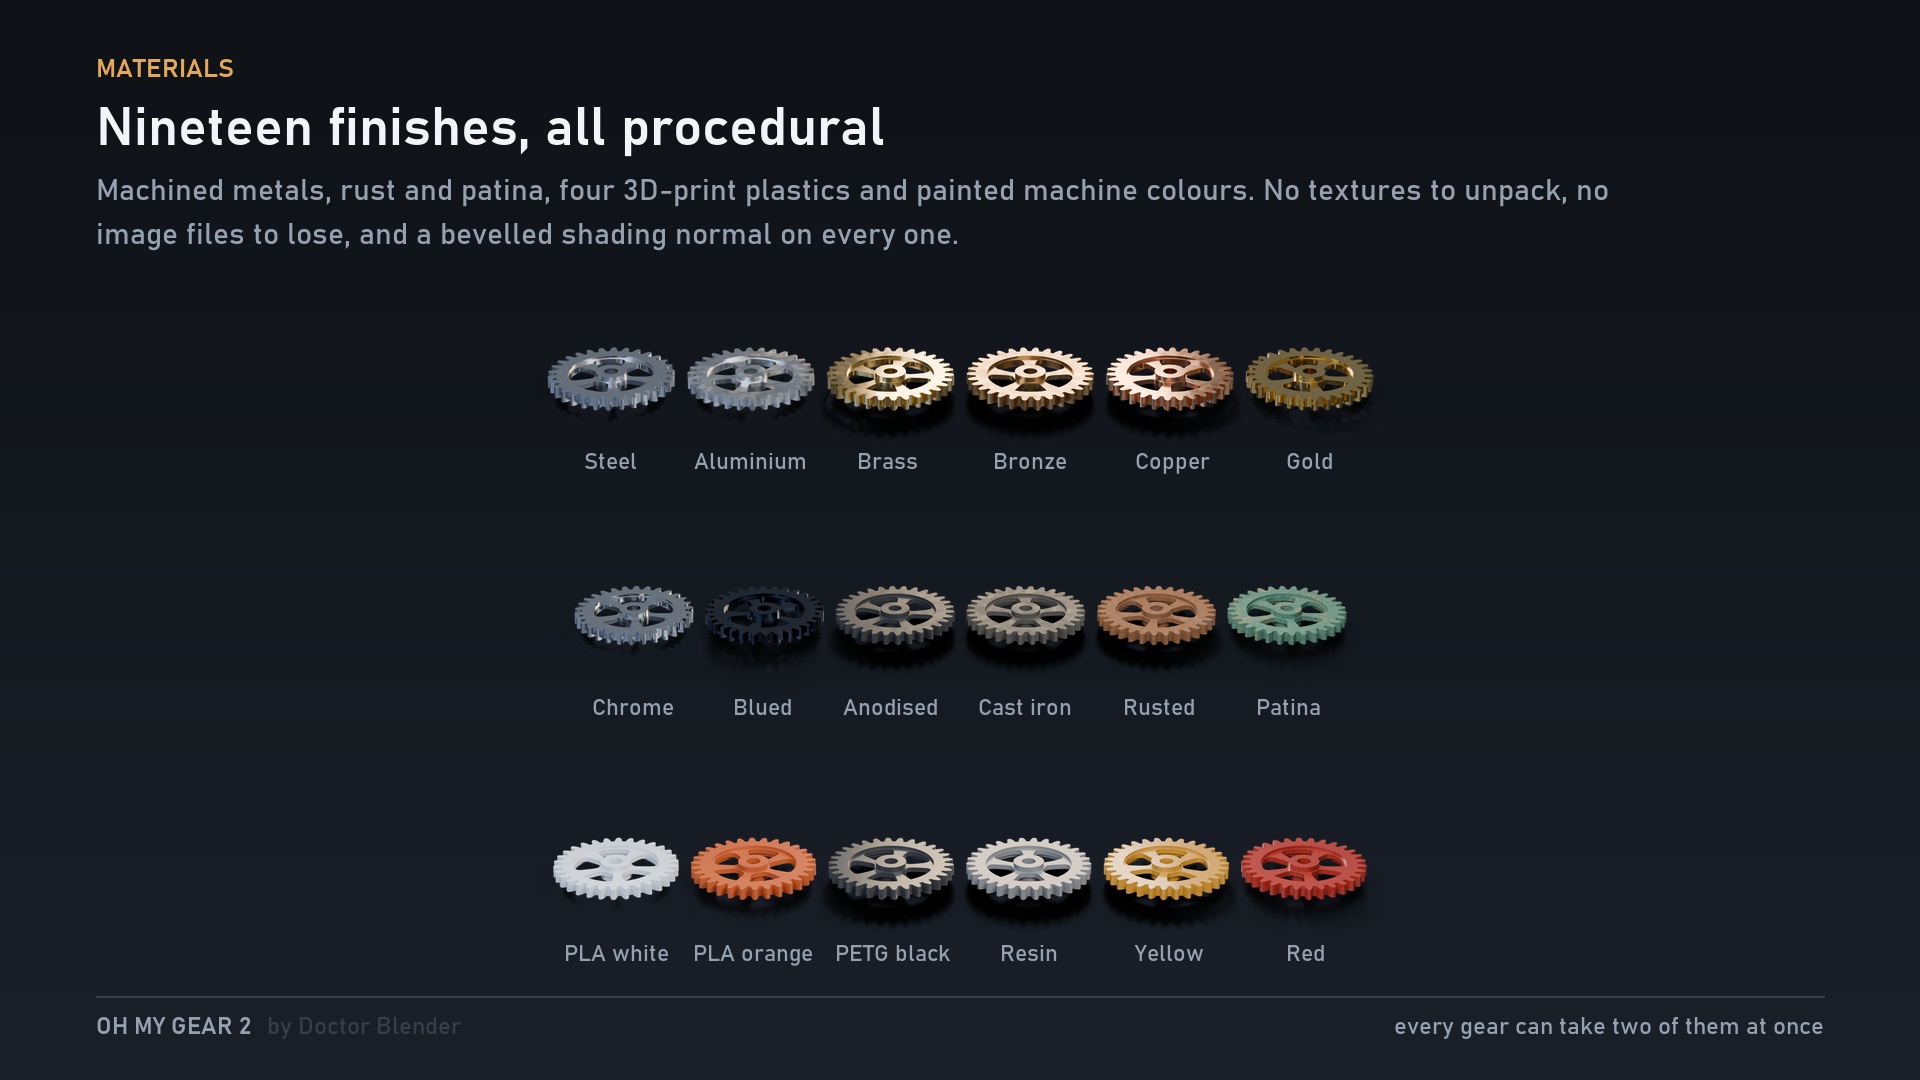
Steel, aluminium, brass, bronze, copper, gold, chrome, blued steel, dark anodised, cast iron, rusted steel and patinated brass - plus four 3D-print finishes and two painted machine colours. No textures to unpack, nothing to lose when you move the file.
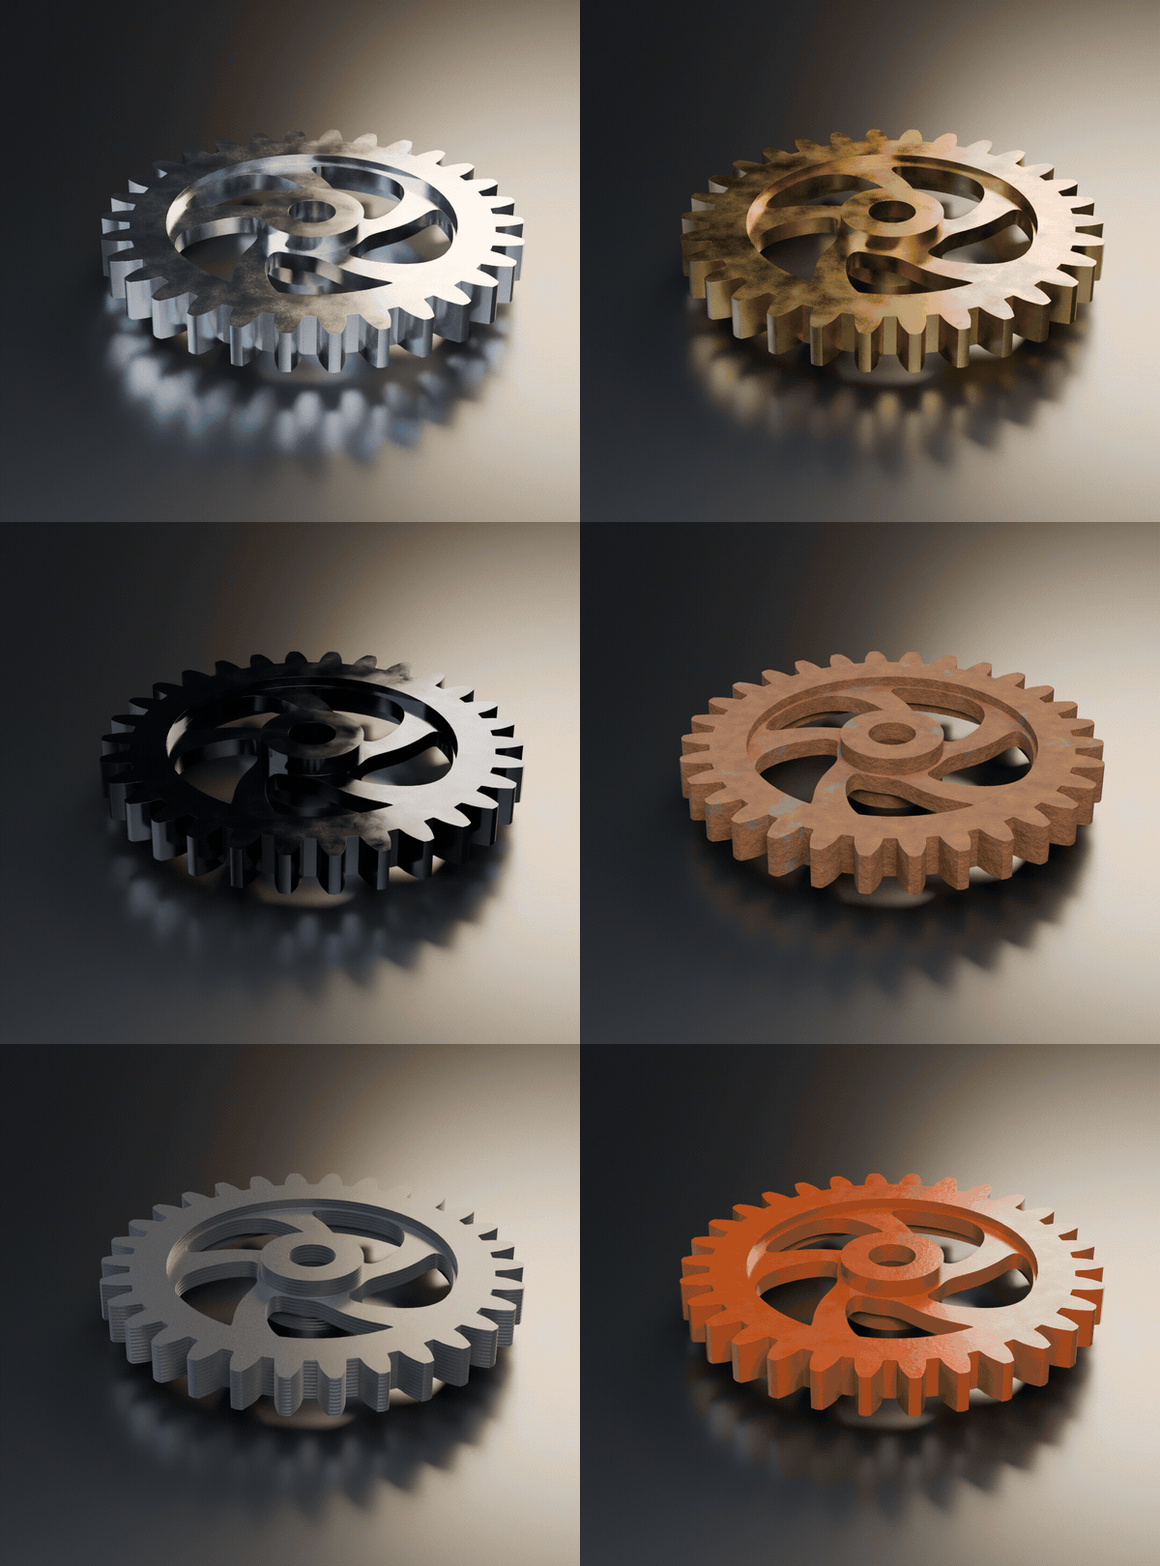
The print materials band along the height of the part at a real layer pitch, so a previewed print reads as a printed part and not plastic-coloured metal. Every material puts a bevelled shading normal on the edges, which is most of what separates a render from a diagram.
It tells you when it cannot do it
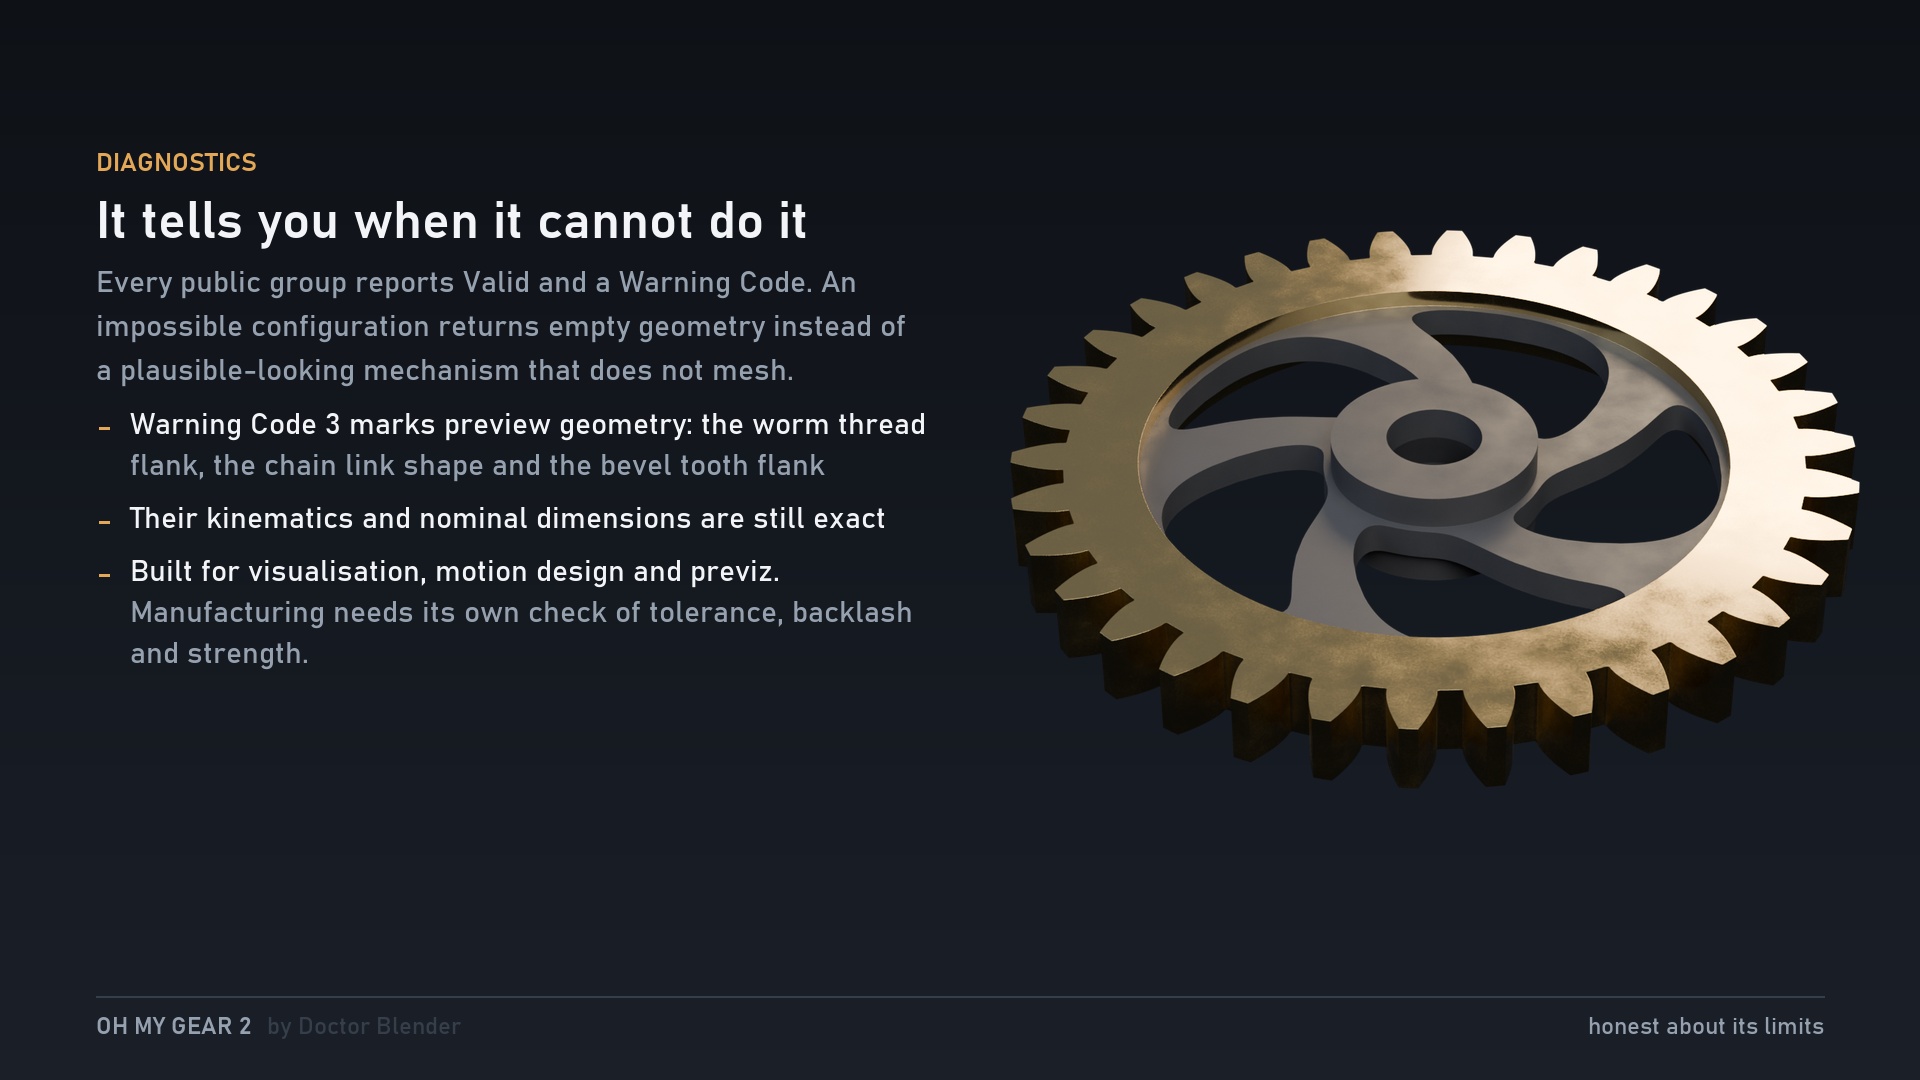
Impossible input returns empty geometry, not a plausible lie.
Every public group reports Valid and a Warning Code. Feed it something impossible and it returns empty geometry rather than a plausible-looking mechanism whose teeth pass straight through each other. There is a full guide in the Documentation tab, including a symptom-by-symptom list of what can go wrong and how to fix it.
Choose your package
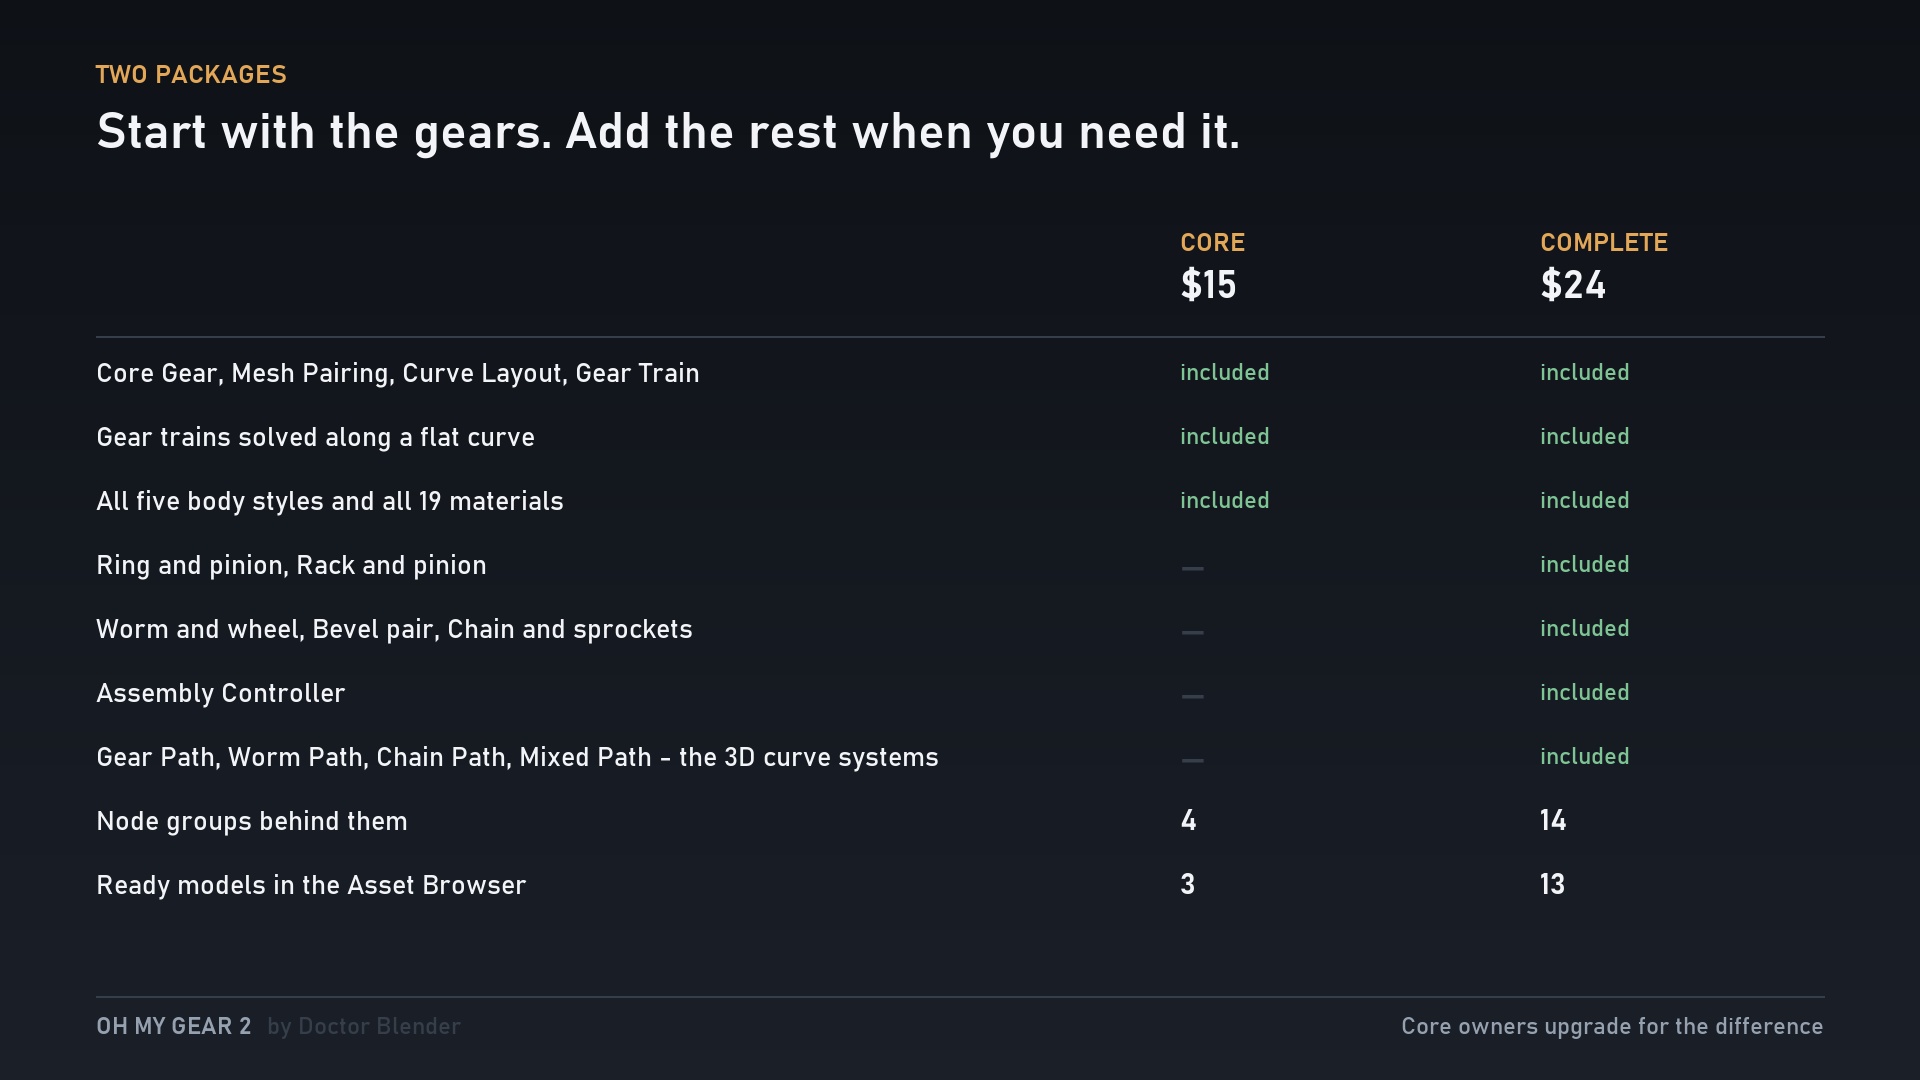
| Core | Complete | |
|---|---|---|
| Launch price | $15 | $24 |
| Node groups | 4 | 14 |
| Ready models in the Asset Browser | 3 | 13 |
| Gear, mesh pairing, train along a flat curve | yes | yes |
| All four 3D curve systems (draw it in 3D, turn corners, climb walls) | - | yes |
| Worm, rack, ring, bevel, chain, assembly controller | - | yes |
| Five body styles | yes | yes |
| 19 procedural materials | yes | yes |
| Full documentation | yes | yes |
Choose Core if you need gears that mesh and turn: a pair, a train, a row following a curve. It is the whole job for that, at the lowest price.
Choose Complete if you want the mechanism to climb a wall, turn a corner, drive a chain or end in a worm - the 3D curve systems are what this library is for, and they are the reason to buy.
Already own Oh My Gear? Complete is a free update in your downloads. Nothing to buy. Started with Core? Upgrade any time for the difference, so starting small costs you nothing.
Launch prices. They rise to $19 and $29 once the launch is over.
What is in the download
- The library saved from Blender 5.2 LTS and a second copy saved from Blender 4.5 LTS - open the one that matches yours
- The Asset Browser catalogue file, so the folders appear already sorted
- User guide, a catalogue of every input of every group, the mechanical conventions (every equation and sign convention), migration notes from version 1, and the changelog
No dependencies. No add-on to register. Nothing to install.
Know the limits before you buy
- No profile shift (addendum modification).
- The worm thread flank, chain link shape and bevel tooth flank are preview geometry, flagged in the node output. Their kinematics and dimensions are exact; their profiles are not manufacturing profiles.
- The rim, web and hub of a gear overlap as separate solids rather than one watertight shell. Correct for render and preview; union them yourself if you need a manifold mesh for 3D printing.
- A curve path is one chain of shafts, not a branching tree.
- Built for visualisation, motion design, previz and concept models. It does not claim a production tooth profile.
Licence
Royalty free. Use it on unlimited personal and commercial projects, for as long as you like, with no further payment and no credit required. Modify it as much as you want; what you build stays yours. Render, publish, sell and print anything you make with it, including work for clients.
The one thing you may not do is pass the library itself on - the file, the node groups or the materials - free or paid, on their own or in a pack. One licence is one seat. Hand a client an applied mesh, not the live node groups.
Questions? The FAQ tab answers the common ones, and I read every message sent through the store. - Doctor Blender