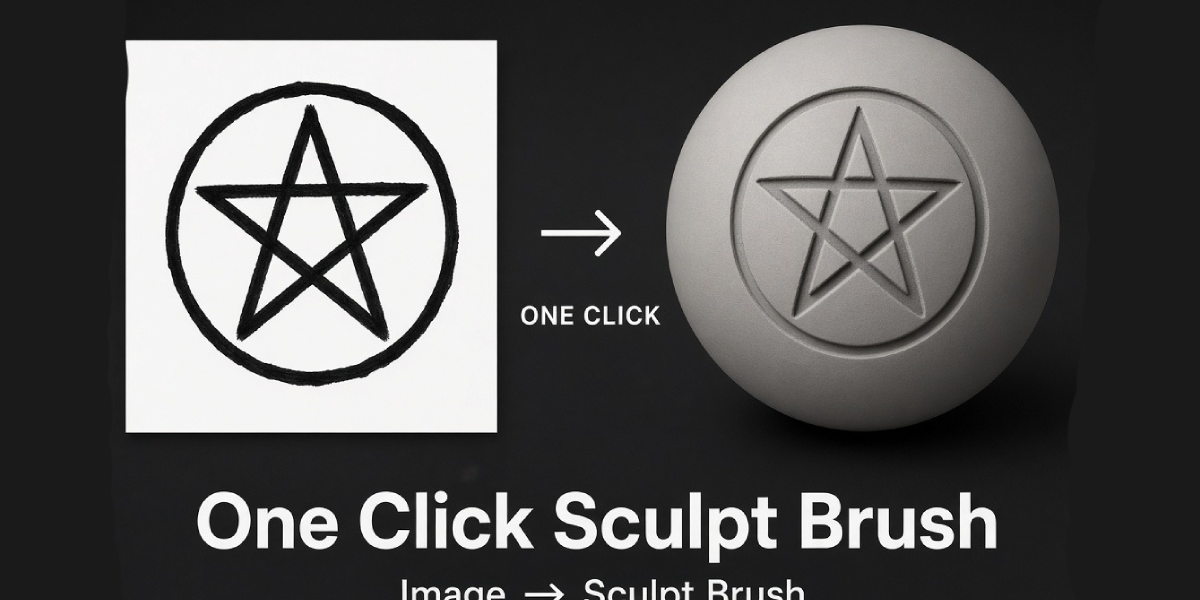
One Click Sculpt Brush Maker: Turn Any Image Into a Sculpt Brush
 Salman Animator
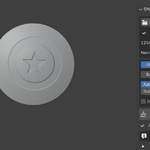
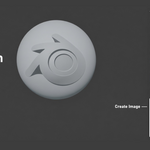
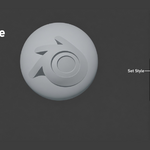
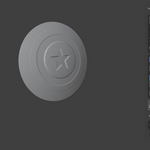
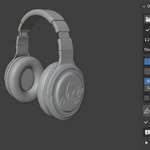
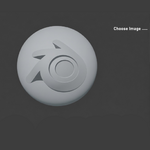
Requirements
- Blender 3.6 or newer.
- A mesh with enough geometry for the detail you want (subdivided, remeshed or Dyntopo).
Install
Keep One_Click_Sculpt_Brush_Maker_v1.5.0.zip compressed and disable any older Brush Maker copy first.
Blender 4.2 and newer: Edit > Preferences > Get Extensions, open the menu at the top right, choose Install from Disk and select the ZIP. You can also drag the ZIP into Blender.
Blender 3.6 to 4.1: Edit > Preferences > Add-ons > Install, select the ZIP, enable One Click Sculpt Brush Maker and save Preferences if auto save is off.
First use
- Select a mesh and stay in Object Mode or Sculpt Mode.
- Open 3D Viewport > N Sidebar > Brush Maker.
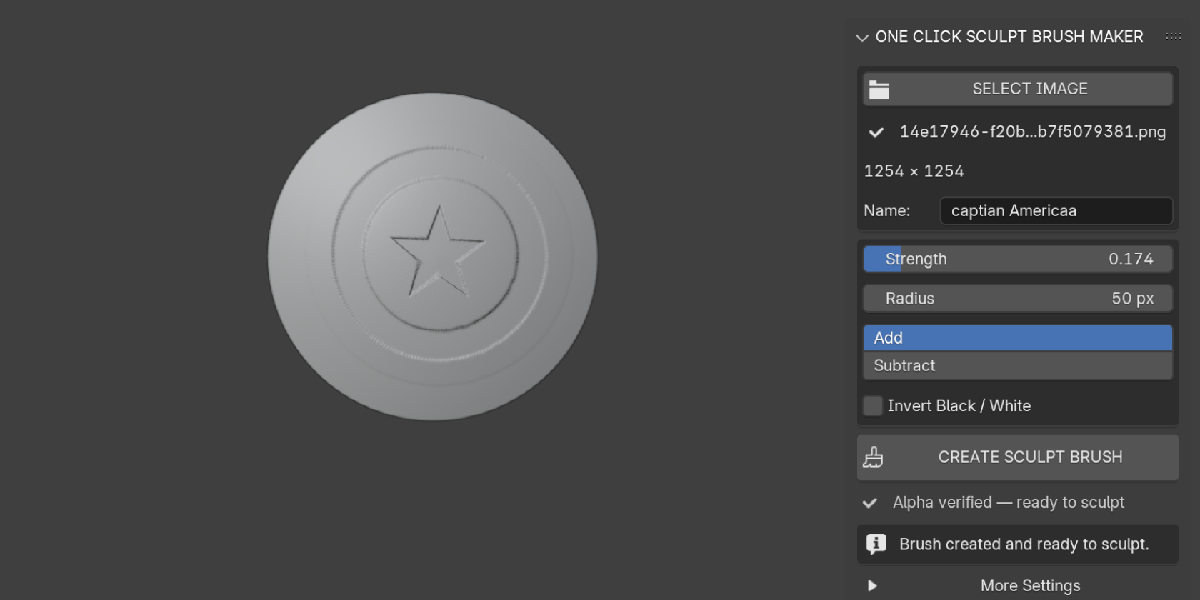
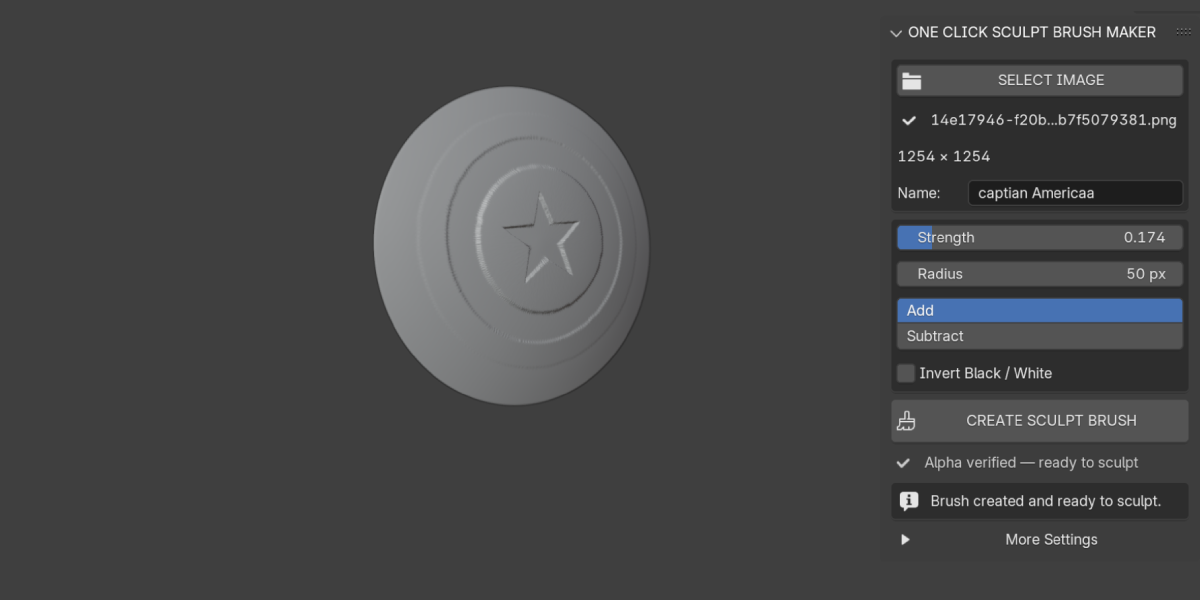
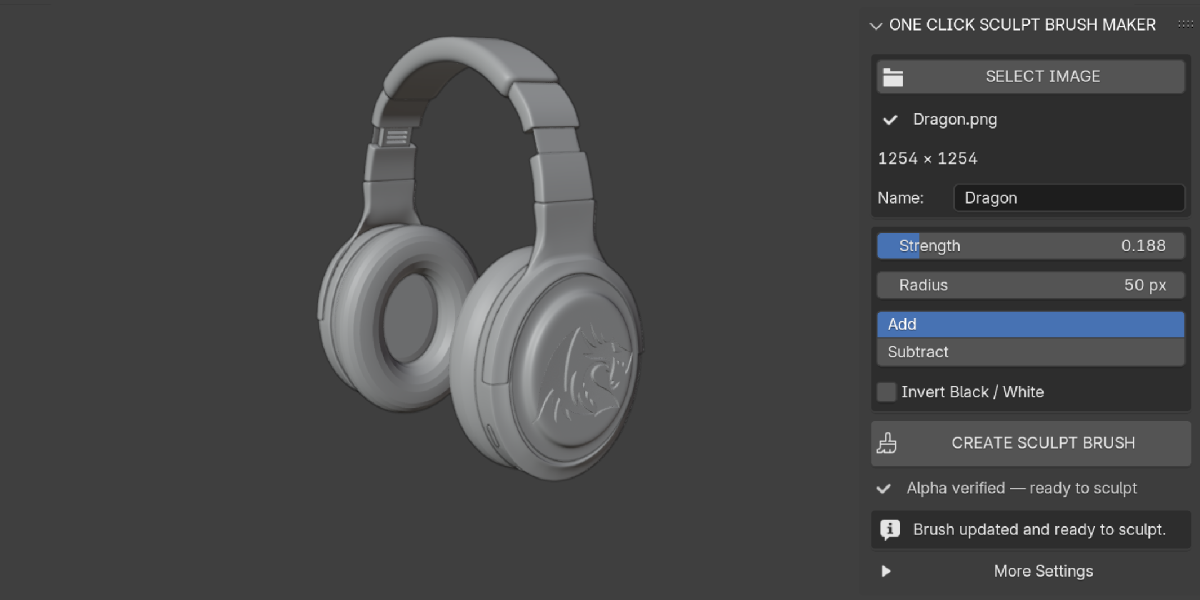
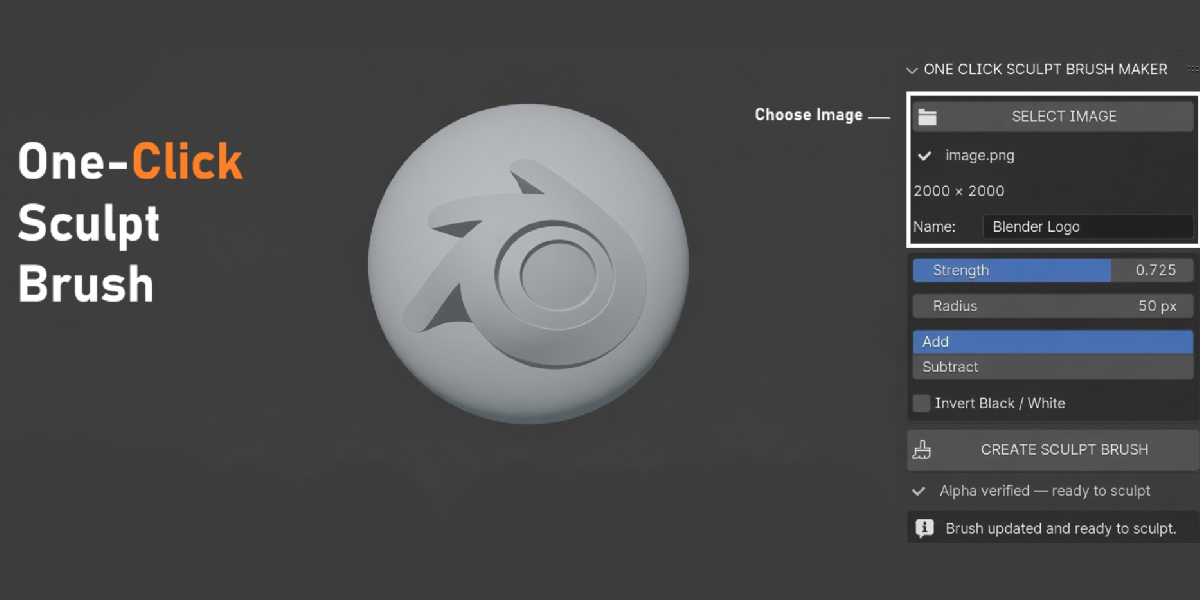
- Click SELECT IMAGE and pick an image.
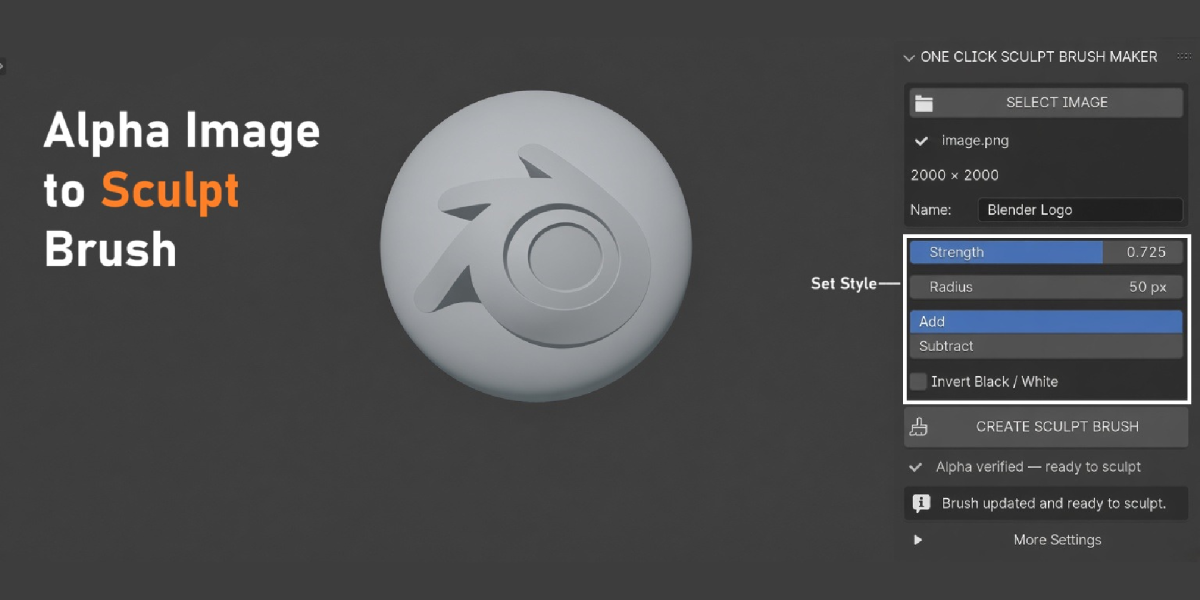
- Set Name, Strength, Radius, Add or Subtract and Invert Black / White.
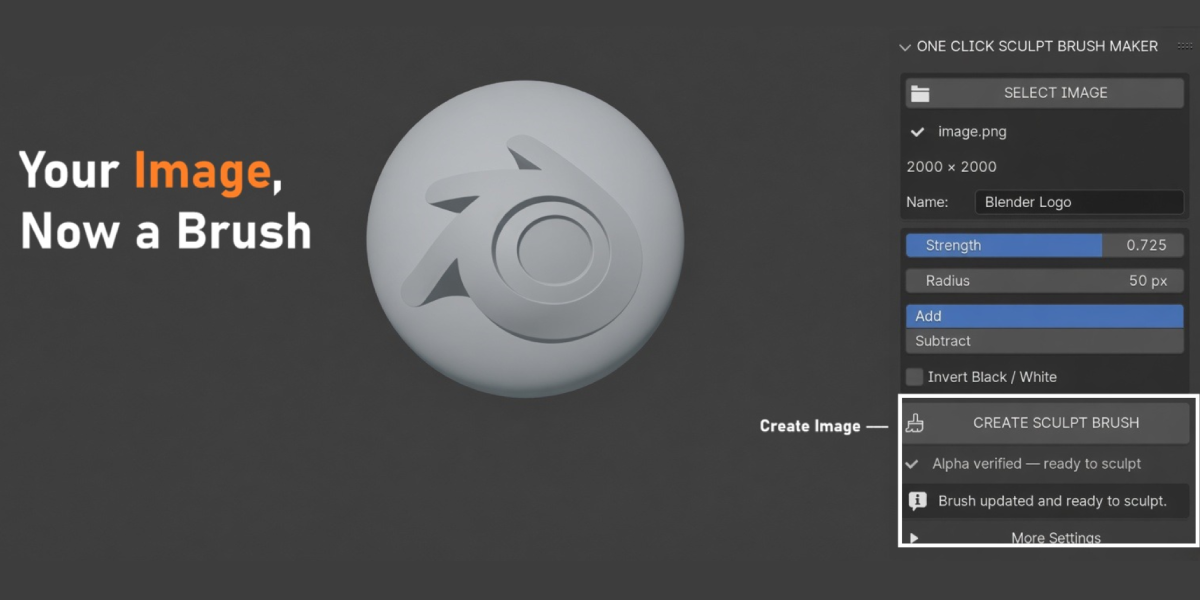
- Click CREATE / UPDATE SCULPT BRUSH. Object Mode switches to Sculpt Mode.
- Sculpt. White areas sculpt the most, black areas do nothing.
Main panel
- SELECT IMAGE: choose the source image. Its name and size are shown below.
- Name: the brush name. Same name and image updates the brush; a new name or image makes a new brush.
- Strength: brush strength from 0.01 to 1.
- Radius: brush radius in pixels.
- Add / Subtract: raise or push in the surface.
- Invert Black / White: swap the image values.
- CREATE / UPDATE SCULPT BRUSH: build or update the brush and activate it.
More Settings: Image Processing
- Auto Grayscale: convert color images using luminance.
- Use Image Alpha: use transparency as part of the alpha.
- Auto Contrast: stretch the values to full black to white.
- Contrast, Brightness, Gamma: fine tune the alpha. Gamma above 1 brightens mid tones.
- Blur / Smooth: soften the alpha in pixels.
- Soft Edge: fade the outer border to avoid a square edge.
- Maximum Resolution: 512, 1024, 2048 (default), 4096 or Original (capped at 4096).
More Settings: Brush Mapping
- Mapping: Area Plane (default), View Plane, Tiled, 3D, Random, Stencil.
- Texture Scale and Texture Rotation.
- Stroke Method: Space (default), Dots, Airbrush, Anchored, Line.
- Spacing: distance between dabs in percent.
- Front Faces Only, Pressure Strength, Pressure Size.
More Settings: Actions
- Update: update the active generated brush (or the last generated brush).
- Reset: restore default settings.
- Save Brush as Asset: export the brush to the first writable asset library (Preferences > File Paths > Asset Libraries). Existing files are never overwritten. In Blender 4.3+, pick it from the sculpt asset shelf; in older versions use File > Append > Brush.
- Delete Generated Brush: remove the generated brush and its own texture and image after confirmation.
Tips
- Use 1024 or 2048 resolution for normal work; very large images take longer to process.
- Anchored stroke gives one clean stamp you can drag to size.
- Add Soft Edge when you see a square outline.
- Save your .blend to keep generated brushes.
Troubleshooting
- Brush shows no detail on the mesh: the mesh needs more geometry. Subdivide, Remesh or turn on Dyntopo. The panel warns you below 1000 vertices.
- Brush Maker panel is missing: enable the add-on, hover the 3D Viewport and press N, then open the Brush Maker tab.
- Brush does nothing or the stamp is all black: check Invert Black / White, Use Image Alpha and Brightness.
- Transparent PNG is rejected: the image is fully transparent. Turn off Use Image Alpha to use its RGB values.
- Square edge around the stamp: raise Soft Edge or Blur.
- Cannot activate the brush: select a visible local mesh and use Object or Sculpt Mode.
- Duplicate copy warning: disable the other Brush Maker copy and restart Blender.
- Add-on missing after restart: enable it again and save Preferences.
Have questions about this product?
Login to message
| Blender Extension Compatible | Yes |
| Published | about 6 hours ago |
| Blender Version | 3.6 - 5.0 |
| Extension Type | Add-on |
| Render Engine Used | Cycles, Eevee |
| License | GPL |

Discover more products like this
image to sculpt brush png to brush custom sculpt brush blender alpha logo stamp engrave sculpting sculpt brush emboss sculpt stamp alpha brush brush maker