OneClick Bake
 one99addons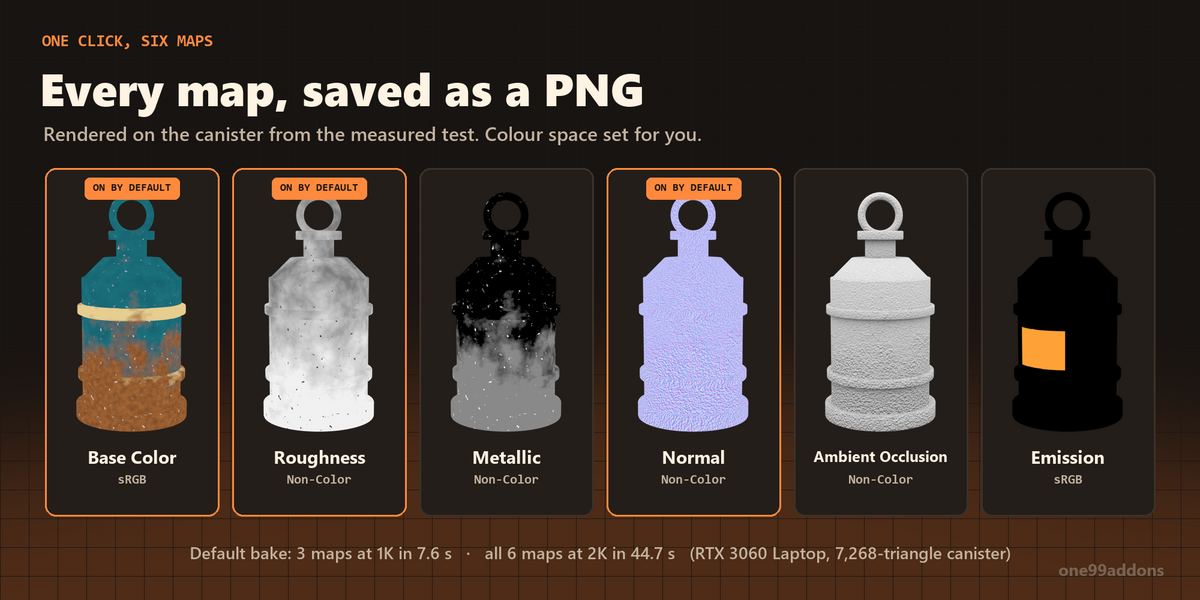
OneClick Bake - Documentation
1. Install
- Download oneclick_bake_v1.0.0.zip. Do not unzip it.
- In Blender: Edit > Preferences > Add-ons, click the drop-down arrow at the top right and choose Install from Disk...
- Pick oneclick_bake_v1.0.0.zip and tick "OneClick Bake" in the list.
- If Auto-Save Preferences is off, click Save Preferences (bottom left).
2. Where to find it
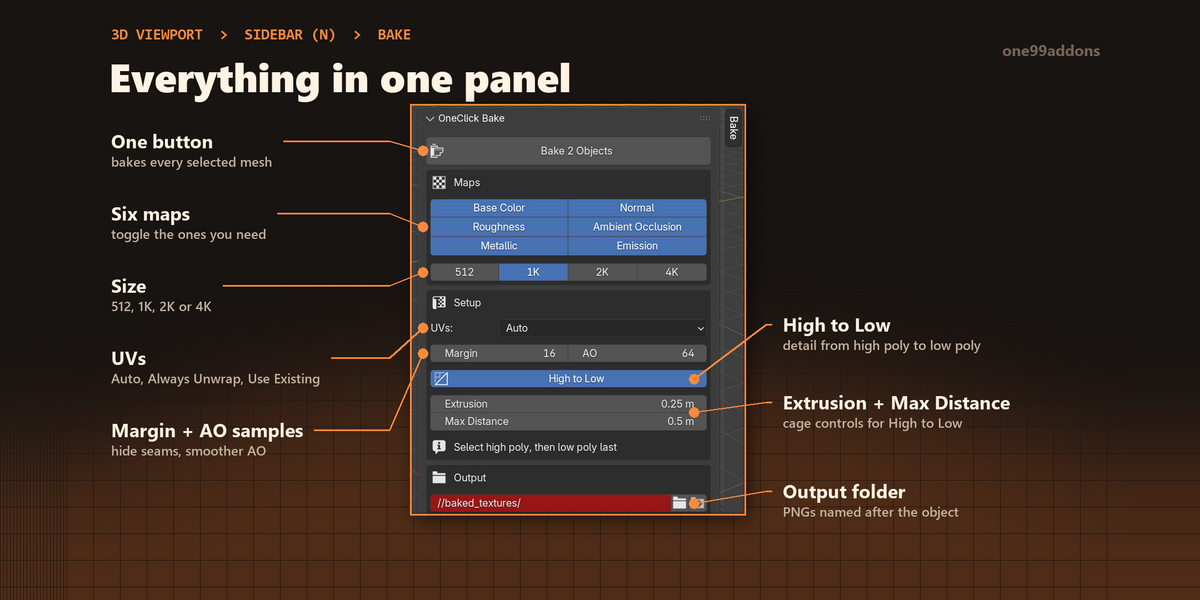
- 3D Viewport > Sidebar (press N) > Bake tab > OneClick Bake panel.
3. How to use it
- Save your .blend first. The PNGs go into a baked_textures folder next to it.
- Select the mesh objects you want to bake.
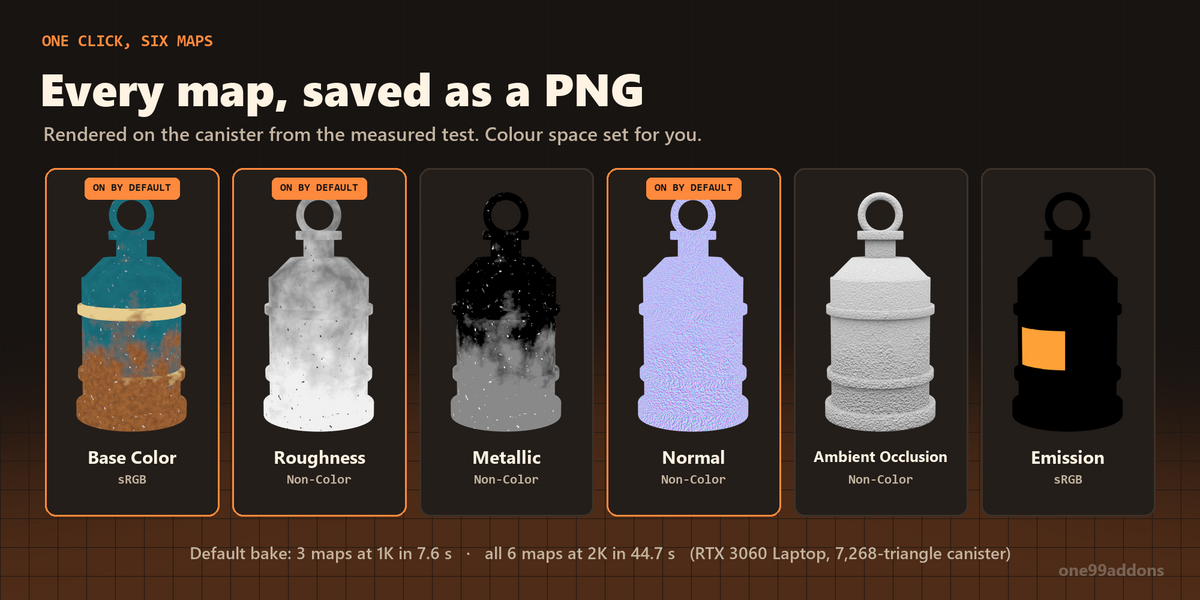
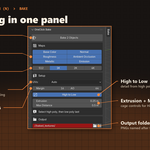
- Tick the maps you want (Base Color, Roughness and Normal are on by default) and pick a Size.
- Press Bake N Objects. Blender is busy until the bake is done.
- Click the folder button next to Folder to see your PNG files.
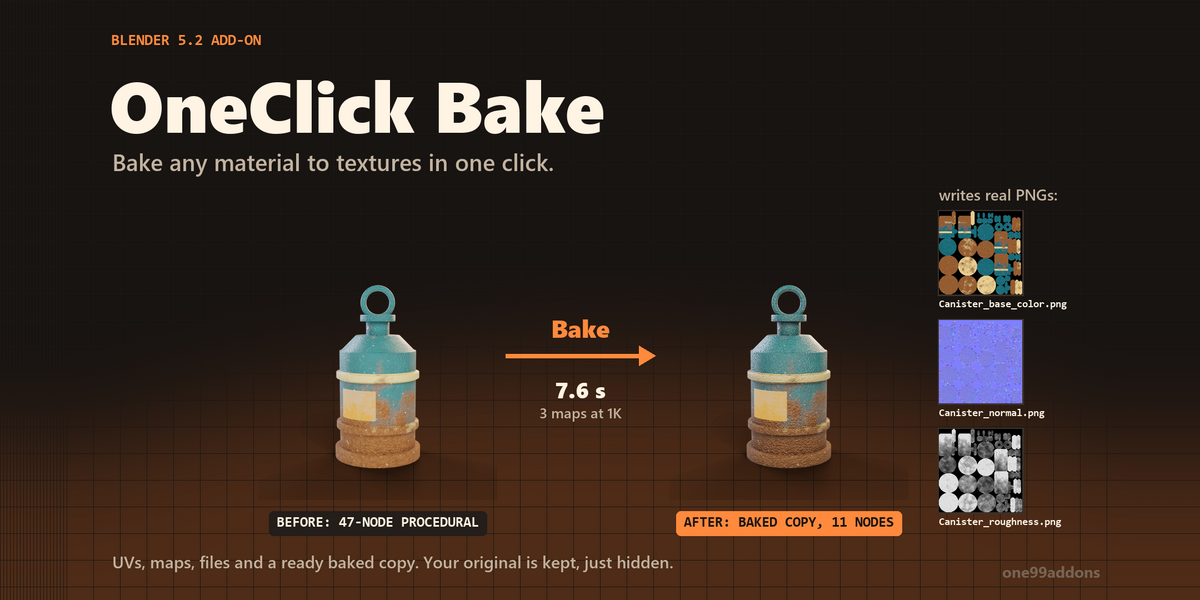
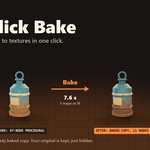
- With Make Baked Copy on, an _baked copy with the baked material is in the OneClick Bake collection and the original is hidden. Click the eye icon in the Outliner to bring the original back.
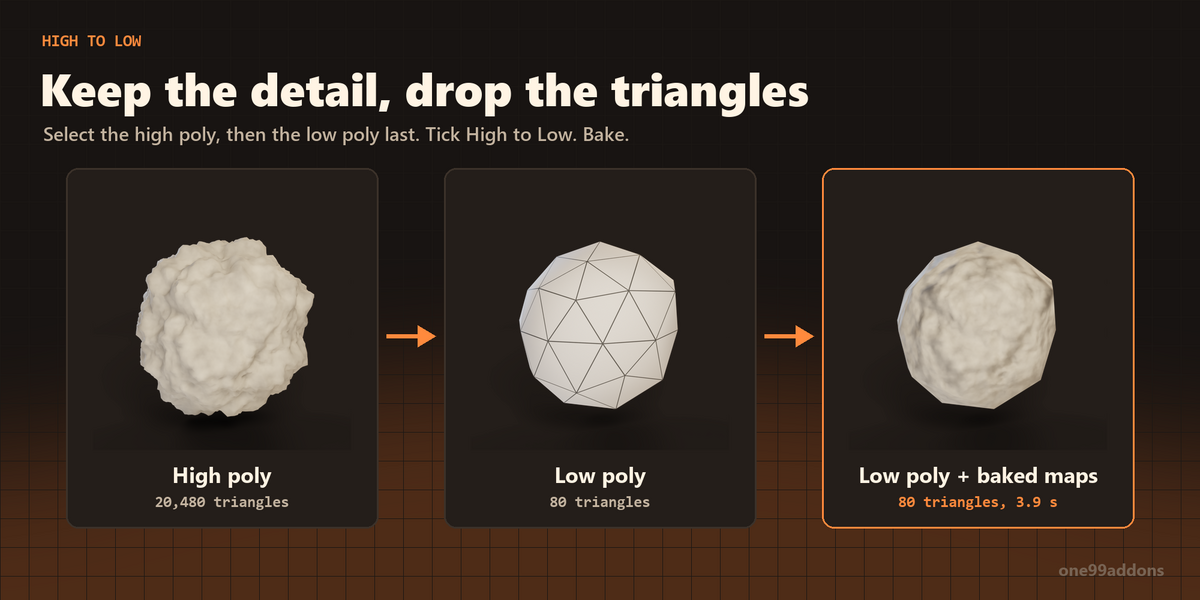
- High to Low: turn on High to Low, select the high poly object(s), then the low poly object last, and press Bake.
- Maps: Base Color, Roughness, Metallic, Normal, Ambient Occlusion, Emission.
- Size: 512, 1K (default), 2K or 4K, square.
- UVs: Auto uses the object's UV map or makes one if it has none. Always Unwrap always makes a fresh BakeUV map (Smart UV Project). Use Existing bakes onto the active UV map as it is.
- Margin: 0 to 64 px of color bleed around UV islands (default 16).
- AO Samples: 1 to 4096 (default 64). Only used for the Ambient Occlusion map.
- High to Low: bake the other selected objects onto the active one. Extrusion (default 0.05) and Max Distance (0 = no limit) control the rays.
- Folder: where the PNGs are saved (default //baked_textures/).
- Make Baked Copy: make the _baked copy and hide the original (on by default).
- Use GPU: bake on the GPU when one is enabled in Cycles (on by default).
- The button says "Select objects to bake": select at least one mesh object.
- "Tick at least one map to bake": turn on one of the map buttons.
- "High to Low: select the high poly object(s), then the low poly one last": you need at least two meshes selected and the low poly must be the active (last clicked) one.
- No PNG files appear: save the .blend first. Until then the textures are packed inside the file.
- Seams show on the baked copy: raise Margin, or use Always Unwrap if the UVs overlap.
- High to Low bake has holes or black areas: raise Extrusion, or set Max Distance.
- Bake is slow: lower the Size, lower AO Samples, and check a GPU is enabled in Edit > Preferences > System > Cycles Render Devices (Use GPU only works then).
- My object disappeared: it is hidden, not deleted. Click its eye icon in the Outliner.
- Install error? Make sure you picked the .zip itself, not an unzipped folder, and that you are on Blender 5.2 or newer.
- Download the new zip from your Superhive library, uninstall the old version in Edit > Preferences > Add-ons, restart Blender, then install the new zip.
- Edit > Preferences > Add-ons, expand OneClick Bake and choose Uninstall. Textures, BakeUV maps and baked copies you already made stay in your files.
- Have a question, a bug or an idea for a new feature? Mail me at [email protected]. Please include your Blender version and operating system.
4. Settings
5. Troubleshooting
6. Updating
7. Uninstall
Support
Have questions about this product?
Login to message
| Published | 1 day ago |
| Blender Version | 5.2 |
| Extension Type | N/A |
| Render Engine Used | Cycles, Eevee |
| License | GPL |
Discover more products like this
ambient occlusion bake maps auto-uv high-to-low Cycles Bake texture-baking game assets PBR normal map bake textures