 Mulk
Mulk




Install
- In Blender 5.0 or newer, open Edit › Preferences › Get Extensions.
- Click the arrow menu (top right) › Install from Disk… and pick the Oris .zip.
- Oris appears in the 3D View sidebar (N) as the Oris tab, and in Properties › Camera.
Quick start
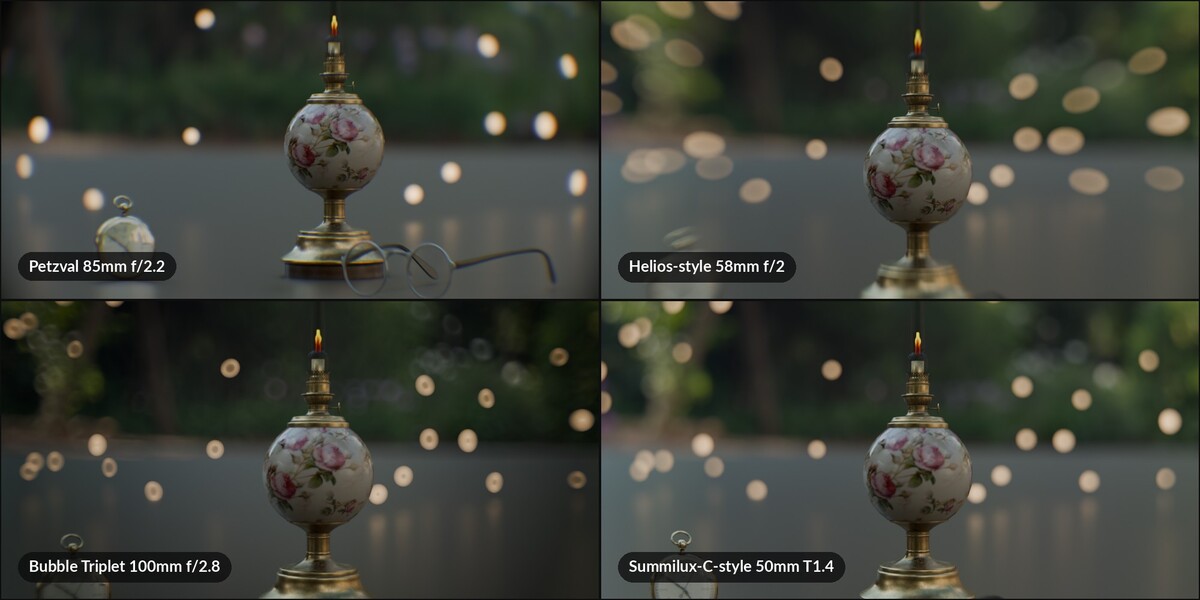
- Sidebar › Oris › Create Camera. A physical lens camera is made from the current view, becomes the scene camera and focuses on what is in the middle of the view. The render engine switches to Cycles.
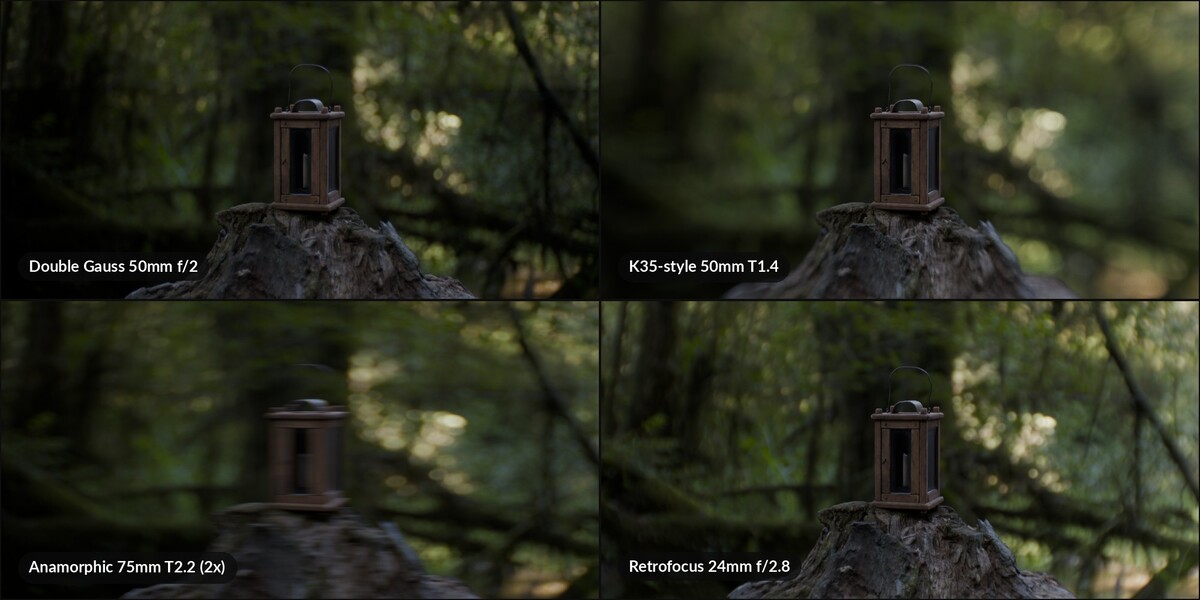
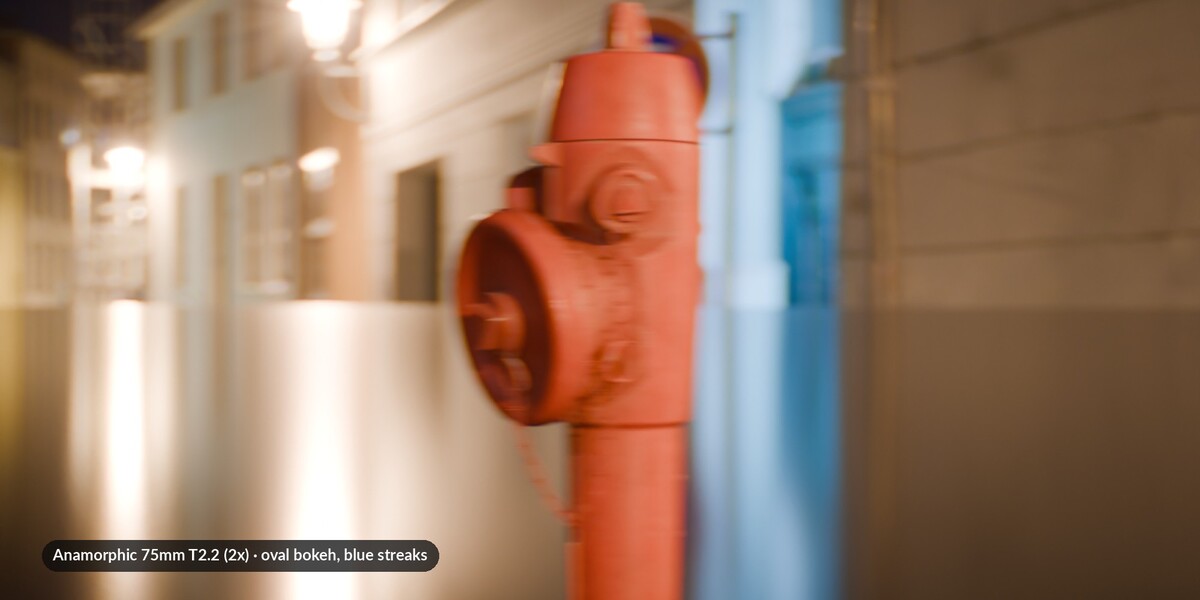
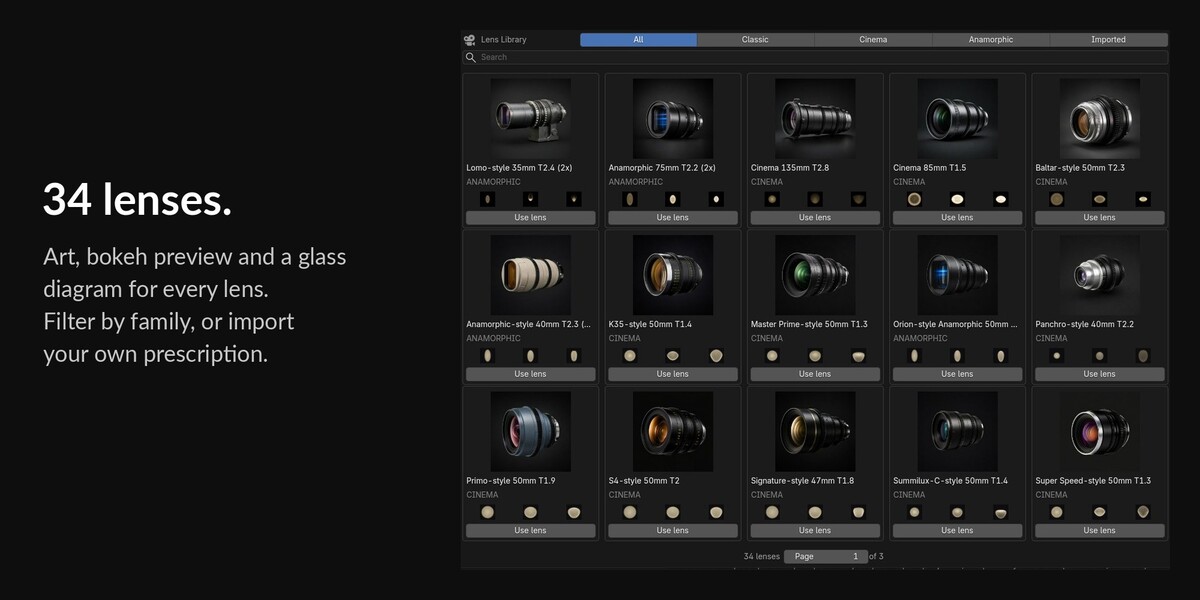
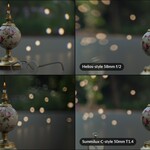
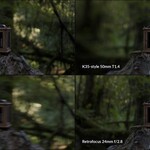
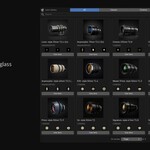
- Pick a lens in the Lens tab (or open the Lens Library) and set Focal Length and F-Stop. Focus uses Blender's own Focus Object and Distance.
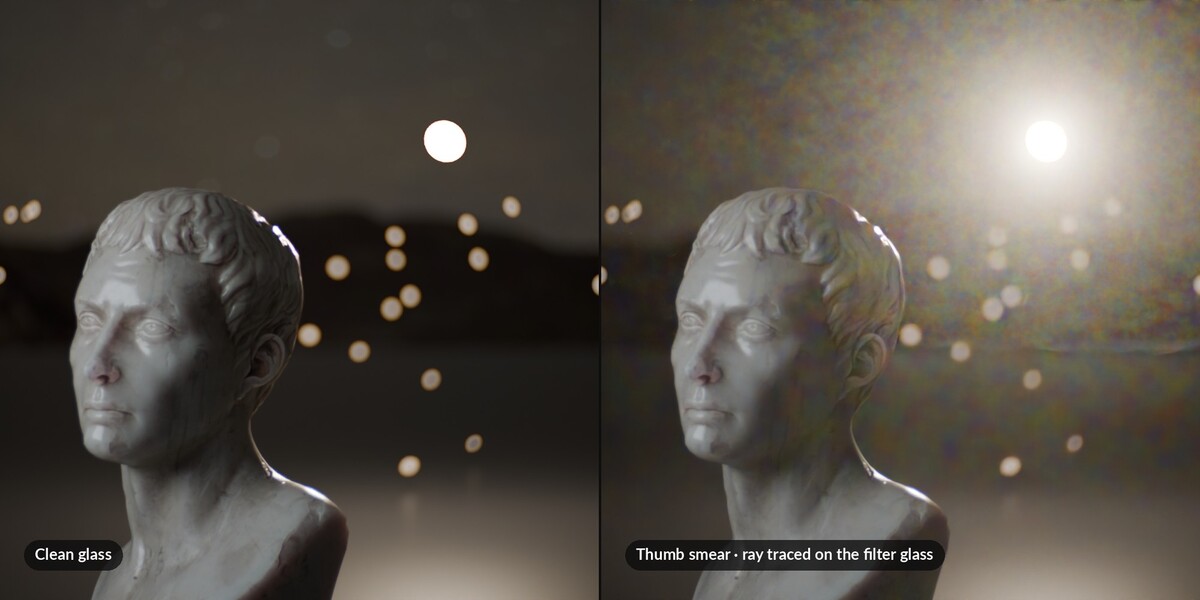
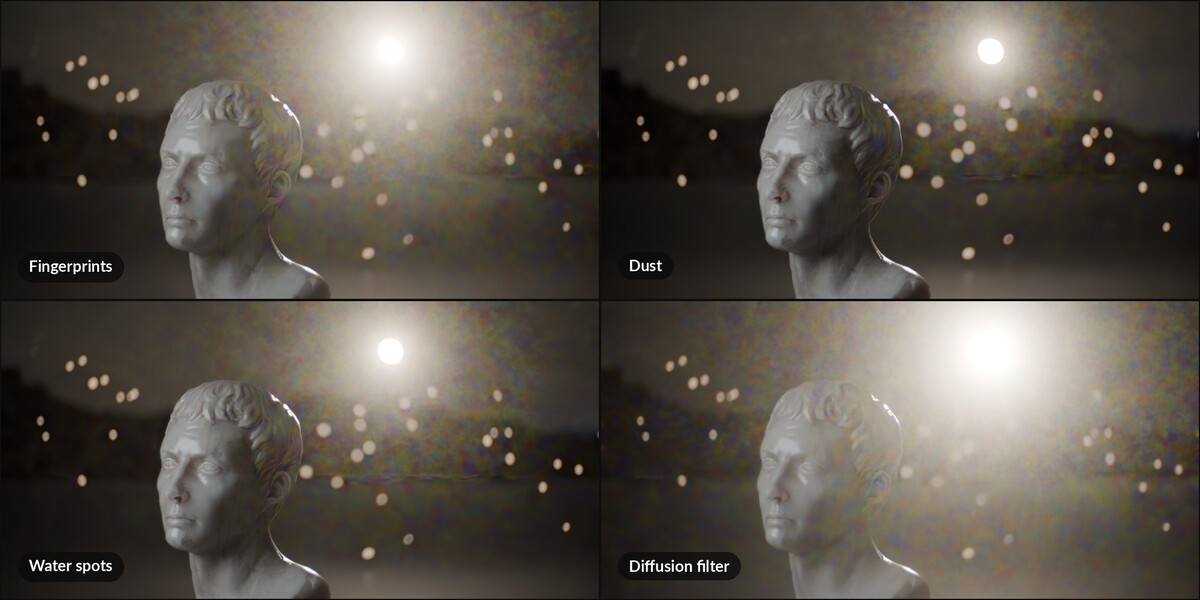
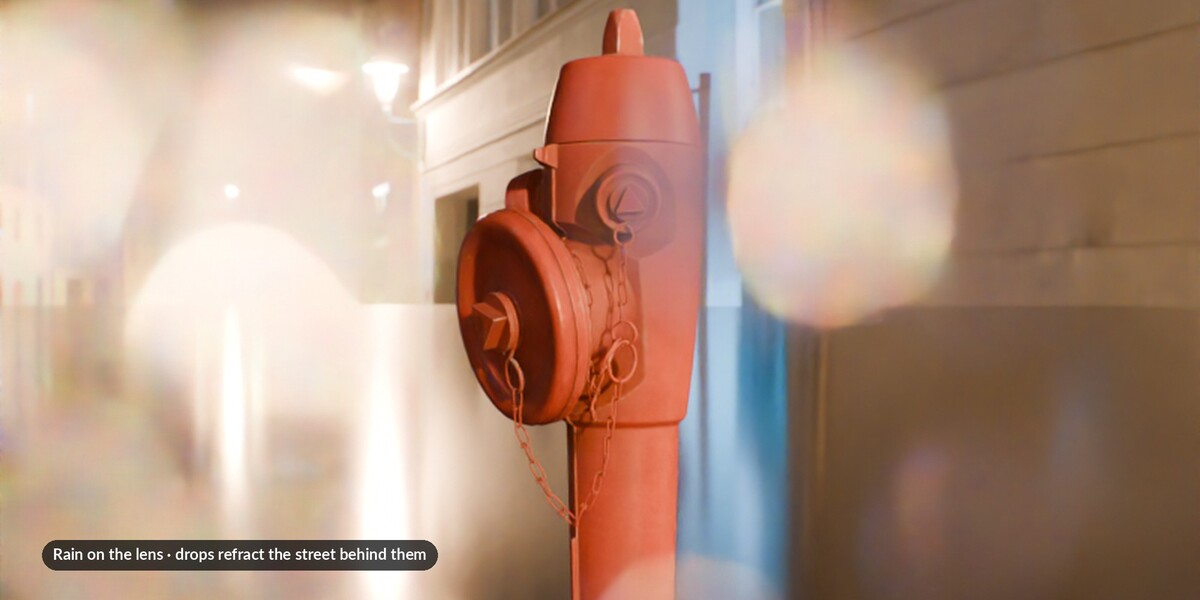
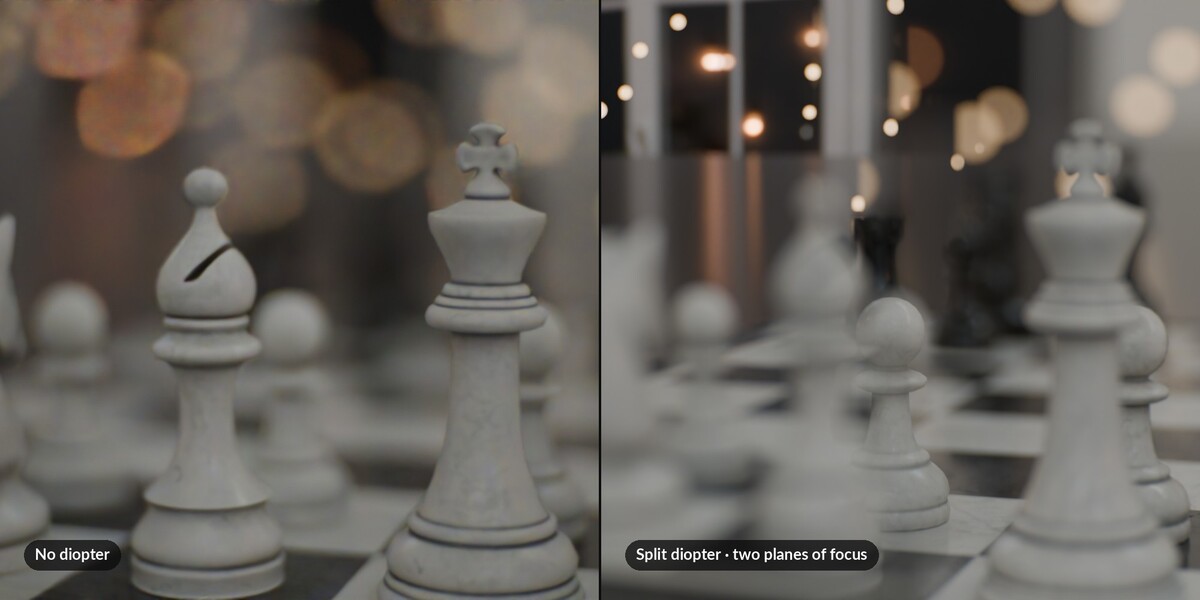
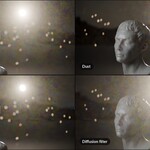
- The other tabs: Bokeh (aperture, character, aberration), Glass (dirt, rain, diffusion), Film (grain, halation, bloom), Shake, Output (per-camera resolution and render queue) and Atmosphere (dust, snow, rain, fog).
An existing camera can be turned into a physical lens with Make This a Physical Lens. The ✕ next to the lens name turns it back into a normal camera and keeps the settings.
Tips
- Use Fast Preview while you work in the viewport. It turns the lens off for speed.
- If a lens shows dark corners, the panel shows its coverage, and Fit Frame to Lens crops the sensor so the whole frame sits inside the image circle.
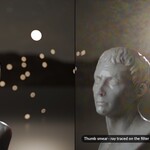
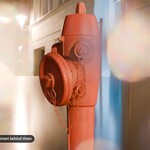
- Dirt and rain glow only against bright light, like on a real lens. Highlights seen through them need a few more samples, and the denoiser handles them well.
- Rain drops sharpen into bright blobs at f/5.6–f/11 and melt into a wet smear wide open.
- Import your own lens as text, CSV or a pbrt .dat table: radius, thickness, n_d, Abbe V and aperture diameter per surface, front to rear. The stop is a row with radius 0.
- The compiled lens is saved in the .blend, so render farms do not need Oris installed.
Support
Questions or ideas: [email protected]
Have questions about this product?
Login to message
| Blender Extension Compatible | Yes |
| Published | about 12 hours ago |
| Blender Version | 5.0 - 5.2 |
| Extension Type | Add-on |
| Render Engine Used | Cycles |
| License | GPL |
Discover more products like this
film look lens lens dirt anamorphic chromatic aberration vintage lens depth of field bokeh realistic camera tilt-shift camera cinematic