PeachForge Sculpt Kit
 PeachForge
Installing
- Download the product zip from Superhive and unzip it once. Inside are two add-on zips: PeachForge_Sculpt_Kit and PeachForge_SculptFuse_Voxel.
- In Blender, open Edit > Preferences > Add-ons, click the arrow at the top right and choose Install from Disk.
- Pick each add-on zip (do not unzip these) and make sure it is ticked.
- In the 3D Viewport press N and open the PeachForge tab.
Install one or both; they work independently. To update, install the new zip the same way. The version number is shown at the bottom of the Sculpt Kit panel.
Transpose
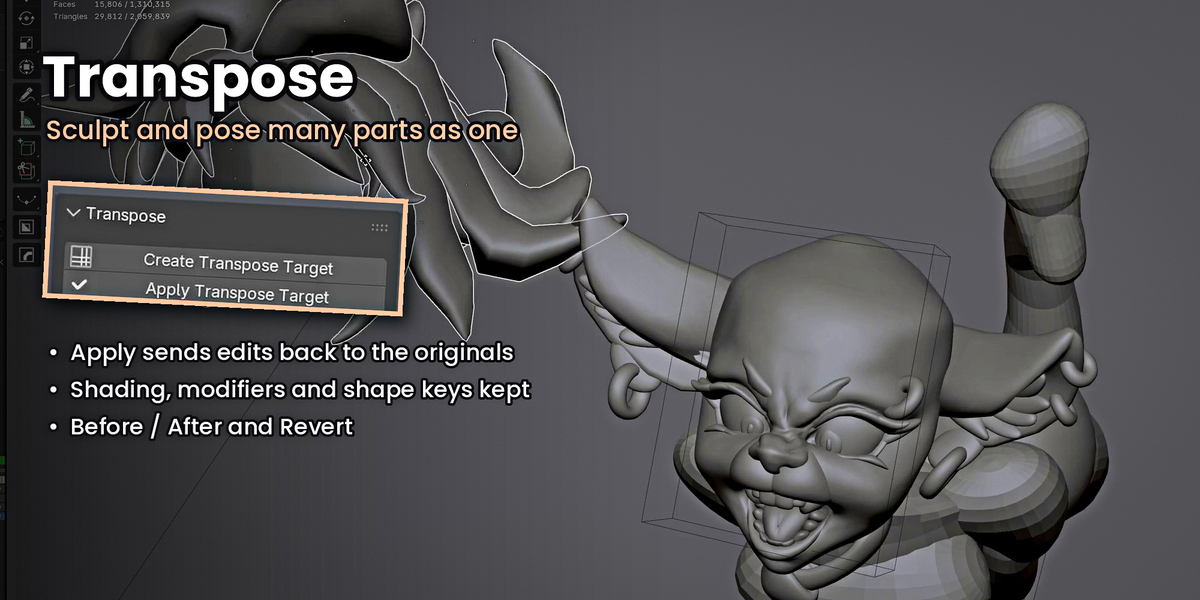
- Select the parts you want to work on together.
- Click Create Transpose Target. You are now sculpting a temporary combined copy; your originals are hidden and untouched.
- Sculpt or pose. Use Before / After to compare with where you started, or Revert to start the session over.
- Click Apply Transpose Target to send the changes back to the original parts. Ctrl+Z works throughout.
Light Lock
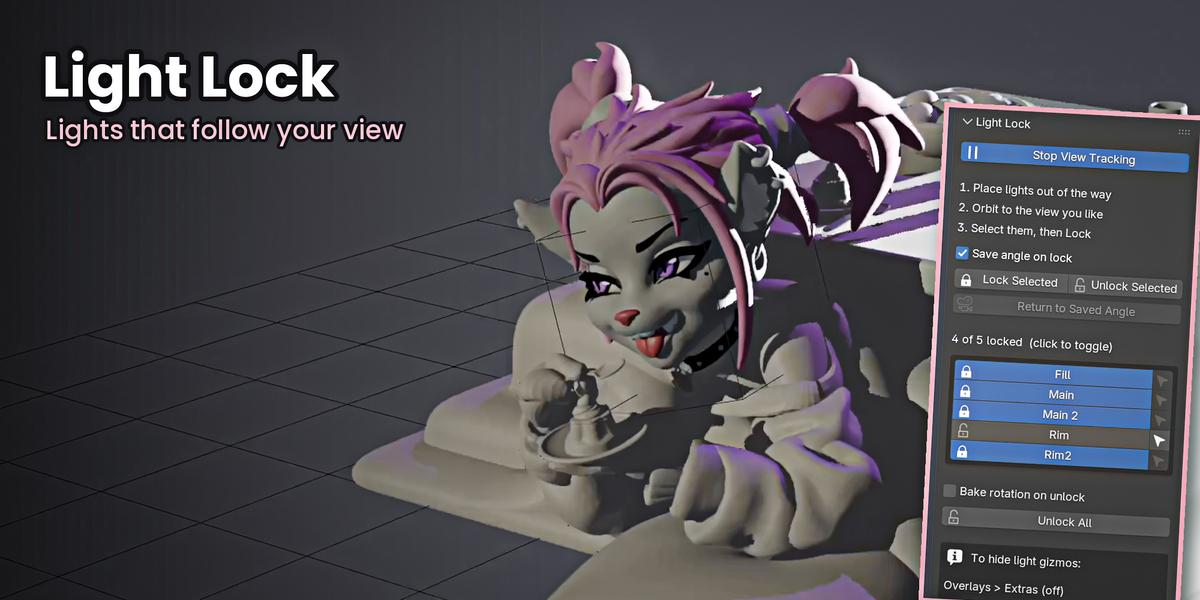
- Place your lights where you like them.
- Select them and click Lock Selected (or click a light in the list to toggle it).
- Orbit freely: locked lights follow your view, so the lighting stays the same. Unlock any time; lights never move from where you put them.
"Bake rotation on unlock" is on by default, so unlocking keeps the lighting you were looking at.
SculptFuse Voxel
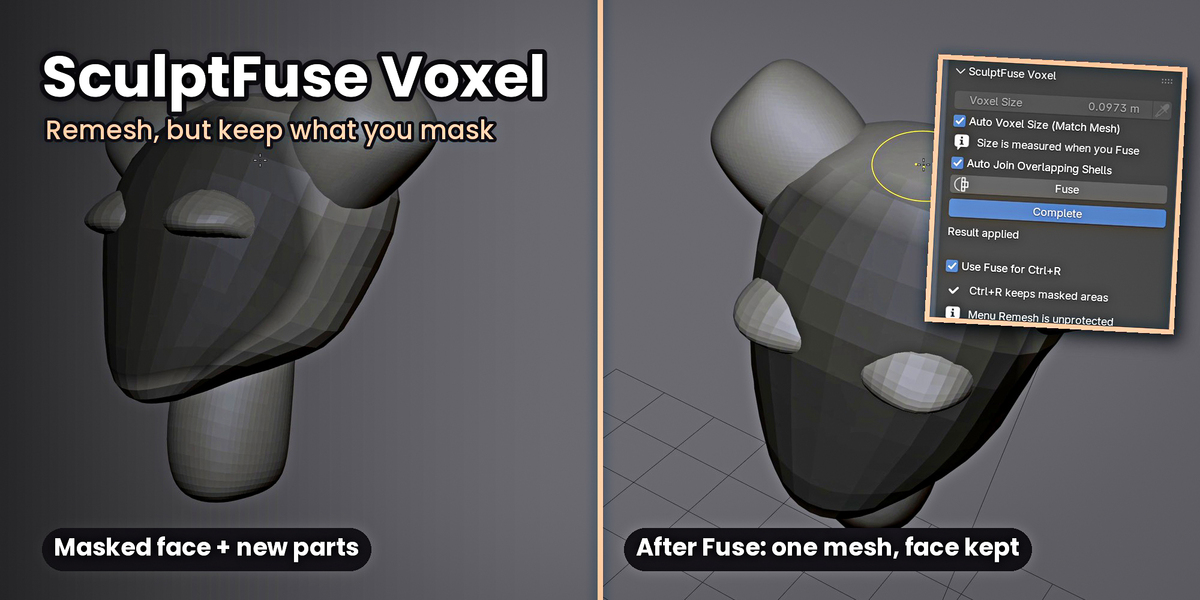
- Mask the areas you want to keep exactly (50% mask strength or more).
- Add or join the new shapes.
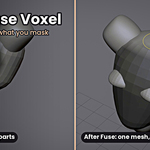
- Click Fuse (or press Ctrl+R if "Use Fuse for Ctrl+R" is on). Everything becomes one mesh and the masked detail is kept.
Tips: turn off Dyntopo before fusing, and save before fusing very dense meshes. Press Esc to cancel a long fuse.
Sculpt Kit panel
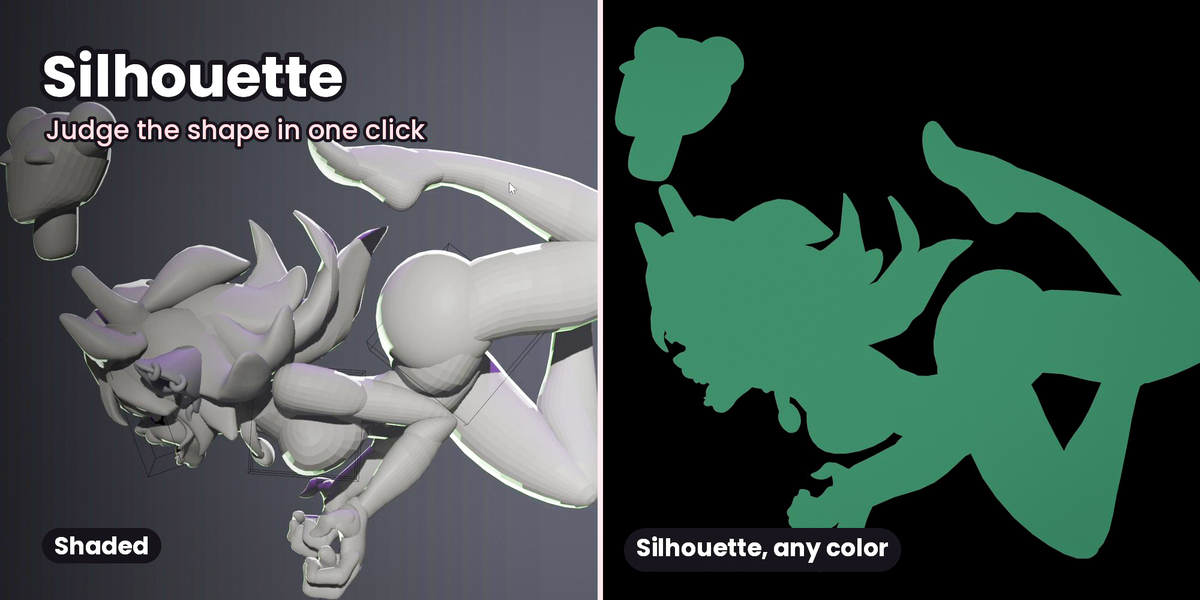
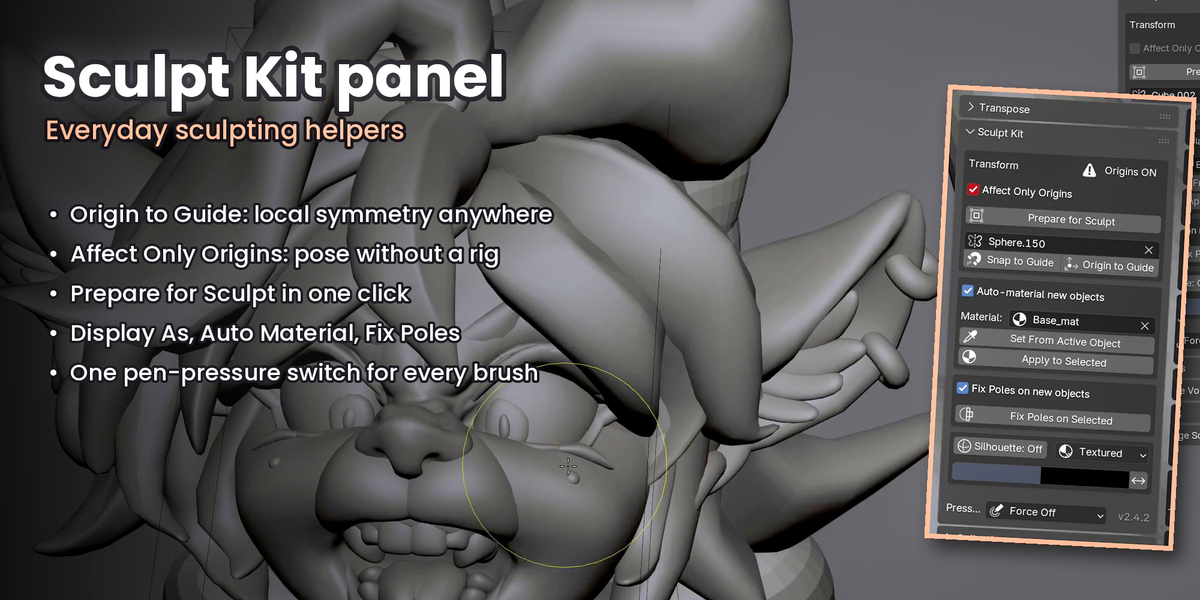
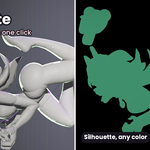
- Silhouette: one click for a flat one-colour view; set the colours in the panel.
- Display As: switch selected objects between Bounds, Wire, Solid and Textured.
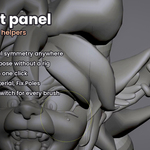
- Snap to Guide / Origin to Guide: pick a guide object for local symmetry on posed or tilted parts.
- Affect Only Origins: pose a blockout without a rig; the panel warns you while it is on.
- Prepare for Sculpt: applies transforms, centres the origin and shades smooth in one click. Modifiers are kept.
- Auto Material and Fix Poles apply automatically to new objects.
- Pen Pressure: one switch for pressure on every brush.
Collections
- Fold / unfold: click the arrow beside a collection; Shift-click folds everything inside it. Search still finds folded collections.
- Hide or show many at once: click an eye and drag over the others.
- Rename: double-click a name.
- + makes a new collection (optionally moving the selected objects into it). The trash can deletes one but keeps its objects. Move Into nests a collection inside another.
- Pin favourites, reorder with the arrows, and temporarily isolate collections from the same list.
Compare
- Select the parts you're about to change and click Save Before. A hidden snapshot is saved, keeping your collection folders.
- Keep sculpting. Before / After flips between the snapshot and your current work (works in Sculpt Mode, no undo step; right-click to add a shortcut). Parts you add to the same folders later hide with Before too.
- Show Both overlays the snapshot as a wireframe ghost. Show Current Only hides every snapshot at once.
- Bring Back Part: select a part and return it to its snapshot shape. Ctrl+Z undoes it.
Snapshots are full copies, so delete old ones on very dense meshes. Two Collections mode flips between any two collections you choose.
Support
Message PeachForge through this product page. Please include your Blender version and the add-on version number.
Have questions about this product?
Login to message
| Published | 2 days ago |
| Blender Version | 5.2 - 5.3 |
| Extension Type | N/A |
| Render Engine Used | Cycles, Eevee |
| License | GPL |
