 Cgi Lab
Quick setup with your own assets
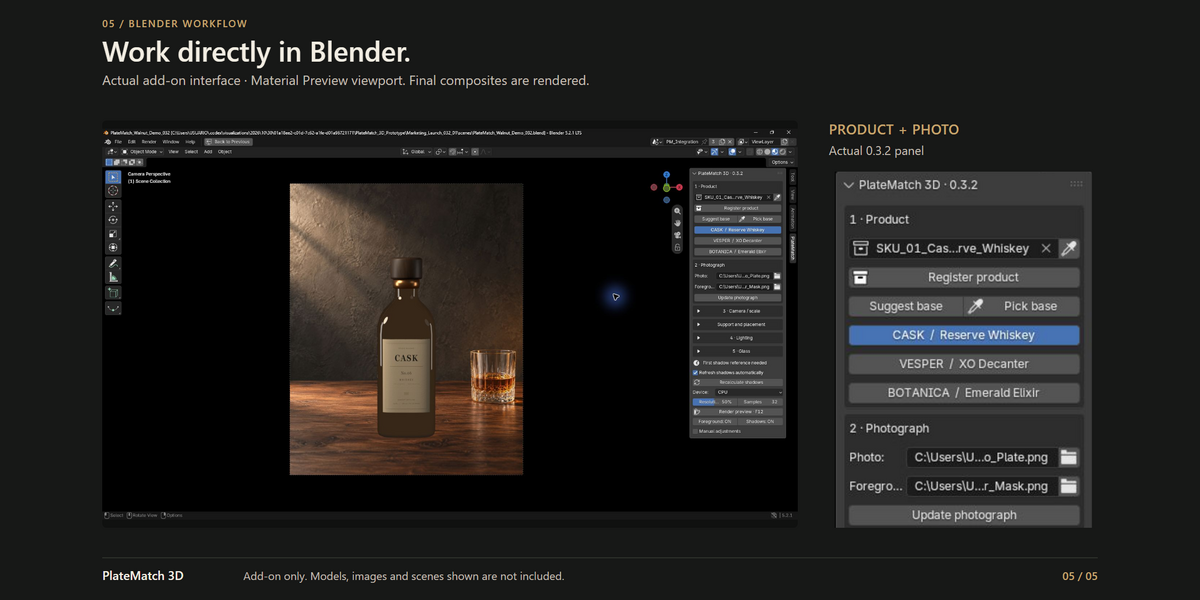
- Install and enable. Keep PlateMatch_3D_0_3_2.zip intact. In Blender, use Edit > Preferences > Add-ons > Install from Disk, select the ZIP and enable PlateMatch 3D. Keep only one PlateMatch implementation enabled.
- Prepare your product. Save a working copy. Import or Append the complete local product collection. Keep it upright, check its physical dimensions and exclude scene lights, cameras and floors from that collection.
- Register and check the base. In Object Mode, open 3D Viewport > N > PlateMatch. Under Product, select the complete collection and click Register product. Check W/D/H and the proposed contact point; use Pick base if needed.
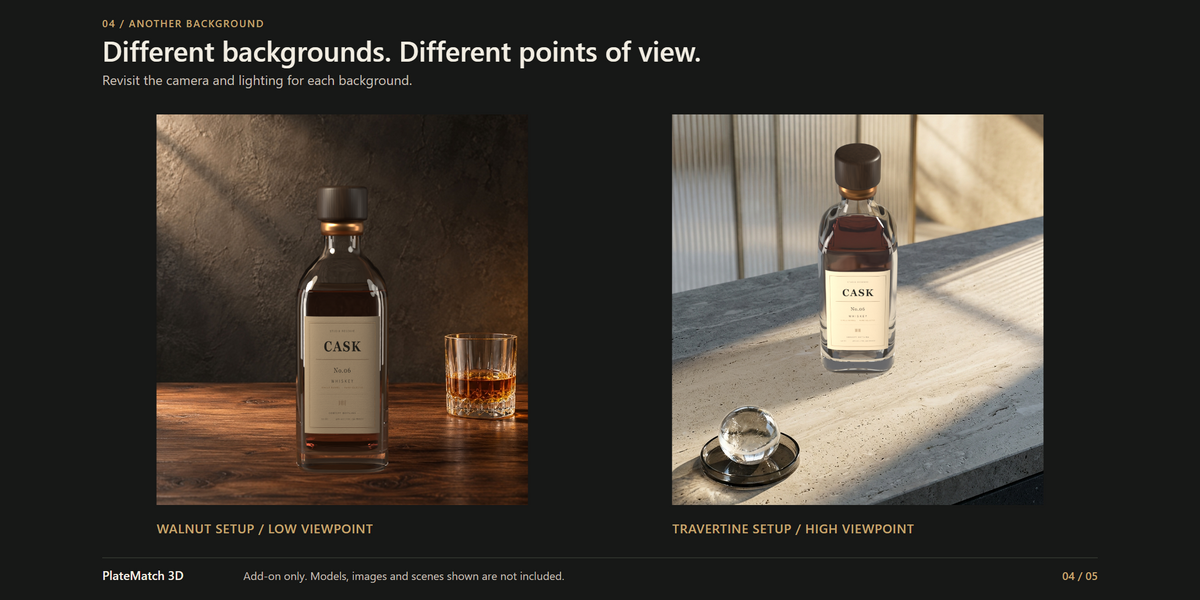
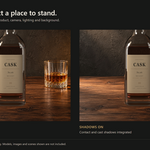
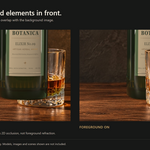
- Choose a background. Under Photograph, set Photo to your own image. Start with a clear flat surface and leave Foreground empty. For a new framing camera, leave Existing camera empty and make sure the source scene has no active camera.
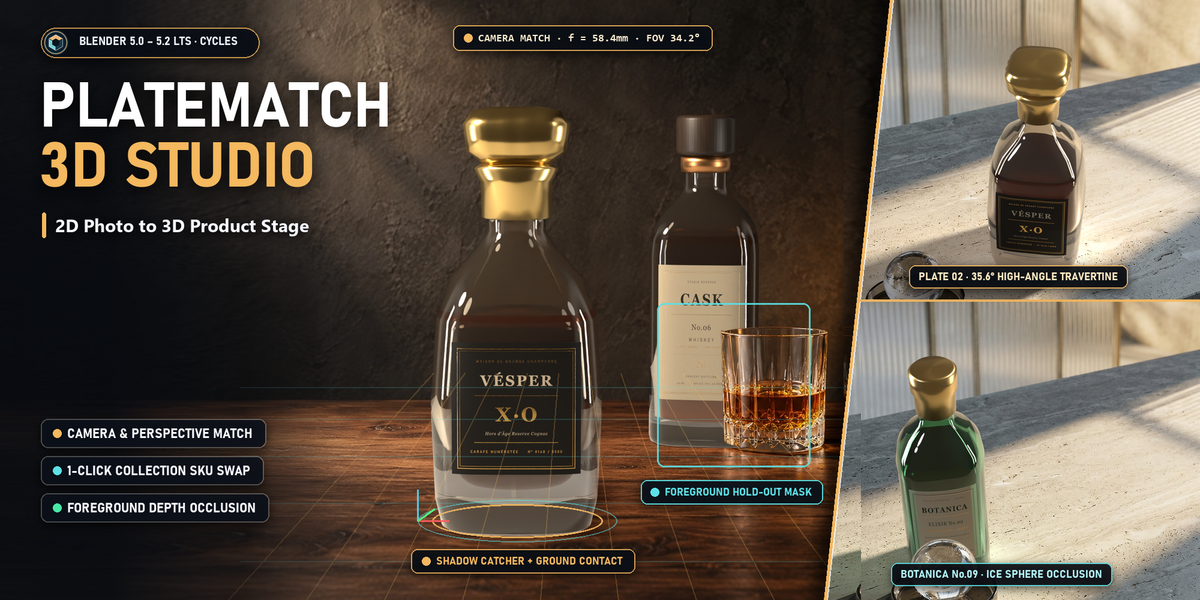
- Create and frame. Click Create separate integration. Under Camera / scale > Visual framing, adjust focal length, Look down, Frame fill and Contact X/Y, then click Fit camera to product. Judge perspective and apparent size against the image.
- Match the light. Under Lighting, adjust direction, elevation, intensity, color and light size, then click Apply lighting. For transparent products, optionally enable Glass environment and click Update glass environment.
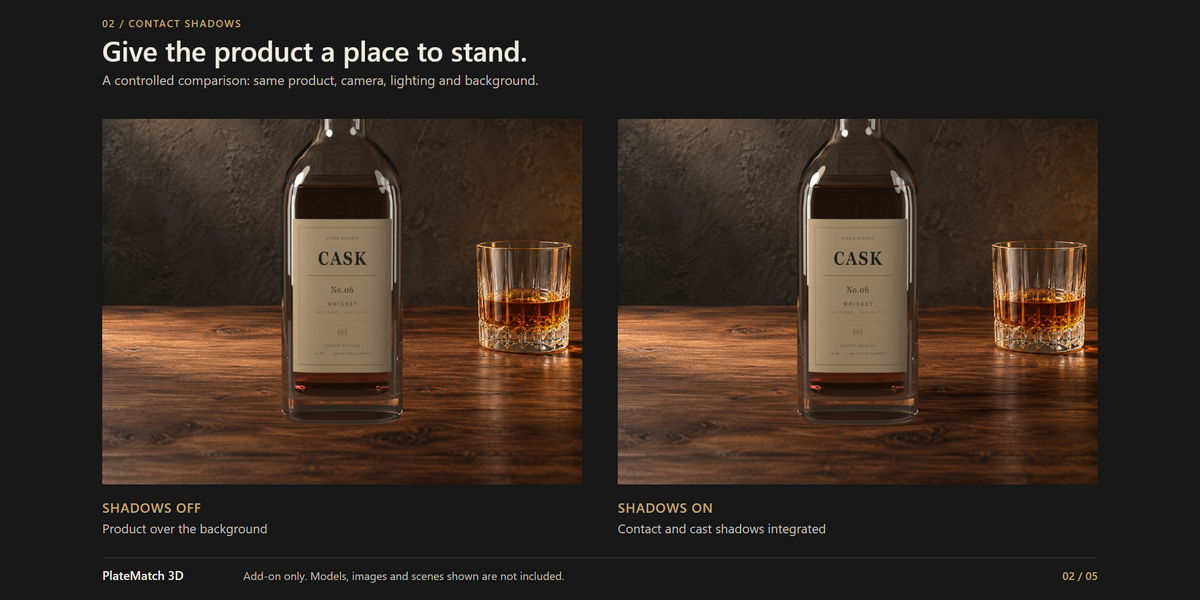
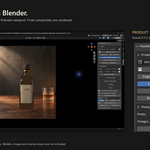
- Render and inspect. Check the Cycles device settings, then use Render preview · F12 with automatic shadow refresh enabled. It may render a product-free reference first. Inspect the rendered contact, perspective, shadows, materials and label.
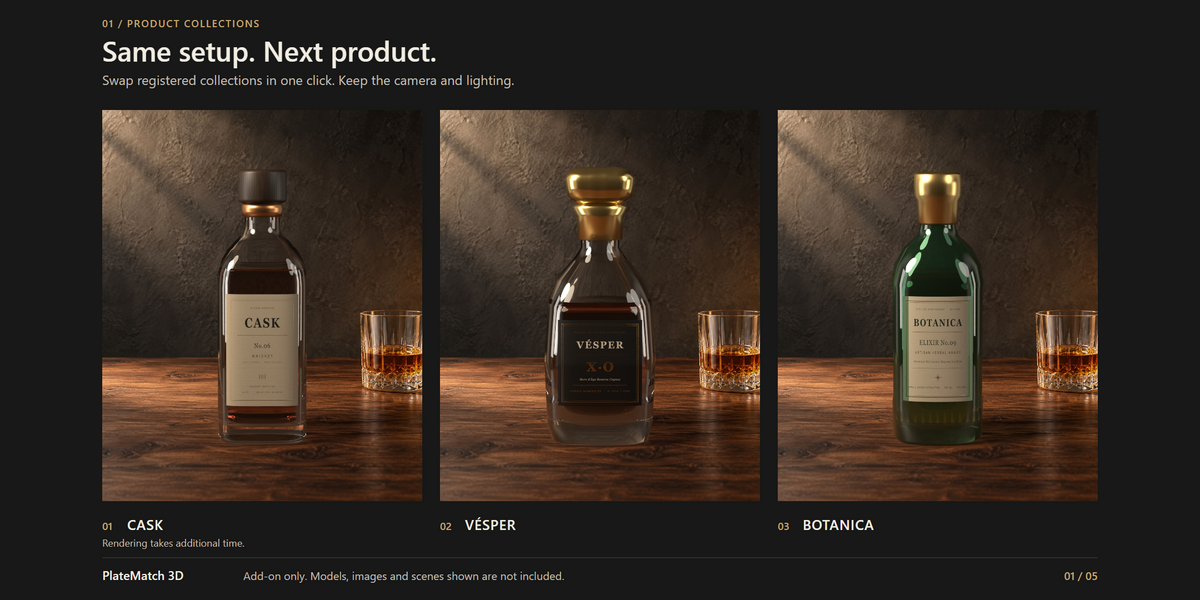
- Save and reuse. Increase resolution and samples for the final render. Save the image with Image > Save As and the project with File > Save As. To swap products, register each complete collection, check its base and use its product button.
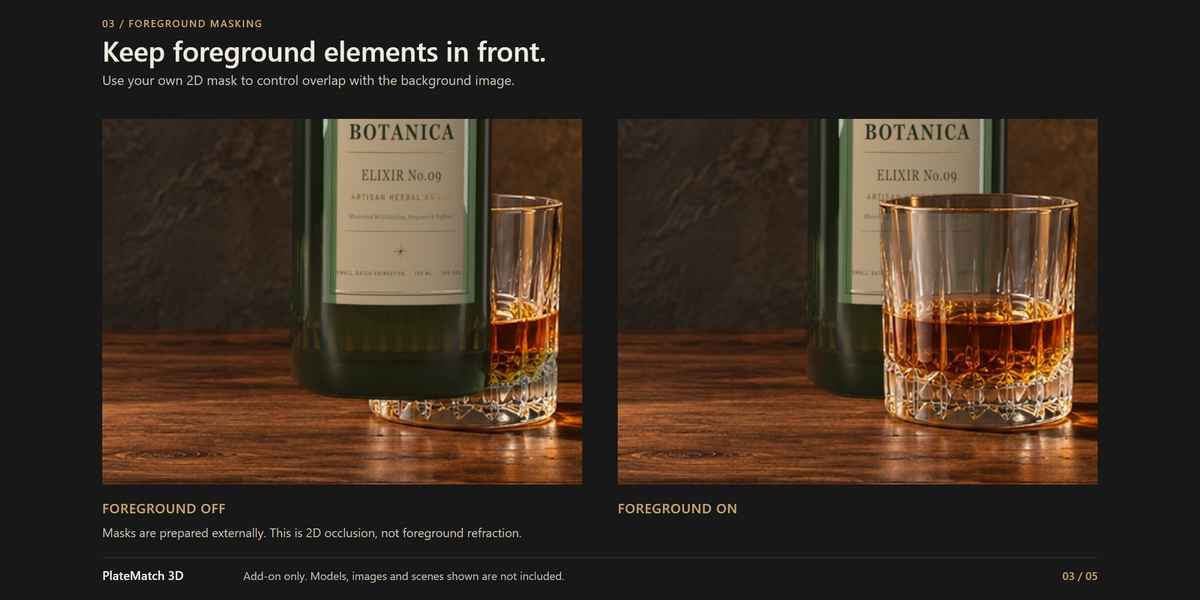
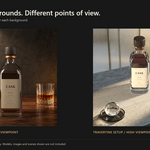
For a different background, use Update photograph and revisit the camera, lighting and any mask. Foreground masks must be prepared manually or externally and match the background dimensions. Product geometry and materials remain shared between instances. See the supplied full guide for detailed controls.
Have questions about this product?
Login to message
| Blender Extension Compatible | Yes |
| Published | 6 days ago |
| Blender Version | 5.2 |
| Extension Type | Add-on |
| Render Engine Used | Cycles |
| License | GPL |
Discover more products like this
foreground masking product photography photo compositing product variations camera matching product-visualization shadow catcher contact shadows