Cut-Out Organizer & Insert Maker
 Sonneblom Digitaal
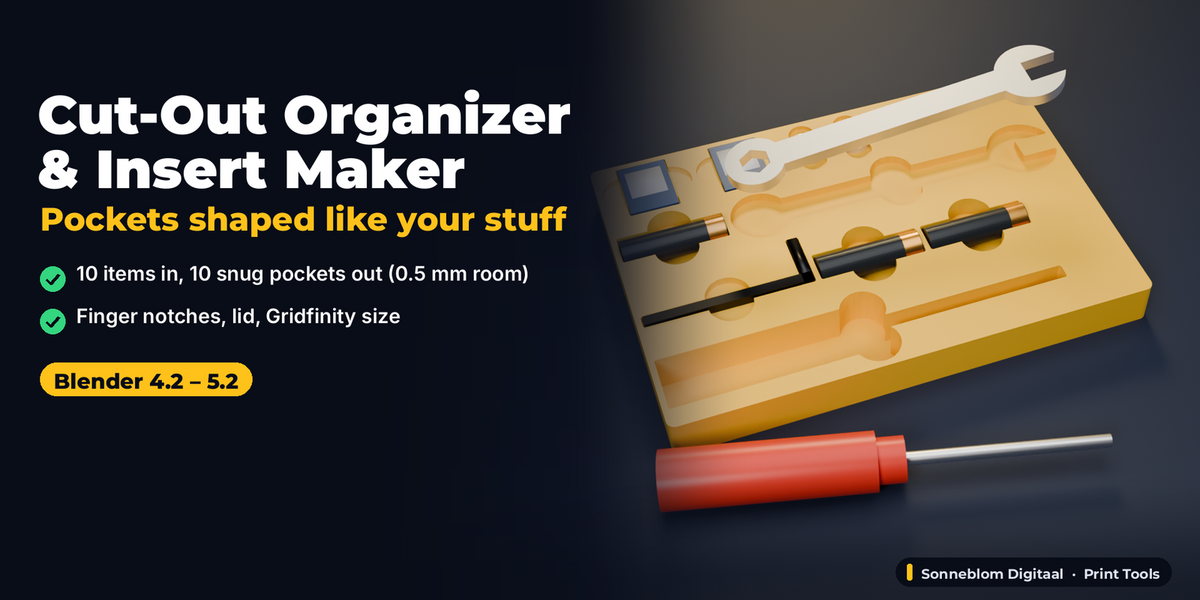
Cut-Out Organizer & Insert Maker - documentation
Install
Extension zip (pocket_organizer-1.0.0.zip, Blender 4.2 or newer): Edit > Preferences > Get Extensions > the dropdown at the top right > Install from Disk, and pick the zip (or simply drag the zip into the Blender window).
Legacy zip (pocket_organizer-1.0.0-legacy.zip): Edit > Preferences > Add-ons > the dropdown at the top right > Install from Disk, pick the zip and tick the add-on.
Use one of the two, not both.
Where it is
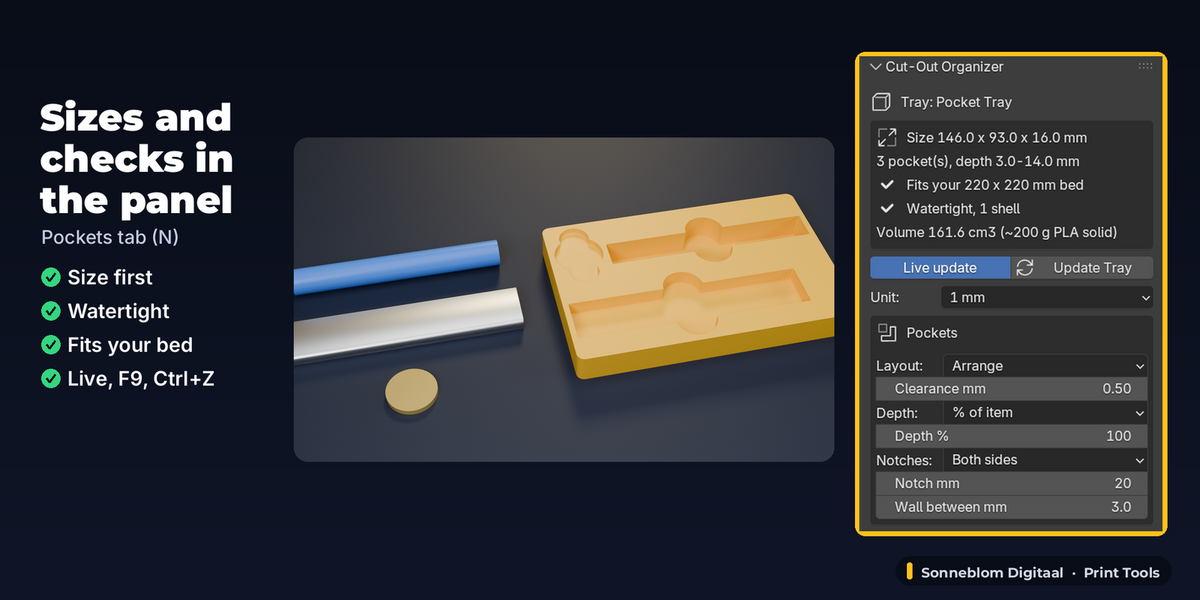
3D Viewport > Sidebar (press N) > Pockets tab. With items selected the panel shows the planned tray size and the Make Tray button; with a tray selected it shows that tray's result, settings, item list, Add Shape and Export.
Step by step
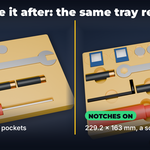
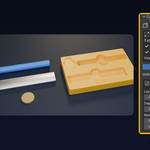
- Get your items in. Import the STL/OBJ of each part (File > Import), or use Add Shape for batteries, coin cells, tokens, dice, card decks, SD cards, hex bits or a custom box / round / hex shape. Lay each item flat, the way it should sit.
- Check the unit. Imported STLs are in mm: keep Unit = 1 mm (the default). If your scene is modelled in metres or inches, pick that unit (or Scene).
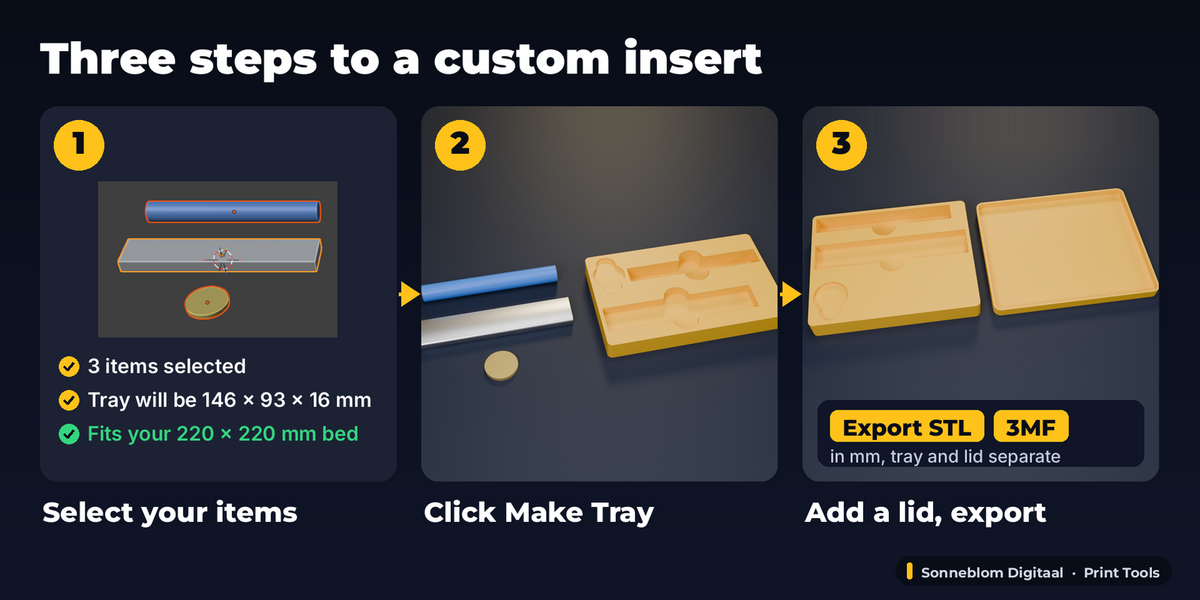
- Select the items (not the tray). The panel shows "Tray will be W x D x H mm" and whether it fits your bed.
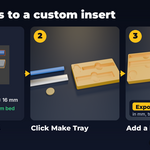
- Make Tray from Selected. The tray appears to the right of the items (Arrange) or under them (As placed) and becomes the active object. Press F9 to adjust the operation right away.
- Adjust. Every setting in the panel now belongs to this tray and rebuilds it in place: clearance, depth, notches, wall, size, height, lid. Move or rotate an item and its pocket follows. Items list: remove a pocket (X), Add Selected (select new items, then Shift+click the tray last), Place in Pockets (moves the items into the tray and switches to As placed so you can fine-tune by hand).
- Check the result box: size, number of pockets and their depths, fits your bed, watertight / shells, volume, lid size and any warnings.
- Export STL or 3MF. Files are in mm; the tray and the lid are separate parts.
Settings
| Setting | Default | What it does |
|---|---|---|
| Unit (1 Blender unit =) | 1 mm | How long one Blender unit is. Panel sizes are always mm. |
| Layout | Arrange | Arrange = neat rows; As placed = pockets where the items are, tray follows when you move one. |
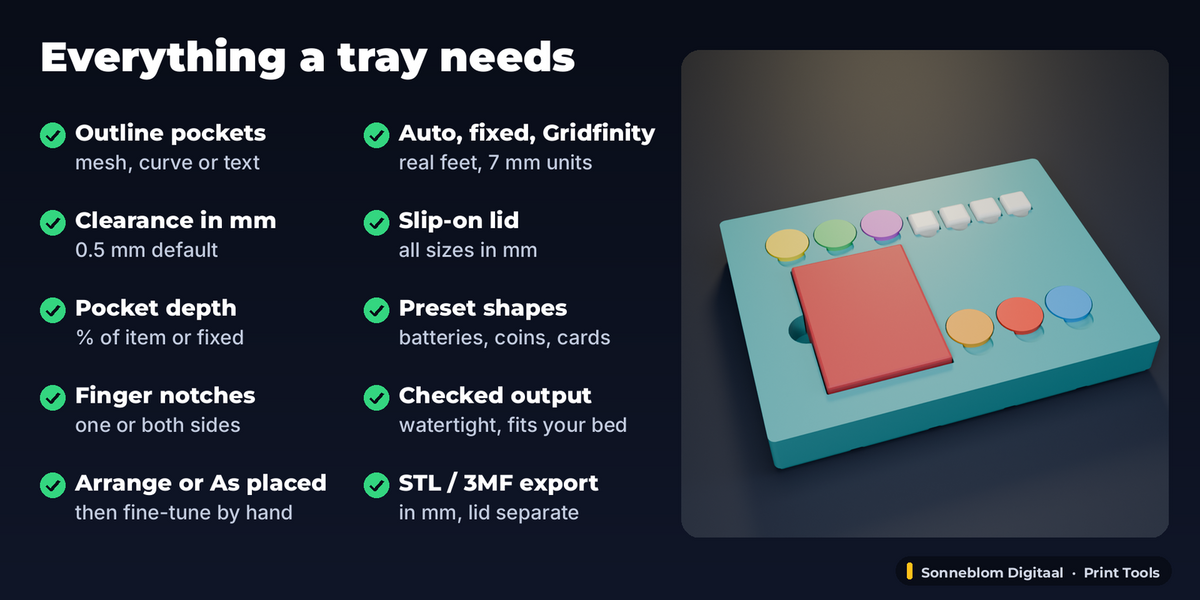
| Clearance mm | 0.5 | Distance from the item outline to the pocket wall. |
| Pocket depth | % of item | % of item height, or Fixed. |
| Depth % | 100 | 100 = items sit flush with the top; 60 = they stick out so you can grab them. |
| Depth mm | 10 | Used when Pocket depth is Fixed. |
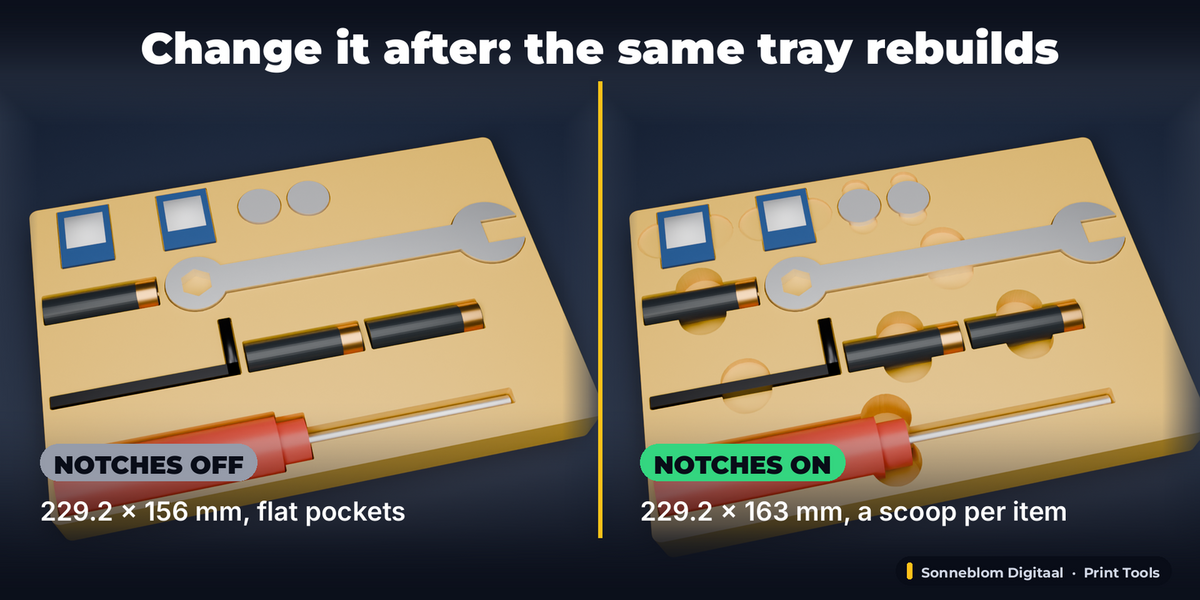
| Finger notches | Both sides | None, One side (front or left long side) or Both sides. |
| Notch diameter mm | 20 | Size of each round finger notch (at most 60 % of the item's longest side). |
| Wall between mm | 3 | Wall between two pockets when Layout is Arrange. |
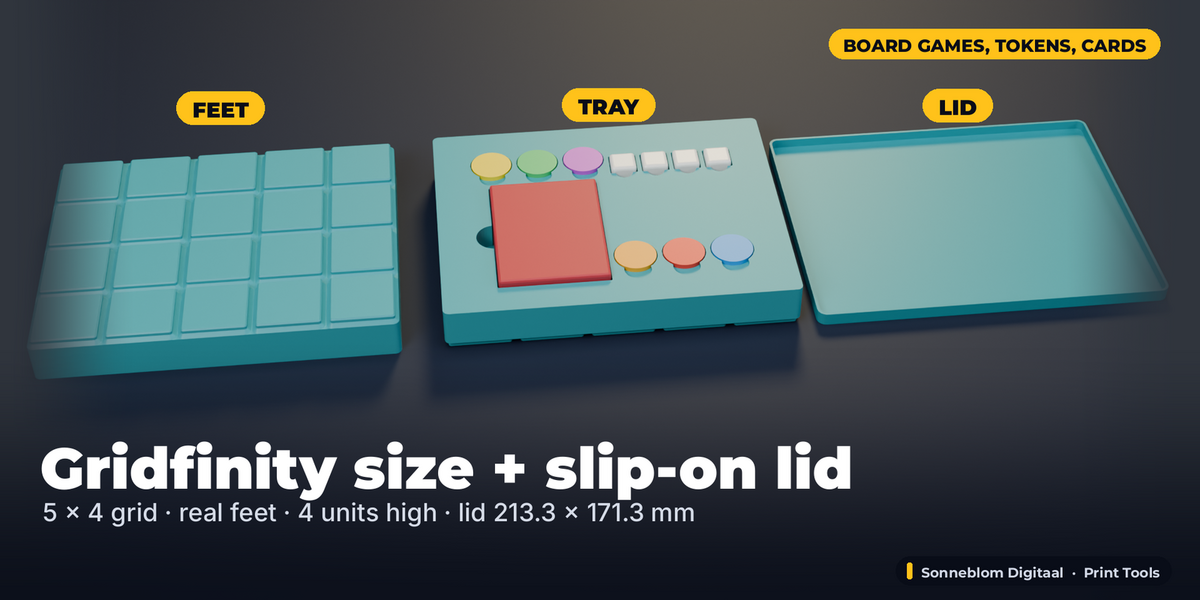
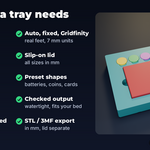
| Tray size | Auto | Auto, Fixed (Width / Depth mm) or Gridfinity. |
| Width / Depth mm | 150 / 100 | Used when Tray size is Fixed. |
| Tray height | Auto | Auto = deepest pocket + floor (Gridfinity: rounded up to 7 mm); Fixed = Height mm. |
| Height mm | 25 | Used when Tray height is Fixed; deeper pockets are made shallower (the panel says so). |
| Outer wall mm | 3 | Smallest distance from a pocket to the outside. |
| Floor mm | 2 | Material under the deepest pocket (above the feet for Gridfinity). |
| Corner radius mm | 4 | Rounded tray corners (Gridfinity uses 3.75 mm). |
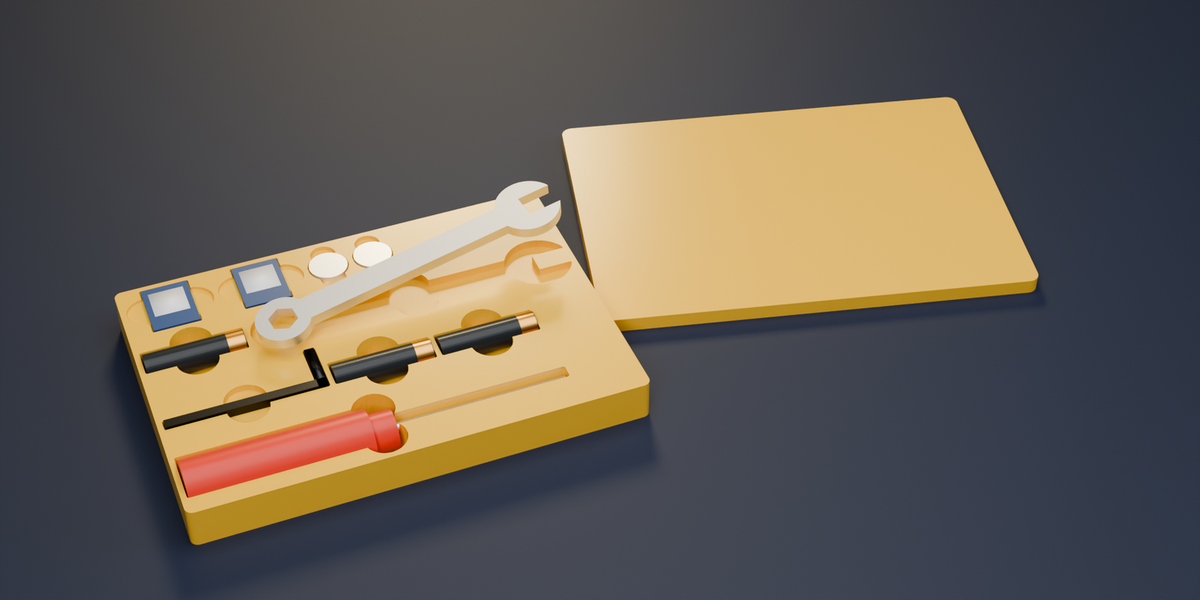
| Lid | off | Slip-on lid as a separate object. |
| Lid clearance / top / skirt / wall mm | 0.3 / 2 / 6 / 1.6 | Lid fit and thickness. |
| Bed X / Y mm | 220 / 220 | Your print bed, for the fits-your-bed check. |
| Live update | on | Rebuild as soon as something changes; off = press Update Tray. |
Tips
- Clearance 0.3-0.6 mm gives a snug fit on most FDM printers; use 1 mm or more for loose parts or rough items.
- For tools, set Depth % to 60-75 so they stick out and are easy to grab; for tokens and cards keep 100.
- Arrange does not rotate items: rotate long items so they lie left-right (R Z 90) and the tray packs tighter.
- Want an exact layout? Make the tray with Arrange, click Place in Pockets, then drag items around: the pockets follow.
- Gridfinity: the tray drops into any Gridfinity baseplate; the height snaps to 7 mm units unless you set a fixed height.
- Turn Live update off when you change many settings on a very large tray, then press Update Tray.
- Made a mistake? Ctrl+Z steps back through every change; Reset Settings puts all values back to the defaults.
- F9 (Adjust Last Operation) after Make Tray changes only that tray; the panel keeps its own values for the next tray.
Limits
- Pockets are vertical cut-outs of the outline seen from above with one flat floor each (no shaped floor following the underside of the item).
- Items whose pockets come closer than twice the clearance merge into one pocket (the panel says so); walls under 1.2 mm between pockets are reported.
- Largest tray side 1500 mm. Items must have faces (a wire curve or an empty has no outline).
- Gridfinity option: footprint + base profile only (no stacking lip, no magnet holes). Lid: slip-on, no hinge.
- Sizes and exports are the planned millimetres; if you scale the tray object itself the panel warns you.
- Export with the add-on's STL / 3MF buttons (always mm). Blender's own STL exporter writes Blender units, which is only mm when Unit is 1 mm.
- A flat item (no thickness) gets a 0.4 mm pocket; text Extrude grows both ways (Extrude 2 = 4 mm thick). Gridfinity: the outer wall and notches sit inside the grid footprint.
Licence
GPL-3.0-or-later. Copyright Sonneblom Digitaal.
Have questions about this product?
Login to message
| Blender Extension Compatible | Yes |
| Published | about 10 hours ago |
| Blender Version | 4.2 - 5.2 |
| Extension Type | Add-on |
| License | GPL |
Discover more products like this
3d printing storage Insert STL organizer Tray board game gridfinity