 Domenas
PrintSplit Easy 1.4.0
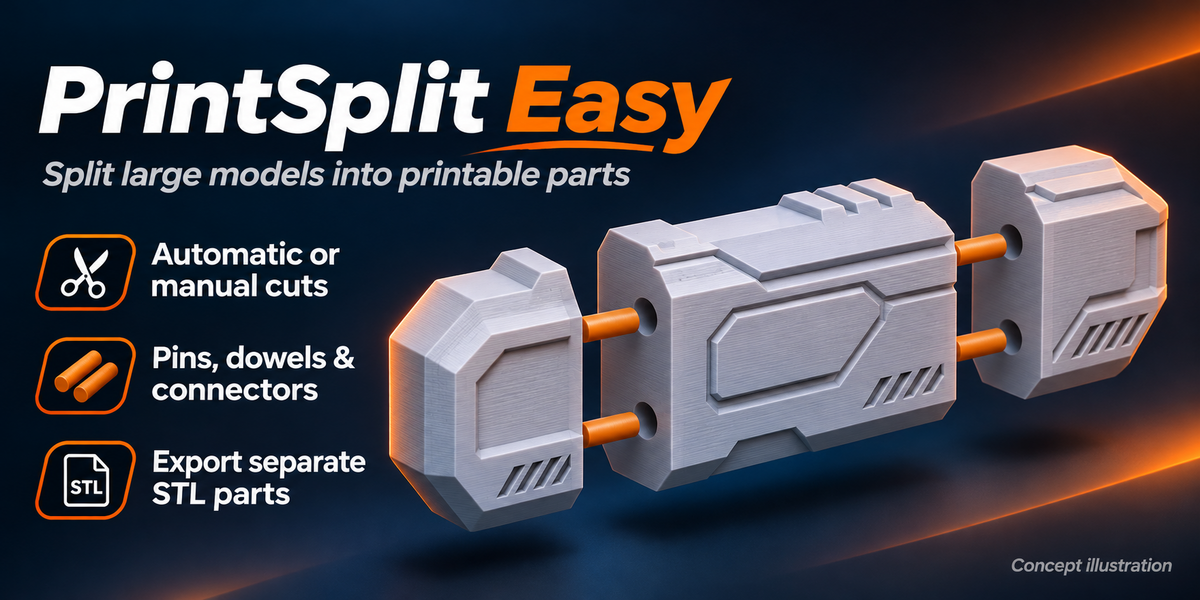
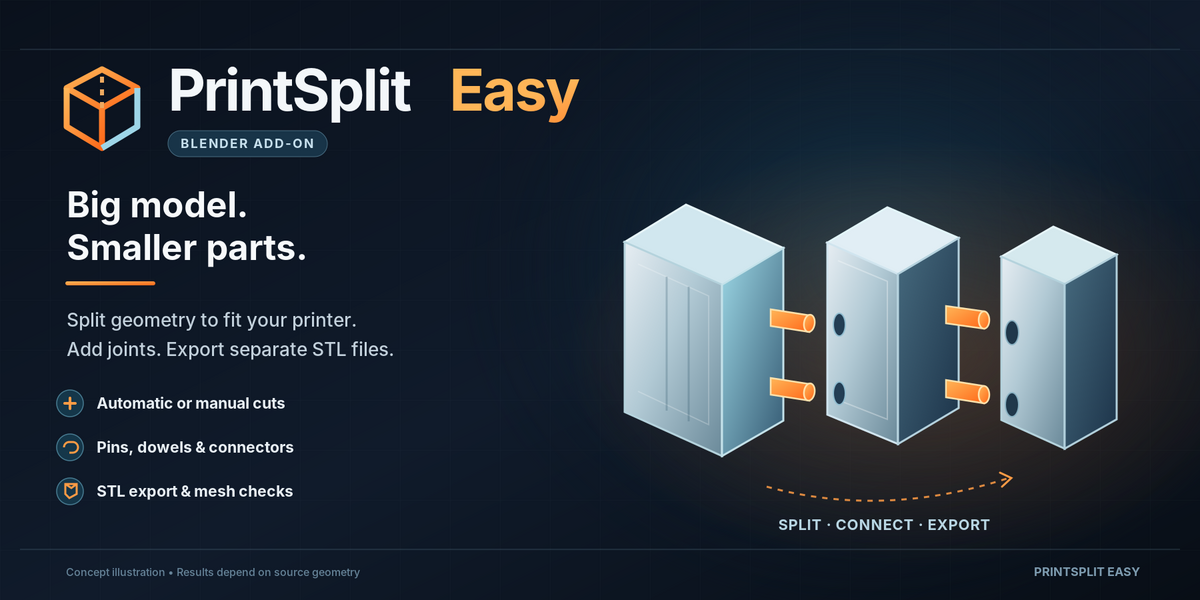
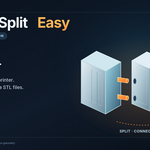
Split large 3D models into smaller, printable parts — without a complicated workflow.
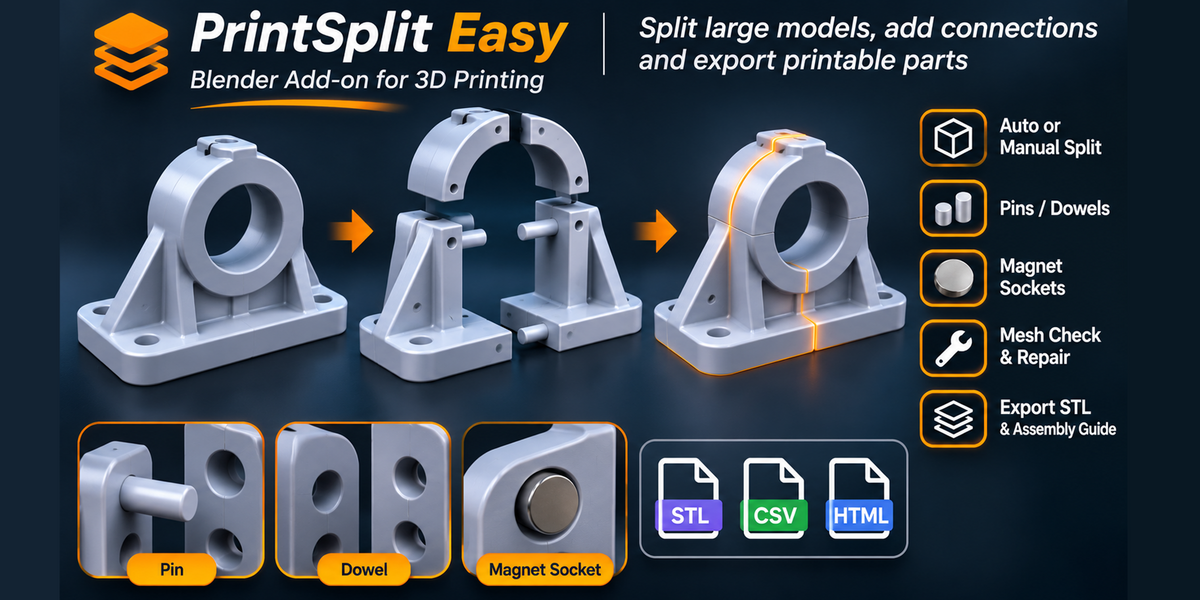
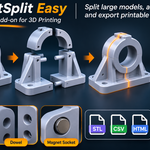
Have a 3D model that's too big for your printer? PrintSplit Easy helps you divide it into manageable pieces, create connecting joints, and export individual STL files directly from Blender.
Instead of preparing every cut and connector manually, you can use one straightforward workflow:
SELECT YOUR MODEL → CHOOSE YOUR PRINTER → SPLIT → EXPORT
Designed for 3D printing enthusiasts, hobbyists, makers and 3D artists who want a simpler way to prepare large models for printing and assembly.
🎬 See PrintSplit Easy in Action
Why Choose PrintSplit Easy?
One workflow for splitting, connecting and exporting.
PrintSplit Easy combines model cutting, printer size checking, joint generation and STL export in one Blender add-on.
You can start with automatic settings and use advanced controls only when needed.
1. Automatic Splitting to Fit Your Printer
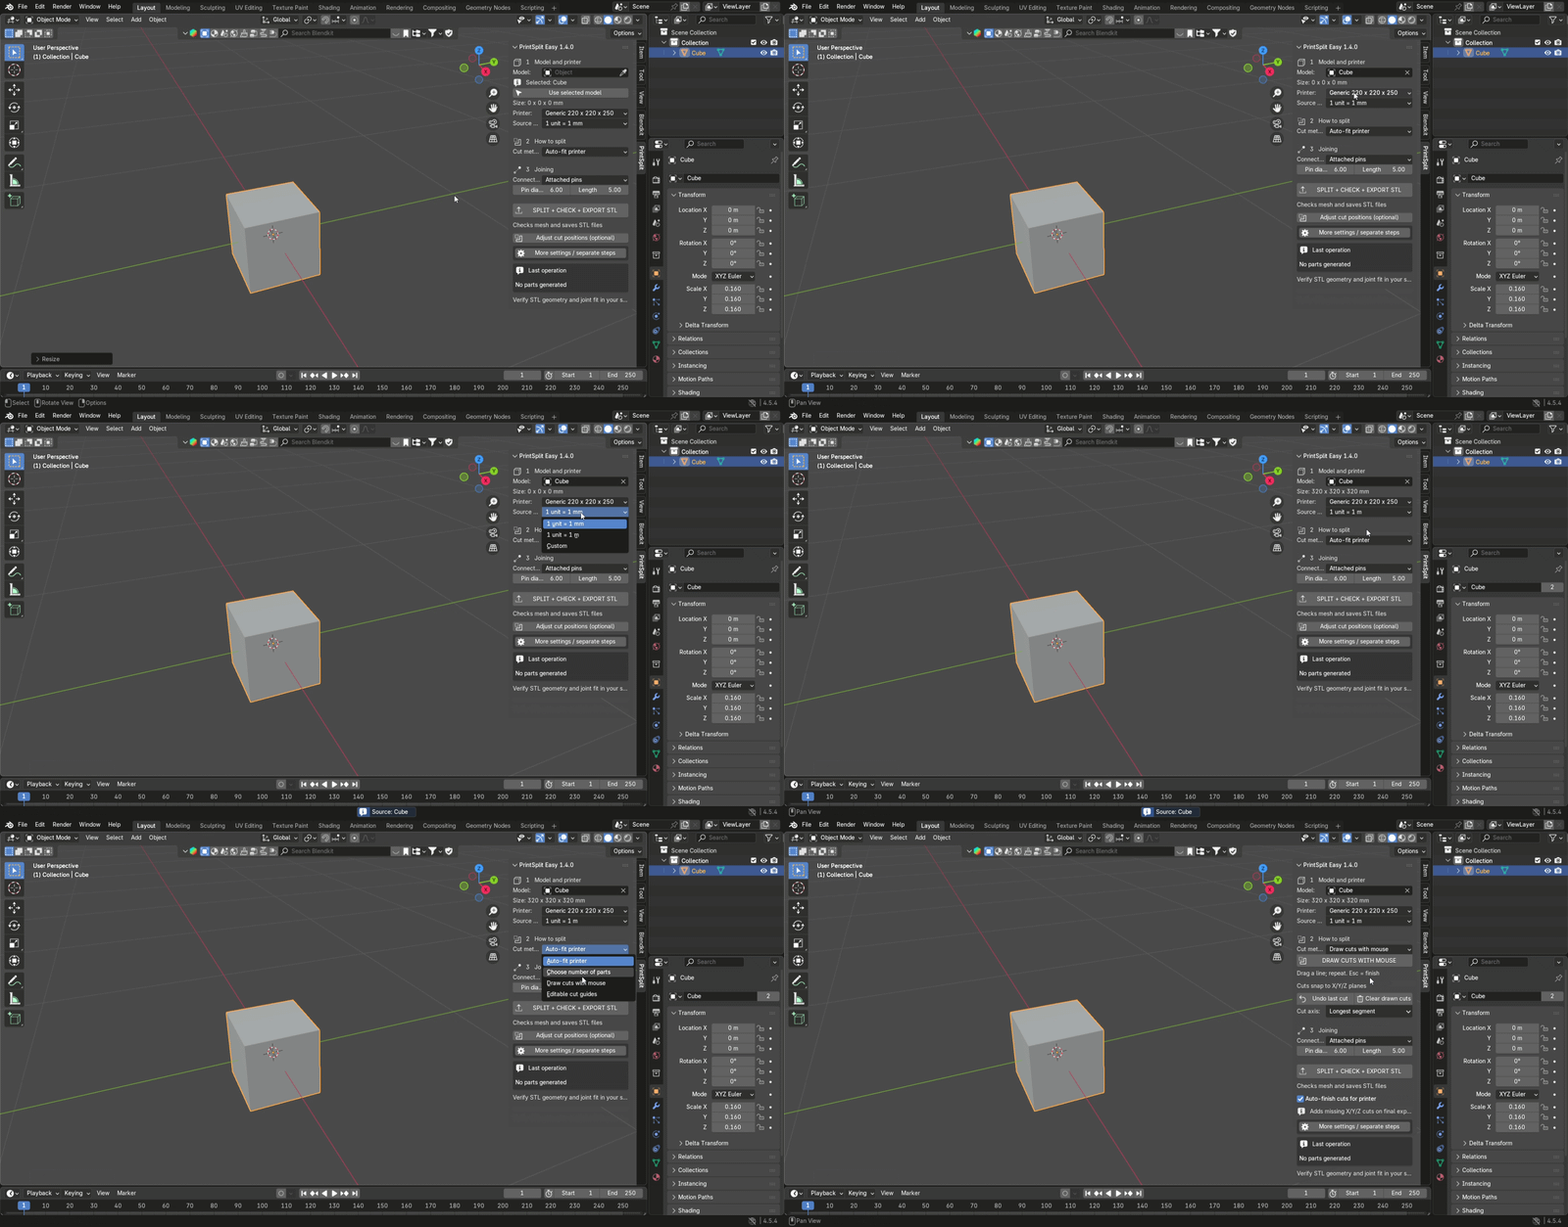
Choose a printer profile or enter your own build volume dimensions.
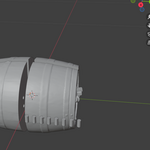
PrintSplit Easy calculates axis-aligned cuts to divide an oversized model into smaller sections that fit the selected printer dimensions.
Printer size presets
Custom printer dimensions
Automatic X/Y/Z cutting grid
Basic part dimension checks
Optional 90-degree orientation search
No need to calculate every cutting position yourself.
2. Manual Cuts When You Want More Control
Prefer choosing where the model should be divided?
Use mouse-drawn cuts or adjustable cutting guides.
Draw cutting lines in the Blender viewport
Create X/Y/Z-aligned cutting planes
Adjust cutting positions before generating parts
Automatically add missing size-related cuts when needed
Combine simple automatic preparation with additional control over cutting positions.
3. Three Connection Options
Choose how the separated parts will connect.
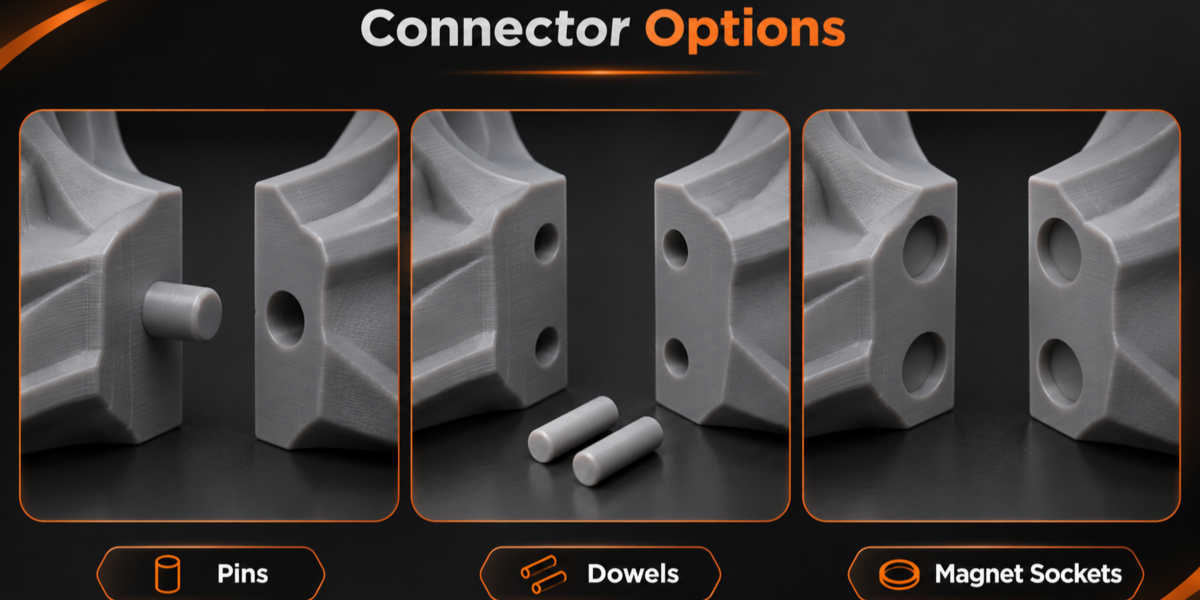
Attached Pins
Create cylindrical pins attached to one piece with matching holes in the adjacent piece.
Separate Dowels
Generate separate cylindrical connecting dowels and corresponding holes in both parts.
Magnet Sockets
Create matching pockets for disc magnets, allowing you to add magnets during assembly.
Adjust connector dimensions and clearances according to your project and printing requirements.
Connector placement depends on available geometry. If a joint cannot be created safely, PrintSplit Easy reports the issue.
4. Mesh Checking and Optional Repair
PrintSplit Easy includes mesh checking and repair tools to help prepare geometry for splitting.
Identify open or invalid mesh edges
Attempt to close simple open boundaries
Use optional automatic mesh repair
Apply voxel reconstruction when necessary
Receive warnings about problematic geometry
Repair operations work on a copy, leaving your original source model unchanged.
Important: Complex meshes may require manual repair, and voxel reconstruction may affect fine details.
5. STL Export and Assembly Information
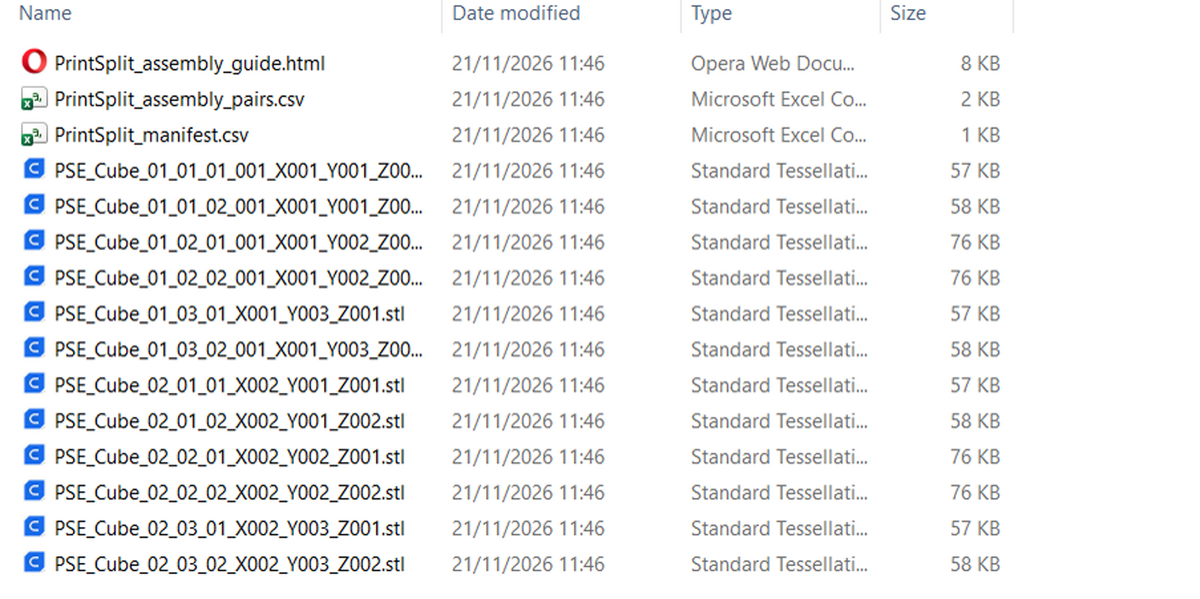
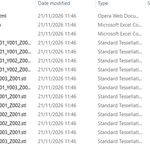
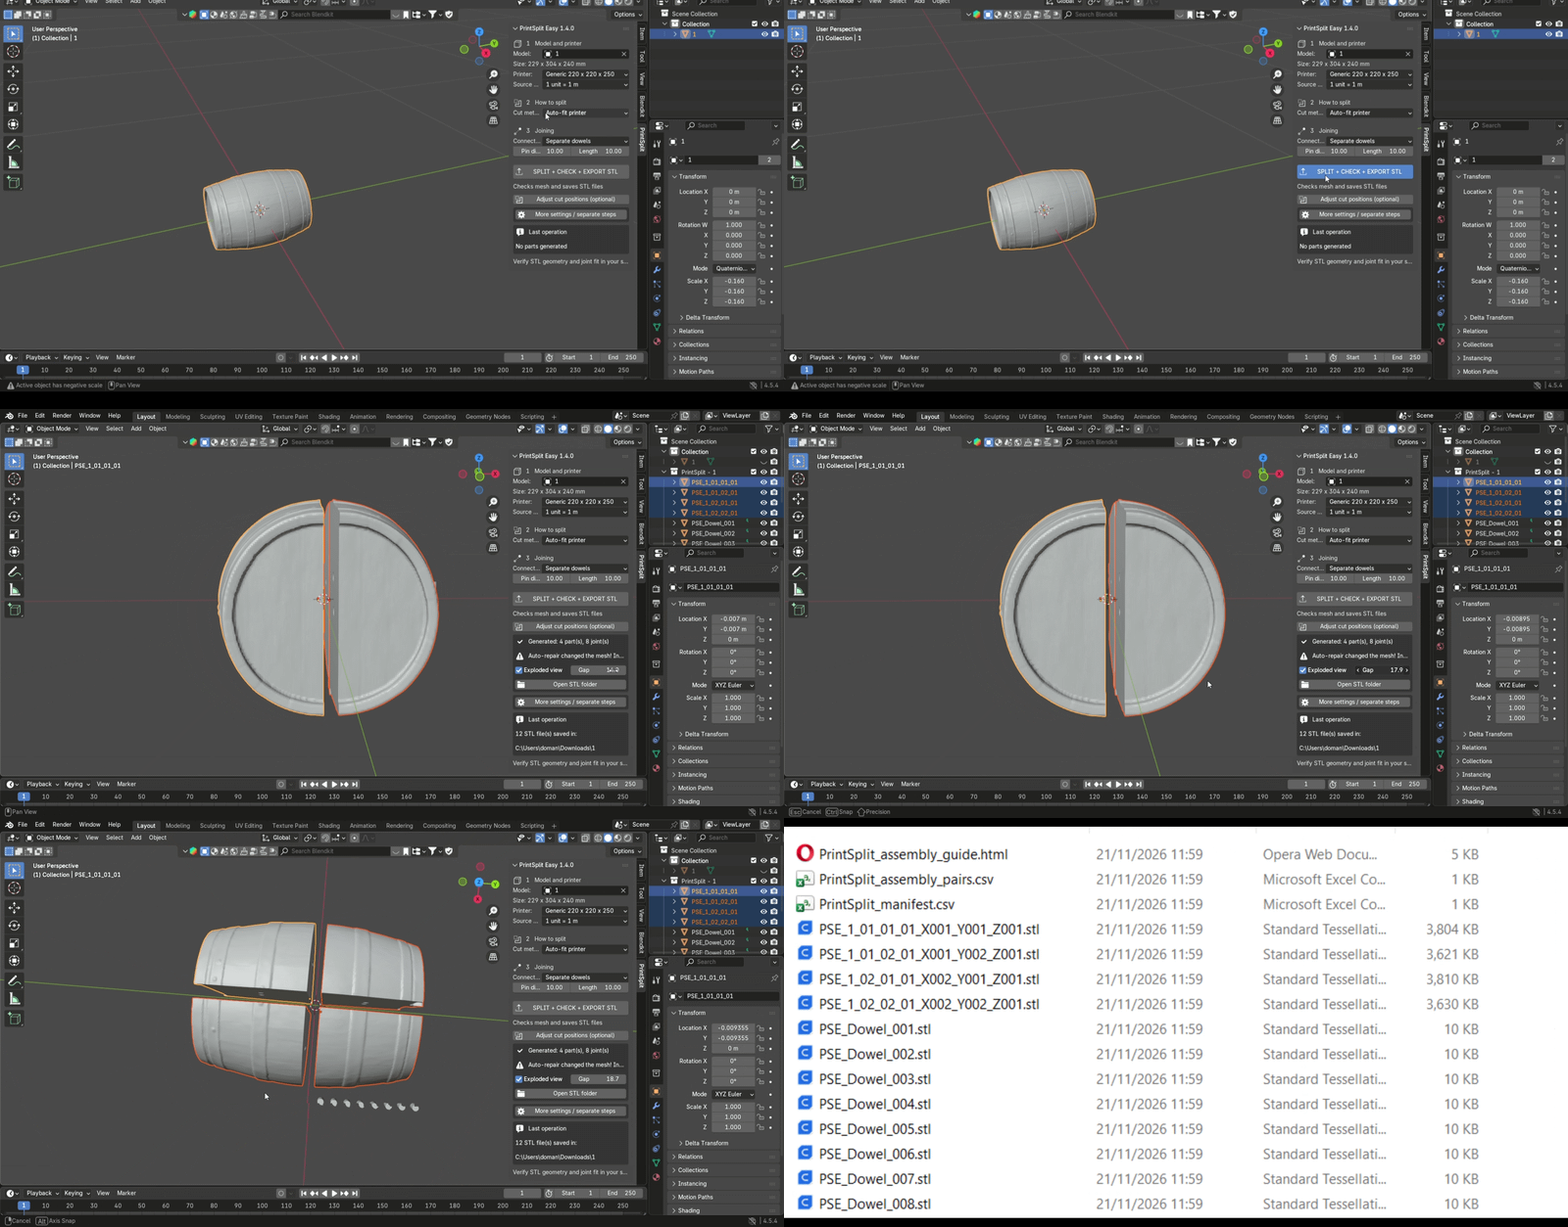
After generating the pieces, PrintSplit Easy can export separate STL files with a single main operation.
The export includes:
Individual STL files for the generated pieces
Separate dowel STL files when applicable
A CSV manifest with part information
A CSV report describing connected part pairs
An HTML assembly reference with part information and warnings
The STL coordinates are exported in millimeters, ready for inspection in your preferred slicer.
6. Simple for Beginners, Flexible for Advanced Users
You don't have to configure dozens of settings to get started.
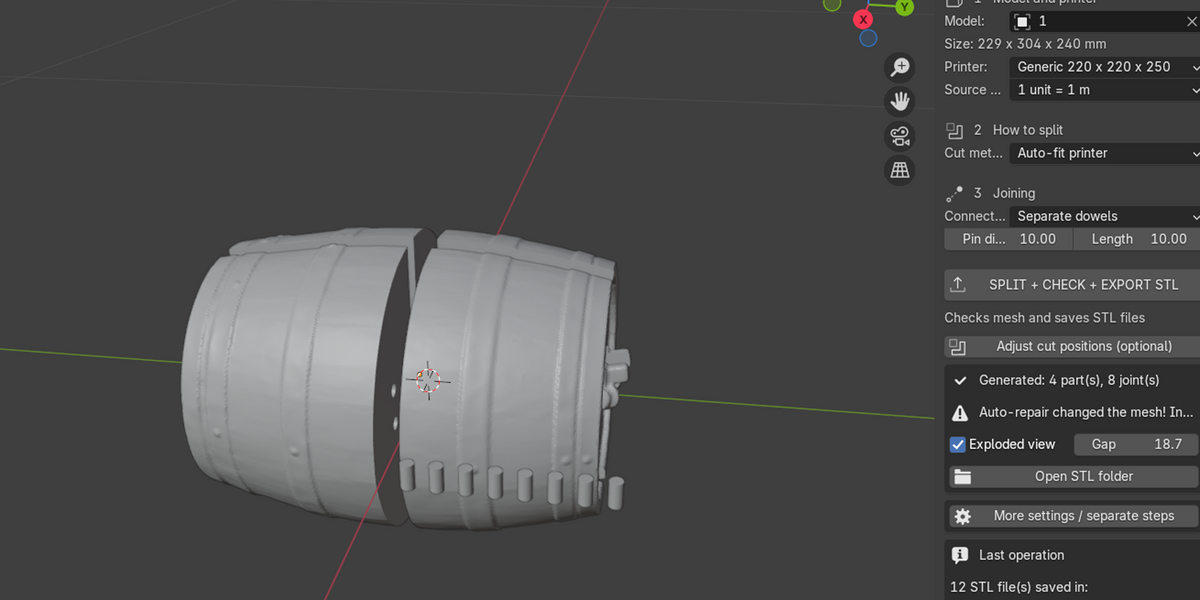
Simple workflow
Select your 3D model.
Choose your printer size.
Select a connection type.
Click SPLIT + CHECK + EXPORT STL.
Advanced options
For more control, expand the advanced settings to adjust cutting guides, connector clearances, repair methods, voxel resolution, output paths and other parameters.
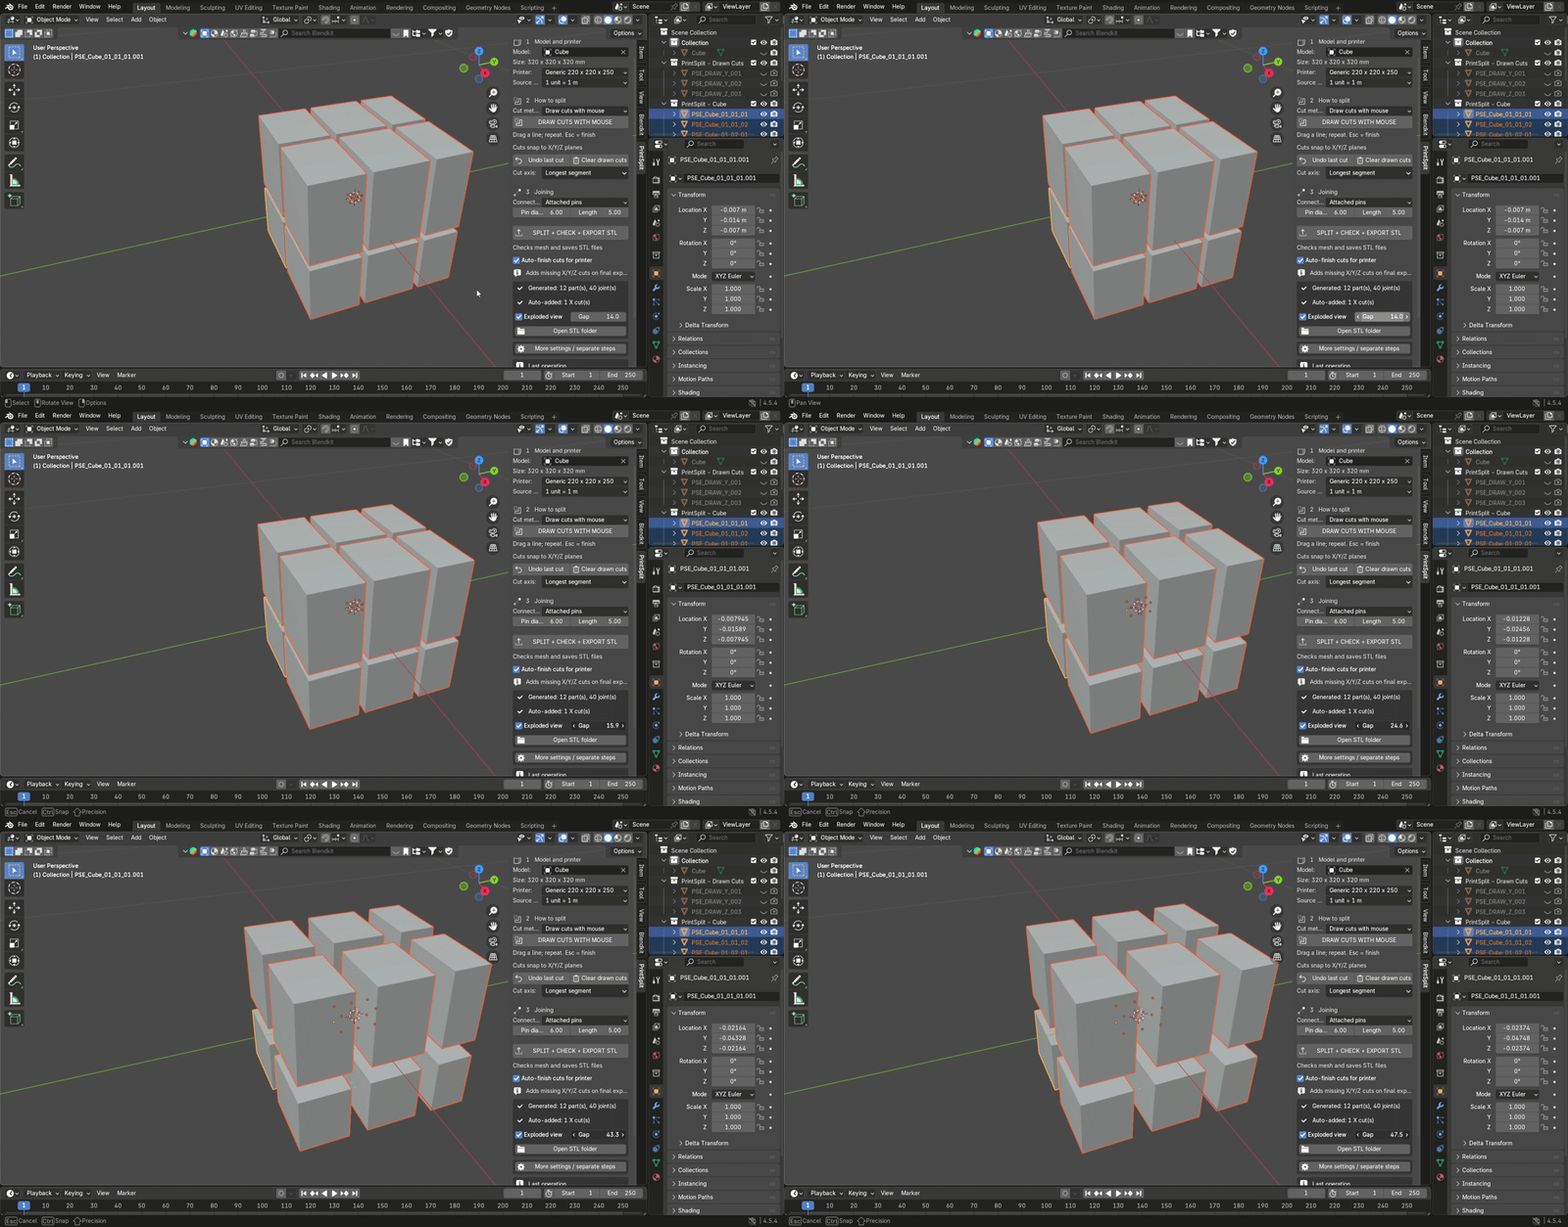
An exploded-view preview helps you inspect the separated parts inside Blender.
What Makes PrintSplit Easy Useful?
Less repetitive setup. Automatic cutting plans help avoid positioning every cut manually.
Integrated connections. Create pins, separate dowels or magnet pockets without building them from scratch.
Printer-focused preparation. Check basic part dimensions against your selected build volume.
Organized export. Receive individual STL files and assembly reference information.
Flexible workflow. Start with automatic splitting or use manual cutting tools when you need more control.
Everything is accessible from the PrintSplit panel inside Blender.
Compatibility
Add-on version: 1.4.0
Blender requirement: 4.3 or newer
Recommended Blender version: 4.5 LTS
Installation: Blender Extension ZIP
License: GPL-3.0-or-later
External Python packages: Not required
Installation
Open Blender.
Go to Edit → Preferences → Get Extensions.
Select Install from Disk.
Choose the supplied ZIP file.
Open the 3D Viewport, press N, and select the PrintSplit tab.
You're ready to configure your first model.
Included in Your Purchase
PrintSplit Easy 1.4.0 add-on
English documentation
Lithuanian quick-start guide
License and changelog
Built-in Blender self-test tool
Before Printing
PrintSplit Easy is a model preparation tool, not a guarantee that every mesh will be printable without additional work.
Automatic cutting uses flat X/Y/Z planes. Complex or damaged source meshes may require manual repair. Printer-fit checks do not replace slicer inspection, print orientation, support planning or test fitting.
Always inspect the exported STL files in your slicer and test connector tolerances before printing a large project.
Spend less time preparing cuts and connectors — and more time bringing your 3D projects to life.
PrintSplit Easy — Split. Connect. Export.
