 Domenas
PrintSplit Easy 1.4.0 — User Guide
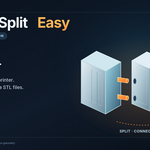
From a large 3D model to separate printable parts in a few simple steps.
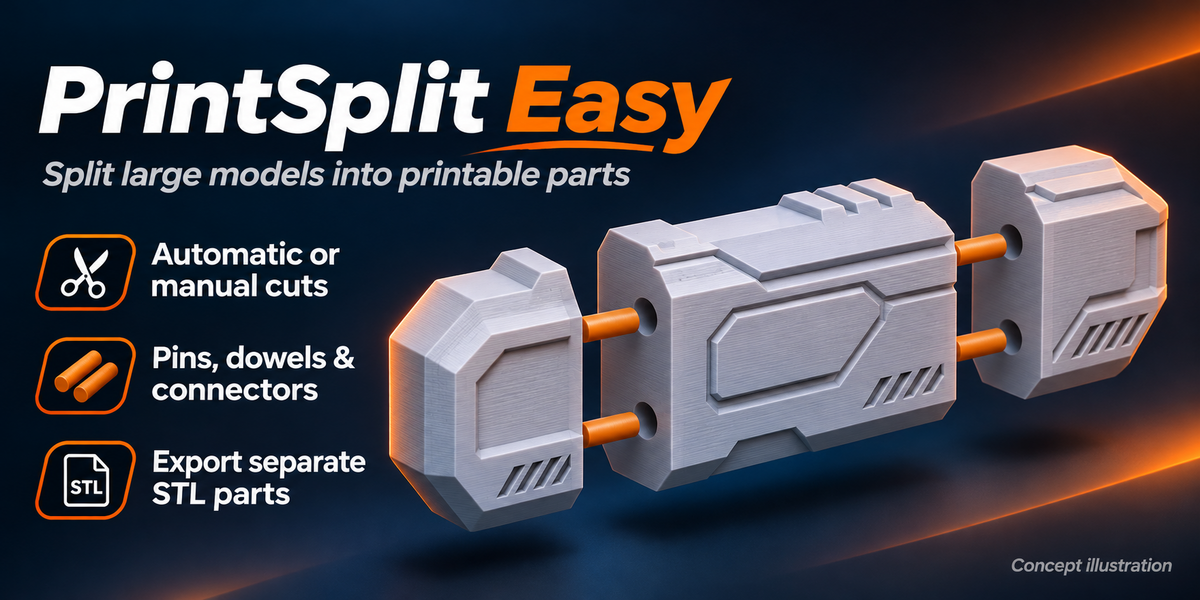
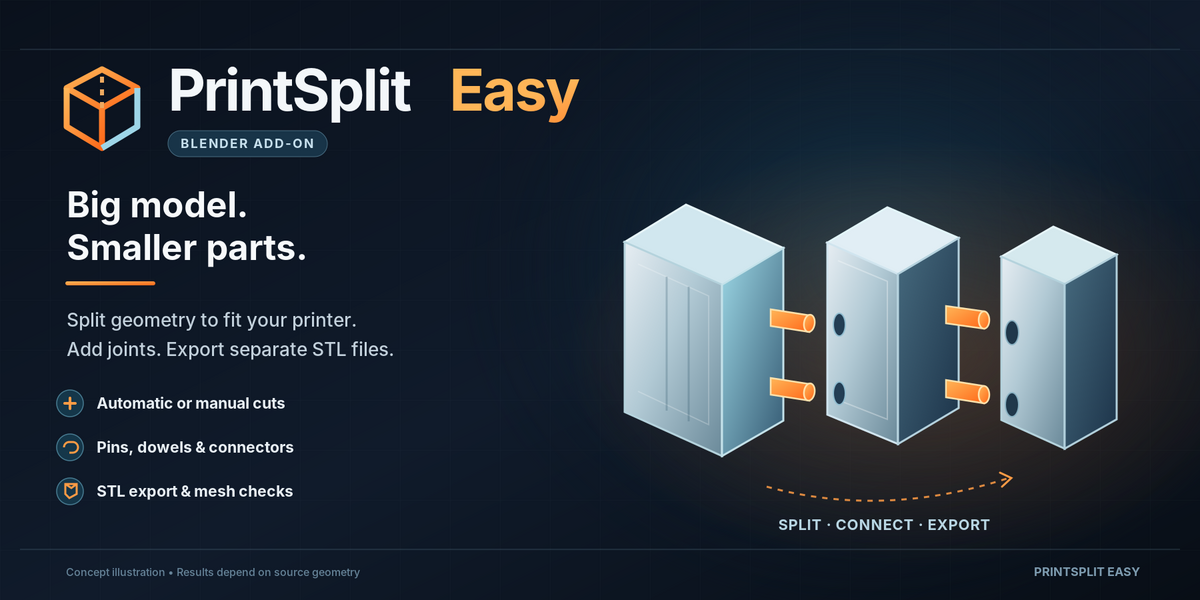
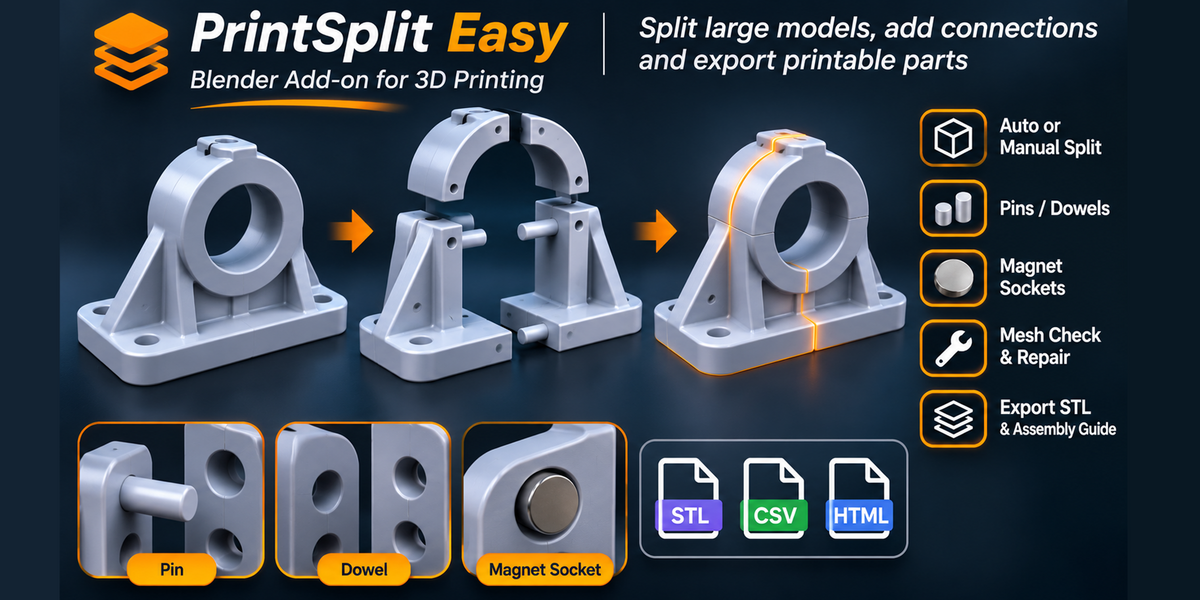
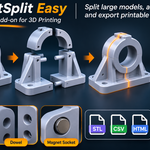
PrintSplit Easy helps you prepare oversized 3D models for printing by combining model splitting, connector creation, mesh checking and STL export inside Blender.
You can use the automatic workflow for quick setup or open the advanced settings for more control.
1. Installation
Open Blender (version 4.3 or newer).
Go to Edit → Preferences → Get Extensions.
Select Install from Disk.
Choose the downloaded PrintSplit Easy ZIP file without extracting it.
Enable the extension if prompted.
Open the 3D Viewport and press N.
Select the PrintSplit tab.
PrintSplit Easy is now accessible from the Blender sidebar.
2. Quick Start — Four Simple Steps
Step 1 — Select Your Model
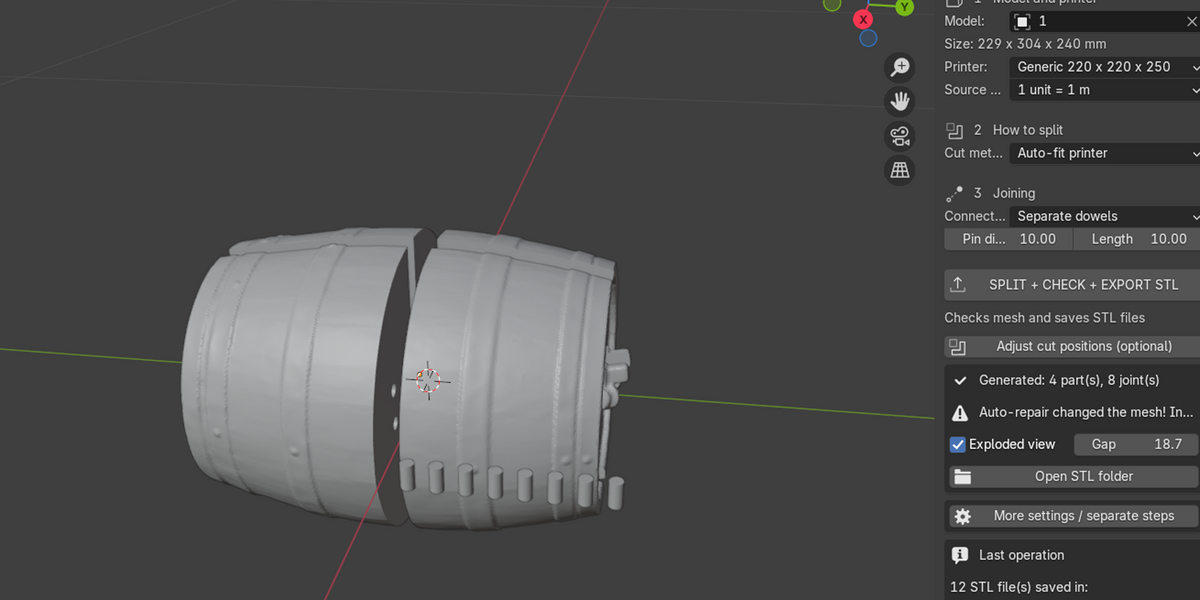
Import or select your 3D model and assign it in the Model field.
Check the displayed dimensions before continuing.
Important: Select the correct Source units. STL files commonly use millimeters, while Blender scenes may use meters.
Step 2 — Choose Your Printer
Select a printer profile or enter your custom printer dimensions.
For the simplest workflow, keep Cut method → Auto-fit printer.
PrintSplit Easy will plan X/Y/Z-aligned cuts based on the selected build volume.
Step 3 — Choose Your Connections
Select one of the available connection methods:
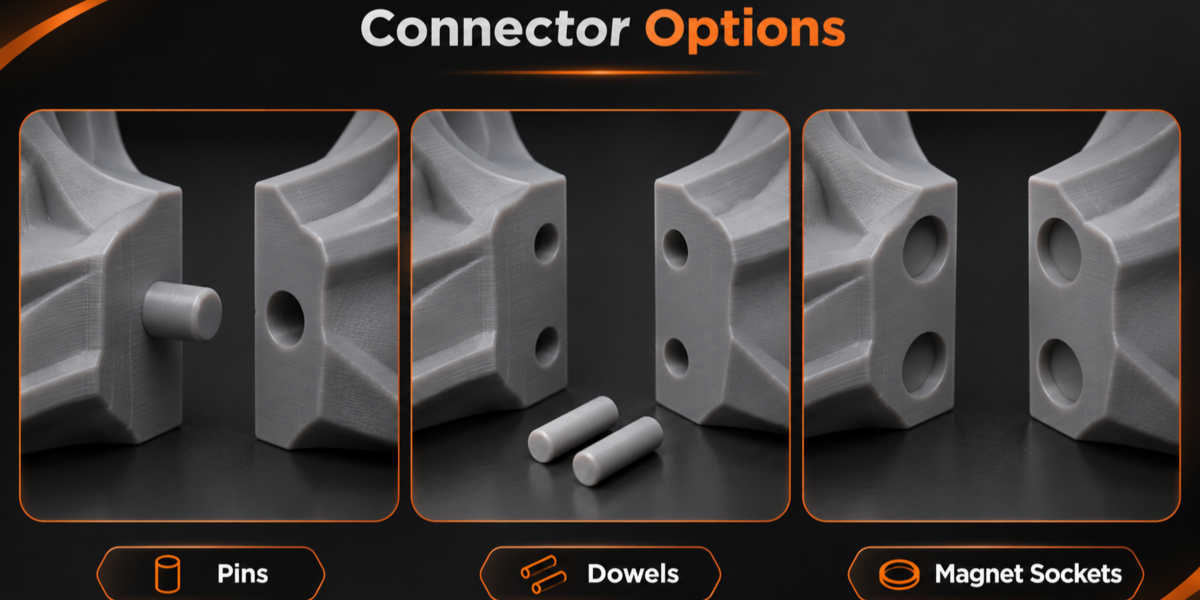
Attached Pins — integrated cylindrical pins with matching holes.
Separate Dowels — separate connecting cylinders and corresponding holes.
Magnet Sockets — pockets designed for disc magnets.
None — split the model without adding connectors.
Connector dimensions and clearances can be adjusted in the settings.
Step 4 — Split and Export
Click SPLIT + CHECK + EXPORT STL.
The add-on generates the parts, performs basic geometry checks and exports the files.
Use Open STL folder to view the results.
Always inspect the exported parts in your slicing software before printing.
3. Manual Splitting
Want more control over cutting positions?
Choose Draw cuts with mouse or use editable cut guides.
You can:
Draw cutting lines in the 3D Viewport.
Adjust cutting positions.
Undo or clear drawn cuts.
Let the add-on add missing size-related cuts during final export.
Manual cuts use X/Y/Z-aligned planes rather than freeform cutting curves.
4. Advanced Settings
Open More settings / separate steps to access additional options.
These include:
Custom printer dimensions
Cutting guides and exact part count
Connector quantity, dimensions and clearances
Mesh repair methods
Voxel detail settings
Output folder settings
Separate generation, checking and export operations
The Exploded view option lets you visually inspect the separated parts without changing their exported positions.
5. Mesh Checking and Repair
PrintSplit Easy includes several tools for handling mesh problems.
Auto Repair
Attempts conservative geometry cleanup and boundary repair first. If needed, it may use voxel reconstruction.
Fill boundaries
Attempts local cleanup and boundary closure without voxel reconstruction. This is a useful first option for models with fine geometric details.
Voxel Remesh
Reconstructs geometry when simpler repair methods are insufficient. Higher detail settings require more memory.
Inspect open / invalid mesh edges
Helps identify problematic edges in the original mesh so they can be inspected and repaired manually.
Important: Not all damaged or open 3D models can be repaired automatically. Voxel reconstruction may change fine details. The original source model remains unchanged.
6. Exported Files
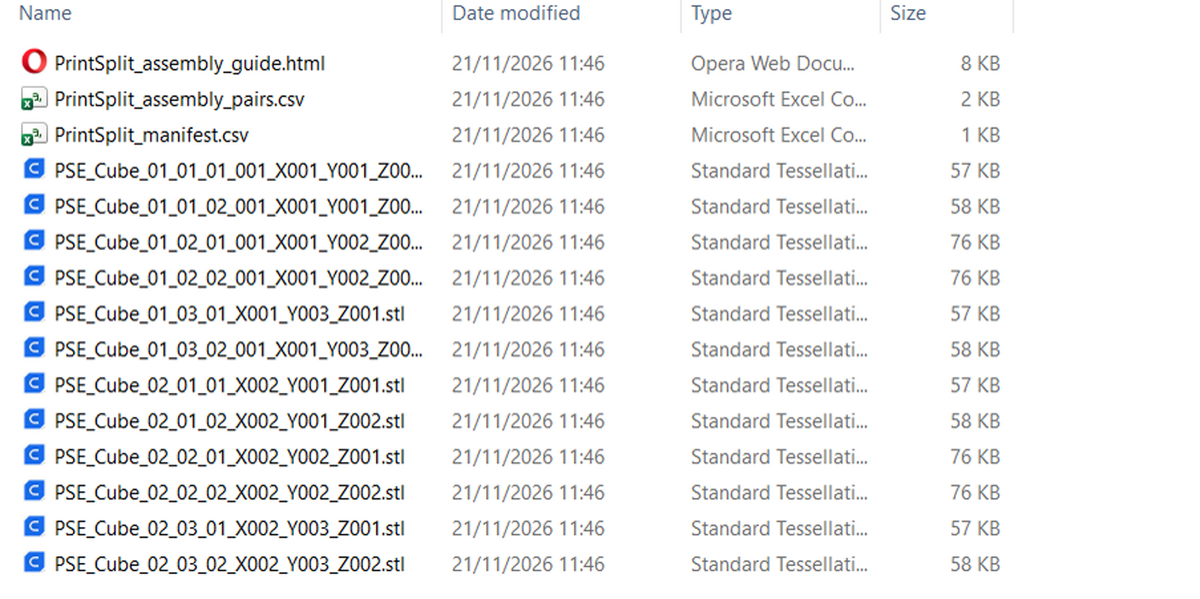
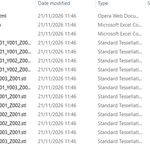
After successful export, PrintSplit Easy creates:
STL files
Individual model parts and separate dowels, when applicable.
PrintSplit_manifest.csv
Part names, dimensions and triangle information.
PrintSplit_assembly_pairs.csv
Information about connected parts, generated joints and skipped connections.
PrintSplit_assembly_guide.html
An assembly reference containing part information and relevant warnings.
STL coordinates are exported in millimeters.
7. Troubleshooting
The model cannot be split
Check the selected source object, model dimensions, units and mesh geometry.
The mesh cannot be repaired
Try Fill boundaries or inspect invalid mesh edges. Complex geometry may require manual repair.
Small details are disappearing
Avoid unnecessary voxel reconstruction. Try Fill boundaries first.
Some joints are missing
The selected geometry may not provide enough space for safe connector placement. Review the generated warnings or adjust your connection settings.
The STL dimensions are incorrect
Check Source units and resize the original model rather than scaling generated parts.
Need to check the installation?
Use Run Blender Self-Test in the advanced settings. This performs basic operations on temporary test geometry.
8. Important Information
Supports Blender 4.3 and newer.
Tested with Blender 4.5.4 LTS.
Uses flat X/Y/Z cutting planes.
Works with mesh geometry, not texture-only details.
Complex models may require manual preparation.
Printer-fit checks do not replace slicer verification.
Connector tolerances should be tested before large prints.
PrintSplit Easy — Split. Connect. Export.
Have questions about this product?
Login to message
| Blender Extension Compatible | Yes |
| Published | about 5 hours ago |
| Blender Version | 4.3 - 4.5 |
| Extension Type | Add-on |
| License | GPL |

Discover more products like this
pins Model Splitting STL export printer size Mesh Cutting 3d printing 3d print preparation magnet sockets dowels mesh repair auto split cut planes