 PolyForge
Installation
- Download pro_utility_tools.zip. Do not unzip it.
- In Blender open Edit › Preferences › Add-ons.
- Open the drop-down menu at the top right and choose Install from Disk.
- Select the zip and confirm, then tick the checkbox next to Pro Utility Tools if it isn't enabled already.
- In the 3D Viewport press N and open the Pro Tools tab.
Updating: disable and remove the old version first, restart Blender, then install the new zip.
Quick start
Select the objects you want to work on and use the tools in the Pro Tools sidebar tab. Most tools act on the selected mesh objects; a few are scene-wide and say so in their tooltip (Purge Orphan Materials, Purge Unused Data, Remove Empty Collections, Scene Report, Multi-Camera Render).
Tools with options open a small dialog first. Tools that change data support Undo (Ctrl+Z). The two purge tools ask for confirmation before they run.
Reports are written to named text blocks in Blender's Text Editor (Shift+F11) and also printed to the system console.
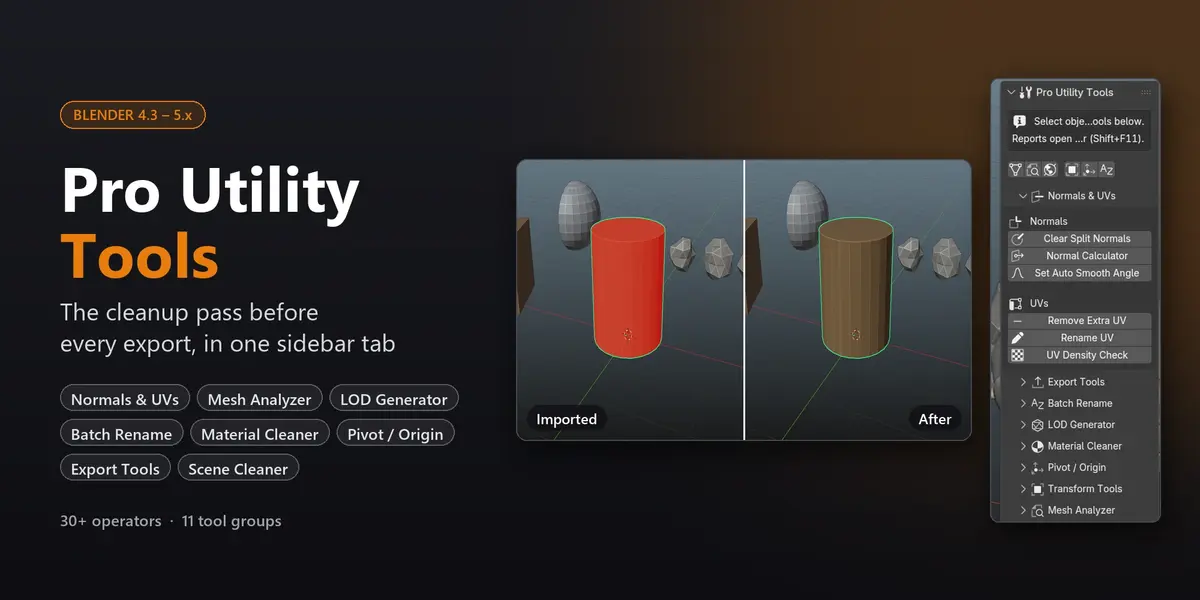
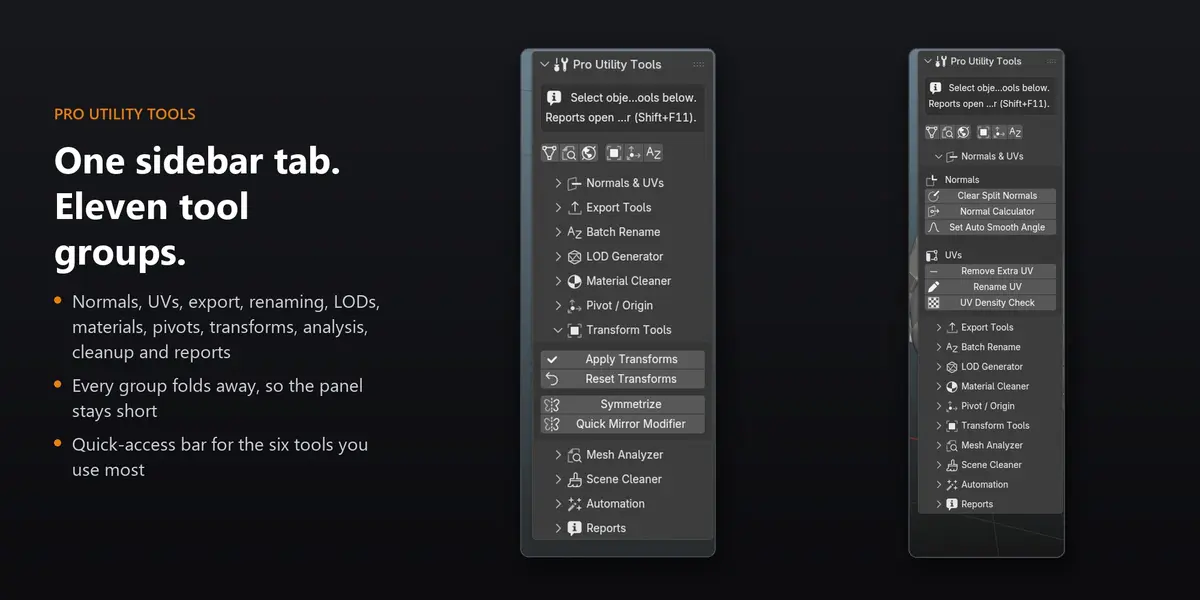
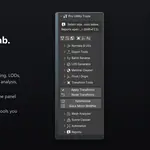
The row of icons at the top of the panel is a quick-access bar: Model Report, Mesh Analyzer, Scene Report, Apply Transforms, Set Origin and Batch Rename.
Preferences
Edit › Preferences › Add-ons › Pro Utility Tools
- Extended Tooltips: shows the short help box at the top of the panel.
- Confirm Destructive Operations: asks before Purge Orphan Materials and Purge Unused Data run. On by default.
- Default Export Path: folder the Export tool starts in when the .blend file hasn't been saved yet.
Normals & UVs
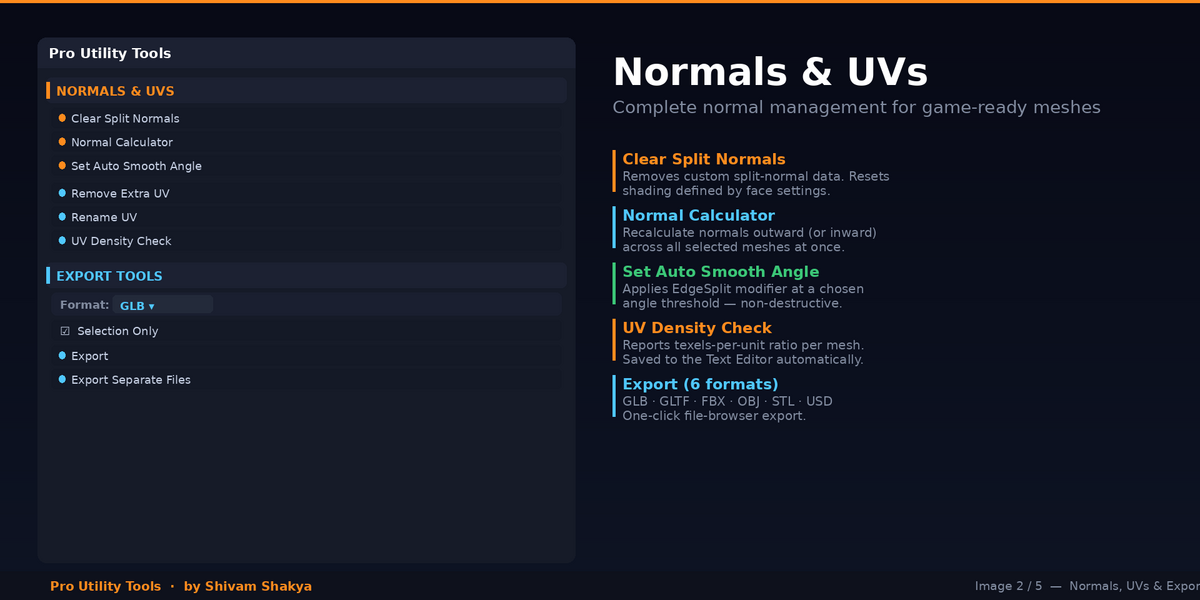
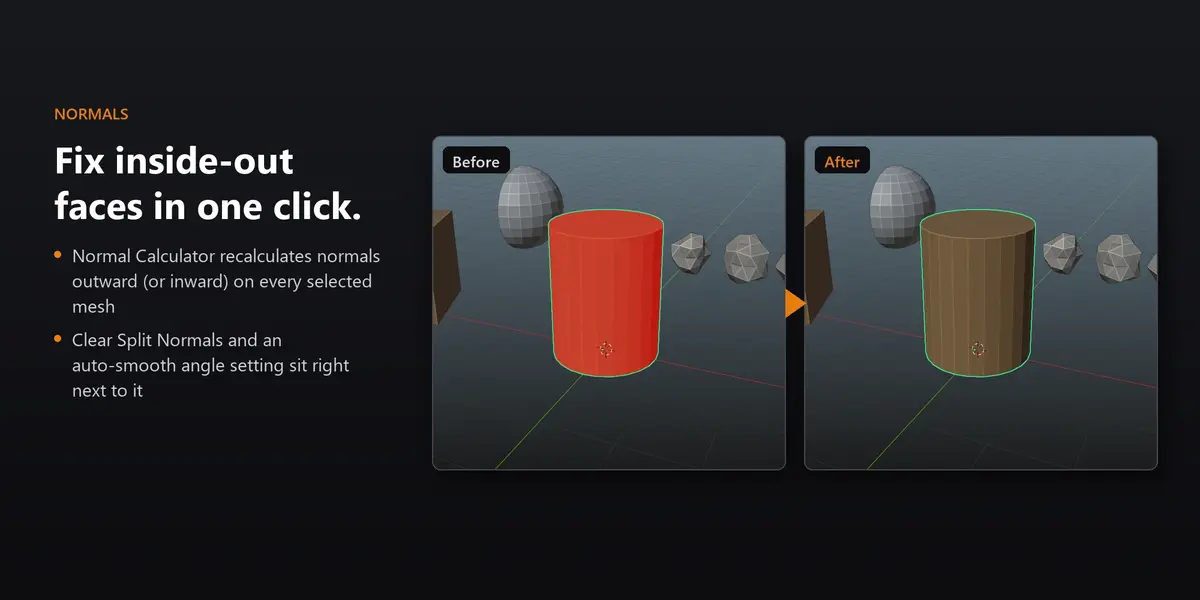
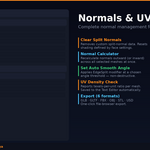
- Clear Split Normals: removes custom split-normal data from the selected meshes.
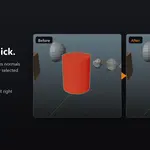
- Normal Calculator: recalculates normals to point outward (option: inward) on every selected mesh.
- Set Auto Smooth Angle: shades the mesh smooth and adds an Edge Split modifier named AutoSmooth at the angle you choose (default 30°). Edges above the angle stay sharp. The modifier stays live, so you can change or remove it later.
- Remove Extra UV: keeps the UV map at the index you choose (default 0) and deletes the others. A mesh that has no UV map at that index is skipped and named in a warning, so it never loses all of its UVs.
- Rename UV: renames the UV map at a chosen index on all selected meshes.
- UV Density Check: compares UV area with surface area for each mesh and writes UV_Density_Report.
Export Tools
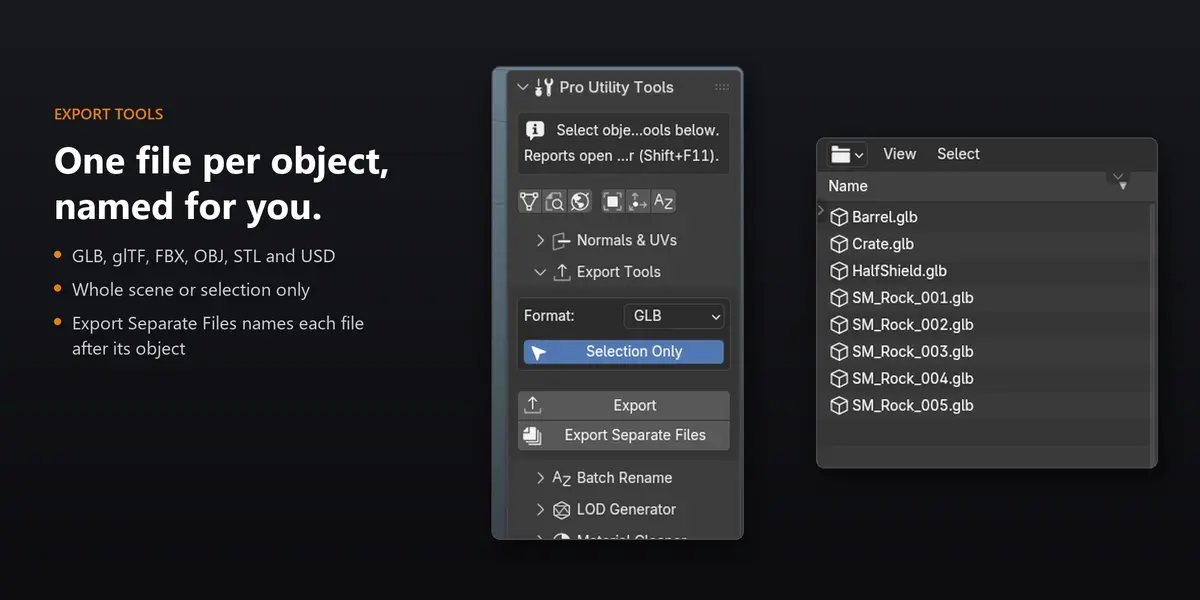
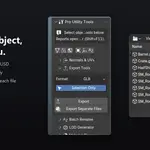
Pick a format in the panel: GLB, glTF (separate files), FBX, OBJ, STL or USD.
- Export: opens a file browser and exports the scene, or only the selection when Selection Only is on.
- Export Separate Files: asks for a folder, then exports every selected mesh object to its own file named after the object. Selection is restored afterwards.
For Unity and Unreal, GLB or FBX are the usual choices; STL and OBJ suit 3D printing and older tools.
Batch Rename
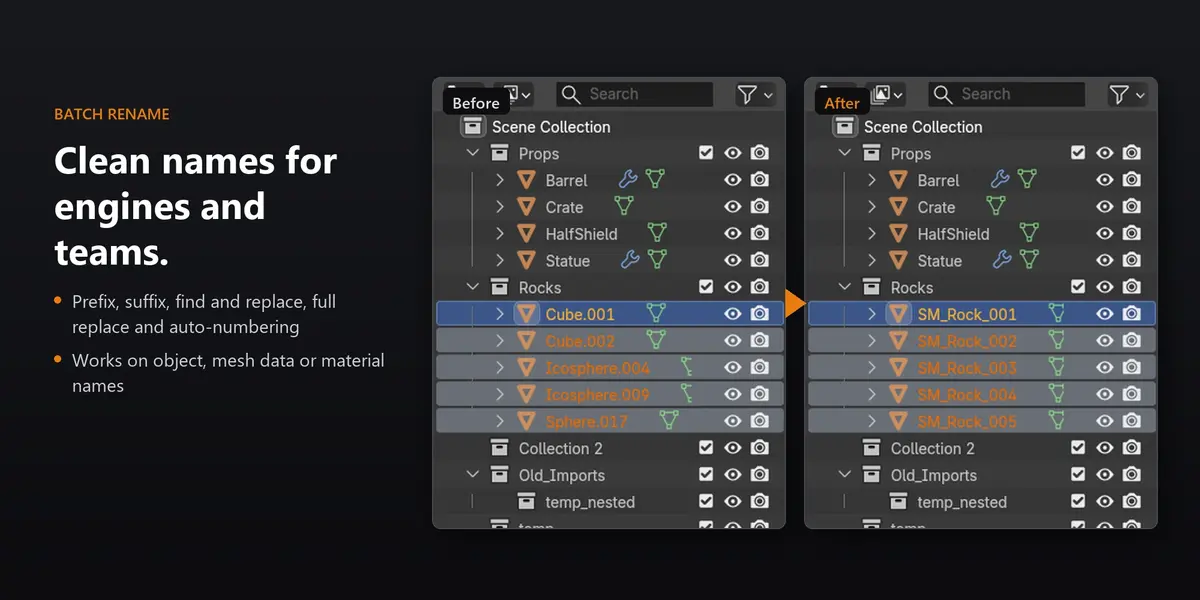
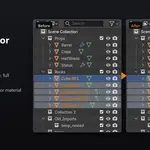
Opens a dialog. Choose the target at the top (Object, Data or Material, where Material means the first material slot), then combine:
- Prefix and Suffix
- Find and Replace
- Strip Existing: replace the whole name with a new Base Name
- Add Index: appends _001, _002… starting from Start Index
Numbering follows the order Blender lists the selection, which isn't always the order you clicked, so check the result in the Outliner.
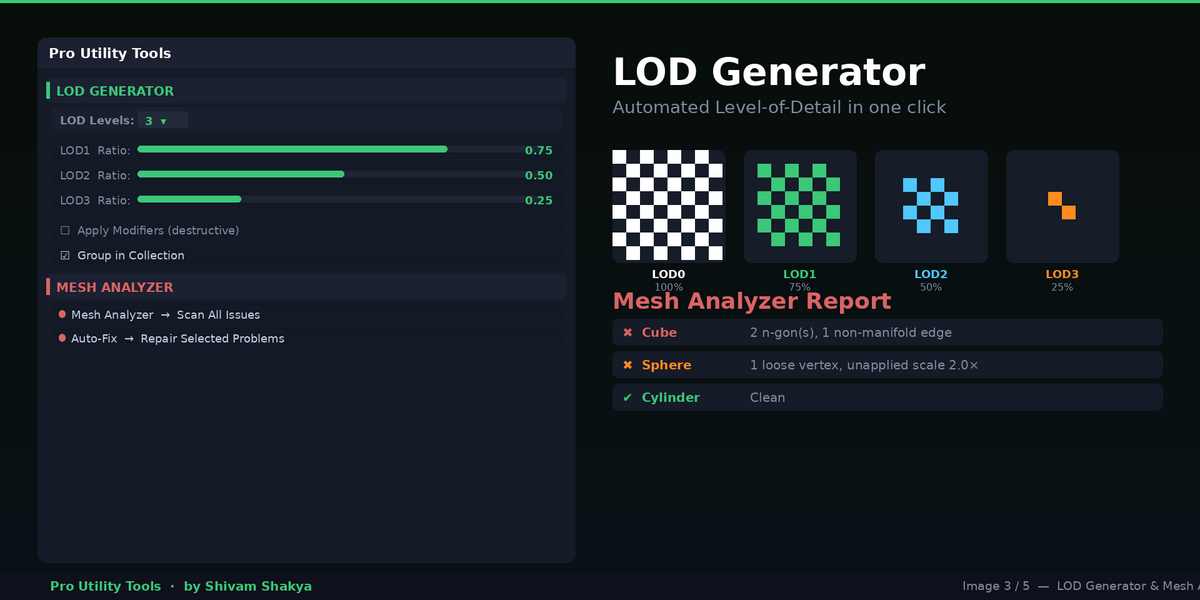
LOD Generator
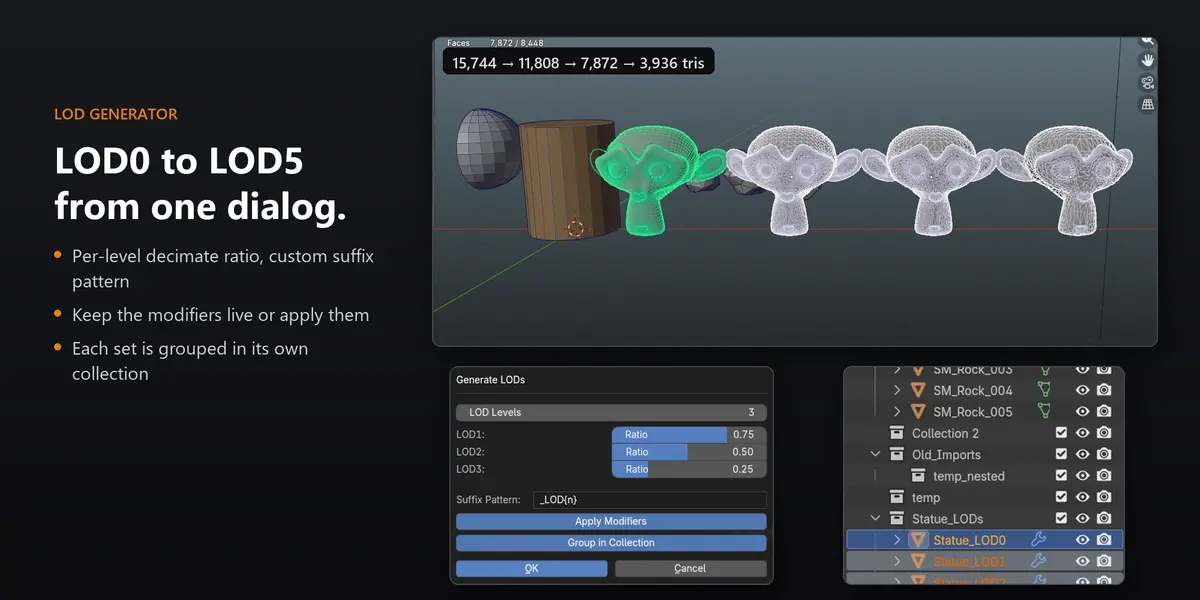
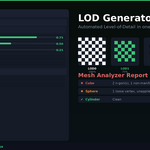
- Select one or more source meshes and click Generate LODs.
- Choose the number of levels (1–5) and a decimate ratio for each (defaults 0.75, 0.50, 0.25, 0.10, 0.05).
- The source object itself is renamed to Name_LOD0. Copies named Name_LOD1, Name_LOD2… are created with a Decimate modifier each.
- With Group in Collection on, everything goes into a Name_LODs collection.
- Turn on Apply Modifiers to bake the decimation; leave it off to keep adjusting the ratios.
The copies are created at the same position as the source. Running the tool again creates a new set of copies, so delete the old LOD1+ objects first if you want to regenerate. The Suffix Pattern field controls the naming; {n} is replaced by the level number.
Material Cleaner
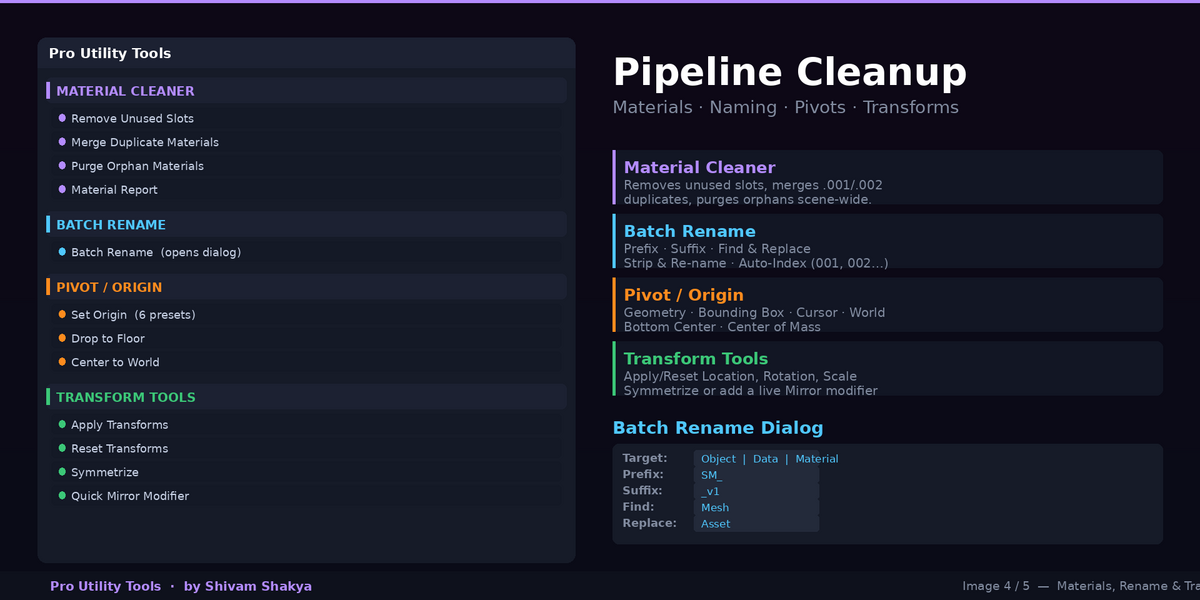
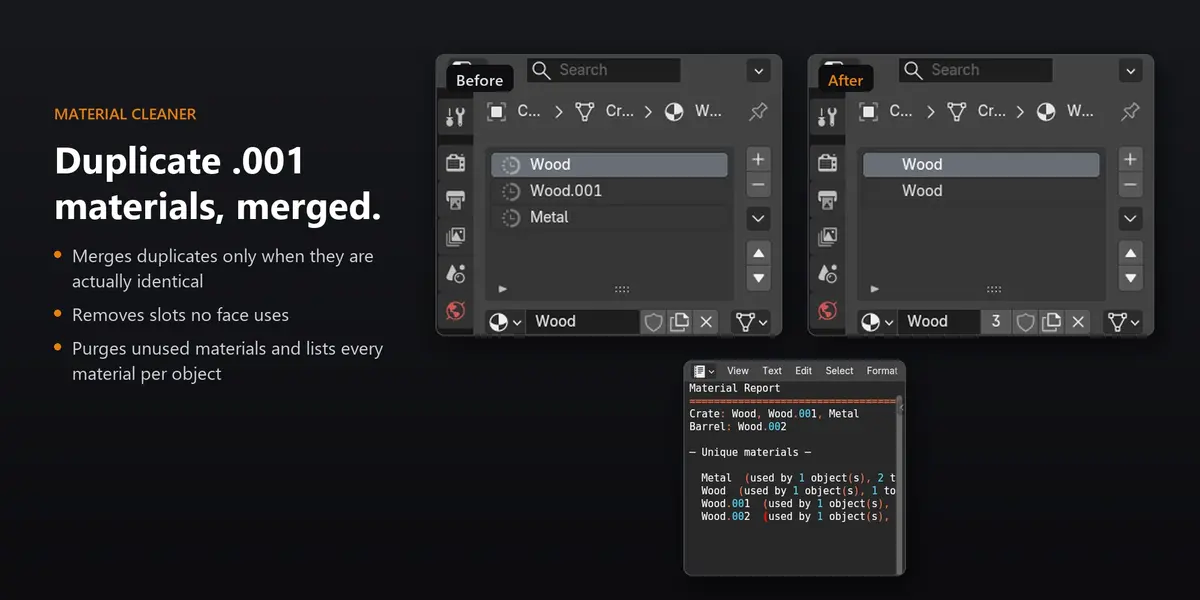
- Remove Unused Slots: deletes material slots that no face uses, on each selected mesh.
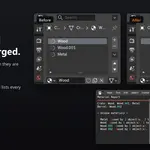
- Merge Duplicate Materials: finds materials named like Wood.001 and remaps their users to Wood. With Only Identical on (default), a copy is merged only if its viewport settings and node tree match the original; copies that differ are kept and listed in a warning. Turn the option off to merge by name alone.
- Purge Orphan Materials: removes materials with zero users from the file. Materials with a fake user are kept, and no other data types are touched.
- Material Report: lists the materials on each selected mesh and their user counts in PUT_Material_Report.
Pivot / Origin
- Set Origin: Geometry Center, Bounding Box Center, 3D Cursor, World Origin, Bottom Center or Center of Mass. Each selected object gets its own origin. With Keep Visual Position on (default) the geometry stays where it is; turn it off to keep the object's position and move the geometry instead.
- Drop to Floor: moves each selected mesh so its lowest point is on Z = 0 and puts its origin at the bottom center.
- Center to World: moves the whole selection so the center of its combined bounding box is at the world origin.
These tools change object locations directly, so results with parented objects can differ.
Transform Tools
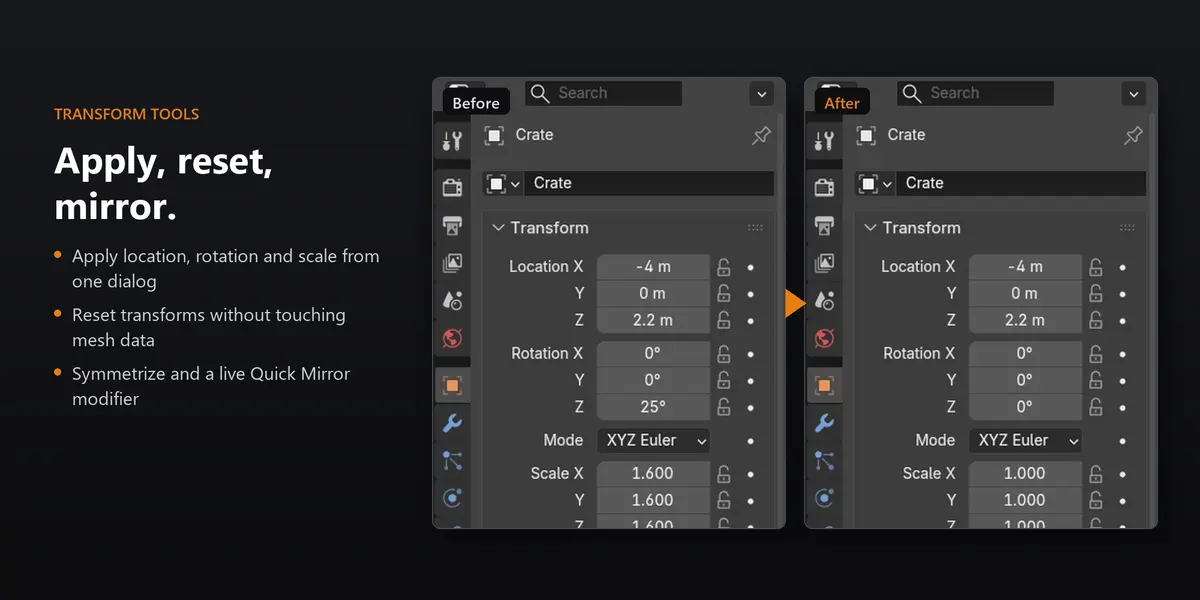
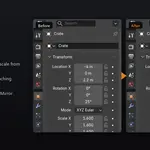
- Apply Transforms: applies location, rotation and/or scale (defaults: rotation and scale).
- Reset Transforms: sets location, rotation and/or scale back to defaults without changing mesh data.
- Symmetrize: mirrors one half of each selected mesh onto the other along the axis you pick.
- Quick Mirror Modifier: adds (or updates) a live Mirror modifier with axis, bisect and merge-threshold options.
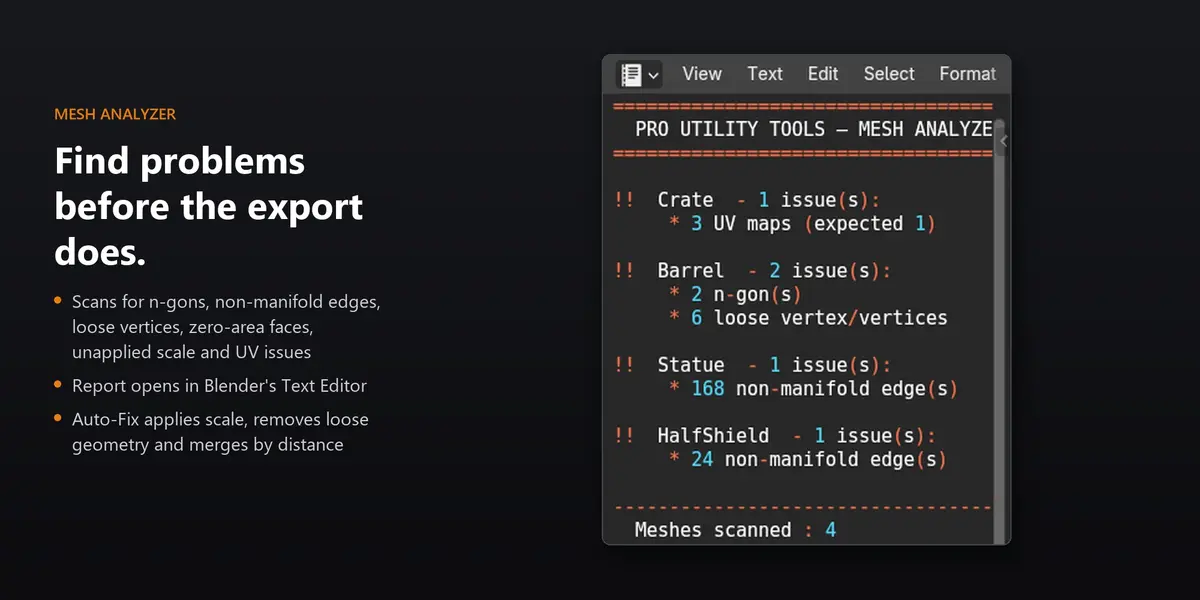
Mesh Analyzer
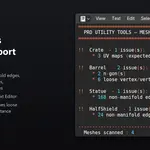
Mesh Analyzer only reads. It checks each selected mesh for n-gons, non-manifold edges, loose vertices, zero-area faces, unapplied scale, missing UV maps and more than one UV map, and writes PUT_Mesh_Analyzer.
Auto-Fix Mesh Issues applies scale, removes loose vertices, removes zero-area faces and merges vertices by distance (default 0.0001 m). Each step has its own toggle. N-gons, non-manifold edges and UV problems are reported but not changed automatically.
Scene Cleaner
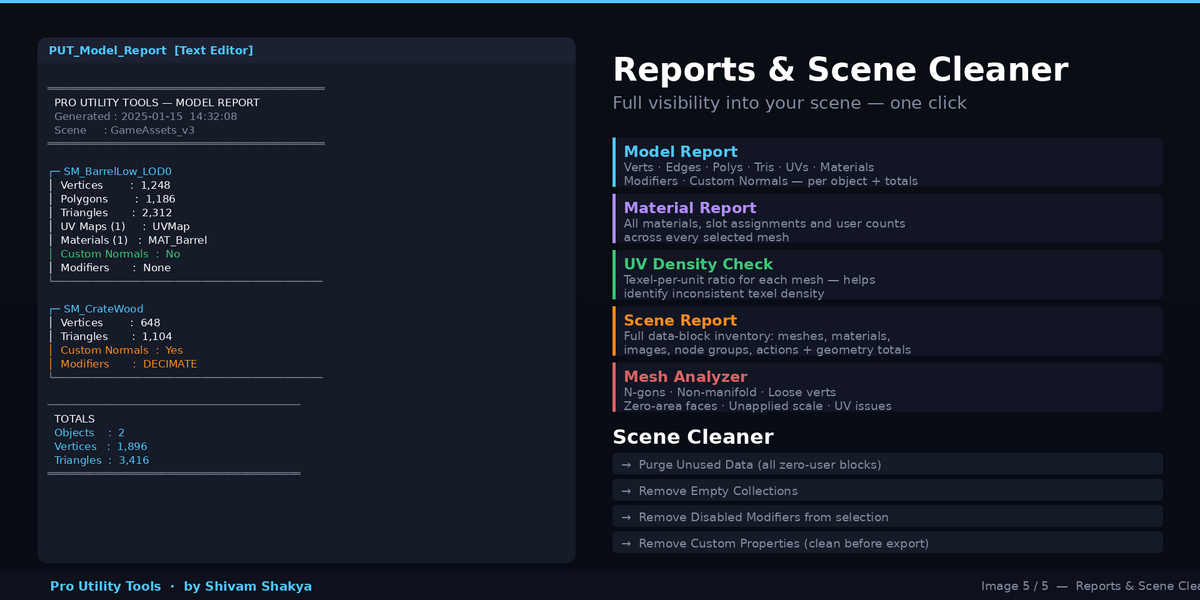
- Purge Unused Data: removes every data-block with zero users (meshes, materials, images, node groups, actions…), recursively by default. Asks first.
- Remove Empty Collections: removes collections that contain no objects and no child collections, including nested ones.
- Remove Disabled Modifiers: removes modifiers that are disabled for render on the selected meshes.
- Remove Custom Properties: strips custom properties from the selected objects, optionally from their mesh data too. Properties starting with an underscore are kept.
Automation
- Automatic Object Set: moves selected objects into collections by type: Meshes, Lights, Cameras, Curves, Armatures, Empties and so on.
- Multi-Camera Render: renders a still from every camera in the scene into a multi_render folder next to the .blend, one PNG per camera. Save the .blend file first. Blender is busy while it renders.
Reports
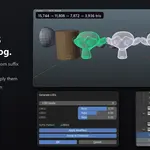
- PUT_Model_Report: vertices, edges, faces, triangles, UV maps, materials, custom normals and modifiers for each selected mesh, plus totals.
- PUT_Scene_Report: objects by type, data-block counts and scene vertex / face / triangle totals.
- PUT_Material_Report: materials per selected mesh and their user counts.
- PUT_Mesh_Analyzer: issues found per mesh.
- UV_Density_Report: UV area compared with surface area per mesh.
Each report replaces its previous version when you run it again.
Compatibility
Blender 4.3 or newer; tested in Blender 5.1. Pure Python with no compiled parts and no extra dependencies, and it makes no network connections. Distributed as a classic add-on zip.
Support
Bug reports and feature requests are welcome via the Superhive product page. Responses within 48 hours; fixes pushed within one week. A README and CHANGELOG are included in the download package.
Have questions about this product?
Login to message
| Published | about 3 hours ago |
| Blender Version | |
| Extension Type | N/A |
| Render Engine Used | Blender-Internal |
| License | GPL |

Discover more products like this
batch-rename Game asset scene cleaner mesh-analyzer blender addon mesh tools LOD normals material cleaner Export