Procedural Wounds Pro: Draw Realistic Cuts, Scratches and Claw Marks on Any Mesh
 blenderustad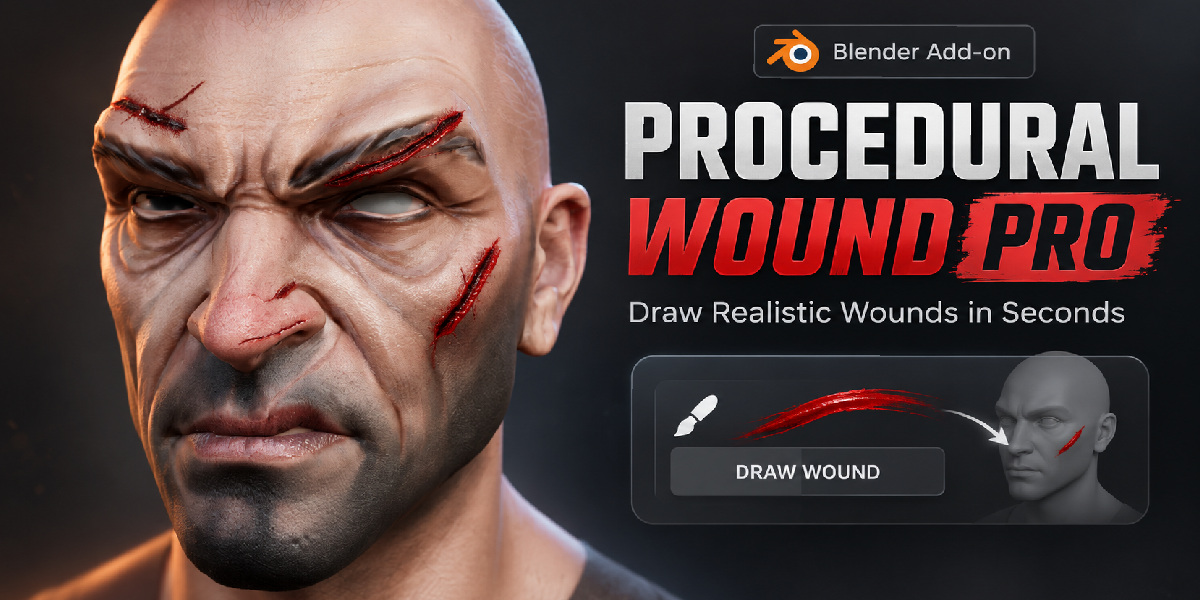
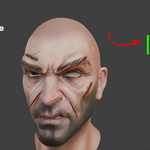
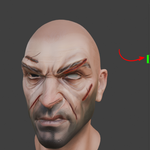
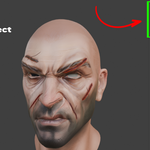
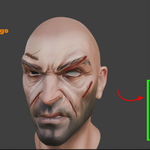
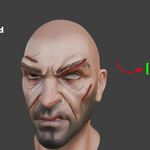
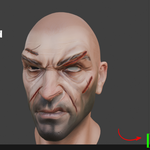
Requirements
- Blender 4.2 or newer
- A mesh object to draw on
- Object Mode in the 3D Viewport
Installation
- Download the ZIP. Do not unzip it.
- Open Blender and go to Edit > Preferences > Add-ons (or Get Extensions in Blender 4.2+).
- Click the small arrow at the top right and choose Install from Disk.
- Select the ZIP file.
- Make sure Procedural Wounds Pro is enabled.
- In the 3D Viewport press N and open the Wound Maker tab.
Quick start: your first wound
- Select your character or mesh in Object Mode.
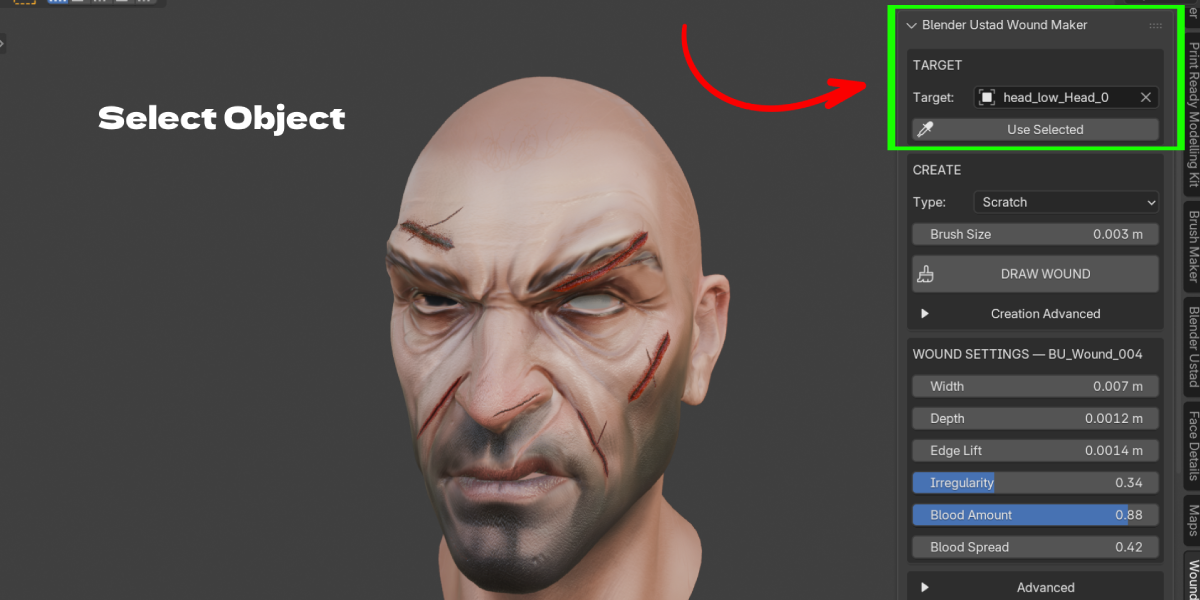
- In the Target section click Use Selected.
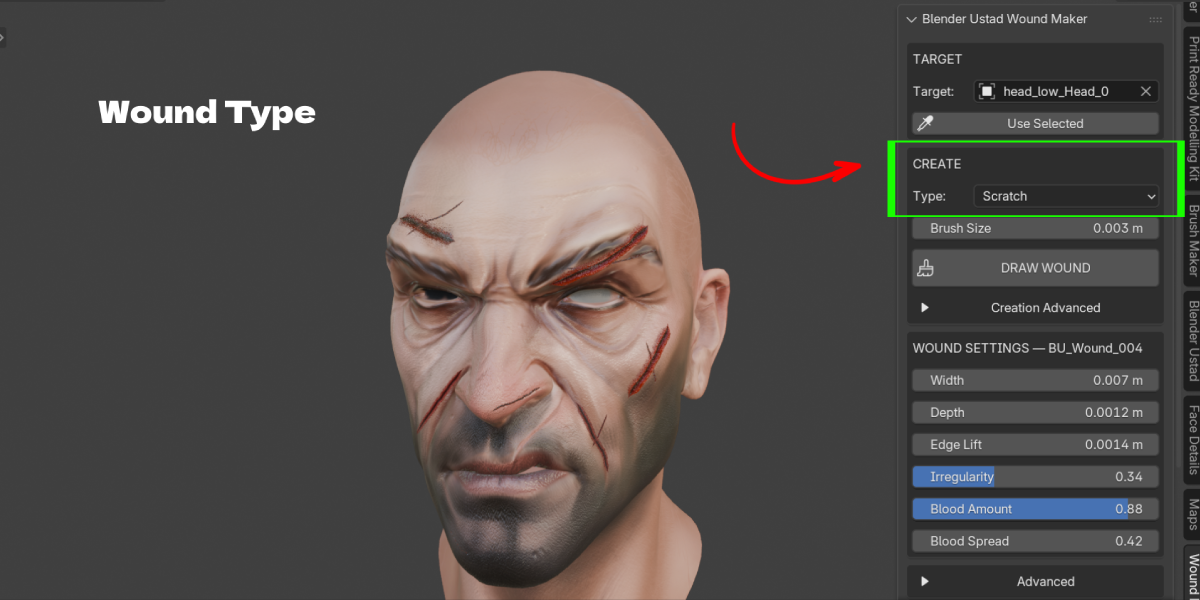
- In Create, pick a Type, for example Fresh Cut.
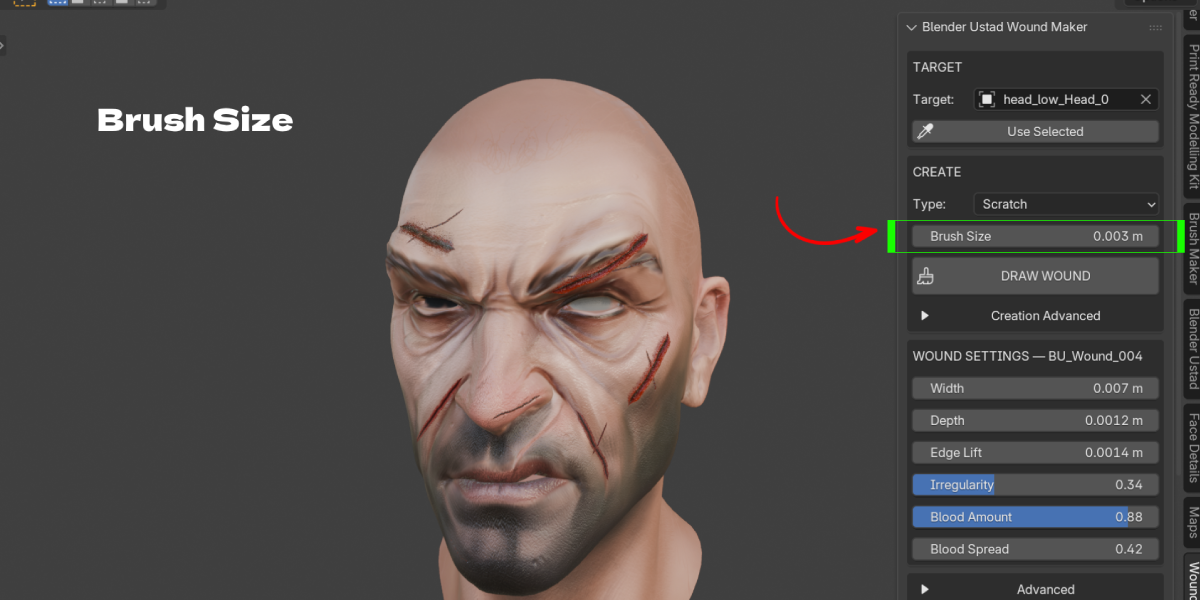
- Set the Brush Size.
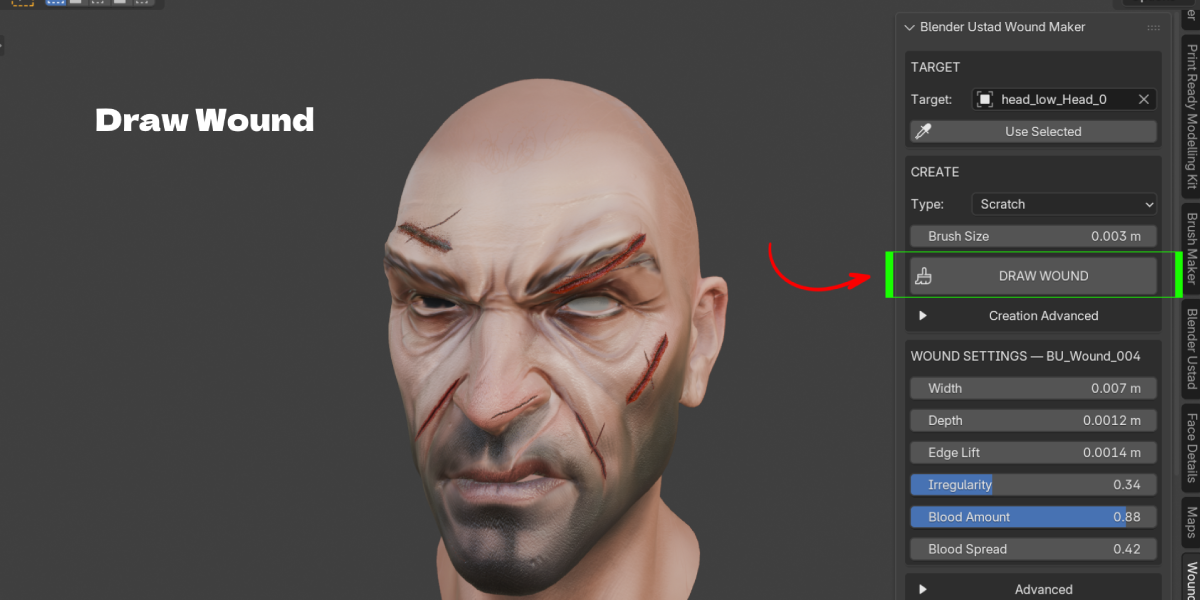
- Click DRAW WOUND. The cursor turns into a crosshair and a red brush circle appears on the surface.
- Hold Left Mouse and drag across the surface.
- Release. The wound is created and selected.
Controls while drawing
| Input | Action |
|---|---|
| Left Mouse drag | Draw the wound path |
| Release Left Mouse or Enter | Finish and build the wound |
| Mouse Wheel | Change Brush Size |
| Shift + Mouse Wheel | Change Edge Lift |
| Middle Mouse | Orbit the view (before you start a stroke) |
| Esc or Right Mouse | Cancel |
Panel overview
Target
- Target: the mesh you draw on. Wound objects and path controllers cannot be picked as targets.
- Use Selected: sets the active mesh as the target.
Create (settings for the next wound)
- Type: Fresh Cut, Deep Cut, Scratch, Claw Scratch or Fresh Bloody Wound. Choosing a type loads its preset values.
- Brush Size: the drawing width. This becomes the starting Width of the wound.
- Stroke Count and Spacing: shown only for Claw Scratch.
- Creation Advanced: Depth, Edge Lift, Irregularity, Blood Amount, Blood Spread, Width Variation, Edge Roughness, Wetness, Blood Darkness, Stroke Smooth, Seed and Surface Offset. Claw Scratch also shows Length Variation and Random Offset.
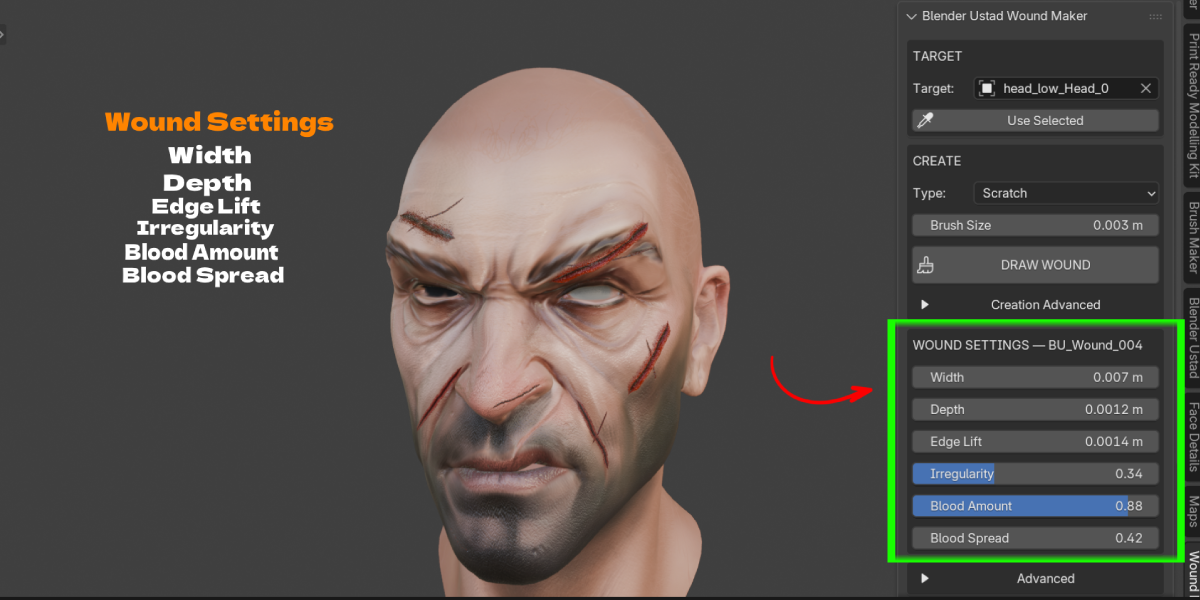
Wound Settings (appears when a wound is selected, changes only that wound)
- Width: how wide the wound is.
- Depth: how deep and dark the center looks.
- Edge Lift: how high the torn edges rise above the skin.
- Irregularity: how much the center line wanders.
- Blood Amount: how much blood color is in the wound.
- Blood Spread: how far the blood halo reaches outside the wound.
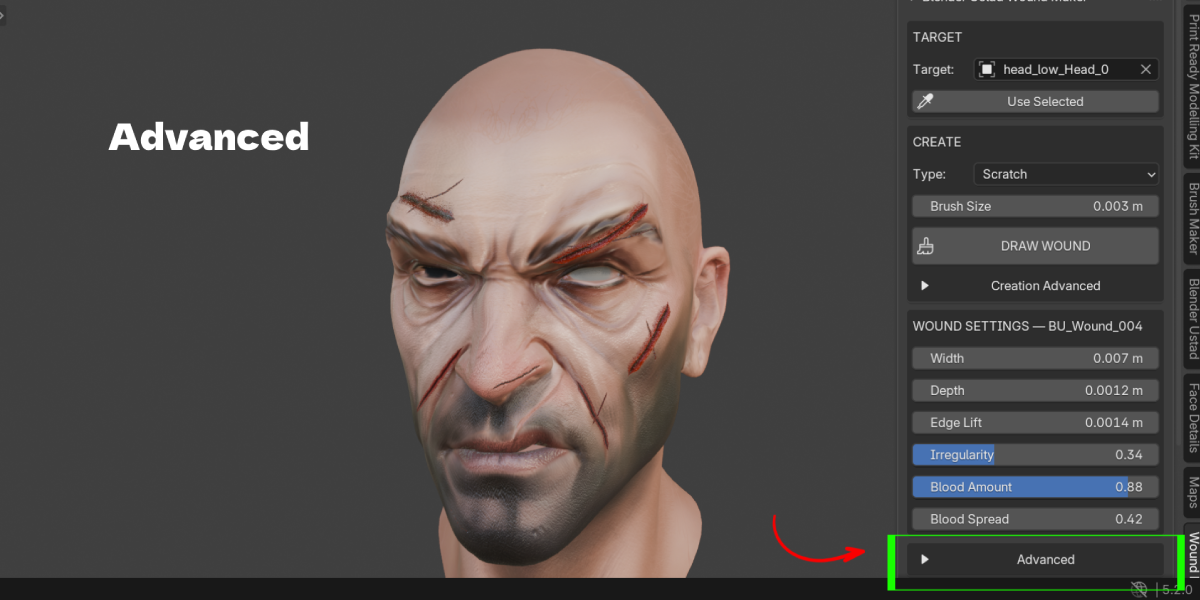
Advanced (per wound)
- Width Variation: thicker and thinner sections along the length.
- Edge Roughness: ragged, uneven edges.
- Wetness: how shiny and wet the blood is.
- Blood Darkness: fresh red to dark, older blood.
- Smooth: how much the drawn stroke is smoothed.
- Seed: a new random variation with the same settings.
- Surface Offset: the gap between the wound and the skin. Raise it if you see flicker.
- Opacity: fade the whole wound.
Edit
- Edit Path: shows the hidden path controller and enters Edit Mode on it.
- Rebuild: projects the edited path back onto the surface and rebuilds the wound.
- Duplicate: creates a new wound on the same path with the next seed.
- Delete Wound: removes the wound and its path controller.
Clear All Wounds: removes every wound made by the add-on in the scene, after a confirmation. Your other objects are not touched.
Editing a wound path
- Select the wound.
- Click Edit Path. The path controller appears and all its points are selected.
- Move, add or delete points in Edit Mode.
- Click Rebuild Wound. The path is snapped back to the surface and the wound is rebuilt with the same settings.
Working with rigged and animated characters
Draw on the character as usual. If the target has a deforming modifier (Armature, Lattice, Mesh Deform, Shape Keys, Cloth and others), each wound gets a BU_Surface_Attachment Surface Deform modifier bound to the target. If the bind fails, you get BU_Surface_Fallback (Shrinkwrap) and BU_Edge_Profile (Displace) instead. Wounds are also parented to the target, so moving, rotating or scaling the character carries the wounds along.
Tip: draw in the rest pose or a neutral pose for the cleanest bind.
What the add-on adds to your file
- A
BU_Woundscollection - One
BU_Wound_###mesh per wound - One hidden path controller per wound
- One shared node group,
BU_Wound_Master_Shader - One small material per wound so each wound keeps its own blood and wetness values
Render engines
The wound material is built from standard Blender shader nodes (Principled BSDF, Noise, Bump and a Color Ramp) with transparency for the blood halo, so it renders in both Cycles and EEVEE.
Troubleshooting
- "Select a mesh first": the active object is not a mesh, or nothing is selected. Select a mesh and click Use Selected.
- "Switch to Object Mode before drawing": leave Edit, Sculpt or Pose Mode first.
- "Stroke is too short": drag a longer stroke, or lower the Brush Size.
- Brush circle is huge or tiny: your model is not at real world scale. See the FAQ below.
- Wound flickers or parts vanish into the skin: raise Surface Offset a little.
Support
Email: Website: YouTube:
License: GPL 3.0 or later.
Have questions about this product?
Login to message
| Blender Extension Compatible | Yes |
| Published | 10 days ago |
| Blender Version | 3.2 - 5.2 |
| Extension Type | Add-on |
| Render Engine Used | Cycles, Eevee |
| License | GPL |

Discover more products like this
procedural wounds blender character damage blender wound addon blood and wounds skin damage battle damage gore claw marks scars scratches wounds