 Cgi Lab
Product Design Studio Duo: Quickstart
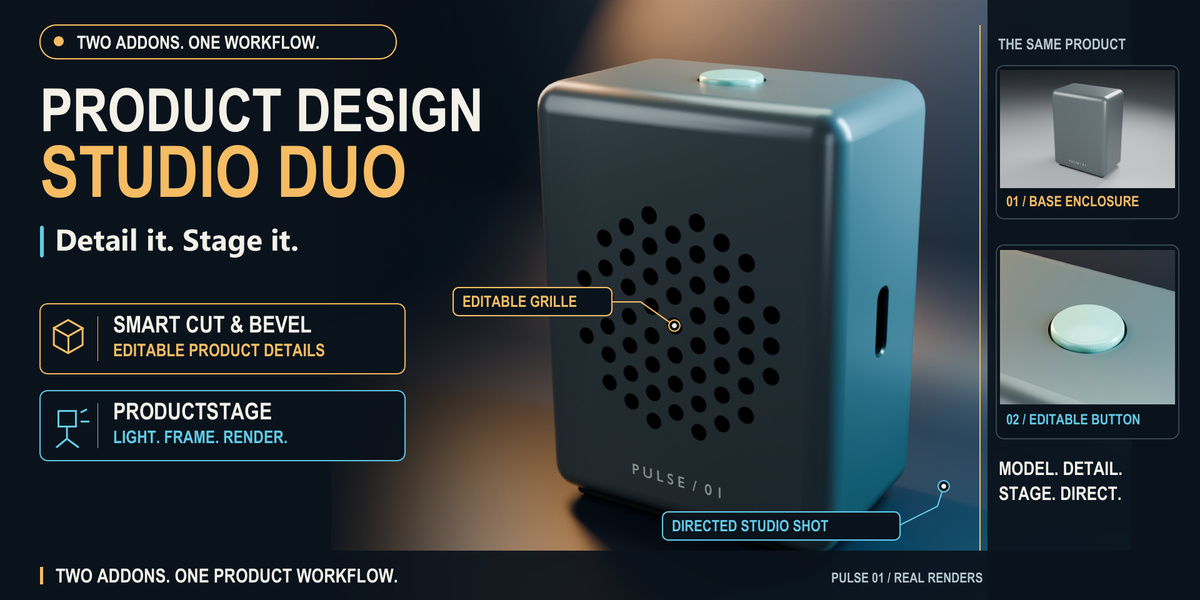
This guide connects Smart Cut & Bevel 1.5.1 and ProductStage 0.1.2 using the included PULSE 01 speaker concept. The workflow was checked on Windows with Blender 5.2.1 LTS and Cycles CPU. Keep the supplied files as starting points and save your experiments under new names.
Install the two addons
- Download the two installer ZIPs and the PULSE practice pack. Extract the practice pack to a writable folder. Keep the individual addon ZIPs compressed for installation.
- In Blender, open Edit > Preferences. Use the menu in Get Extensions or Add-ons to choose Install from Disk, then select
smartcut_bevel_v1.5.1.zip. Repeat forProductStage-0.1.2-extension.zip. - Enable both addons and restart Blender. In a 3D Viewport, press N to open the sidebar. Look for Smart Cut and ProductStage. Smart Cut also provides the Shift+Q menu.
- If an older copy is already installed, save your work and preserve that installer before replacing it. Avoid enabling duplicate copies from different extension repositories.
Install the addon ZIPs individually. The practice pack is a collection of scenes and learning material, not a third addon. Inspecting the supplied scenes does not require enabling Auto Run Python Scripts.
Choose your starting point
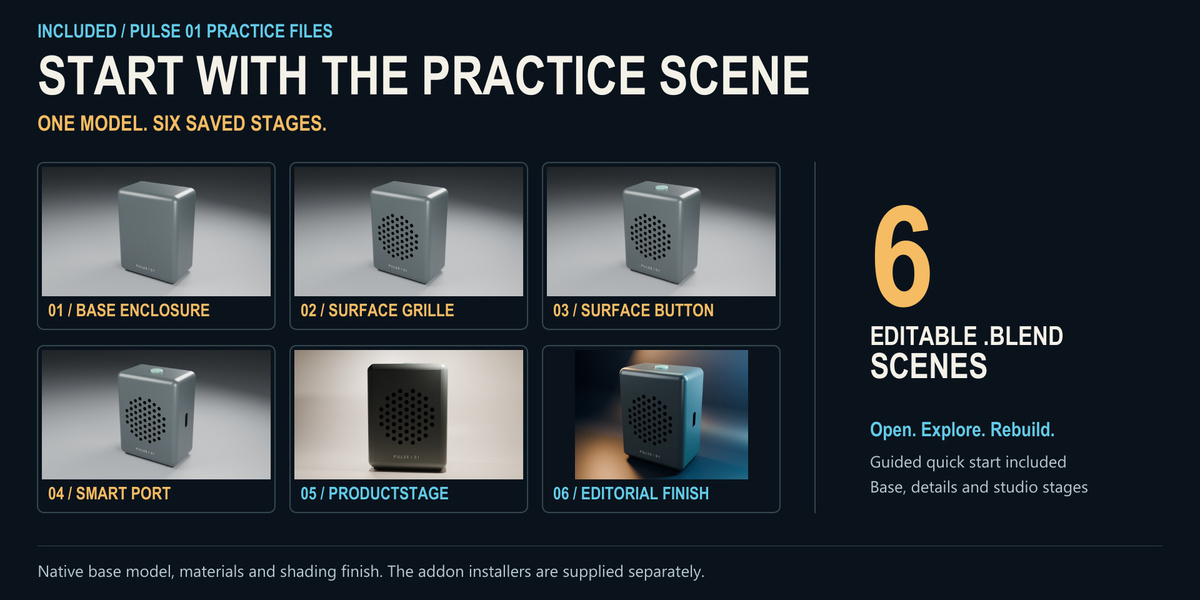
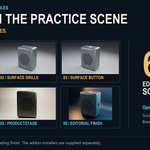
Extract PULSE01_Practice_Scenes.zip and open its scenes folder. The six numbered checkpoints let you begin at the part of the workflow you want to study:
-
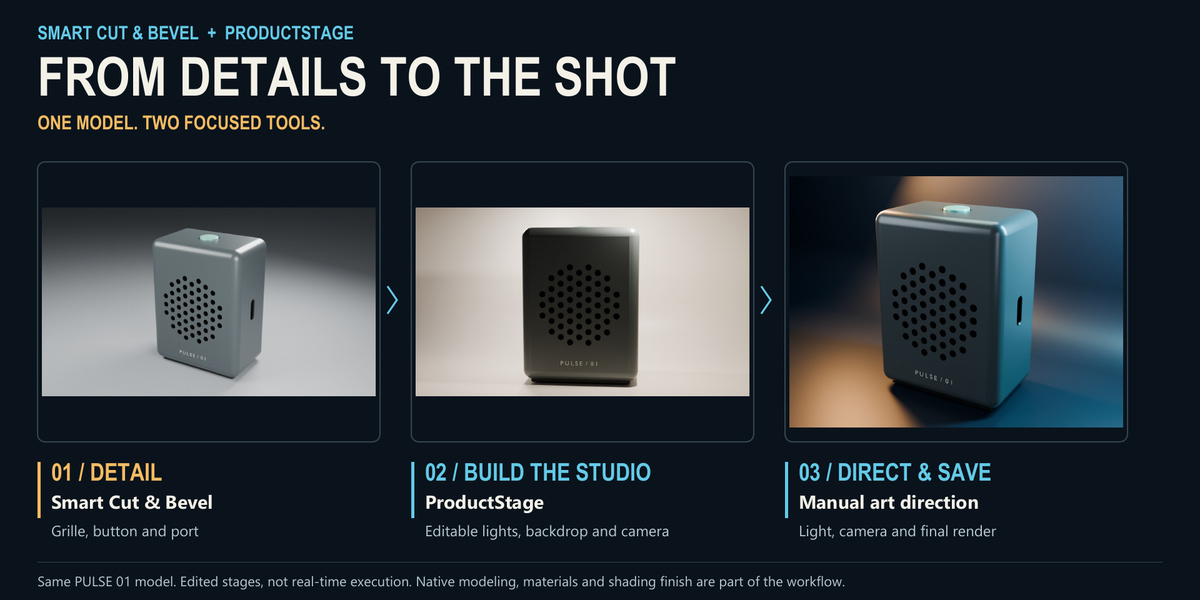
01_PULSE_Base.blend: the native enclosure, rear panel, foot, interior shadow and lettering. -
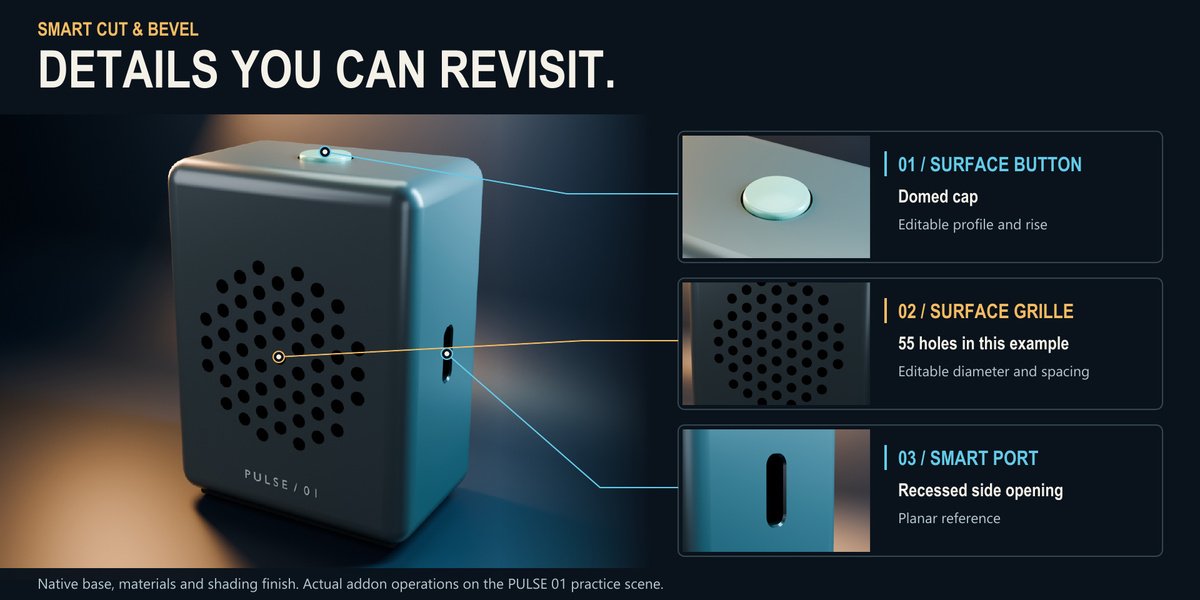
02_PULSE_Surface_Grille.blend: the Surface Grille operation, with 55 holes for this particular pattern. -
03_PULSE_Surface_Button.blend: the domed top control added with Surface Button. -
04_PULSE_Smart_Port.blend: the side recess added with Smart Port. -
05_PULSE_ProductStage_Studio.blend: the ProductStage setup and saved output configuration. -
06_PULSE_Editorial_Studio.blend: the final manually directed five-light setup.
For the quickest route to an image, open checkpoint 05. For the most useful first editing exercise, open checkpoint 04 and change one detail before building your own studio.
Inspect or edit a detail safely
Keep the hidden cutters and reference objects. They are dependencies of the editable result. To adjust the grille, select its cutter and use Edit Grille; to adjust the button, select its cap and use Surface Button controls. Work through the dedicated editors rather than moving vertices on generated parts.
When creating the PULSE details again from the base checkpoint, select the body, enter Edit Mode and use only the appropriate large face: front facing -Y for the grille, top facing +Z for the button, and side facing +X for the port. The included quickstart supplies the detailed parameter recipe. Use a fresh copy when comparing changes.
The prepared model uses flat shading on the five large planar faces and smooth shading on its curved faces. The original upstream Native weighted normals modifier is disabled; the final Smart_WeightedNormal modifier is retained. This is native preparation for this particular model. After changing Boolean details, review the shading under useful light before your final render.
Build the ProductStage checkpoint
- Open checkpoint 04 and save a working copy. In Object Mode select the six visible product parts:
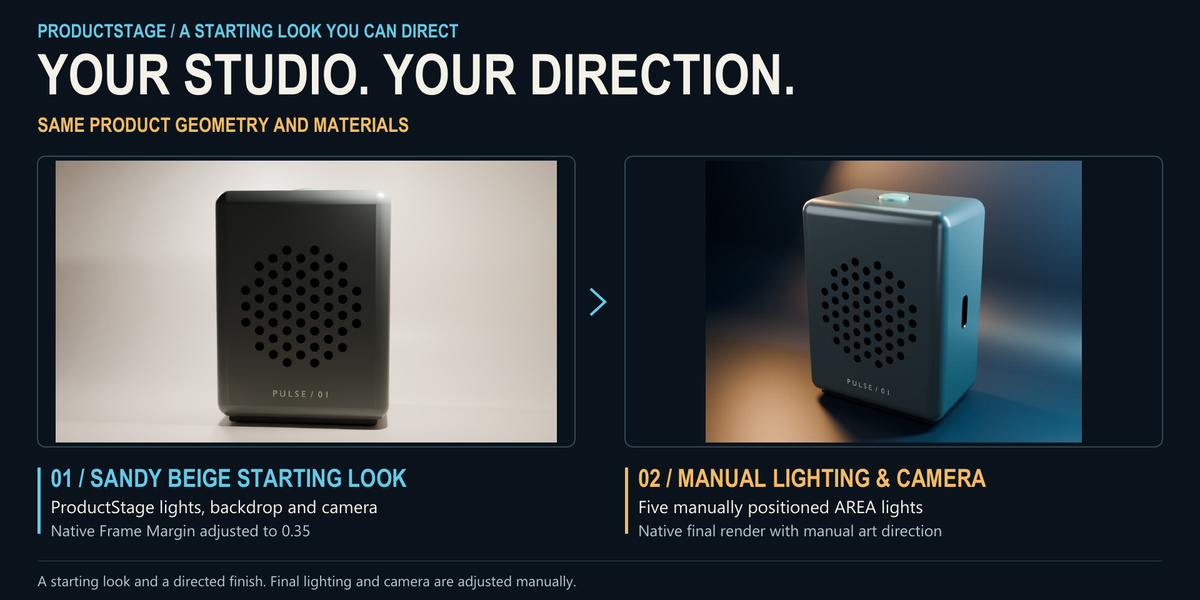
Pulse_Body,Pulse_BackPanel,Pulse_Base,Pulse_AcousticShadow,SurfaceButton_Pulse_BodyandPulse_Label_Native. Leave hidden cutters and references out of this selection. - Open ProductStage in the sidebar, choose Sandy Beige and click Build Studio. The addon stores the selected product group for later framing operations.
- For an automatic framing exercise, use HERO, a 50 mm lens, a 0.35 frame margin and 16:9 output. Turn depth of field off initially. Check the camera view with Numpad 0.
- Use Update Camera when you want the addon to recalculate the framing. If Keep Camera is active, turn it off before requesting a new automatic framing. If you direct the camera manually, turn Keep Camera on afterwards to retain that composition.
- Use one ProductStage studio in each scene. Save a separate .blend for a substantially different setup.
Checkpoint 05 contains the preset's lights and backdrop, with a manually directed 50 mm camera. Its camera sits at (6, -10, 6.4) and looks toward (0, 0, 1.72). The camera placement is an artistic choice for this model, not a required setting for every product.
Render and save from ProductStage
- Open checkpoint 05 or your own new studio scene. Save your .blend in a writable folder.
- In Output, choose your destination and product name. The supplied studio uses
//renders/, a folder relative to the saved .blend. - For a first check choose PNG, 16:9 and a width of 1280 pixels. Read the output dimensions before starting.
- Choose Cycles CPU to follow the tested configuration, then use Render & Save.
- Check the filename shown after completion. Use Open File or Open Folder to inspect the saved image. Save your scene changes under a new filename.
Render time depends on your machine and settings. The 45-second overview compresses the workflow into an edited sequence; it does not measure modeling or render speed.
Understand the editorial checkpoint
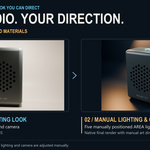
Checkpoint 06 is a separate lighting study built from the studio scene. The existing cyclorama was given a dark material and smooth shading. Five new area lights and a camera were placed manually; the original three preset lights were hidden. Those five new lights are ordinary Blender lights and are not connected to ProductStage's preset override sliders.
Inspect or edit those lights directly in Blender. To reproduce the saved editorial setup, use Render > Render Image and save the Render Result from Blender's Image menu. The supplied editorial images were made with that native render workflow. Return to checkpoint 05 when you want to study the addon-controlled rig and its output controls.
If something looks wrong
- No addon panel: confirm the addon is enabled, restart Blender and open the sidebar of a 3D Viewport.
- Part of the product is cropped: check that every visible product part was selected before Build Studio, then review Keep Camera and the frame margin.
- Unexpected dark rays around cuts: inspect flat/smooth shading and modifier order. Compare with an untouched supplied checkpoint before applying further changes.
- Changes to light sliders do not affect checkpoint 06: its five lights were authored manually. Edit their normal light properties or use checkpoint 05.
- No output file: choose a writable destination, save the .blend and verify the filename reported after Render & Save.
For help, send a Superhive inbox message with your operating system, Blender version, addon versions, the checkpoint used and the shortest steps that reproduce the issue. A small example .blend or screenshot is helpful when you can share it.
Use and licensing
PULSE 01 is an original visual concept for learning and presentation. The side recess is not a certified connector; the model is not an acoustic or manufacturing specification. Native modeling, materials and shading decisions are part of the example.
The two addons retain the GPL licenses distributed in their installers. The original PULSE practice assets and bundle learning media are covered by the Superhive Standard Royalty Free License, including its redistribution and branding restrictions. The asset license does not restrict the GPL rights for addon code. Review the license files included with your download.
Have questions about this product?
Login to message
| Blender Extension Compatible | Yes |
| Published | about 14 hours ago |
| Blender Version | 5.2 |
| Extension Type | Add-on |
| Render Engine Used | Cycles |
| License | GPL |
Discover more products like this
bundle hard surface Studio Lighting product Design productstage product-visualization modeling smart cut