 MikeStore


Profiler 2.0 — User Documentation
Profiler turns any Blender curve into a molding, trim, or profiled shape by beveling it with a chosen cross-section. This guide covers installation, every control in the panel, and the main workflows.
- Author / support: Mike Radjabov — [email protected]
- Compatibility: Blender 3.6 LTS through 5.2
- Category: Modeling
1. Installation
Profiler ships as two files. Use the one that matches your Blender version.
Blender 4.2 – 5.2 (extension)
- Open Edit ▸ Preferences ▸ Get Extensions.
- Click the dropdown (▾) in the top-right ▸ Install from Disk…
- Select
profiler_extension.zip.
Blender 3.6 – 4.1 (classic add-on)
- Open Edit ▸ Preferences ▸ Add-ons.
- Click Install… and select
profiler_legacy.zip. - Tick the checkbox next to "Profiler" to enable it.
After installing, open the 3D Viewport sidebar by pressing N and select the Profiler tab.
2. Quick start (60 seconds)
- Add or select a curve (or convert a mesh — see §4).
- In the Profiler panel, click a profile in the gallery at the top.
- Click Apply Profile.
- Your curve now has that cross-section. Use the alignment, rotate, mirror, dimension and offset controls to position it.
That's the whole core loop: pick a profile, apply, adjust.
3. The panel, control by control
Profile gallery
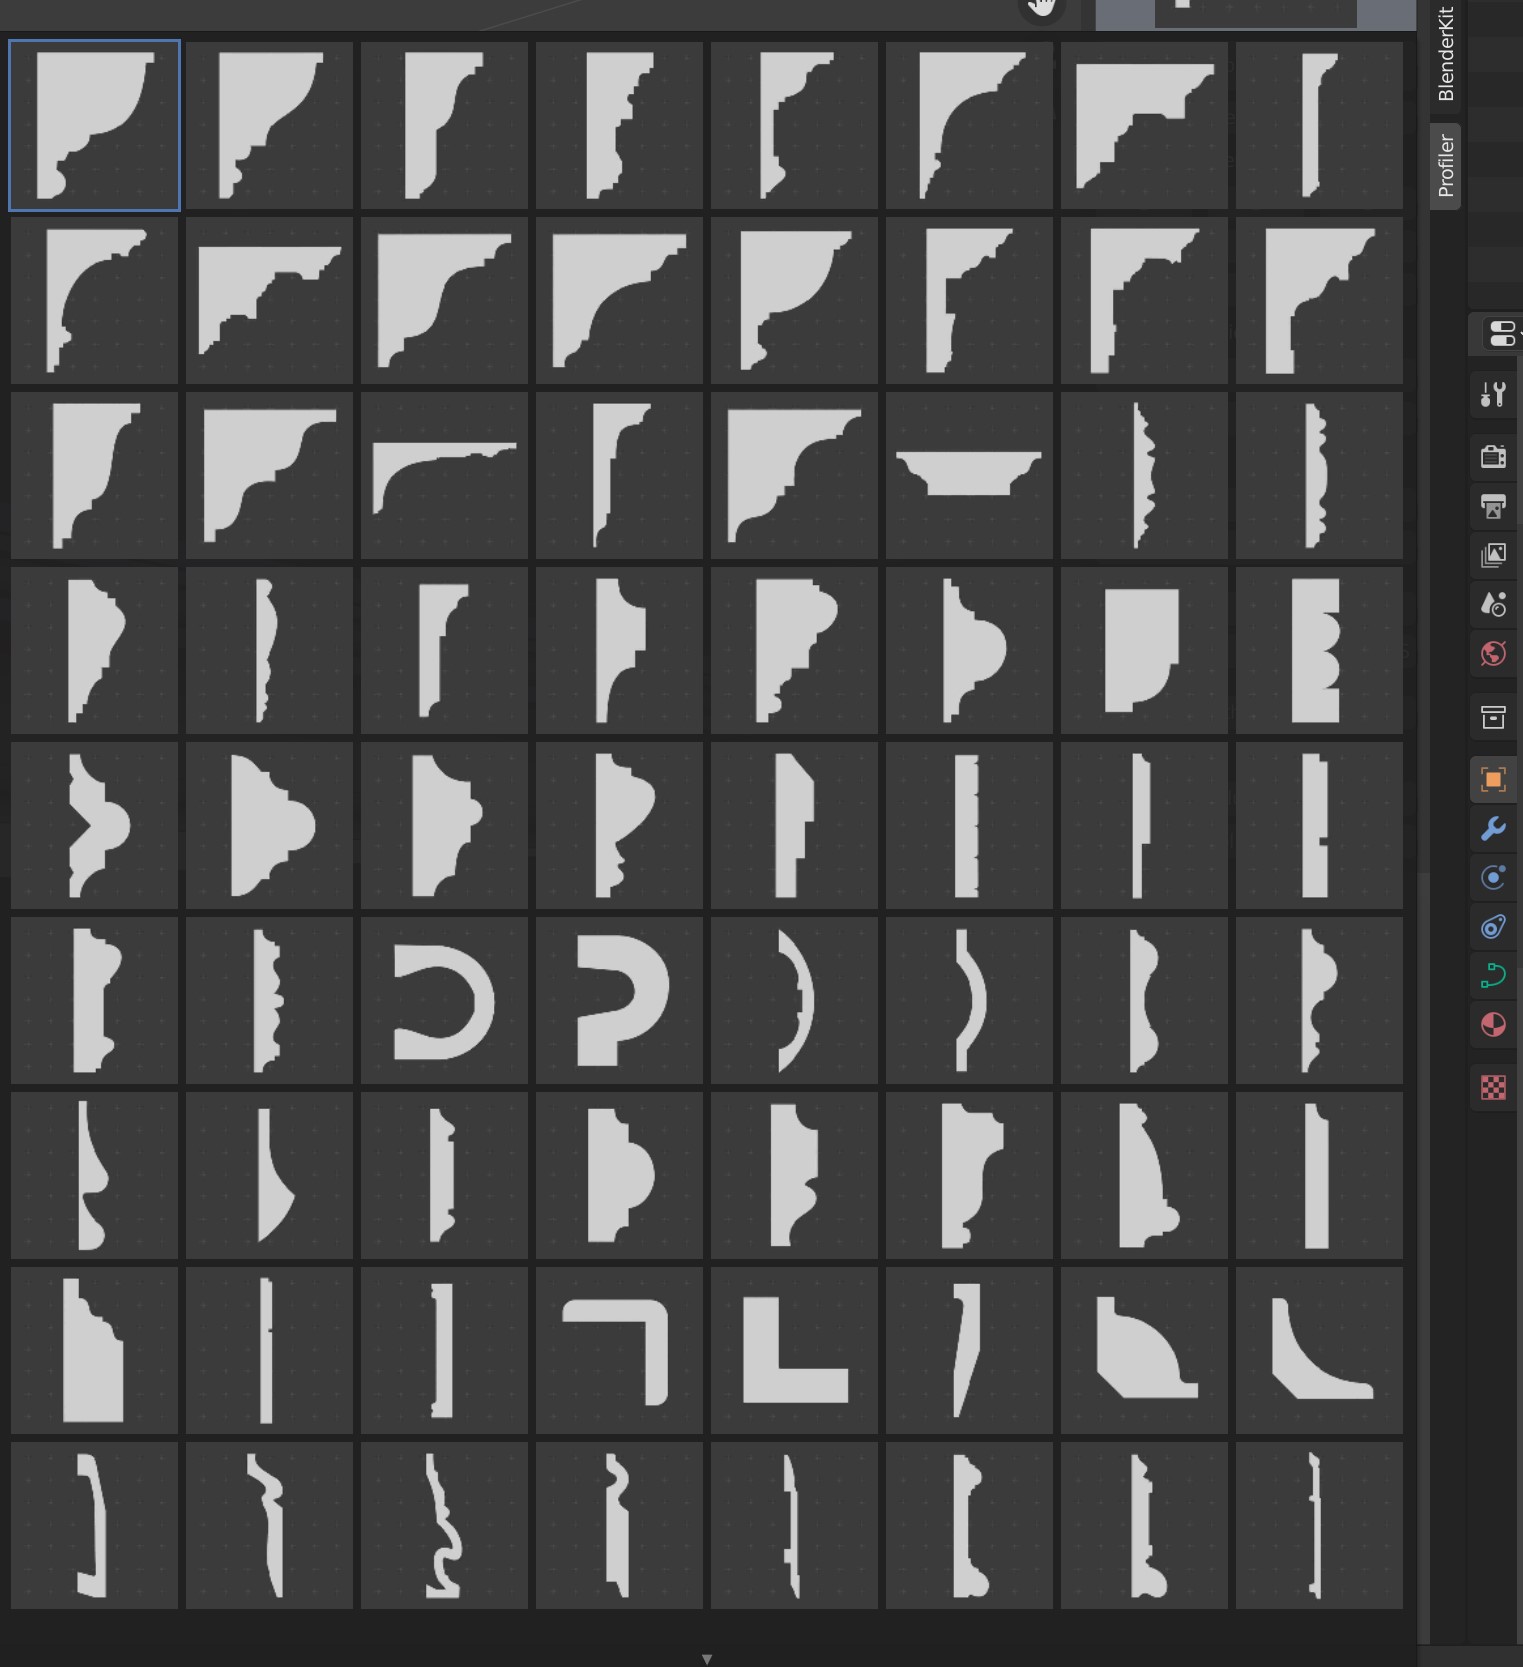
The image grid at the top is the profile picker. Click the preview to open the full gallery of 76 built-in profiles plus any custom profiles you've saved. The selected profile is what Apply Profile uses.
Apply Profile
Applies the selected profile to the active curve as its bevel cross-section. If the curve already has a profile, applying a new one replaces it.
Convert to Curve
Converts the selected object — or, in Edit Mode, a selected face or edge loop — into a curve so you can apply a profile to it. See §4.
Custom Profiles
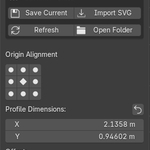
- Save Current — saves the selected curve as your own reusable profile (see §5).
-
Import SVG — imports an
.svgdrawing as a profile (see §6). - Refresh — reloads the gallery thumbnails (use after adding files manually).
- Open Folder — opens the folder where your custom profiles are stored, for backup (see §7).
The controls below appear only when a curve with a profile applied is active.
Origin Alignment (3×3 gamepad)
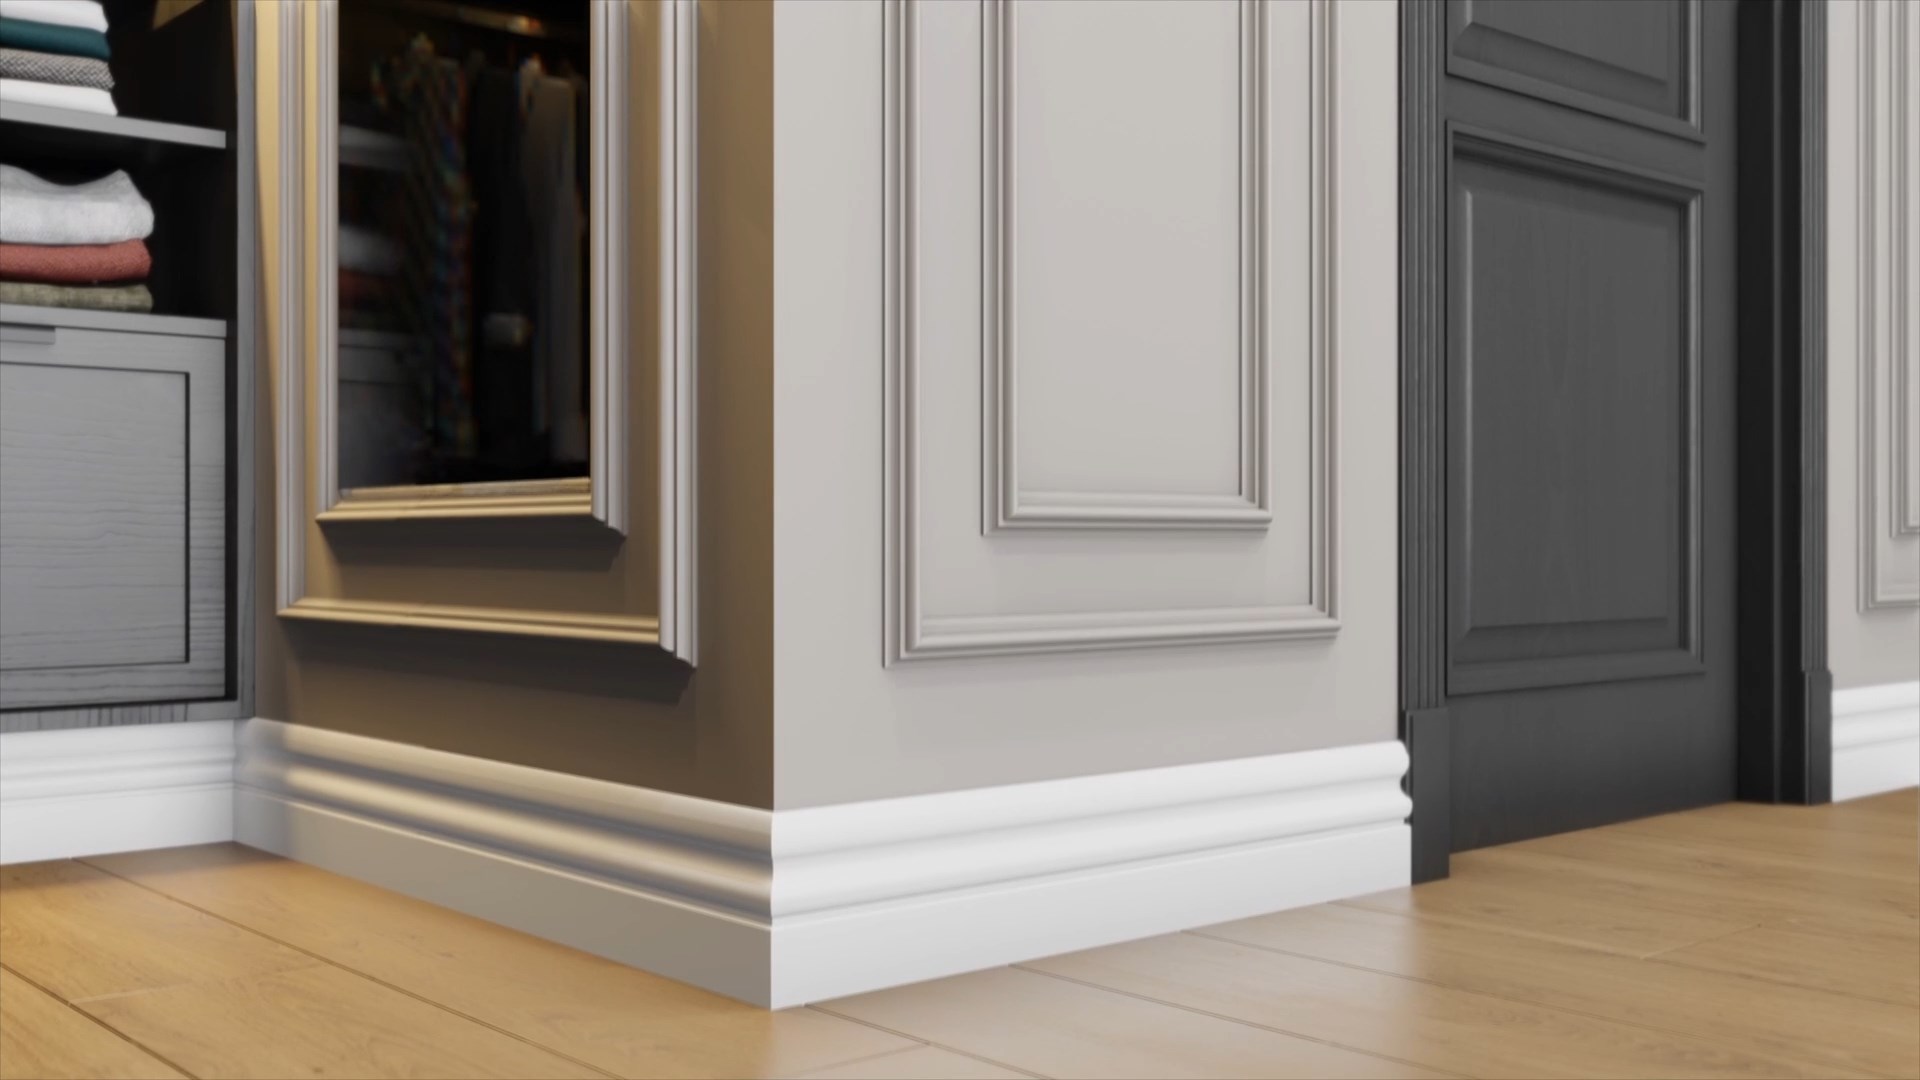
Nine buttons that snap the profile's origin to a corner, edge-midpoint, or center of its bounding box. This controls how the profile sits relative to the curve — e.g. align a baseboard so it sits flush on the floor, or a crown molding into a wall/ceiling corner.
Profile Dimensions (X / Y)
Sets the real-world width (X) and height (Y) of the profile. The small reset button (↺) next to the label restores the profile to its default (saved) size.
Offset
- X — shifts the profile sideways relative to the curve.
- Z — moves the profile along the curve's local Z axis.
Rotate / Mirror / Flip
- −90° / +90° — rotate the profile in 90° steps.
- Mirror X / Mirror Y — mirror the profile across an axis.
- Switch direction (⟲ icon) — flips the profile's normal direction (use if the surface faces inward).
Shade Smooth / Shade Flat
Sets the shading of the resulting geometry.
Resolutions
- Curve Resolution — smoothness along the length of the curve.
- Profile Resolution — smoothness of the cross-section itself. Lower these for performance; raise them for smoother results.
4. Profiling a mesh (Convert to Curve)
Profiles apply to curves, so a mesh edge must first become a curve:
- Select your mesh and enter Edit Mode.
- Select a face, edge loop, or boundary you want to profile (e.g. the top edge of a wall for crown molding, or the base for skirting).
- In the Profiler panel, click Convert to Curve. Profiler extracts the selection, turns it into a curve, and leaves it ready.
- Pick a profile and click Apply Profile.
You can also select a whole object in Object Mode and click Convert to Curve.
5. Saving your own profiles
- Make or select a curve shaped like the cross-section you want (drawn in the front/XY plane works best).
- Click Save Current, type a name, and confirm.
- Profiler cleans the curve up (bakes its scale/rotation, closes it into a solid) and adds it to the gallery with an auto-generated thumbnail.
Your saved profile now behaves exactly like a built-in one and can be applied to any curve.
Tip: open profiles (not fully closed) are automatically closed into a solid so the applied result matches the gallery preview.
6. Importing SVG profiles
You can design a profile in Illustrator, Inkscape, or any vector tool and import it:
- Click Import SVG and choose your
.svgfile. - Profiler imports the shape, converts it to a curve, and saves it as a custom profile.
Requirement: this uses Blender's bundled Scalable Vector Graphics (SVG) add-on. If import fails, enable it in Preferences ▸ Add-ons (search "SVG").
7. Where profiles are stored & how to back them up
Your custom profiles live in one folder containing UserProfiles.blend (the shapes) and
Profile_*.png (the thumbnails). By default this is in your Blender config folder.
- Find it: click Open Folder in the Custom Profiles section.
- Back up: copy that whole folder somewhere safe (external drive, Dropbox, OneDrive).
- Restore / move to a new computer: copy the files back into the same folder, or point Preferences ▸ Add-ons/Extensions ▸ Profiler ▸ User Profiles Folder at your backup.
- Tip: set the User Profiles Folder to a cloud-synced location and your profiles are backed up automatically.
Don't keep your only copy inside the add-on's install folder — updating the add-on can replace it.
How applied profiles are stored in your scene: when you apply a profile, its shape is kept referenced by the curve itself (as the curve's Bevel Object). It isn't placed in a visible collection, so it won't clutter your outliner or get deleted by accident, and it's removed automatically when you delete the curve that uses it.
8. Preferences
Edit ▸ Preferences ▸ Add-ons/Extensions ▸ Profiler:
- User Profiles Folder — where your custom profiles are saved. Leave empty for the default location, or set it to a folder of your choice (e.g. a cloud-synced one).
9. Troubleshooting
- Buttons are greyed out. Most controls need a curve (with a profile) active. Select a curve, or apply a profile first.
- Nothing happens on Apply. Make sure a curve is selected and a profile is chosen in the gallery. For a mesh, use Convert to Curve first.
- Import SVG fails. Enable the bundled "Scalable Vector Graphics (SVG)" add-on in Preferences.
- The profile faces the wrong way. Use Switch direction, or Mirror X / Y.
- Custom profile thumbnails look old. Click Refresh after adding or re-saving files.
- Profile looks too big/small. Set the Profile Dimensions, or click the reset (↺) button to return to default.
10. Compatibility & support
- Blender: 3.6 LTS → 5.2. Use the extension zip on 4.2+, the legacy zip on 3.6–4.1.
- License: GPL-3.0-or-later.