Proximityflow
 Blender Wave




ProximityFlow Documentation
Everything you need to set up and get the most out of every effect.
Quick Start
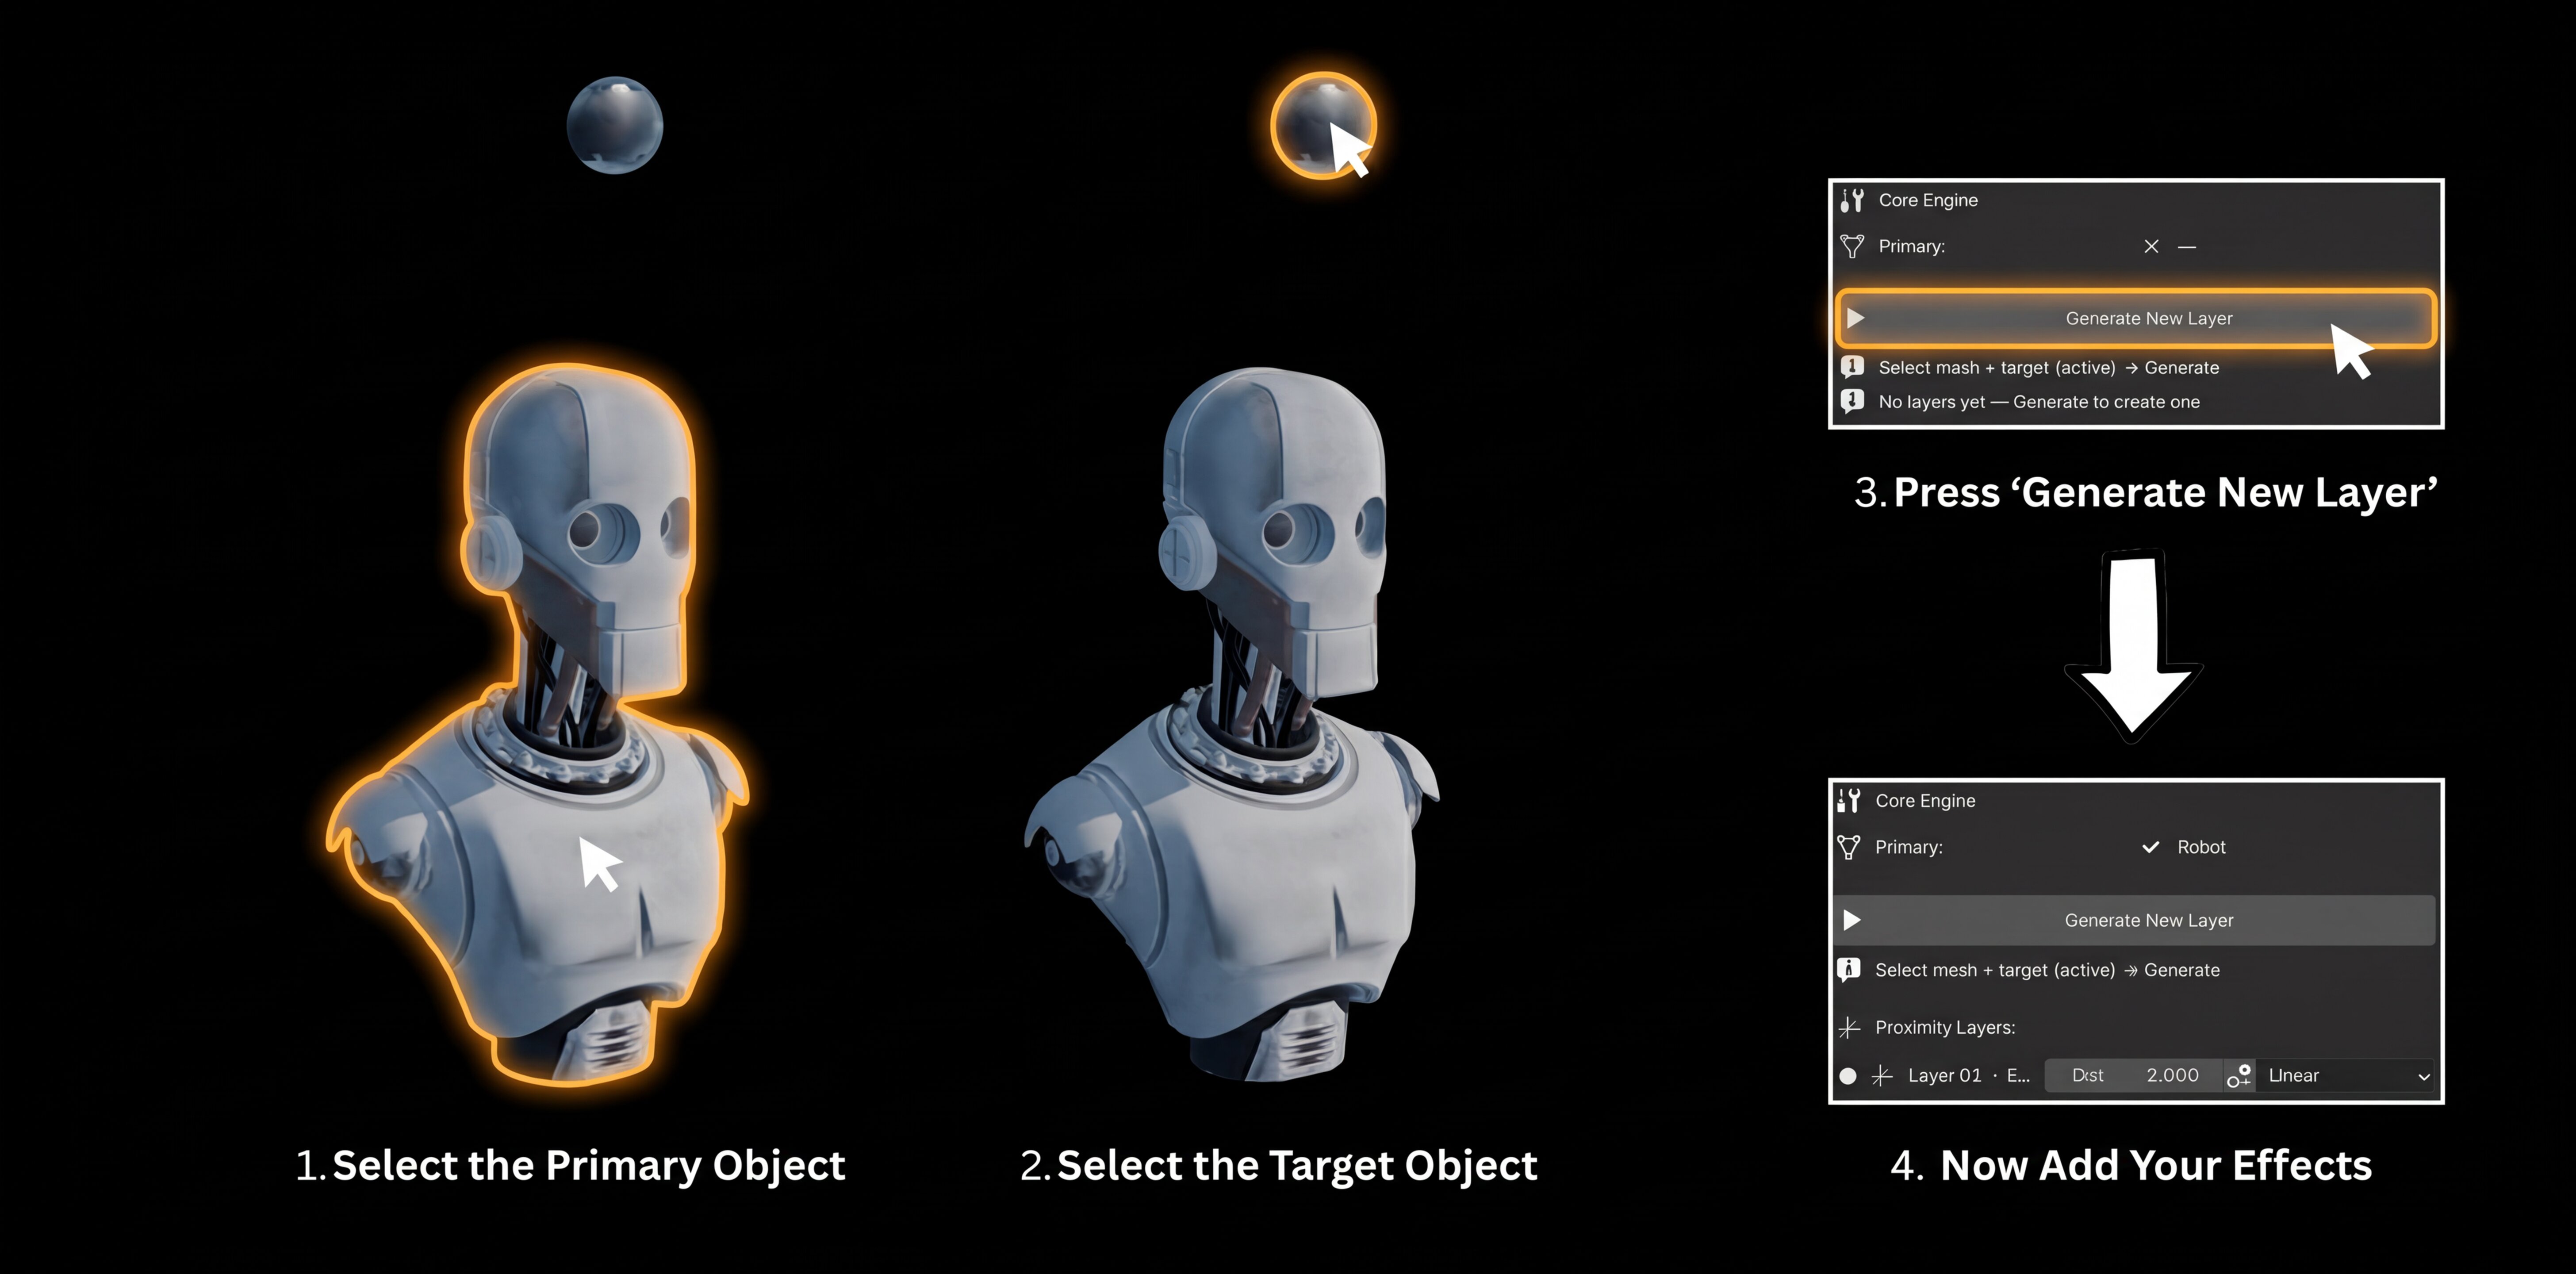
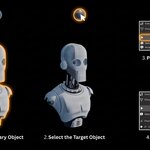
- Select your Primary mesh — the object that will receive effects
- Shift-select your Target object — the object that drives the effects
- Make the Target the active object (it should be highlighted brighter)
- In the ProximityFlow panel press Generate New Layer
- Add any effect from the panel and move your target to see it react
Effects Reference
Proximity Masking
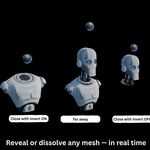
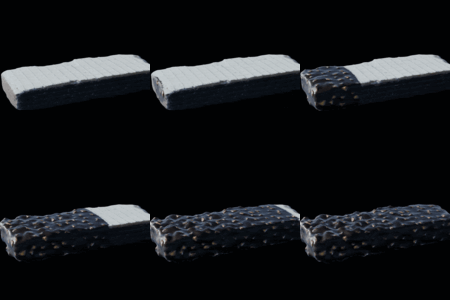
Dissolves or reveals mesh geometry based on how close the target is. Use Invert to switch between dissolve and reveal mode. The Threshold slider controls the sharpness of the cutoff edge.
Aesthetic Wireframe
Converts the mesh into a wire grid in the proximity zone. Enable Proximity Driven to limit the wireframe to the area near the target. Disable it for a full-mesh wireframe. Always subdivide your mesh first for best results.
Dynamic Displacement
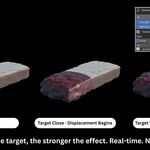
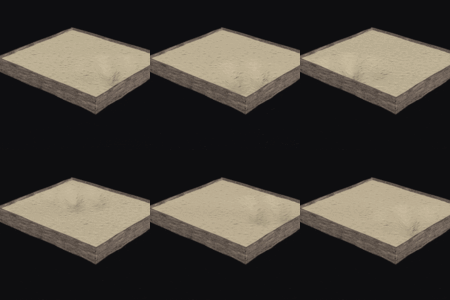
Warps the mesh surface based on proximity. Choose a texture type from the Texture dropdown — Musgrave works best for organic surfaces, Clouds for smooth terrain, Wood for ripple effects. Use negative Strength values to push inward instead of outward.
Proximity Growth
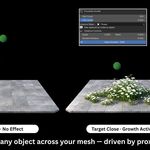
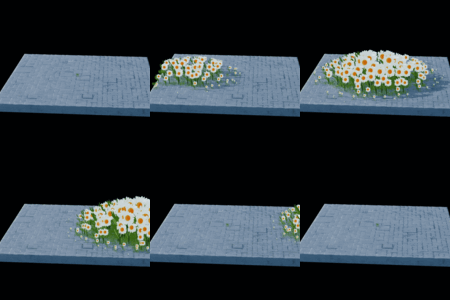
Grows hair strands or instance objects from the mesh surface. Assign any object as the Instance Object to replace hair with flowers, crystals, or any mesh. Use Object Rotation to align instances correctly. If your instance appears upside down, adjust the Rotation Offset.
Variable Thickness
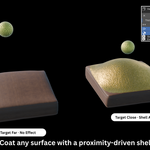
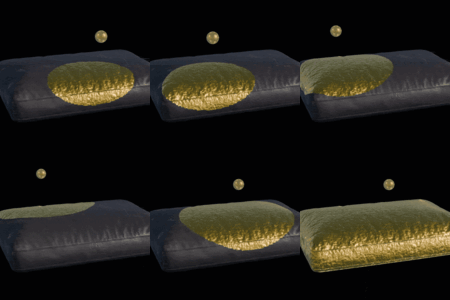
Grows a solidify shell over the mesh surface. Enable Material Coat and add a second material slot to coat the object with a different material as the target approaches. Enable Flip Shell Direction if the shell appears underneath the mesh. For best results make the coating material a local material, not a linked library material.
Proximity Wave
Propagates a wave across the mesh surface as the target passes. Height, Width, Speed, and Narrowness all update live. Enable X Motion and Y Motion independently to control the wave's direction, and toggle Cyclic Loop for a continuous repeating pulse. Best for water surfaces, fabric ripples, and energy-field effects.
Shatter Effect
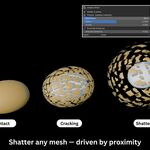
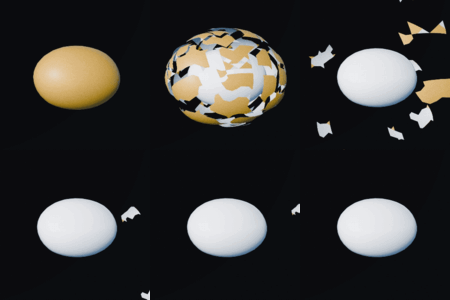
Breaks the mesh into fragments. Set your Fragment Count and press Apply Shatter Effect. The addon automatically subdivides the mesh if it does not have enough geometry. Adjust Blast Power, Chaos, and Gravity in real time. Press Rebuild Shatter after changing Fragment Count or timing values. Press Bake Simulation before rendering.
Motion Path
Attach your target to a curve so the effect animates automatically. Draw or select a Bezier curve, pick it in the Path Curve field, set the Duration, and press Attach Target to Path. Press Bake to Keyframes when you want to edit the animation manually.
Tips & Tricks
- Combine effects — all effects can be active simultaneously on the same object. Displacement + Growth together creates organic terrain reactions. Mask + Wireframe creates a sci-fi dissolve.
- Multiple layers — press Generate again with a different target to add a second proximity layer. Each layer can drive different effects independently.
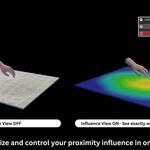
- Influence Distance — this is your main control. Small values create tight localized effects. Large values spread the effect across the whole mesh. Press the key icon next to the slider to insert a keyframe.
- Subdivide first — most effects look better with more mesh geometry. Use the Mesh Density section to add subdivision before applying effects.
- Falloff types — Smooth and Sphere falloffs create the most natural-looking transitions. Linear is best for precise technical effects.
Requirements
- Blender 3.6 or newer
- Works on any mesh object
- No external dependencies
Discover more products like this
displacement hair growth motion path procedural shatter masking particles proximity wireframe animation effects mesh effects