Quick Snapshot Camera V3.0.1
 Imaginatta


Quick Snapshot Camera - Full Documentation
Welcome to the official documentation for Quick Snapshot Camera. This guide will walk you through every feature, button, and workflow enhancement this addon provides.
1. Installation
- Go to Edit > Preferences > Add-ons.
- Click the Install... button.
- Navigate to and select the Quick_Snapshot_Camera-v3.0.1.zip file.
- Enable the addon by checking the box next to its name.
- The panel will now be available in the 3D View Sidebar after selecting a camera object (press 'N' to open).
2. The Snapshot List
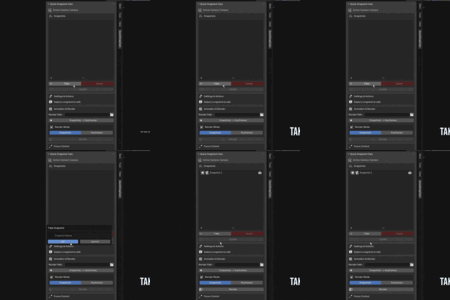
This is the core of the addon where you manage all your saved camera states.-
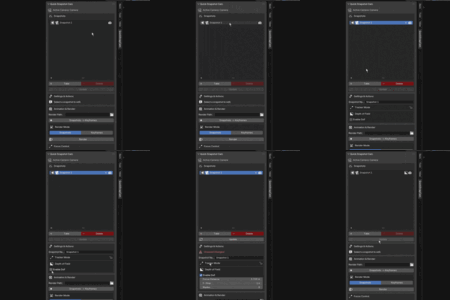
Take Button: This is the primary button to create a new snapshot. It captures the active camera's current position, rotation, focal length, DoF settings, and more. A dialog will prompt you to give the snapshot a unique name.
-
The List View: Each snapshot is an item in this list.
-
Snapshot Name: The name you assigned.
-
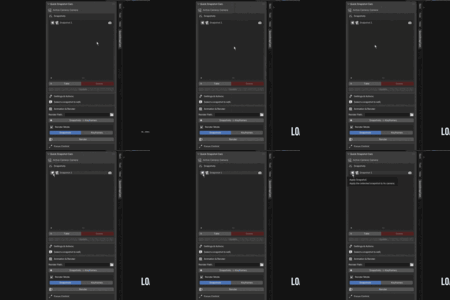
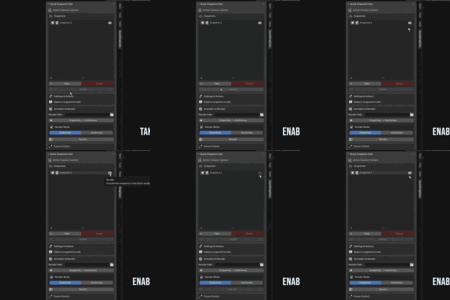
Apply Snapshot (◀ Icon): Click this to instantly apply the saved state to the active camera in your viewport.
-
Active Indicator (camera Icon): This icon becomes solid to show which snapshot is currently active in the viewport. This helps you keep track of the current camera state.
-
Render Toggle (👁️ Icon): Click this to include or exclude a snapshot from the batch render process. An open eye means it will be rendered; a closed eye means it will be skipped.
- Delete Button: Select a snapshot from the list and click this button to permanently delete it. A confirmation dialog will appear to prevent accidental deletion.
3. Settings & Actions
This panel is where you fine-tune the properties of a selected snapshot.
-
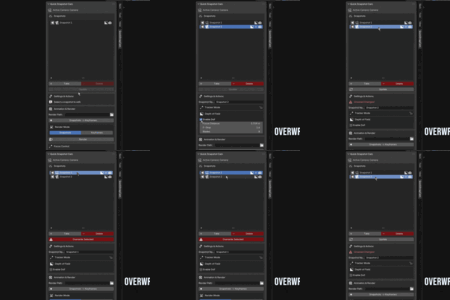
"Unsaved Changes!" Warning: This red text alert appears automatically if you modify the camera after applying a snapshot. It serves as a crucial reminder to save your changes before moving on.
-
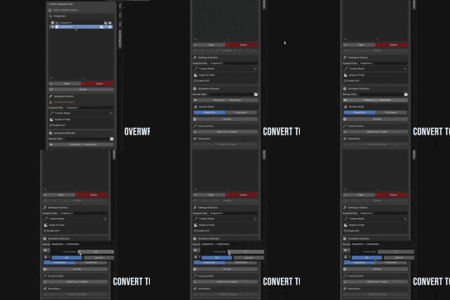
Update / Overwrite Button: This is an intelligent, context-aware button.
-
Update: If the selected snapshot is the one you are editing, the button reads "Update." Click it to save your changes to the current snapshot.
-
Overwrite: If you have unsaved changes and then select a different snapshot in the list, the button turns red and reads "Overwrite." This is a safety feature to warn you that you are about to save your changes over a different snapshot's data.
-
Update: If the selected snapshot is the one you are editing, the button reads "Update." Click it to save your changes to the current snapshot.
-
Depth of Field (DoF):
- Enable DoF: Check this box to activate Depth of Field for the selected snapshot.
- F-Stop: Controls the aperture size (and thus, the blur intensity).
- Focus Object: Use the eyedropper to select an object in your scene for the camera to focus on. Remember to click "Update" after changing these settings.
- Tracker Mode:
-
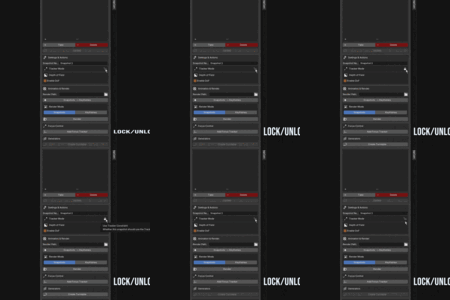
Lock/Unlock Toggle (🔒 Icon): This button controls whether the snapshot uses the "Focus Tracker."
- Locked (🔒): The snapshot will ignore its saved rotation and instead point the camera directly at the cam_track object.
- Unlocked (🔓): The snapshot will use its originally saved rotation and ignore the cam_track object.
-
Lock/Unlock Toggle (🔒 Icon): This button controls whether the snapshot uses the "Focus Tracker."
- Tracker Mode:
4. Animation & Render
This section contains all the tools needed to turn your static shots into animations and final renders.
- Render Path: Set a dedicated output folder for your renders. If left blank, Blender's default output path will be used.
- Snapshots -> Keyframes Button: Instantly converts your entire list of snapshots into a camera animation on the timeline. A dialog will ask for the Frame Step, which is the number of frames to place between each keyframe, allowing for smooth transitions or hard cuts.
-
Render Mode: This selector determines what the "Render" button will do.
- Snapshots: Renders each snapshot marked with the "Render Toggle" (👁️) as a separate still image.
- Keyframes: Renders the animation sequence from the timeline. This option is only active if keyframes have been generated.
- Render Button: Starts the rendering process based on the selected mode. A confirmation dialog will show you how many images or frames are about to be rendered.
5. Turntable Generator
Create perfect orbital animations with just a few clicks.
- Add Focus Tracker: This button creates an "Empty" object (cam_track) at the 3D cursor's location and automatically adds a constraint to your camera, forcing it to always point at the tracker. This is the pivot point for your turntable.
-
Create Turntable Button: This generates a new set of snapshots in a perfect circle around the cam_track object.
- Rotation: The total degrees of the orbit (e.g., 360 for a full circle).
- Snapshots: The number of camera positions to create along the orbit.
- The addon uses the active camera's current distance and height relative to the tracker as the radius for the orbit.
6. Profiles
Save and load your entire camera setup for use in other projects.-
Save Profile: Saves your entire list of snapshots and all their associated settings into a single, portable .qsc file. The addon automatically enforces this file extension.
-
Load Profile: Loads a .qsc file into your current scene, restoring the entire snapshot list. This is ideal for reusing camera setups across different projects or creating templates.

Discover more products like this
layout easy camera addon Camera setup batch render snapshot camera quick camera