 Mamba CG

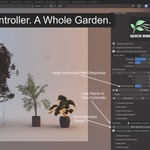
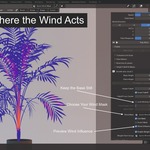
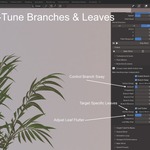
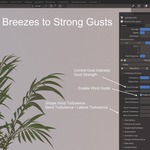
MAMBACG • USER GUIDE
Quick Wind
Tree & Plant Animation for Blender
From your first breeze to detailed leaf motion, shared wind, loops, and baked animation.
Blender 5.0+
01. Start here
Quick Wind adds procedural wind to your own plant meshes. Use it for swaying trees, moving branches, fluttering leaves, and coordinated wind across a garden.
Behind the simple controls is a sophisticated, multi-layer Geometry Nodes system. It combines broad bending, turbulence, gusts, branch sway, and fine leaf movement to create rich, natural-looking effects. It is designed for fast, interactive adjustment, with a dedicated Fast Wind Mode for lighter previews.
You do not need to build or edit the node graph to use the add-on. Select a plant, add wind, choose a preset, and play the timeline. Baking is optional.
Current version: 0.1.4
Current extension: Blender 5.0+
Where to find it: 3D Viewport > Sidebar > Quick Wind
02. Install and open the panel
- Download quick_wind-0.1.4.zip for Blender 5.0 or newer. Keep the ZIP intact.
- In Blender, open Edit > Preferences > Add-ons.
- Open the menu at the top right and choose Install from Disk.
- Select the ZIP and complete the installation. Make sure Quick Wind is enabled.
- Move your pointer over the 3D Viewport, press N, and open the Quick Wind tab.
Alternative: press F3 in the 3D Viewport and search for Show Quick Wind Panel.
03. Your first animation in five steps
- Select a plant. Switch to Object Mode and select an editable mesh.
- Add the effect. Click Add Wind to Selection.
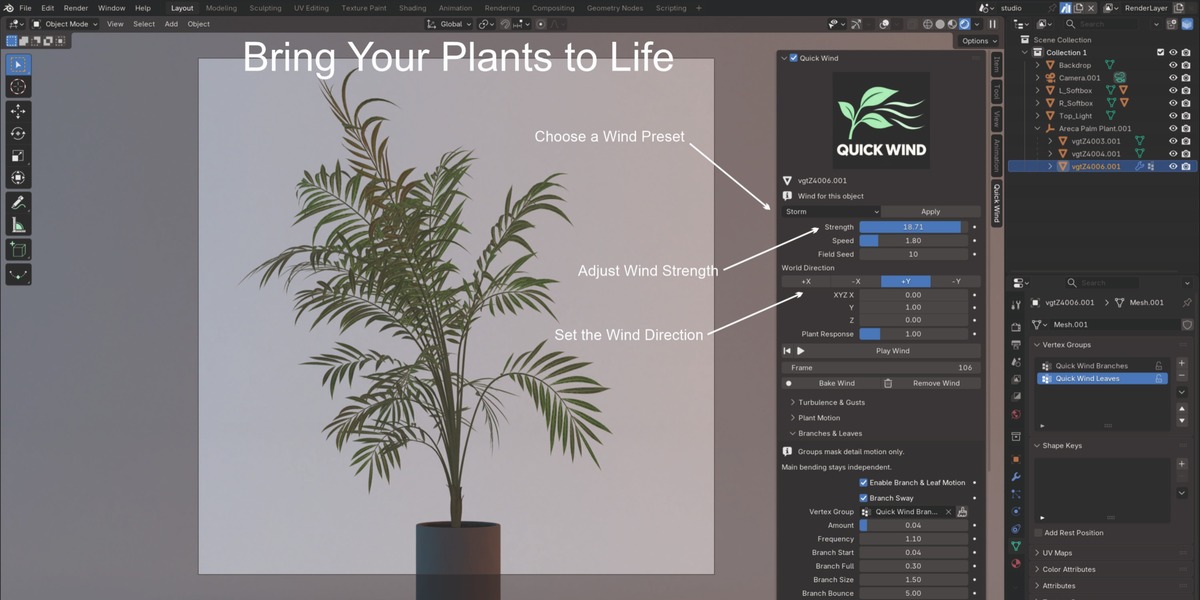
- Choose a starting point. Select Breeze in the preset list, then click Apply.
- Play. Click Play Wind, or play the timeline.
- Adjust the result. Change Strength, Speed, and World Direction.
Expected result: the plant moves as the timeline advances. Click Pause to stop, or change Frame to inspect a particular moment.
Select an affected plant whenever you want to edit its settings. Extra sections appear below the main controls.
04. Prepare a plant that bends well
- Use editable mesh geometry. Read-only linked objects and library overrides are not supported by Add Wind.
- Check the growth direction. The plant should grow along its local Z axis.
- Check the mesh density. A trunk needs enough vertices along its height to bend smoothly. A long section with only two endpoints cannot form a smooth curve.
- Keep all scale components nonzero.
- For generated plants: make sure mesh geometry reaches the Quick Wind modifier. Use Realize Instances or convert curves to mesh upstream when needed.
After changing an upstream generator or the plant's shape, open Height Falloff & Masks and click Fit Height to Geometry. This updates Base Height and Plant Height from the geometry entering the wind effect.
05. Choose the wind and shape the movement
Main controls
- Strength: overall wind intensity. A value of 0 restores the undeformed geometry.
- Speed: procedural animation speed. A value of 0 holds the motion at its starting phase.
- World Direction: choose +X, -X, +Y, -Y, or enter a custom XYZ direction.
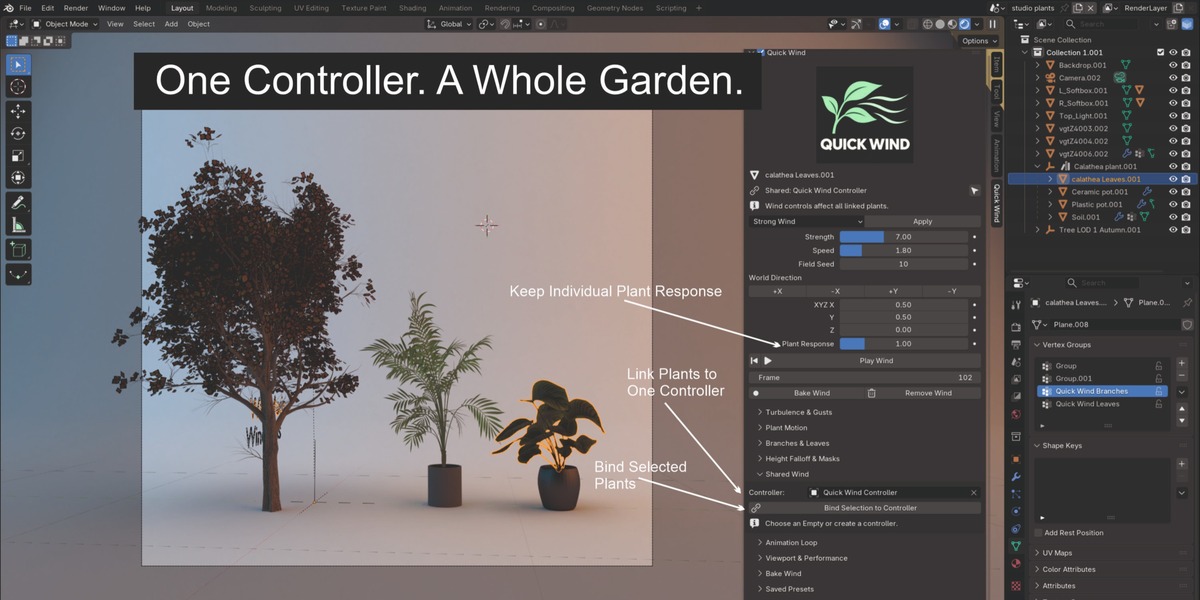
- Plant Response: make this plant respond more or less strongly without changing the shared wind.
- Field Seed: change the wind pattern.
Turbulence & Gusts
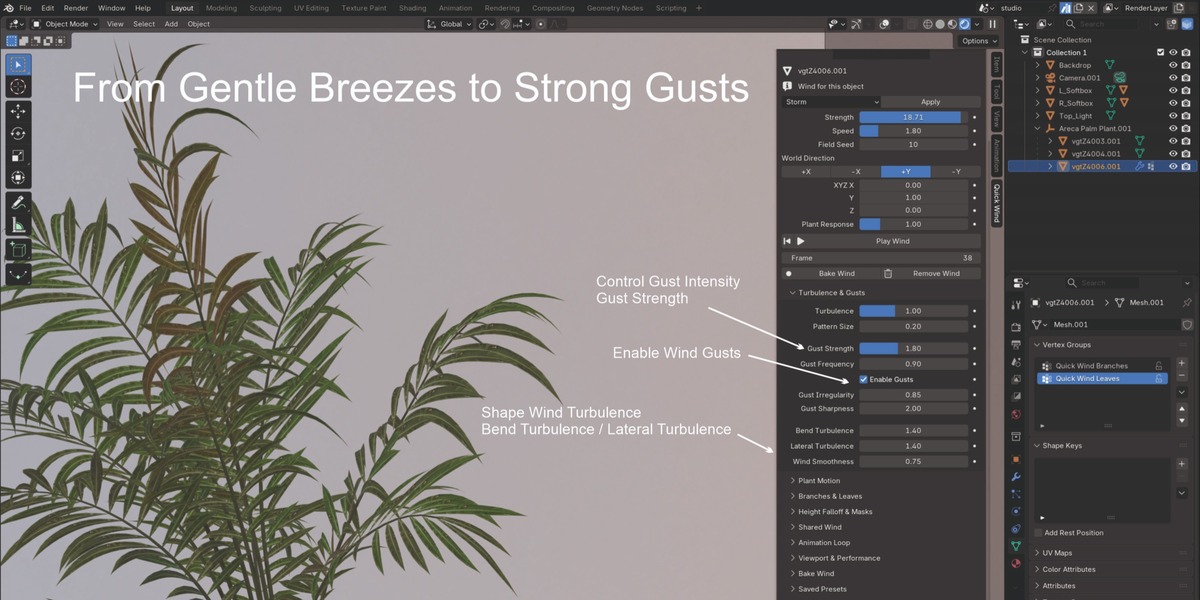
Use Turbulence and Pattern Size for irregular motion. Turn on Enable Gusts before adjusting Gust Strength, Gust Frequency, Gust Irregularity, and Gust Sharpness. Use Bend Turbulence, Lateral Turbulence, and Wind Smoothness to refine the character.
Plant Motion
Main Bending controls the broad bend. Adjust Bend Limit, Stiffness, Bend Response, and Bend Start. Add smaller movement with Fine Motion and its Amount. Change Variation Seed to vary the selected plant's details.
Presets
Try Reference, Calm, Breeze, Gusty, Strong Wind, or Storm, then click Apply. Start with Calm or Breeze and increase the motion gradually.
06. Keep the base still
Open Height Falloff & Masks.
- Click Fit Height to Geometry if the plant's geometry has changed.
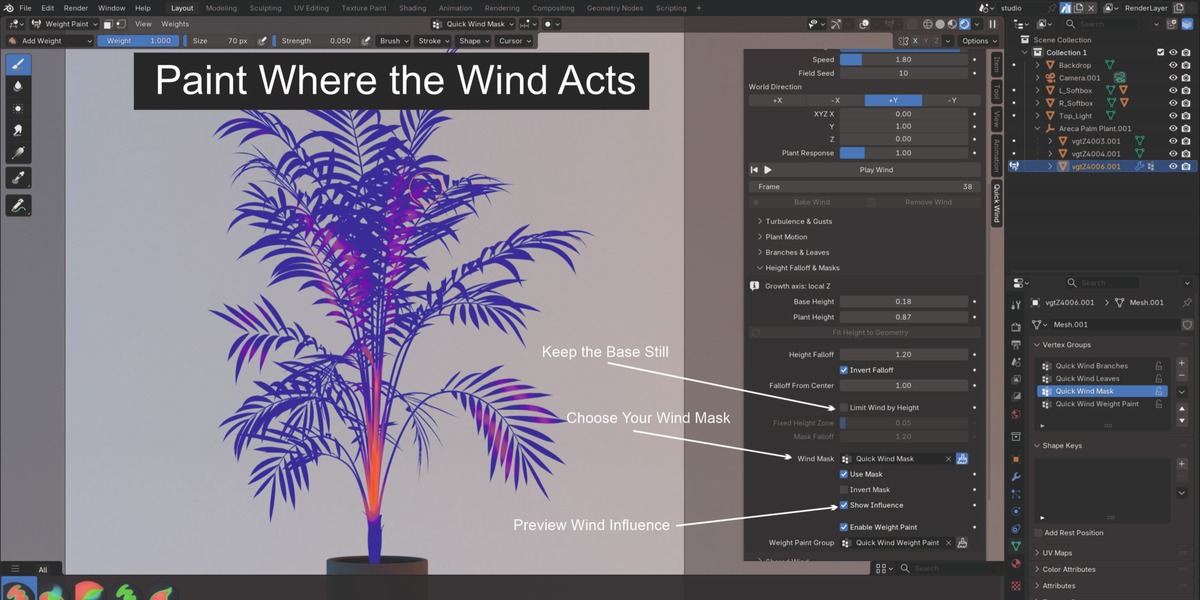
- Enable Limit Wind by Height.
- Increase Fixed Height Zone until the lower part stays still.
- Adjust Mask Falloff for the transition from the fixed base to the moving upper plant.
Example: a Fixed Height Zone of 0.10 keeps the lower 10% of the measured plant height still, starting at Base Height.
Height Falloff shapes the height response inside the wind calculation. Limit Wind by Height adds a separate mask to the final motion. These controls work together.
07. Paint exactly where the wind acts
A wind mask is a vertex group: weight 0 means no final wind movement; weight 1 allows full mask influence. Intermediate weights make a softer transition. Other wind and height settings still affect the result.
Method A: paint with a brush
- Select the plant and open Height Falloff & Masks.
- Click the brush icon beside Wind Mask. Quick Wind selects or creates the group and enters Weight Paint.
- Make sure Use Mask is enabled.
- Paint positive weights on the areas you want to move. Use weight 1 for full influence and lower weights for softer movement.
- Return to Object Mode and play the timeline.
Method B: assign weights to selected vertices
- Select the plant and enter Edit Mode.
- Select the vertices that should move.
- Open Object Data Properties > Vertex Groups. Create a group with +, or select an existing group.
- Set Weight to 1.000 and click Assign.
- To verify the assignment, deselect all vertices, keep the group active, and click Select. Its assigned vertices should become selected.
- Return to Object Mode. In Quick Wind, choose this group in Wind Mask and enable Use Mask.
Use Show Influence for a temporary color preview of the evaluated influence. Turn it off when finished. Use Invert Mask to reverse the wind mask.
Which mask field should I use?
- Wind Mask + Use Mask: controls the final wind deformation. Start here for most tasks.
- Enable Weight Paint + Weight Paint Group: an additional weight input inside the detailed wind system. Start with one mask system so the result is easy to understand.
- Branch Sway / Leaf Flutter > Vertex Group: limits each detail layer to its intended geometry.
08. Add branch sway and leaf flutter
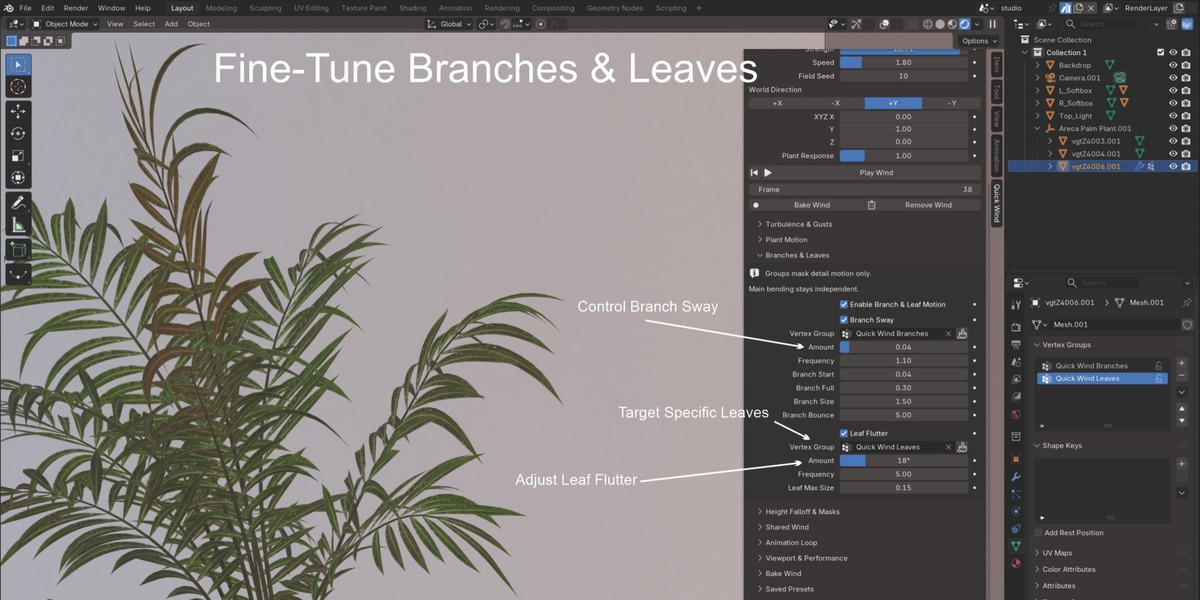
- Open Branches & Leaves and enable Enable Branch & Leaf Motion.
- Enable Branch Sway or Leaf Flutter.
- In that section's Vertex Group field, choose the group containing the intended branches or leaves. The brush button creates or selects a group for painting.
- Start with a small Amount, then adjust Frequency while playing.
Branch controls: use Branch Start and Branch Full to shape where the response builds, then refine Branch Size and Branch Bounce.
Leaf controls: adjust Leaf Max Size to suit the scale of the leaf geometry being processed.
Flutter works best with small, disconnected leaf islands. A joined mesh can still contain disconnected islands, but a fully connected scan or surface may need preparation. Quick Wind does not automatically identify leaves on every model.
10. Create a loop or animate the controls
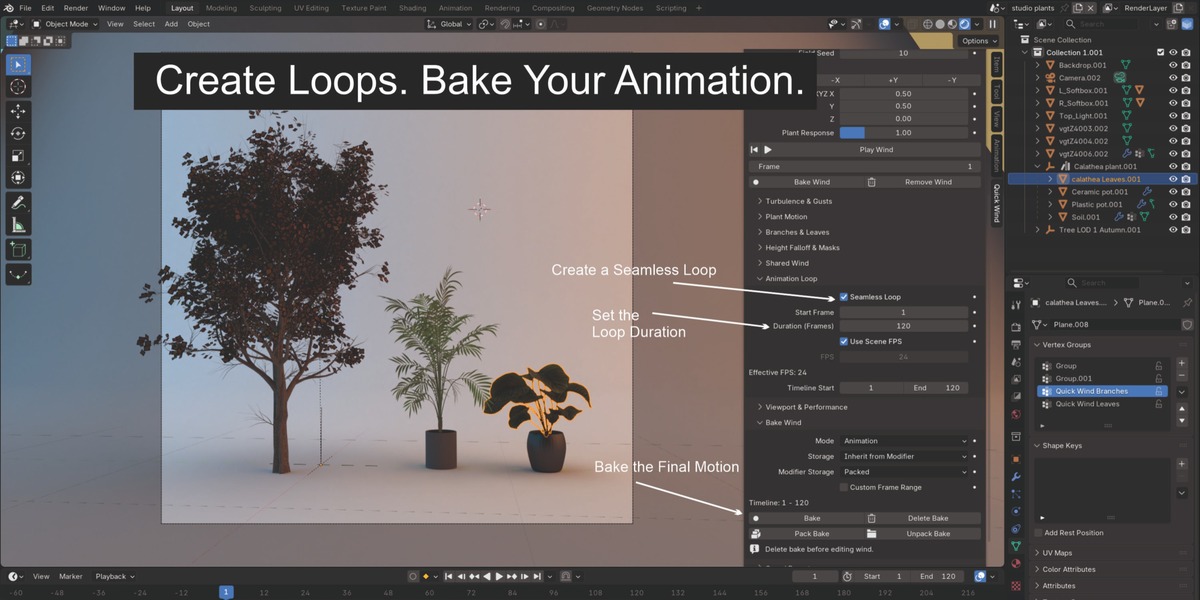
Make a seamless loop
- Open Animation Loop and enable Seamless Loop.
- Set Start Frame and Duration (Frames).
- Keep Use Scene FPS enabled to follow the scene's frame rate, or disable it and enter a custom FPS.
- Set Timeline Start and End to the frames you want to preview or render.
Keep wind settings constant throughout the cycle for a repeatable clip. Keyframed changes can break the repeat.
Animate the controls
Right-click a numeric control and choose Insert Keyframe. Move to another frame, change the value, and insert another keyframe. For example, animate Strength to build from a breeze to a storm.
For shared wind, keyframe the field settings on the controller. Applying a preset preserves existing keyframes, so animated values can change again during playback.
11. Get faster previews
The Geometry Nodes system layers several kinds of motion without requiring a separate physics simulation bake before previewing. For heavier scenes, open Viewport & Performance.
- Fast Wind Mode: try the lighter wind mode while setting up the scene. It is off by default. Compare the motion before choosing your final settings.
- Enable Viewport Optimization: enable the node system's viewport optimization and check the preview against your intended final result.
- Hide Wind Direction Text: hide the direction text if you do not need it.
- Work on a small selection first: establish the look on one or two plants before extending it to the full scene.
- Reduce unnecessary mesh density: keep enough geometry for smooth bending, but avoid detail that is invisible in the shot.
Use the detailed mode for richer motion where it matters, and the faster options for broad setup and scene iteration. Playback speed depends on hardware, geometry, and the rest of the modifier stack.
12. Bake the finished wind
Baking stores the evaluated wind result. Finish the motion first, then bake the active plant when you want cached playback.
- Select an affected plant in Object Mode and open Bake Wind.
- Set Mode to Animation for a frame range, or Still for the current frame.
- Choose Storage: Packed for data stored with the .blend file, or Disk for external cache files. If Storage inherits the modifier setting, check Modifier Storage.
- For Animation, use the timeline range or enable Custom Frame Range and set Start and End.
- For Disk storage, save the .blend file and choose a suitable Directory. Use Custom Path if needed.
- Click Bake, wait for completion, and play the timeline to check the result.
- Save the .blend file after baking. Keep external disk-cache files with the project when sharing it.
Pack Bake moves an existing cache into the .blend file. Unpack Bake writes packed data back to disk. Delete Bake removes the cache so you can change and rebake the wind.
If no bake controls are available on an older wind setup, click Update Wind to Enable Baking.
13. Save and reuse your settings
- Open Saved Presets.
- Enter a unique Name and click Save.
- To restore it, enter the same name and click Load.
Presets store wind field values and plant response settings. They do not store vertex group assignments, controller links, loop start/duration, or keyframes. Existing preset files are protected from overwriting; use a new name for each variation.
Reset Wind to Reference restores the Reference preset values. With a shared controller, loading or resetting shared field values affects every linked plant.
14. Add sway to scattered instances
Use the separate instance-sway node group when you want lightweight rotation of whole plant instances.
- Open Tools & Export and click Create Instance Sway Group.
- In your scatter Geometry Nodes graph, add Quick Wind • Instance Sway.
- Connect the instances from Instance on Points through this group, then onward to your graph's output.
- Place each source plant's origin at its base, adjust the group inputs, and play the timeline.
This group rotates whole instances around their origins while keeping them instanced. It does not create the same internal branch and leaf deformation as the mesh wind effect.
Its controls are independent. Adding wind to a mesh does not automatically wire it into third-party scatter systems. For instance loops, set Loop Frames and FPS; this group's loop starts at frame 0.
15. Export animation or remove the effect
Export an animated mesh cache
- In Object Mode, select only the affected wind meshes you want to export.
- Open Tools & Export > Export Selected Wind Cache.
- Choose a new filename and set Start and End.
- Export the Alembic .abc file. Quick Wind also writes a matching JSON metadata file.
The Alembic cache contains evaluated mesh animation and can be imported without Quick Wind. The original scene objects remain editable. Native Bake and Alembic export are separate workflows.
Disable or remove wind
For a temporary change, turn off the checkbox in the Quick Wind panel header. To remove the effect, use Remove Wind on the active plant, or select several affected plants and choose Tools & Export > Remove Wind from Selection.
16. Quick troubleshooting
The panel is missing
Check that Quick Wind is enabled. Move the pointer over the 3D Viewport, press N, and choose Quick Wind. Or use F3 > Show Quick Wind Panel.
Add Wind is unavailable
Switch to Object Mode. Select an editable mesh with vertices and nonzero scale. Make linked objects editable first.
The plant does not move
Check the wind enable checkbox, Strength, Speed, and timeline playback. If a bake exists, delete it before testing edits. Turn off Use Mask temporarily: if motion returns, paint or assign positive mask weights. For generated plants, ensure mesh geometry enters the modifier and use Fit Height to Geometry.
The base moves or the bend looks wrong
Check local Z and the geometry's subdivisions. Refit the height, enable Limit Wind by Height, then adjust Fixed Height Zone and Mask Falloff.
Branches or leaves do not respond
Check Enable Branch & Leaf Motion and the relevant toggle. Verify the Vertex Group name and weights. In Edit Mode, use the group's Select button to inspect the assignment. Try the detailed mode with Fast Wind Mode off, and review the leaf-island structure and Leaf Max Size.
Several plants change at once
They share a controller. Use Plant Response for individual intensity, or clear Controller to return a plant to its own wind values.
Settings change when playback starts
Check for keyframes on the plant, shared controller, or native modifier inputs. Applying a preset does not remove existing animation.
The viewport is slow
Try Fast Wind Mode and Enable Viewport Optimization, reduce unnecessary geometry, and test fewer plants. Once the motion is finished, consider baking.
I changed the wind but the result stays the same
Use Bake Wind > Delete Bake, adjust the settings, and bake again if needed.
Have questions about this product?
Login to message
| Blender Extension Compatible | Yes |
| Published | about 8 hours ago |
| Blender Version | 5.0 - 5.2 |
| Extension Type | Add-on |
| Render Engine Used | Cycles, Eevee |
| License | GPL |
Discover more products like this
leaf flutter vegetation animation wind simulation wind-animation tree animation seamless loops geometry nodes plant animation foliage animation Procedural Animation branch sway