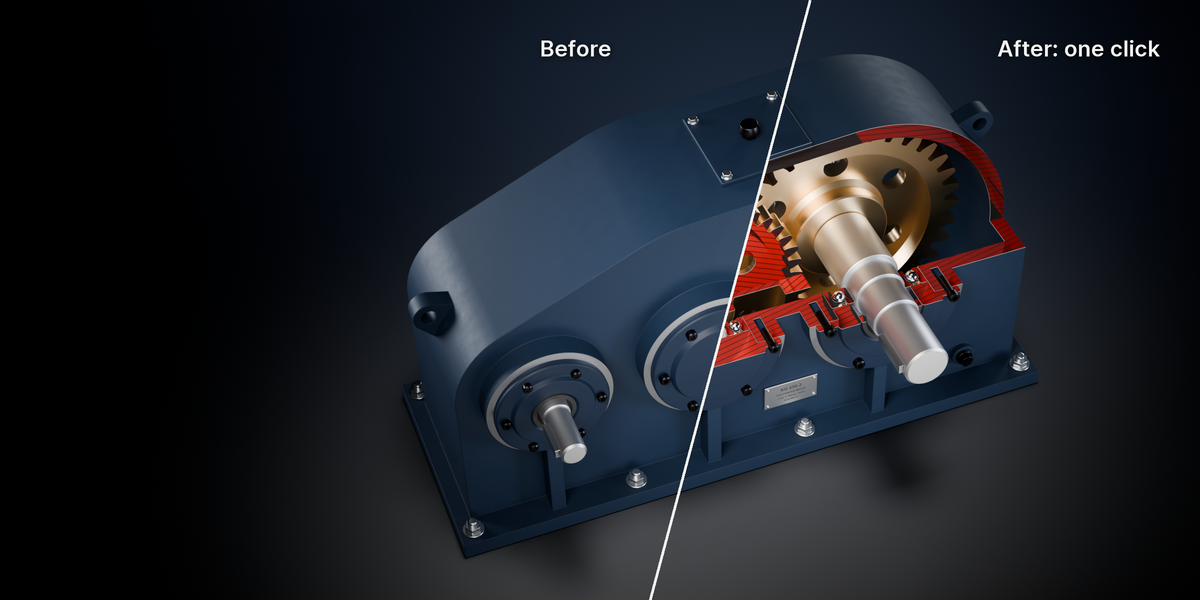
RadCut – Cutaway & Cross-Section Renders
 ArtTalentStudio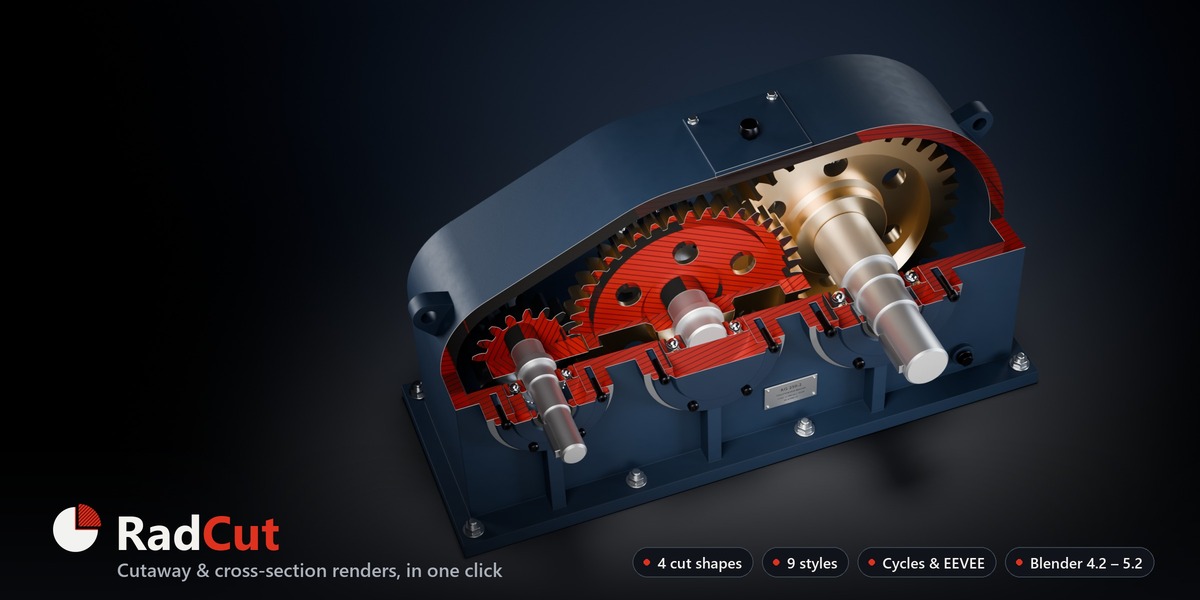
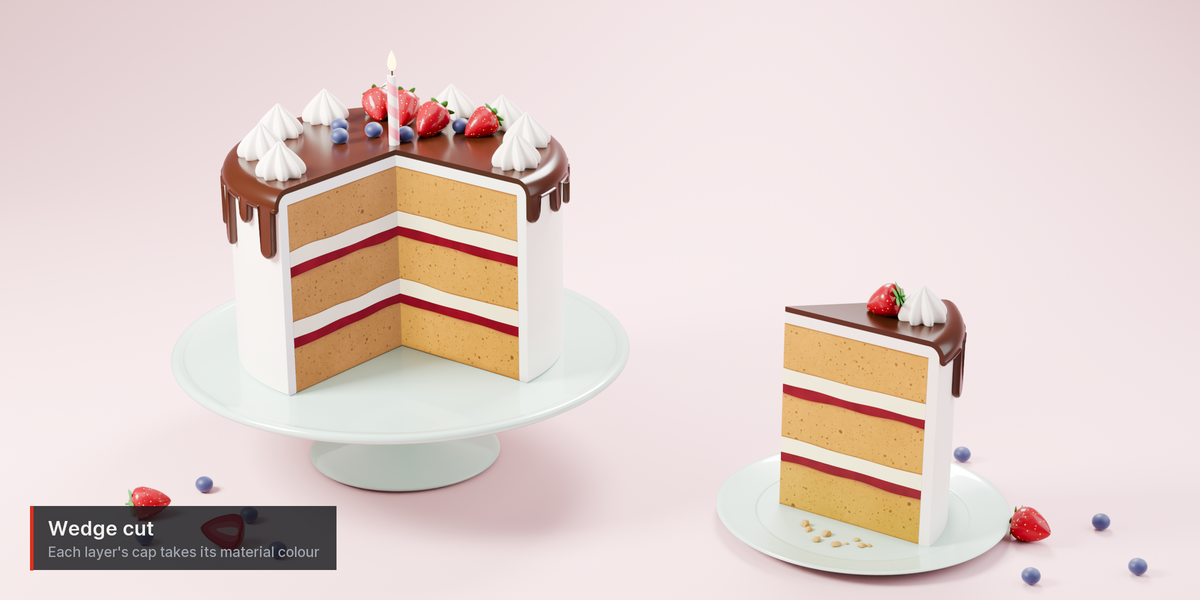
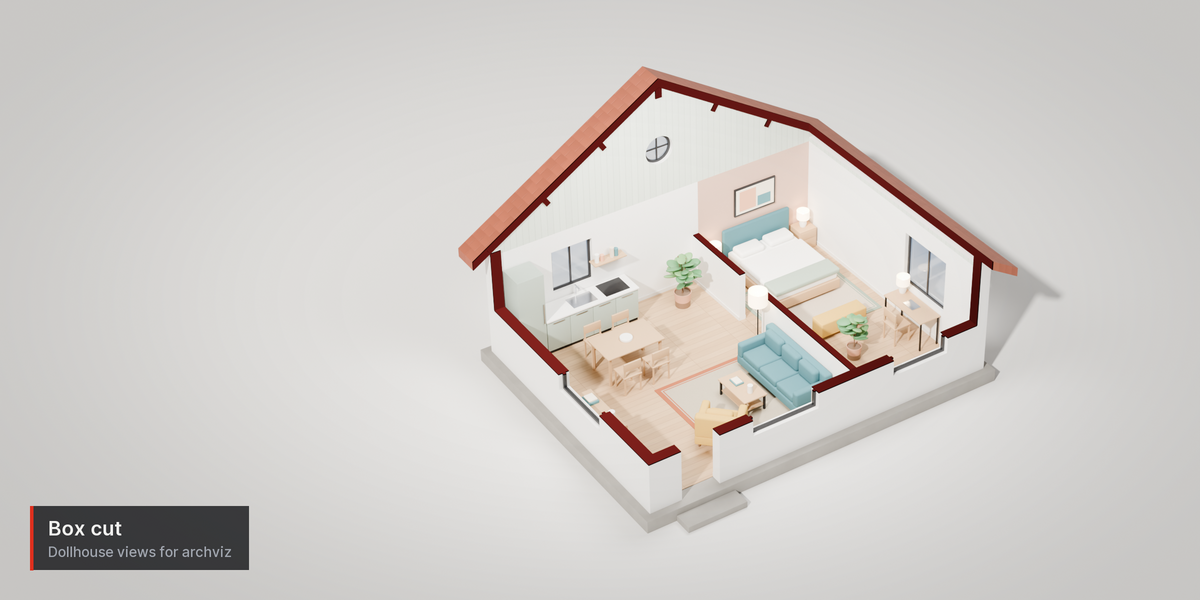
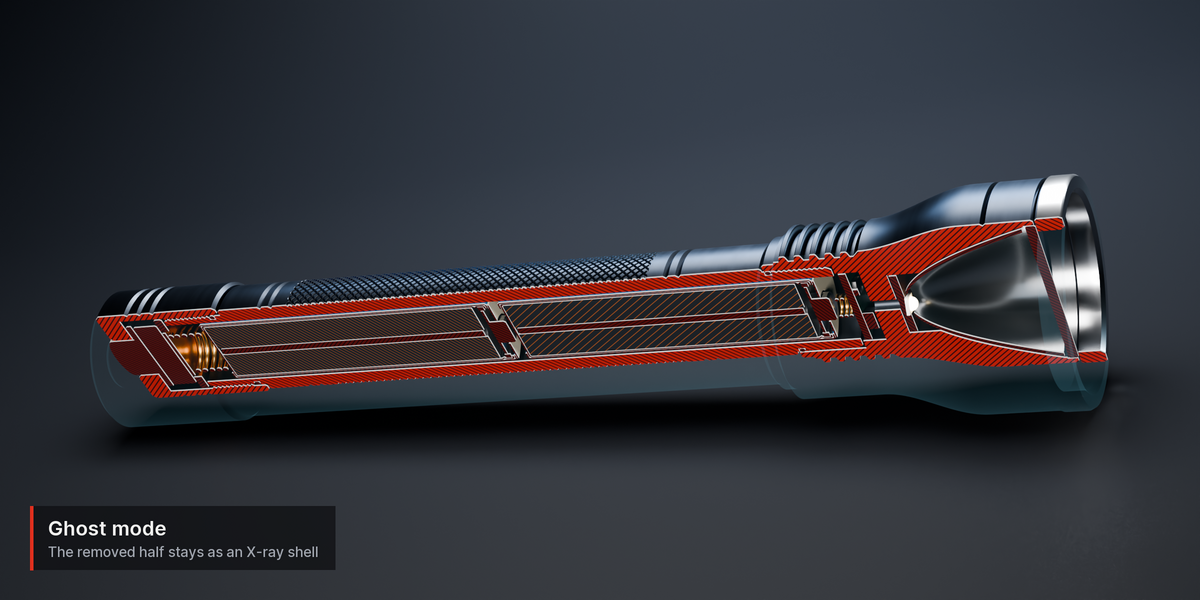
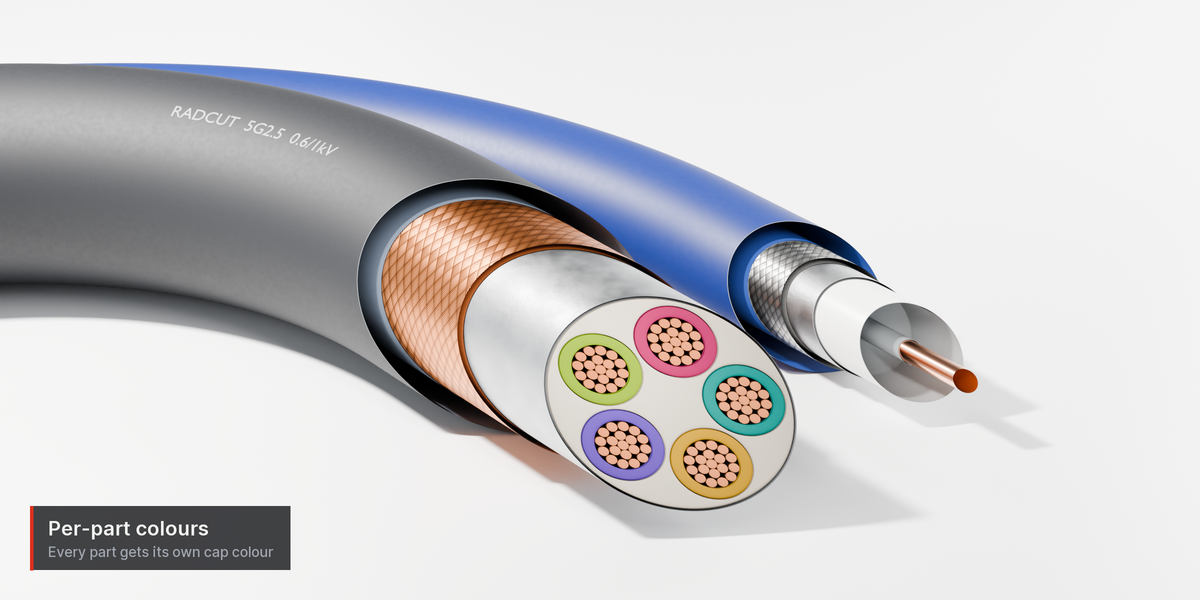
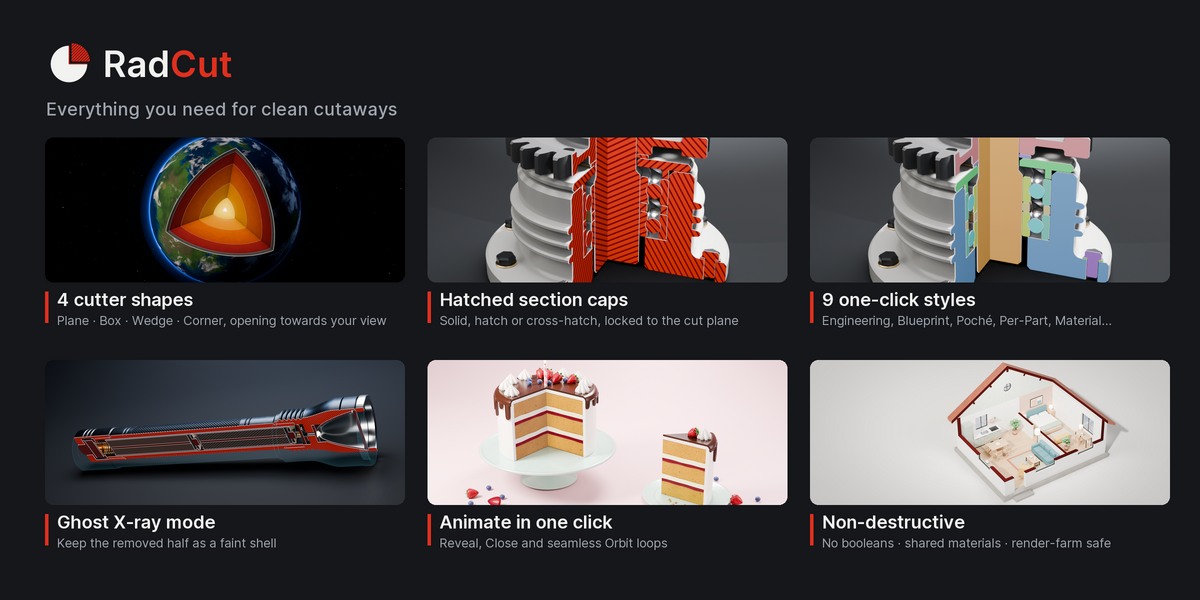
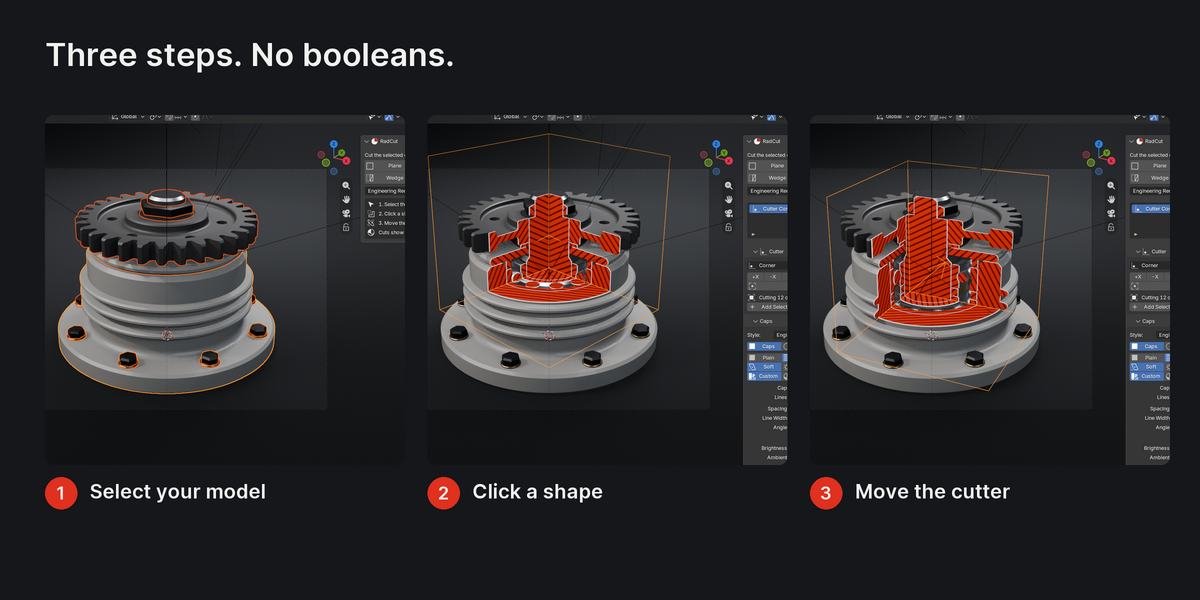
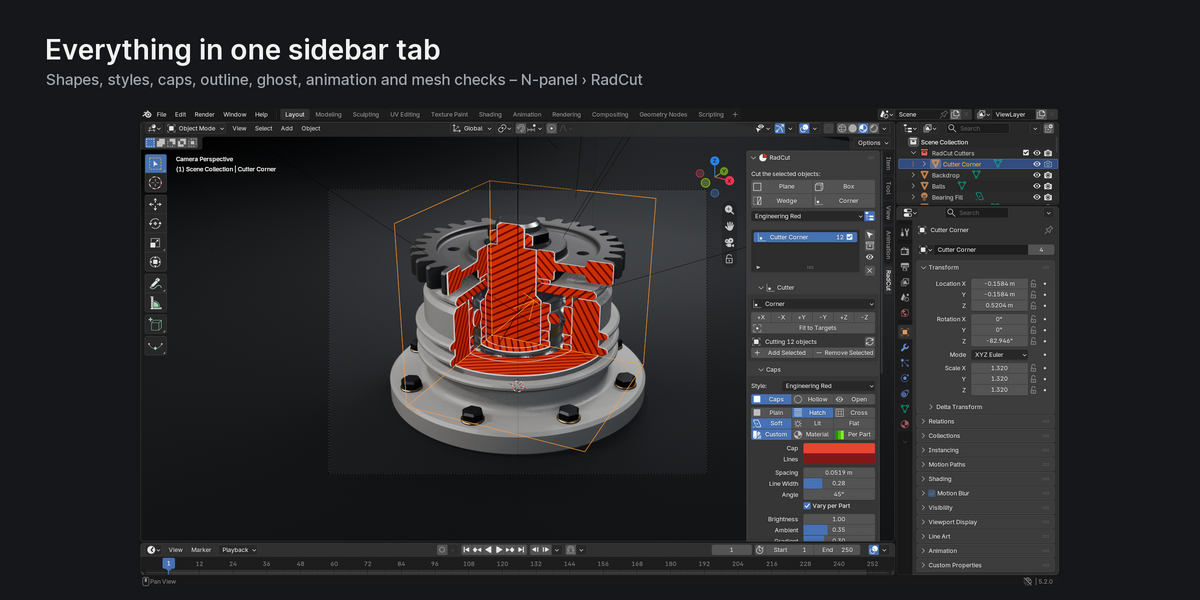
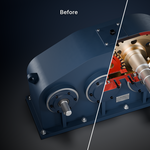
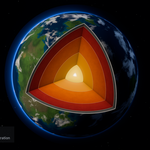
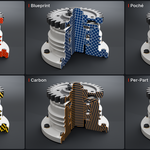

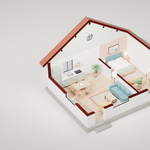
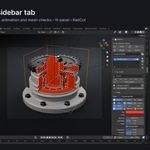
Installation & Quick Start
1. Installation
- Download the
radcut-1.0.0.zipfile. Do not unzip it. - In Blender: go to Edit ▸ Preferences ▸ Get Extensions, open the menu in the top right corner, choose Install from Disk..., and pick the zip.
- RadCut appears in the 3D Viewport sidebar (N key) under the RadCut tab, in the Object ▸ RadCut Cutaway menu, in the right-click menu, and on
Shift+Alt+X.
2. Quick Start (30 seconds)
- Select the objects you want to cut. A whole assembly is fine: children are included automatically.
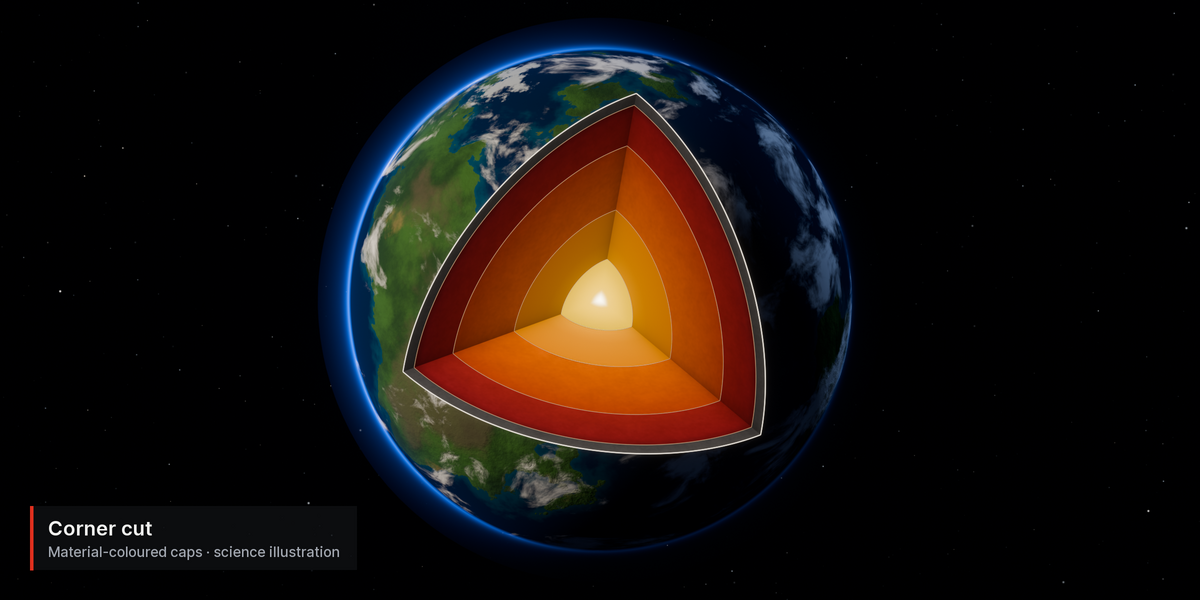
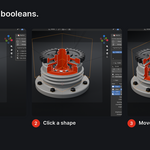
- In Sidebar ▸ RadCut, click a shape: Plane, Box, Wedge, or Corner.
- The viewport switches to Material Preview so you can see the cut (the cut is a material effect and doesn't show in Solid mode).
- Move, rotate and scale the red cutter object to shape the cut. Everything updates live.
Important Tips & Requirements
- Requirements: Blender 4.2 LTS or newer. Works with Cycles (CPU and GPU) and EEVEE.
- Closed Meshes: Caps require closed (watertight) meshes. Open meshes will show the inside of the shell instead. Use the built-in Fix Open tool if needed.
- Animation: The cap settings themselves are not animatable. You animate the cutter object.
- Linked Objects: Linked (library) objects and materials cannot be edited and are skipped – make them local to cut them.
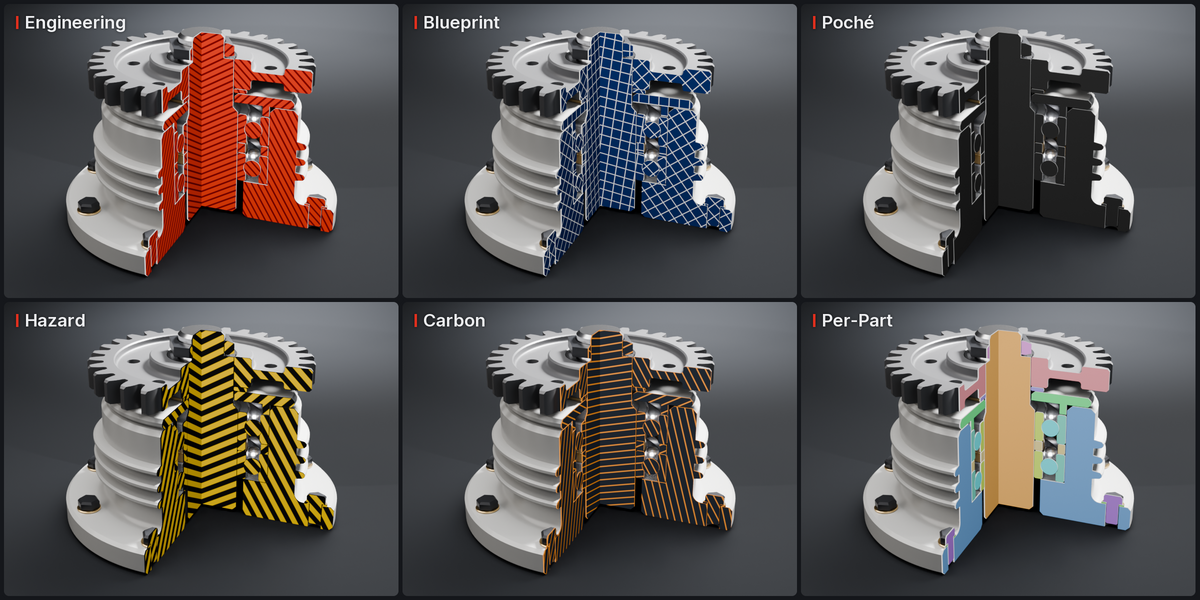
For detailed information on all cap styles, animation settings, and troubleshooting, please refer to the included full PDF User Guide.
$13
 Included
Includes 12 months of
- Support from ArtTalentStudio
- Product updates
Extend this product’s Support Period +12 months: 25% of product price
Have questions before purchasing?
Login to message
| Published | 8 days ago |
| Blender Version | 4.2 - 5.2 |
| Extension Type | N/A |
| Render Engine Used | Cycles, Eevee |
| License | GPL |
Discover more products like this
engineering Shader slice ArchViz cross section cutaway architecture Visualization section non-destructive