RadLink PSD – Photoshop to Blender Live Texture Link
 ArtTalentStudio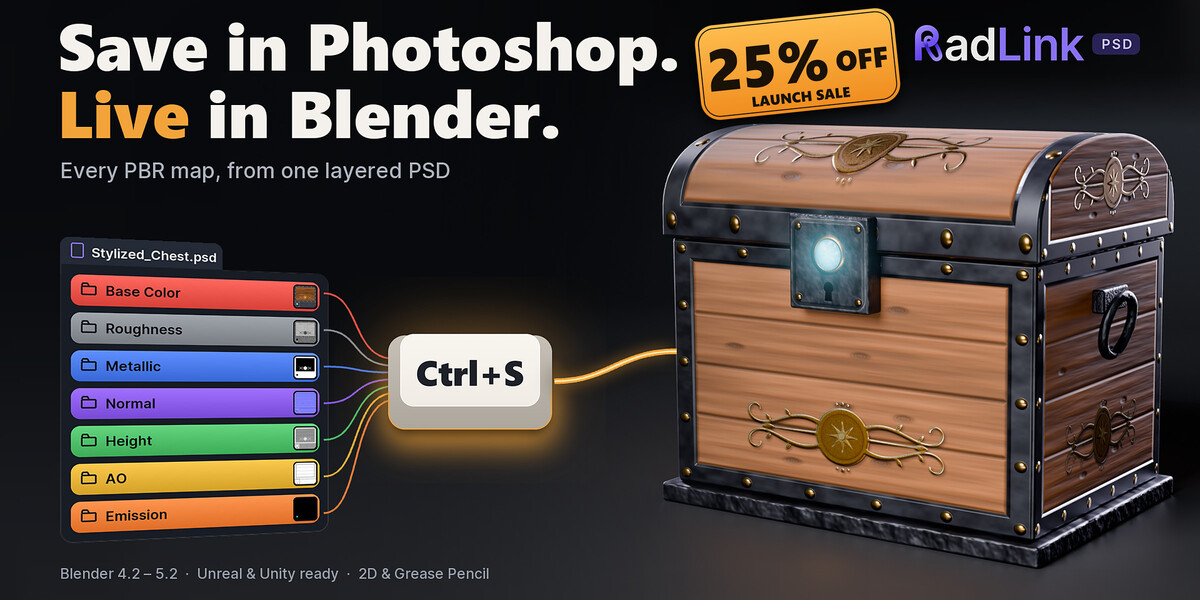
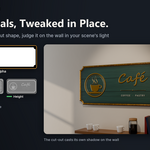
Installation & Setup (2 Minutes)
-
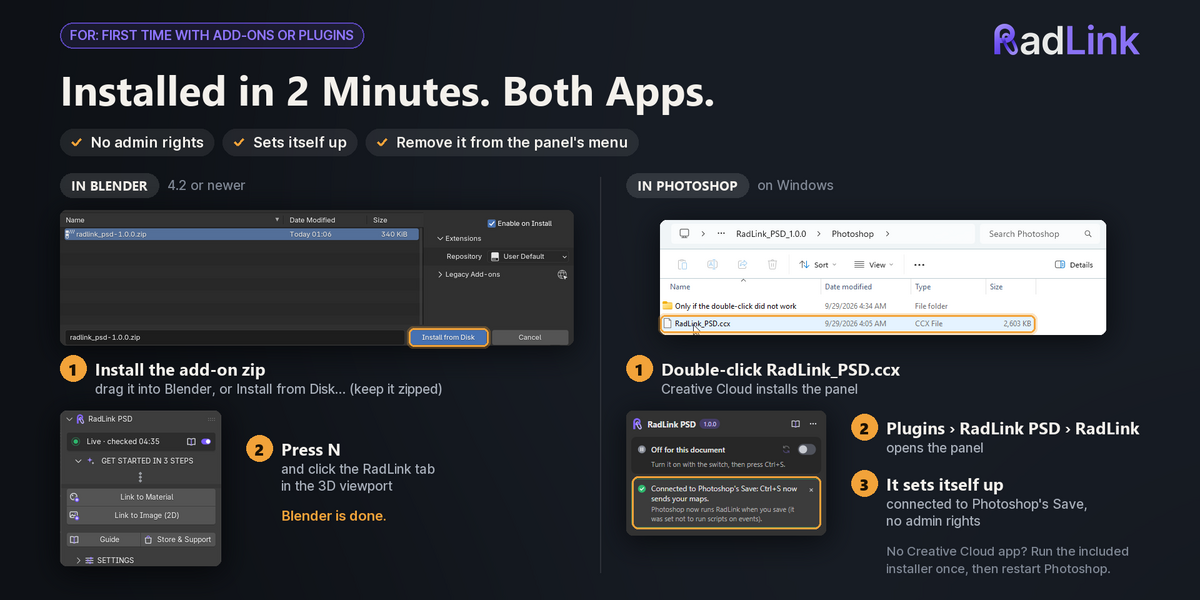
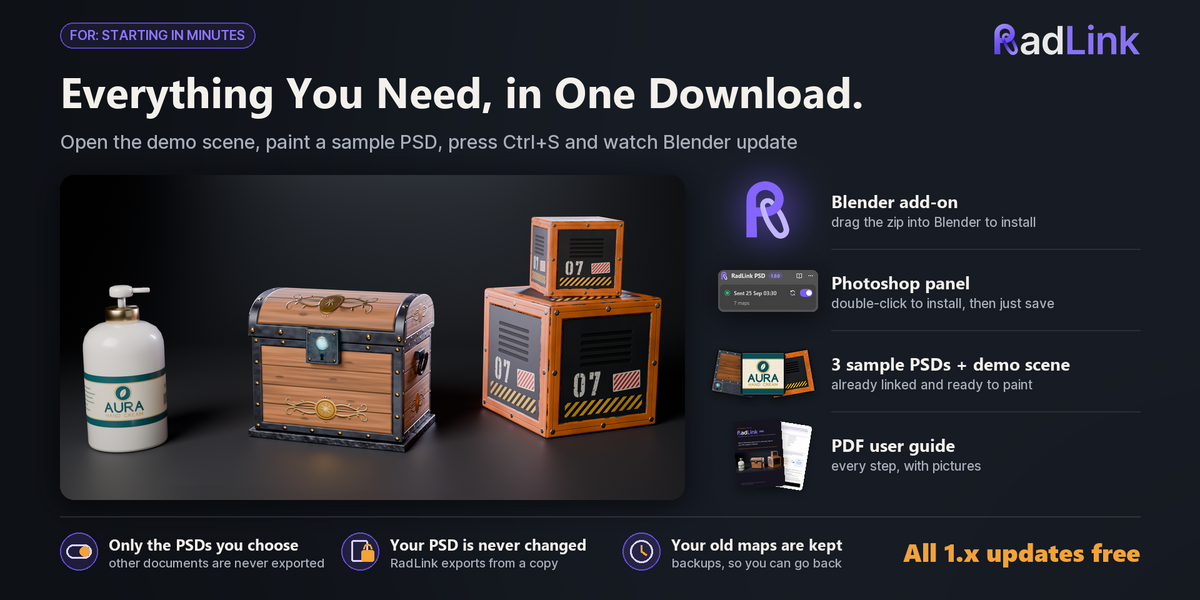
In Blender: Go to Edit ▸ Preferences ▸ Get Extensions ▸ ▾ ▸ Install from Disk… and select
radlink_psd-1.0.0.zip. The RadLink tab will appear in the 3D Viewport sidebar (N key). -
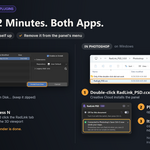
In Photoshop: Double-click
RadLink_PSD.ccxto install the panel via Adobe Creative Cloud (or runInstall RadLink.jsxfrom File ▸ Scripts ▸ Browse…). Open the panel via Plugins ▸ RadLink PSD ▸ RadLink.
Quick Start: Your First Link in 60 Seconds
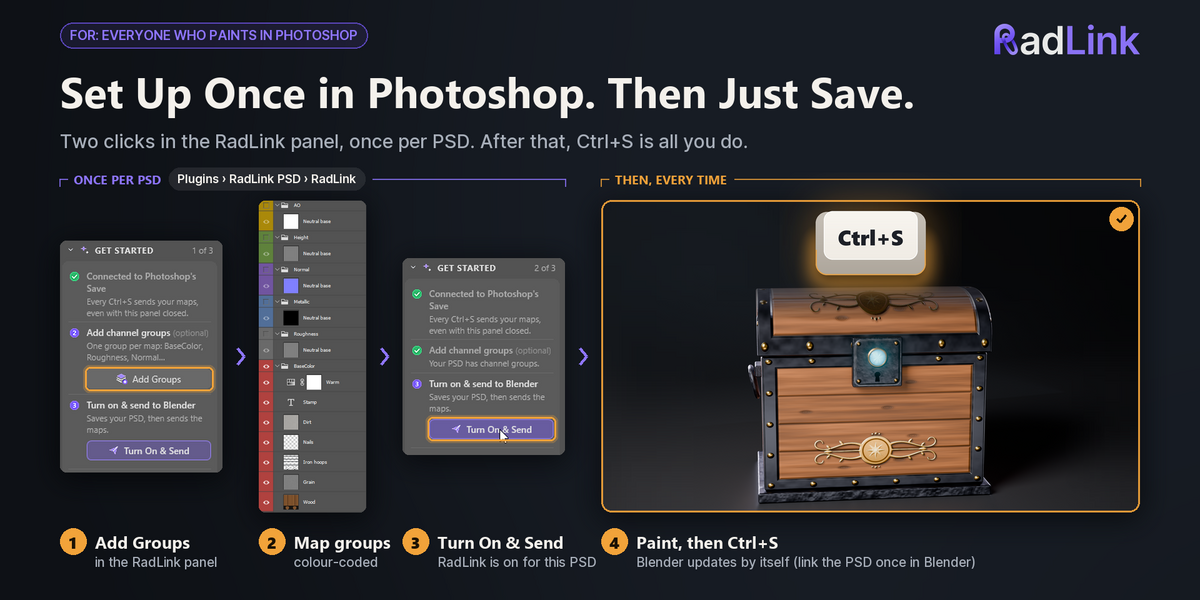
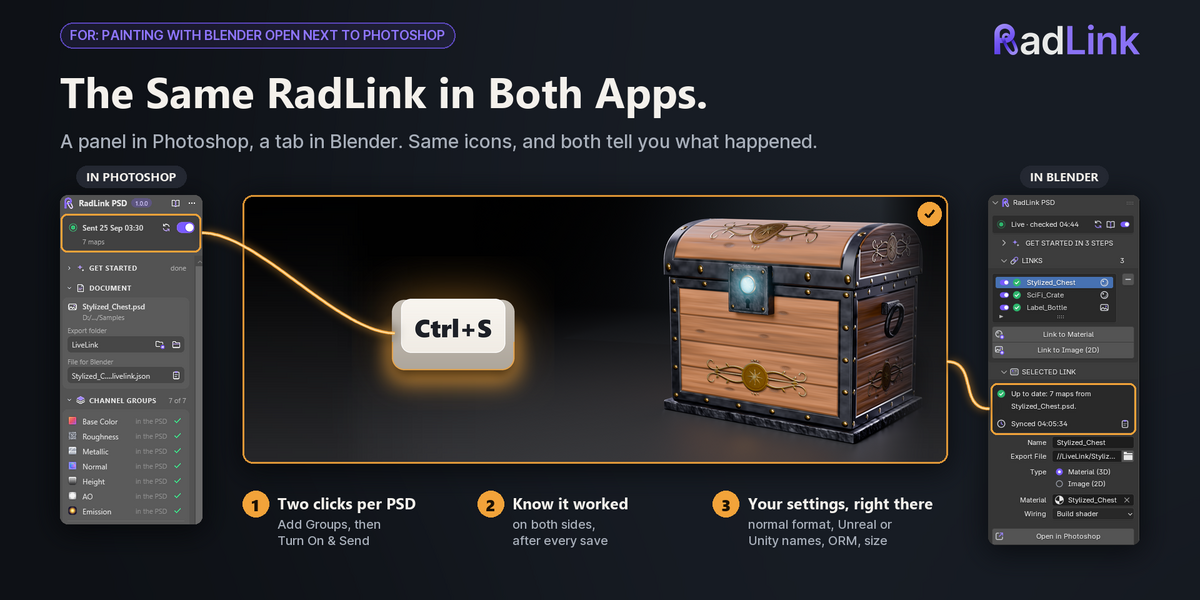
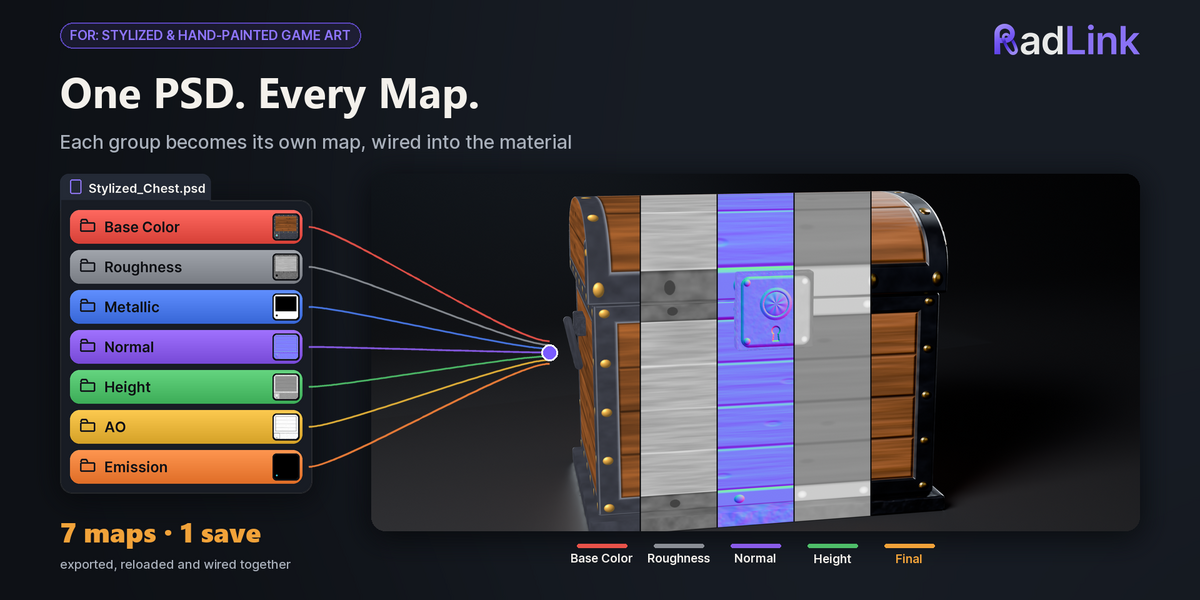
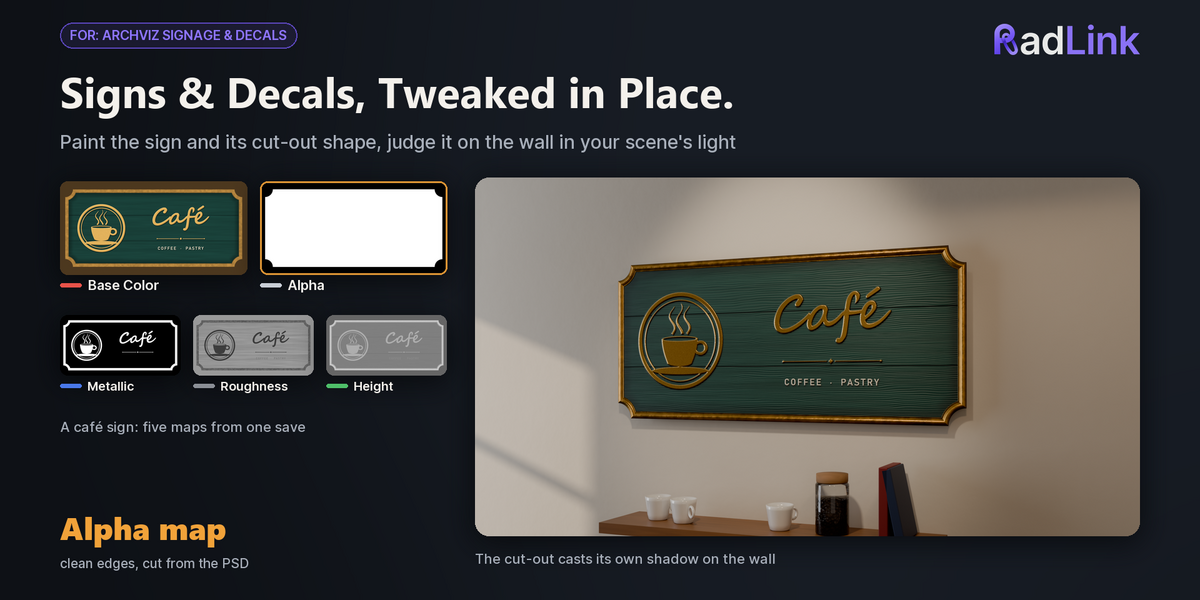
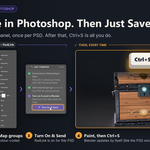
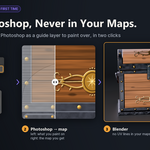
- Photoshop: Open your texture PSD. In the RadLink panel, click Add Groups to generate your channel folders (BaseColor, Roughness, Metallic, etc.) and paint inside them.
- Click Turn On & Send to export the initial maps into the local
LiveLinkfolder. -
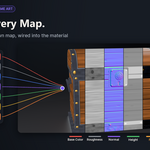
Blender: Select your target mesh. In the sidebar's RadLink tab, click Link to Material and choose the generated
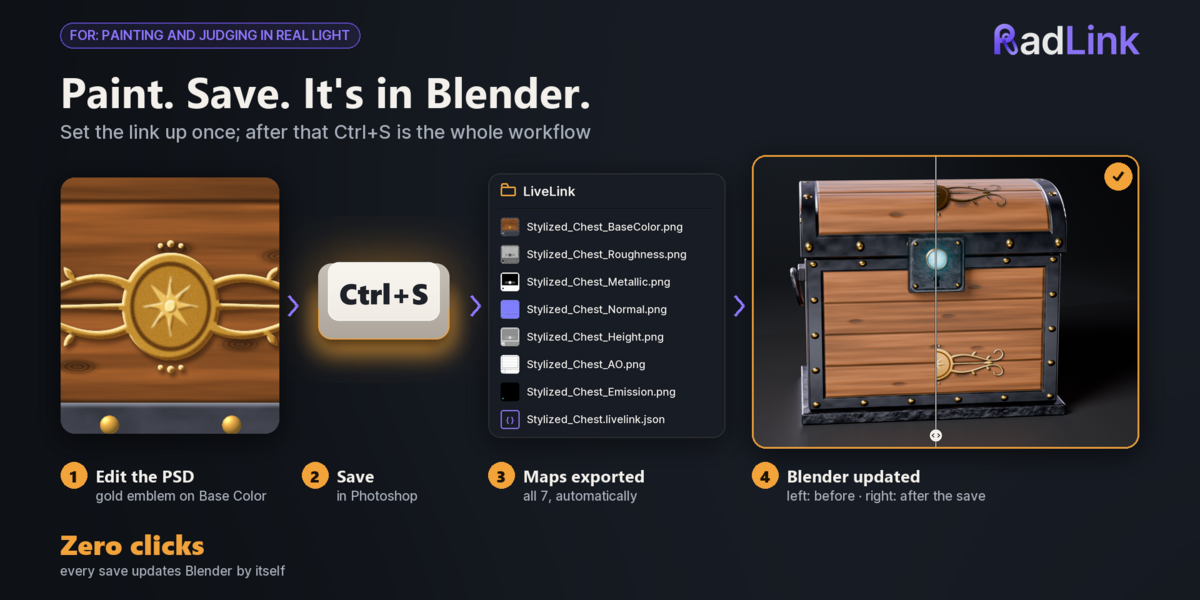
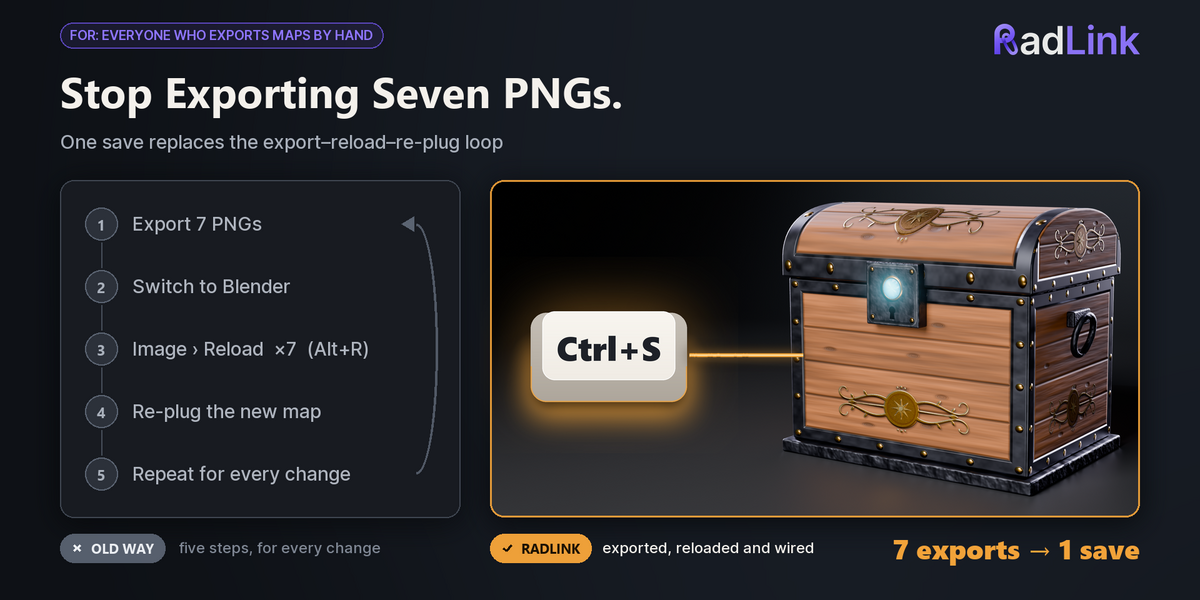
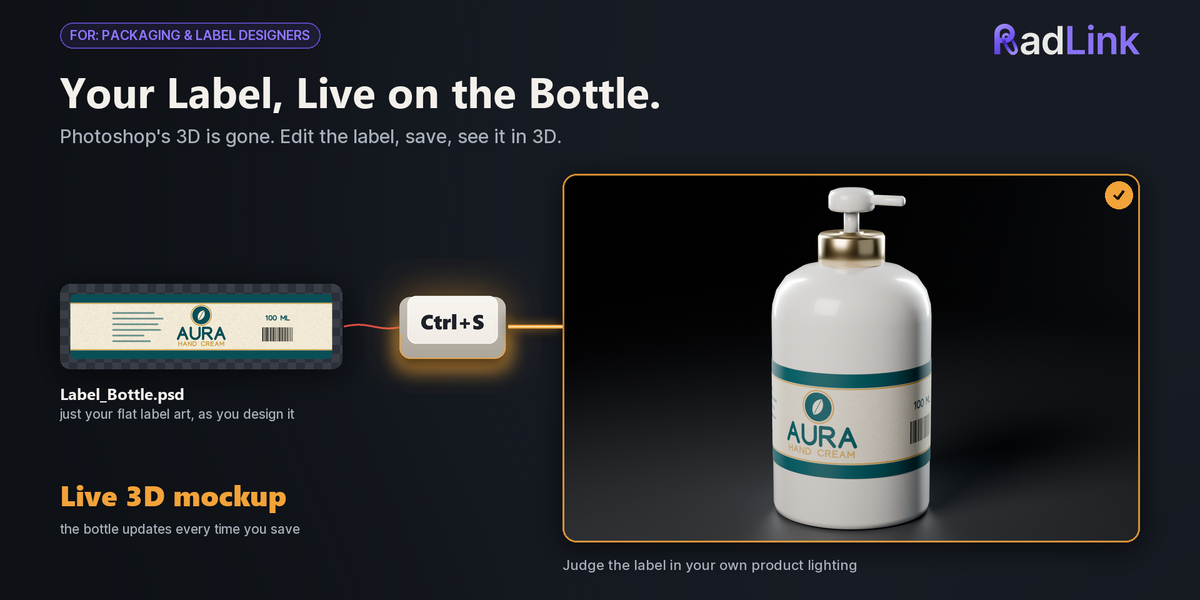
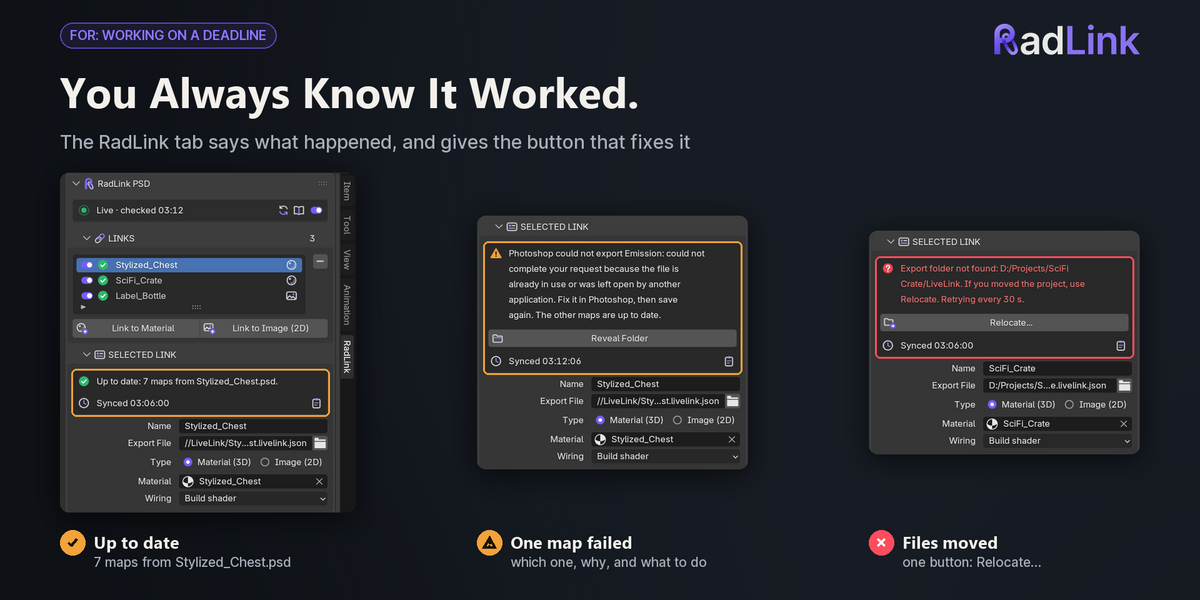
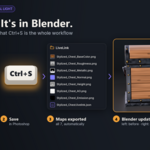
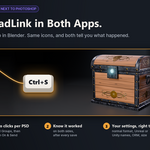
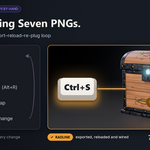
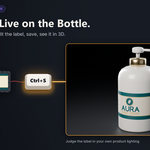
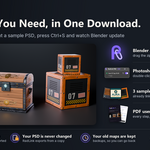
.livelink.jsonfile. - Press Z ▸ Material Preview. From this point on, simply pressing Ctrl+S in Photoshop instantly updates your materials in Blender!
Key Features & Pipeline Tips
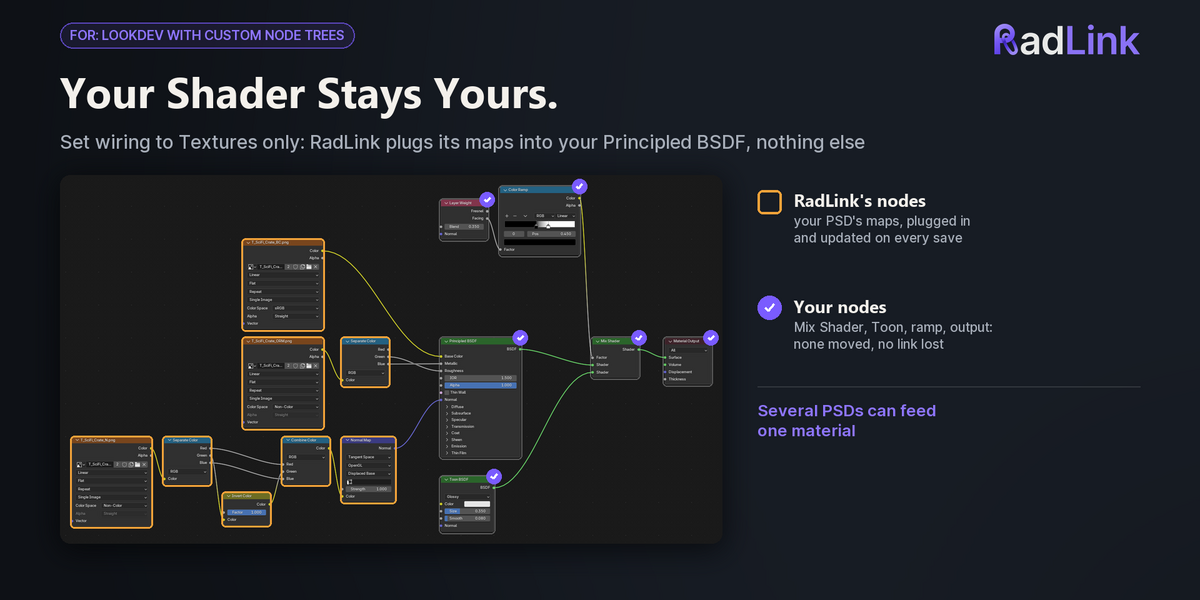
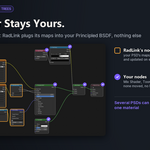
- Preserves Custom Shaders: In Textures only wiring mode, RadLink connects image nodes without overwriting your existing shader network, mix nodes, or custom node groups.
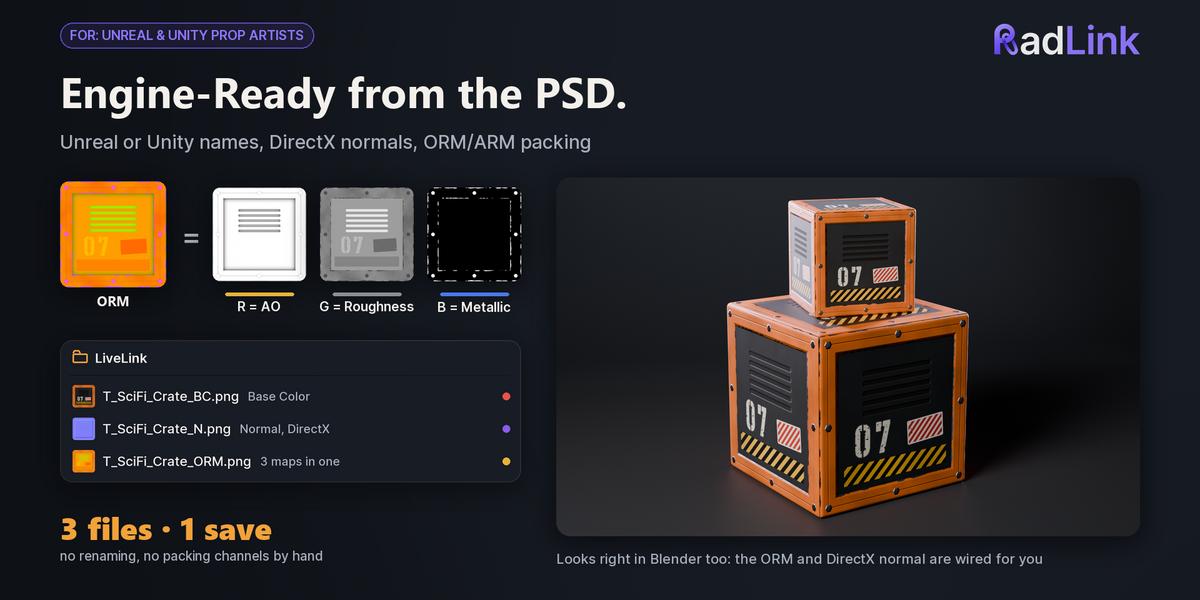
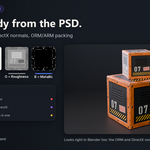
- Game Engine Packing: Select Unreal in the panel settings for automatic DirectX normal conversion and ORM (AO/Roughness/Metallic) channel packing.
-
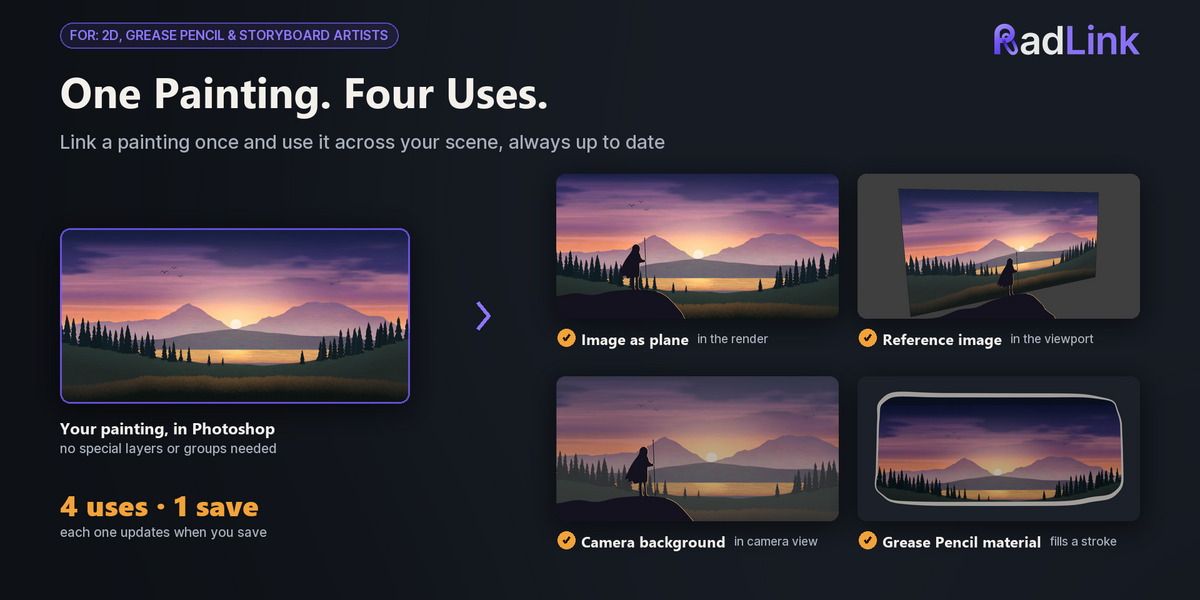
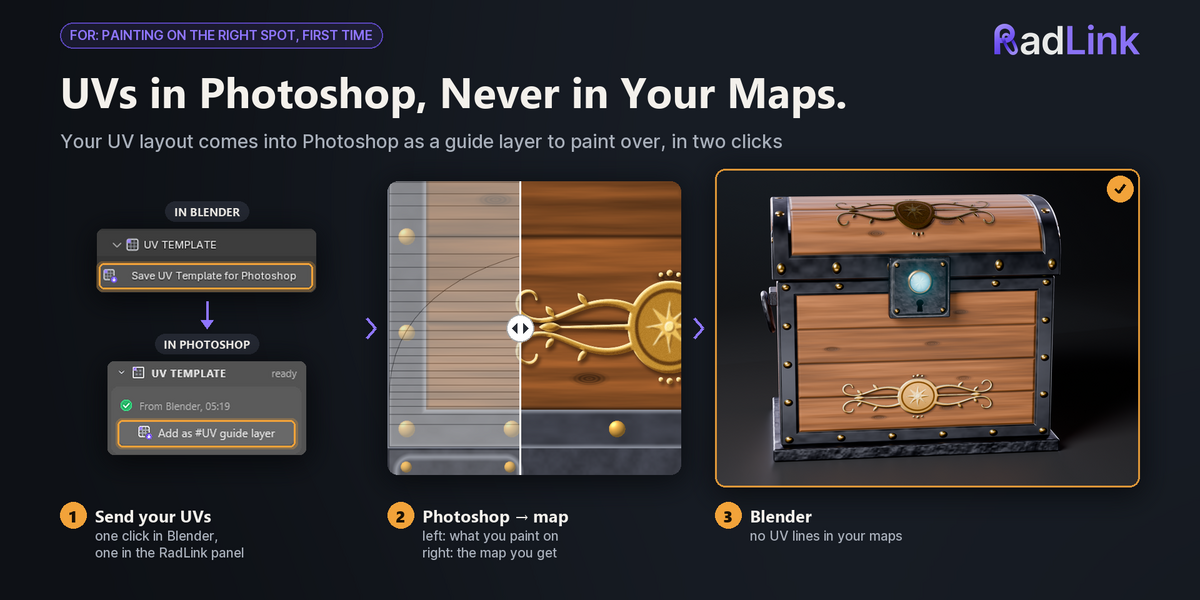
UV Template Round-Trip: Click Save UV Template for Photoshop in Blender to send your mesh UV layout directly into your PSD as a non-rendering
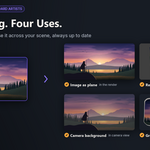
#UVguide layer. - 2D & Grease Pencil: Use Link to Image (2D) to keep reference art, image planes, camera backdrops, or Grease Pencil fills updated in real time.
For complete channel naming cheat sheets, 8K performance optimization, and troubleshooting, refer to the included 24-page PDF User Guide.
$22$16.50
 Included
Includes 12 months of
- Support from ArtTalentStudio
- Product updates
Extend this product’s Support Period +12 months: 50% of product price
Have questions before purchasing?
Login to message
| Published | 3 days ago |
| Blender Version | 4.2 - 5.2 |
| Extension Type | N/A |
| Render Engine Used | Cycles, Eevee |
| License | GPL |