Real Caustics - Water Caustics Generator
 Sergei Zakharov




Follow the Discord server: https://discord.gg/hApRNgZCxT
I will try to support you and answer all your questions regarding the addon.
V.1.3.1 (Alpha Version)
Backwards compatibility: All existing users of Versions 1.2 and 1.2.5 have to manually update their Caustics projection and Caustics energy Fix nodes in existing scenes Go to your water materials and replace Missing Data blocks with appropriate nodes
Installation:
- Download the addon ZIP file.
- Open Blender, navigate to Edit>Preferences>Add-ons> Find and click an option Install from Disc
- Navigate to the zip folder>double click on it
- The addon should be installed and enabled
- The addon panels are available in the 3D viewport side bar.
1. Camera Setup
- You may create a new Orthographic Camera by pressing the button in the addon menu. you may also select a pre-existing camera. It can be both Perspective and Orthographic.
- Set up your camera above the water scene. You can do it at an angle, make sure the camera is capturing the area you need. You may tweak the Output Resolution and Orthographic Scale in Section 4 to accurately capture the area you need.
- You can do the same for the perspective camera, adjust the camera lens in the camera options.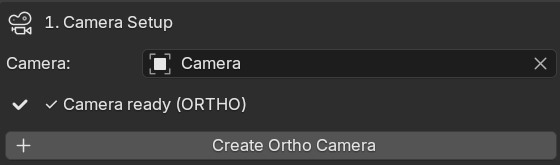
2. Water Collection
- Place your water objects into a custom collection and select this collection in the addon menu.
- Nested collections withing the Water collection, Instanced collections or instanced geometry will not contribute to caustics generation. 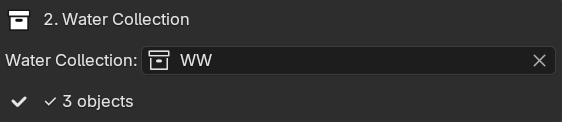
3. Settings
- Settings control the look of your caustic patterns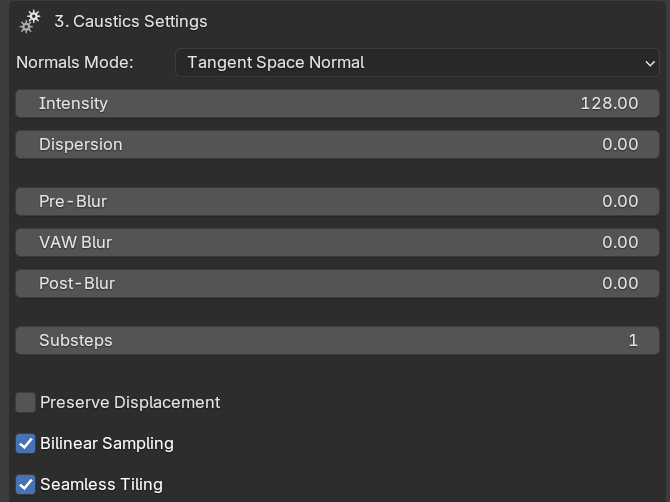
Normals mode:
- Tangent Space Normals are ideal for water scenes with Horizontally arranged water meshes. Sea, Swimming Pools, Puddles, Shore Simulations. The Camera may be oriented in any way - caustics will accurately generate.
- Camera Space Normals are not meant to be used with the majority of water scenes, the caustics look broken under different camera orientations. Works better on splashes, non-horizontal water,
Settings:
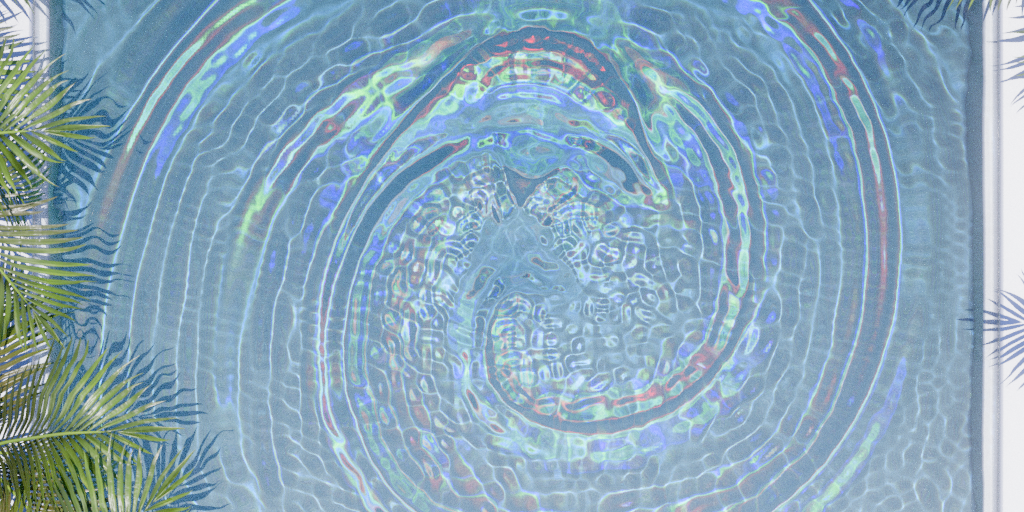
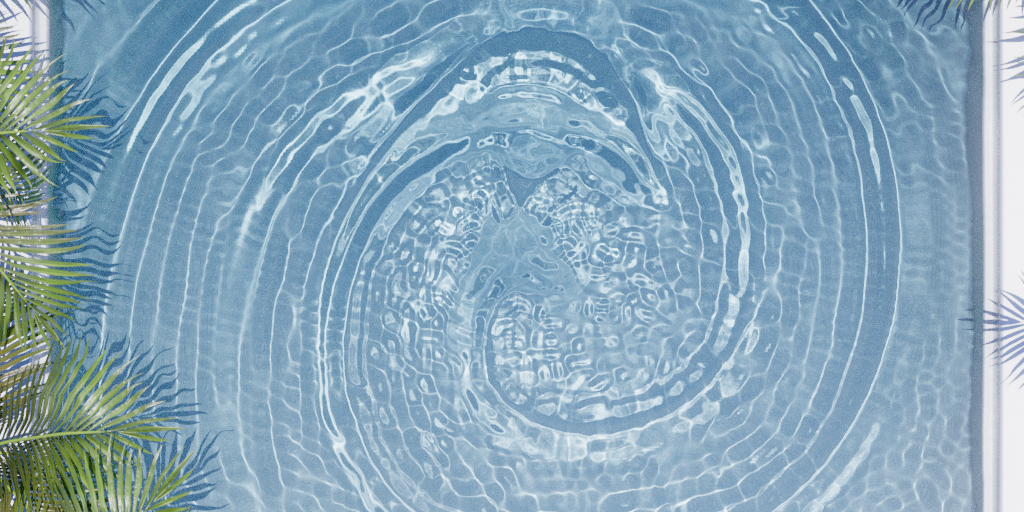
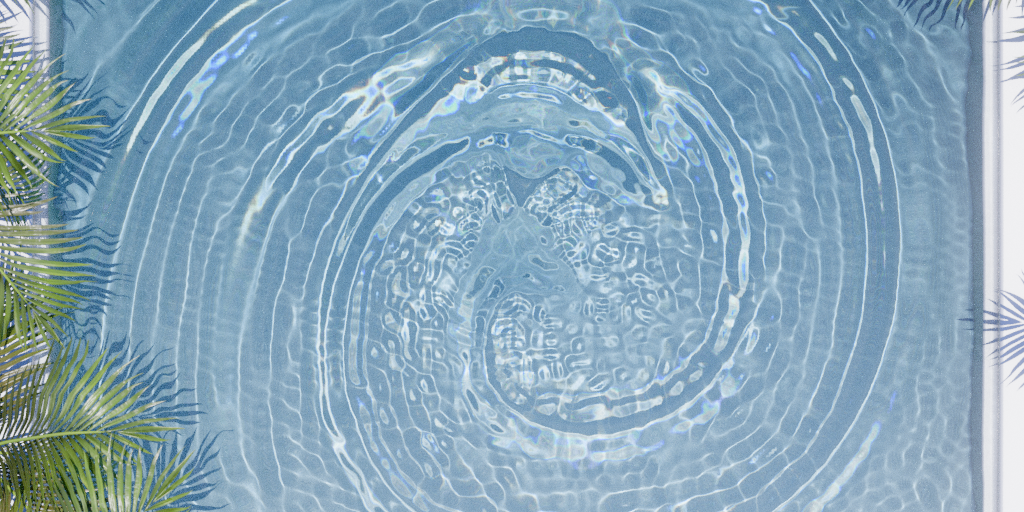
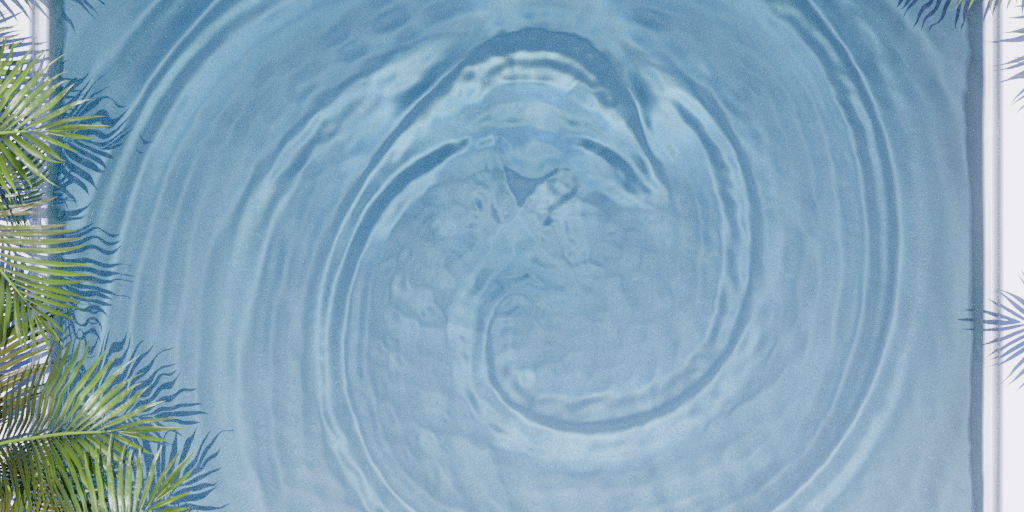
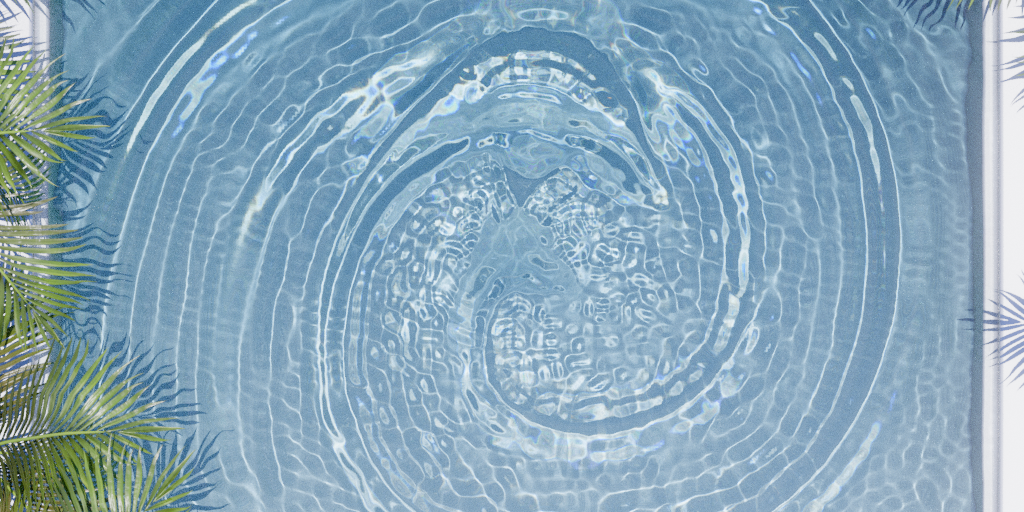
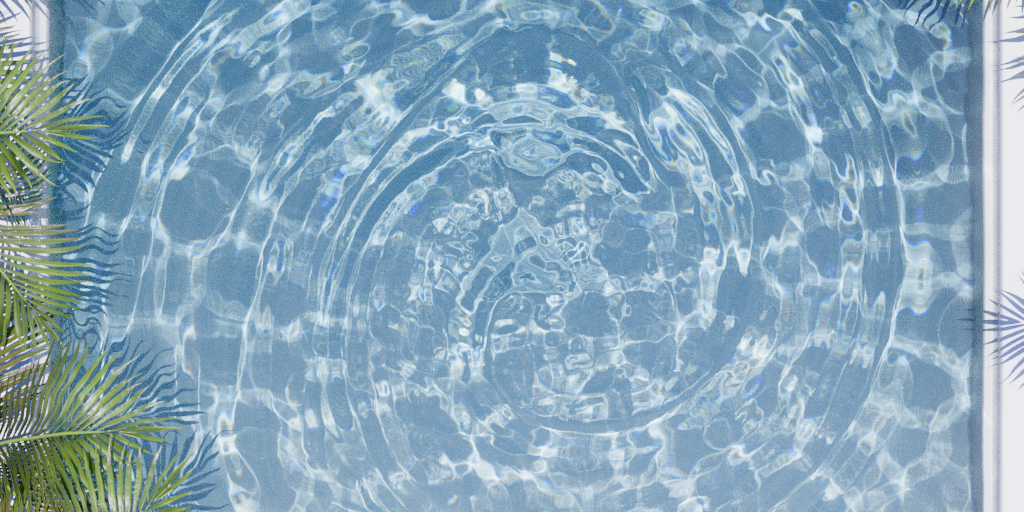
| Intensity Low | Intensity high |
|
|
| Dispersion Low - BW generation | Dispersion High - RGB generation with Refraction Offset |
|
|
| Pre-Blur Off - more detailed patterns | Pre-Blur On - smoother patterns |
|
|
| VAW Blur Off - little pixelated artifacts | VAW Blur On - no pixelated artifacts |
|
|
| Post-Blur Off - Sharp Patterns | Post-Blur On - Blurred overall result |
|
|
| Preserve Displacement Off - Only Capture Real Geometry | Preserve Displacement On - Add extra detail with Displacement/Bump |
|
|
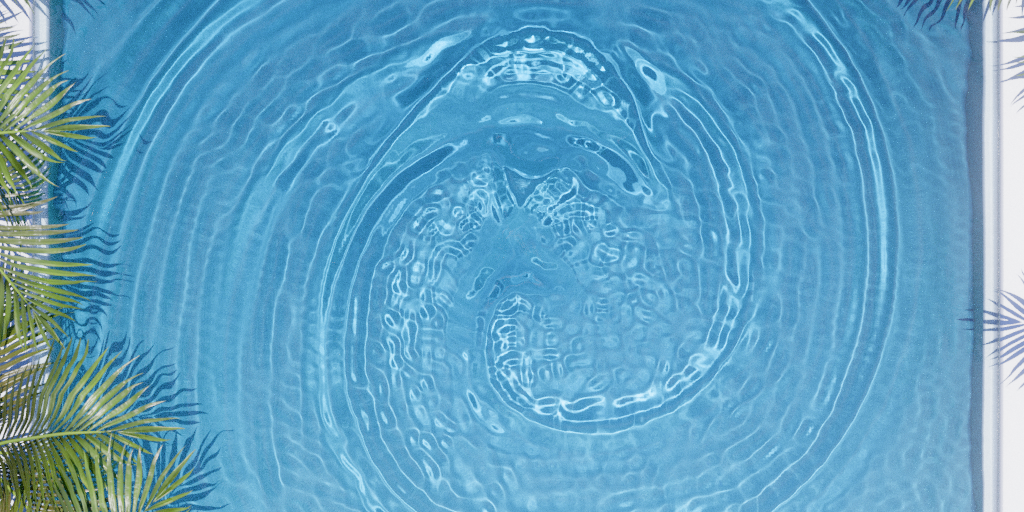
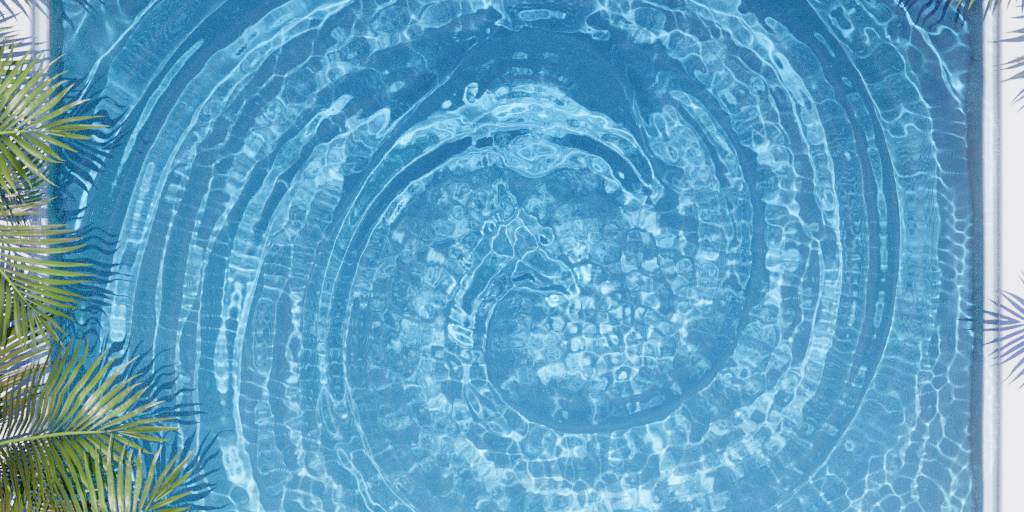
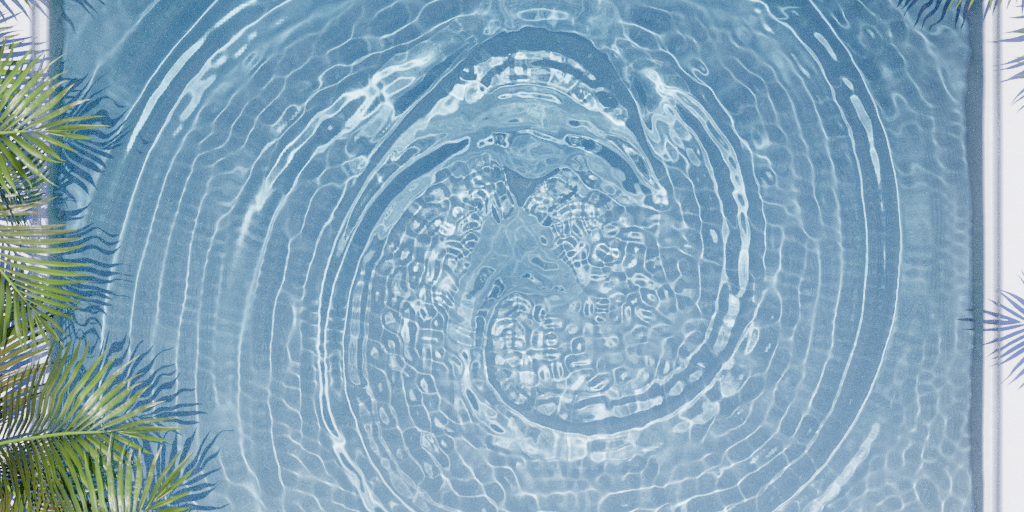



- Bilinear Sampling makes smoother results overall - Keep ON
- Tiling is used when generating seamless textures from Ocean Modifier, Wraps Refracted Caustics across the image borders
4. Output and Render
- Set your folder directory. Normal, Depth and Caustics will be written into the folder you specified.
- Save as EXR allows you to save your caustics into a linear 16bit exr instead of an 8bit png. Performs faster, better dynamic range. Linear. Keep on.
- Set your Caustics resolution and Aspect Ratio. This will be the size of your caustic texture and frame captured by the caustics camera.
- Keep numbers low at the start 512-1024px. Raise the values carefully. Higher values may result in longer renders or potential crushes.
- 2048x2048 image takes about 10seconds to generate. May be slower on weaker PCs. Faster on Stronger PCs.
- Set you Caustics Animation Range. This will generate the image sequence when you press Generate Sequence Button.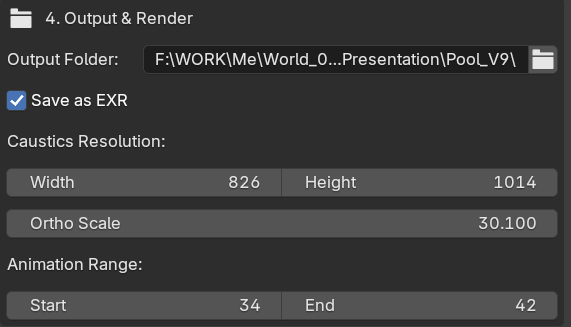
- Generate Current frame generates the caustics pattern from current frame into a caustic.exr or caustic.png texture. Will overwrite the texture and reload if it were open.
- Find your desired look and setting, try on different keyframes
- Generate Caustics Sequence will generate the range with proper sequence frame numbers. Generate sequence once you're satisfied with your Caustics look, tested with Current Frame
5. Water material
Before generating a material, please make sure you have these conditions met:
- Your Camera is Selected
- Your water Collection is selected
- You selected a folder for Caustics Output
- You generated you first Caustics Patterns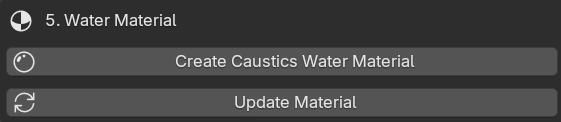
If all conditions are met, you're safe to generate a Water Material.
- If you're using an orthographic Camera - the material should work.
- If you're using a Perspective Camera - you need to manually add a UV Projection Modifier to your water meshes, input appropriate Aspect Ratio and Select the Caustics Camera.
Orthographic camera is a preferred method of generation.
- After adjusting camera position, Orthographic Scale or Texture resolution - Click Generate Current Frame
- Then Click Update Material - your new projection settings will apply. Including X,Y Resolution and orthographic Scale
Update Materials will not work if one of the Caustics Node is missing or renamed
To save your Water Material - Simply Give it a different name
If you click generate Material, while having an active Caustics Material in your scene - it will attempt to override it. Override only for a fresh start. Otherwise rename your material
Customize the material further, add your custom shader and effects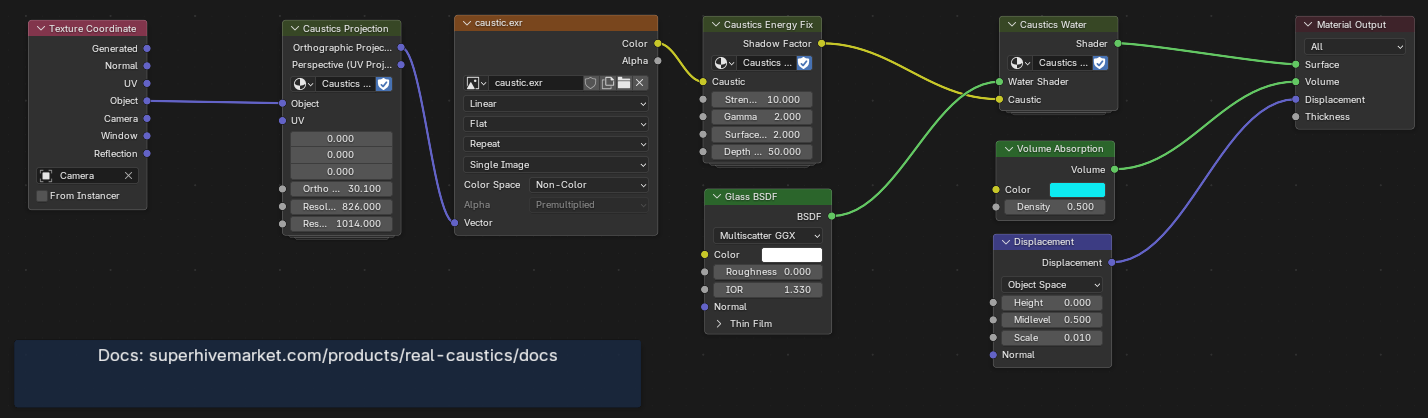
V 1.2.5 (Beta)
1. Changes to Normal Processing
Normals - They no longer render and get processed as PNGs. We are now using EXRs to keep even the slightest changes on the water surface.
2. Changes to Caustics Generation
Caustics EXR - You get an option to Render caustics into an EXR. This gives you some advantages: The EXR weigh same or less than the pngs, they get processed faster for animation and contain more dynamic range. You can tweak the contrast and gamma of Caustics easier.
3. Changes to Caustics Energy Fix Node
Gamma - it's easier to control the contrast of the caustics using the gamma slider, works even better with exrs.
Surface fade - cleans the harsh border between the water surface and the caustics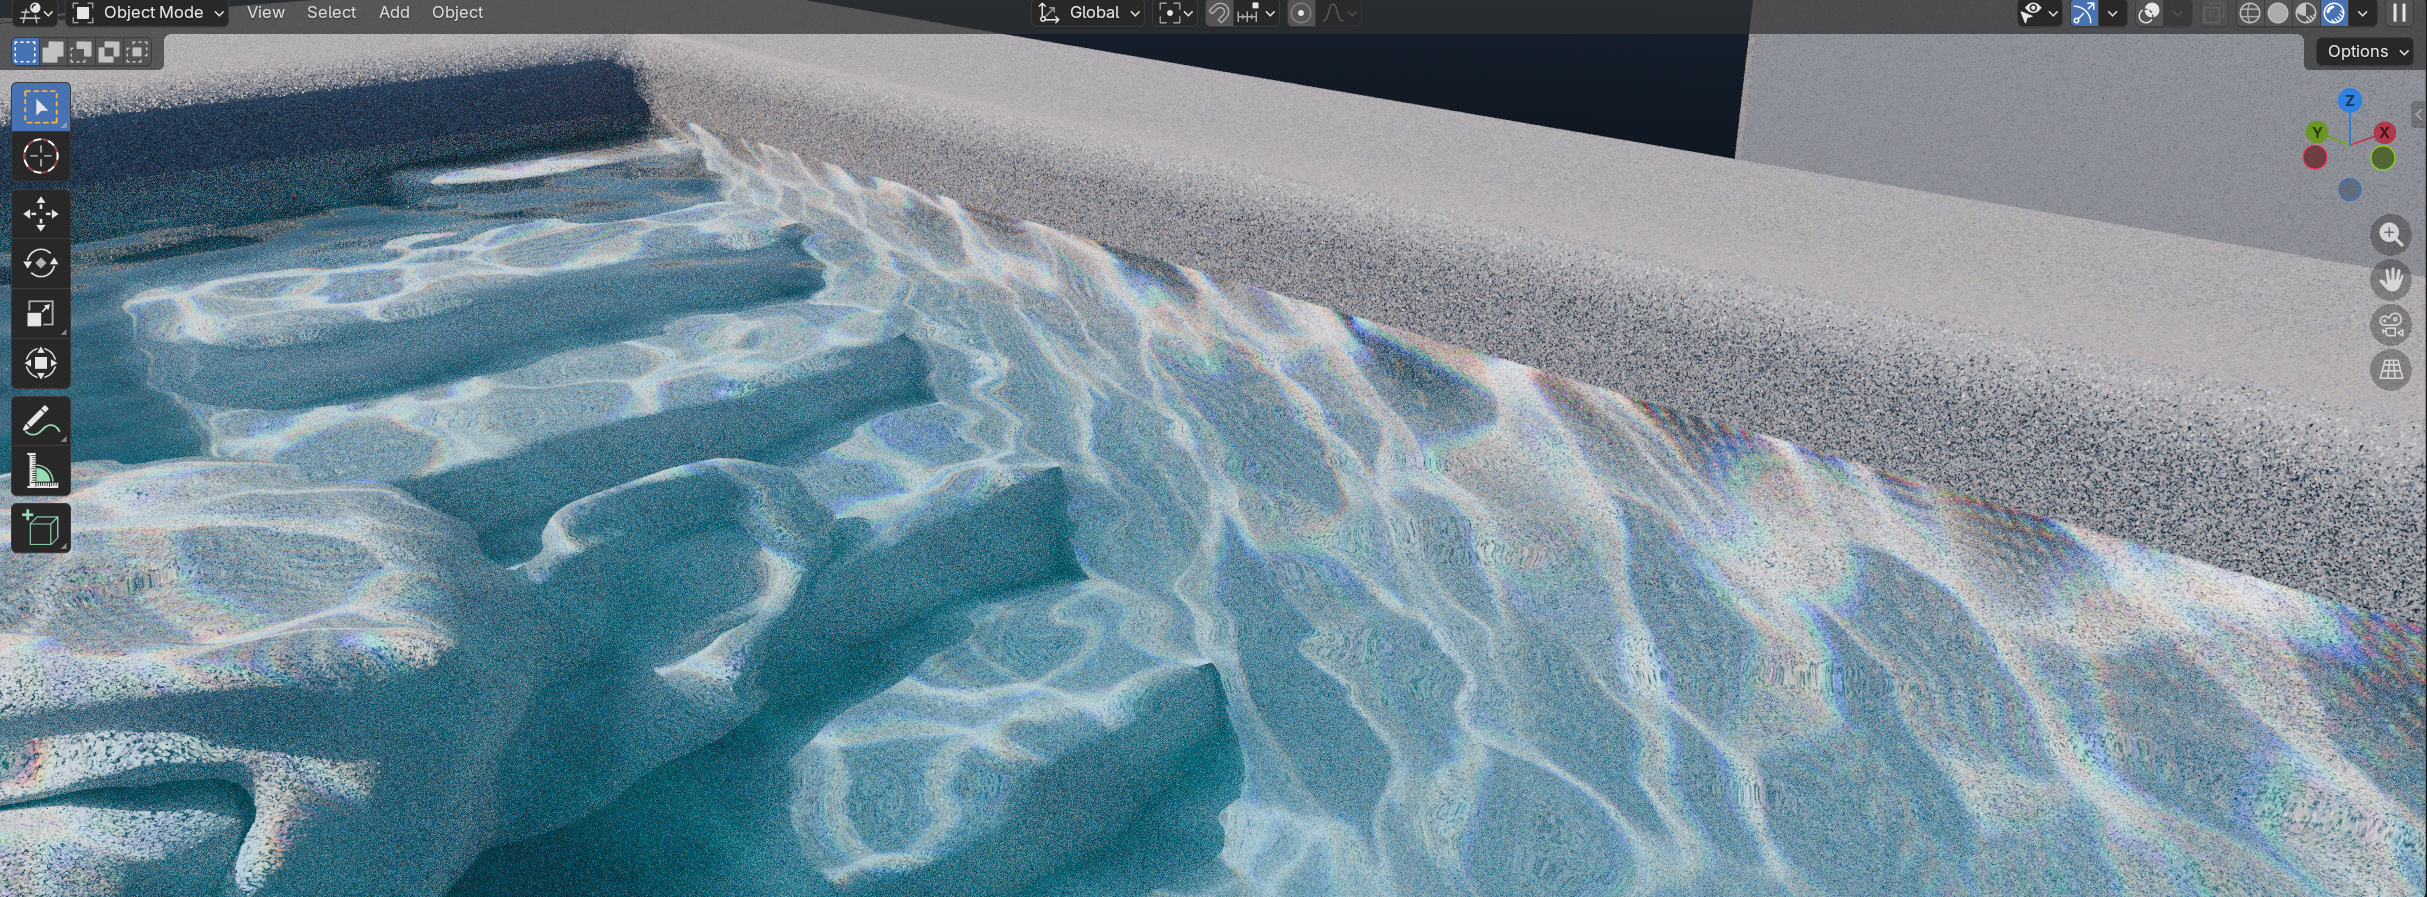
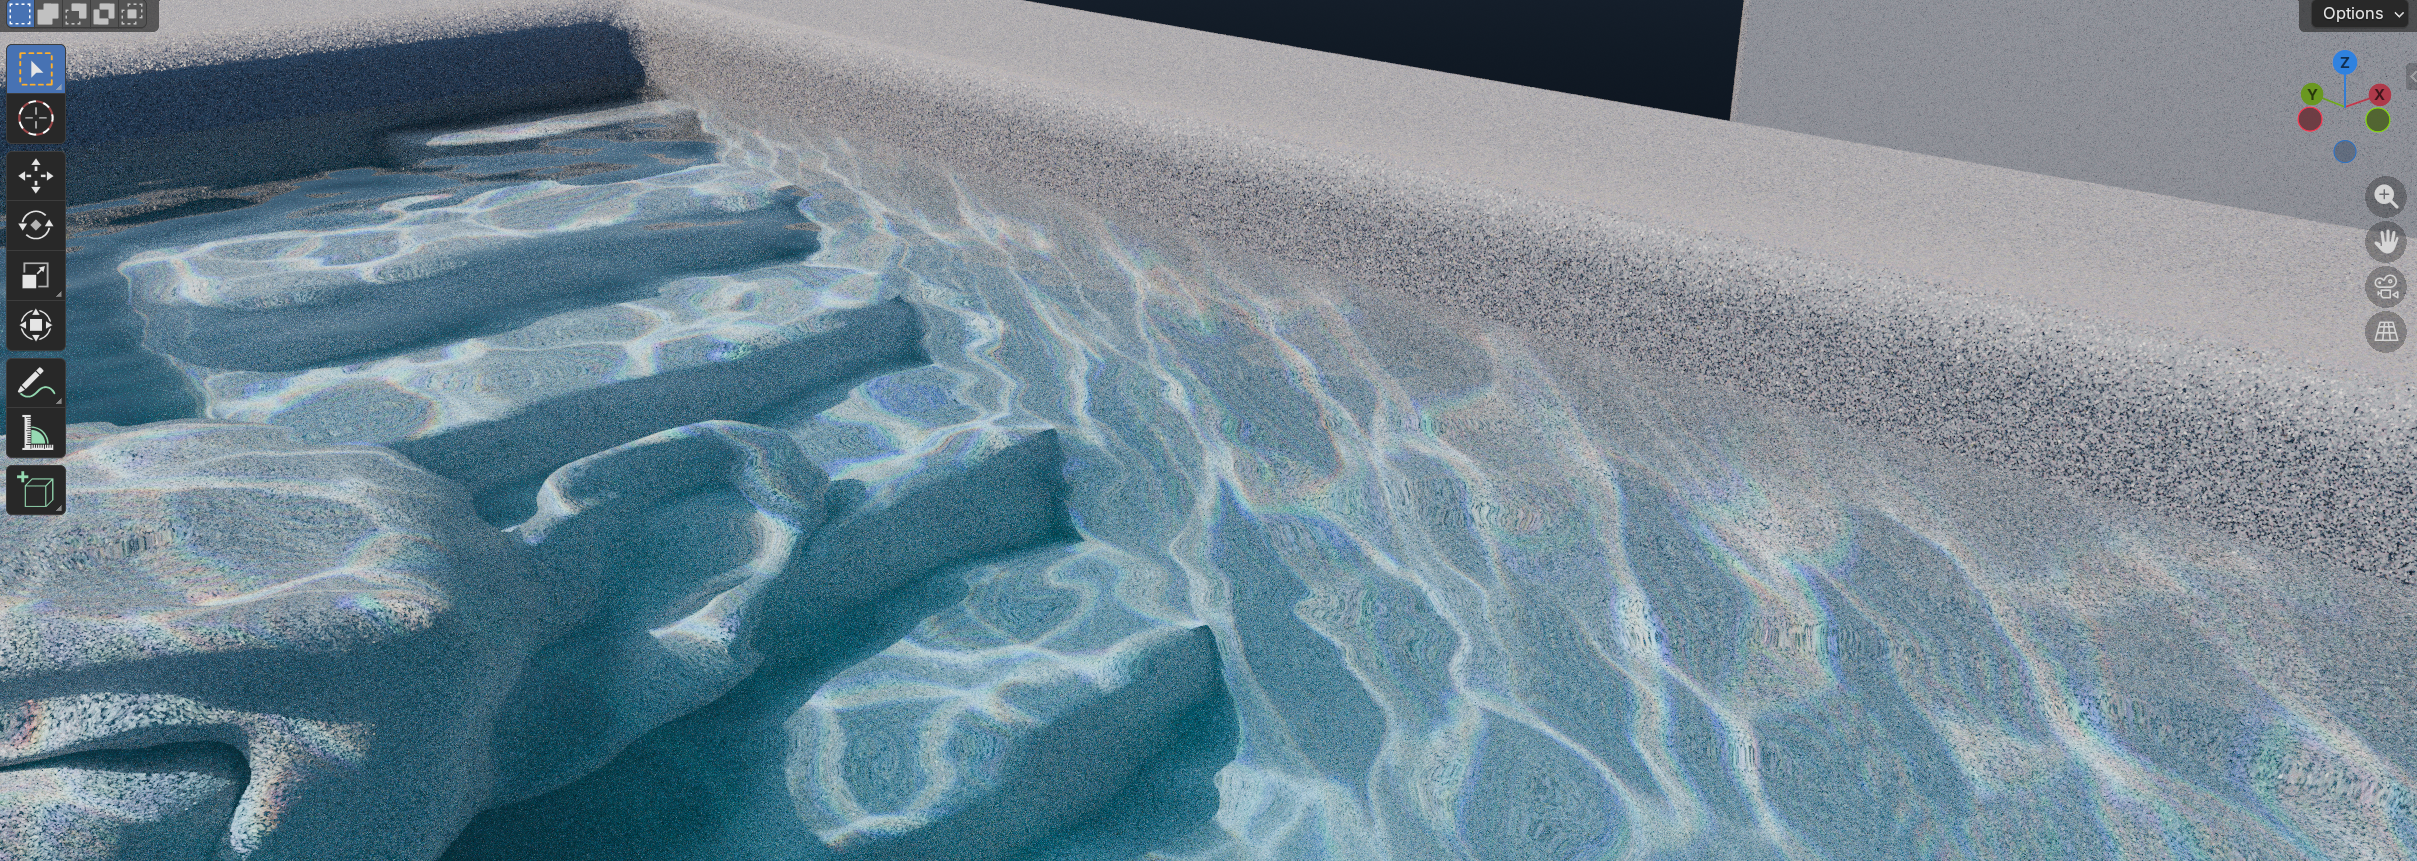
Depth fade - you can control the depth falloff of your caustics
Issues - there used to be an issue, when looking at the water through transparency. The caustic patterns dissapeared. The issue is solved and controlled inside the node - current transparency threshold is set to 32. 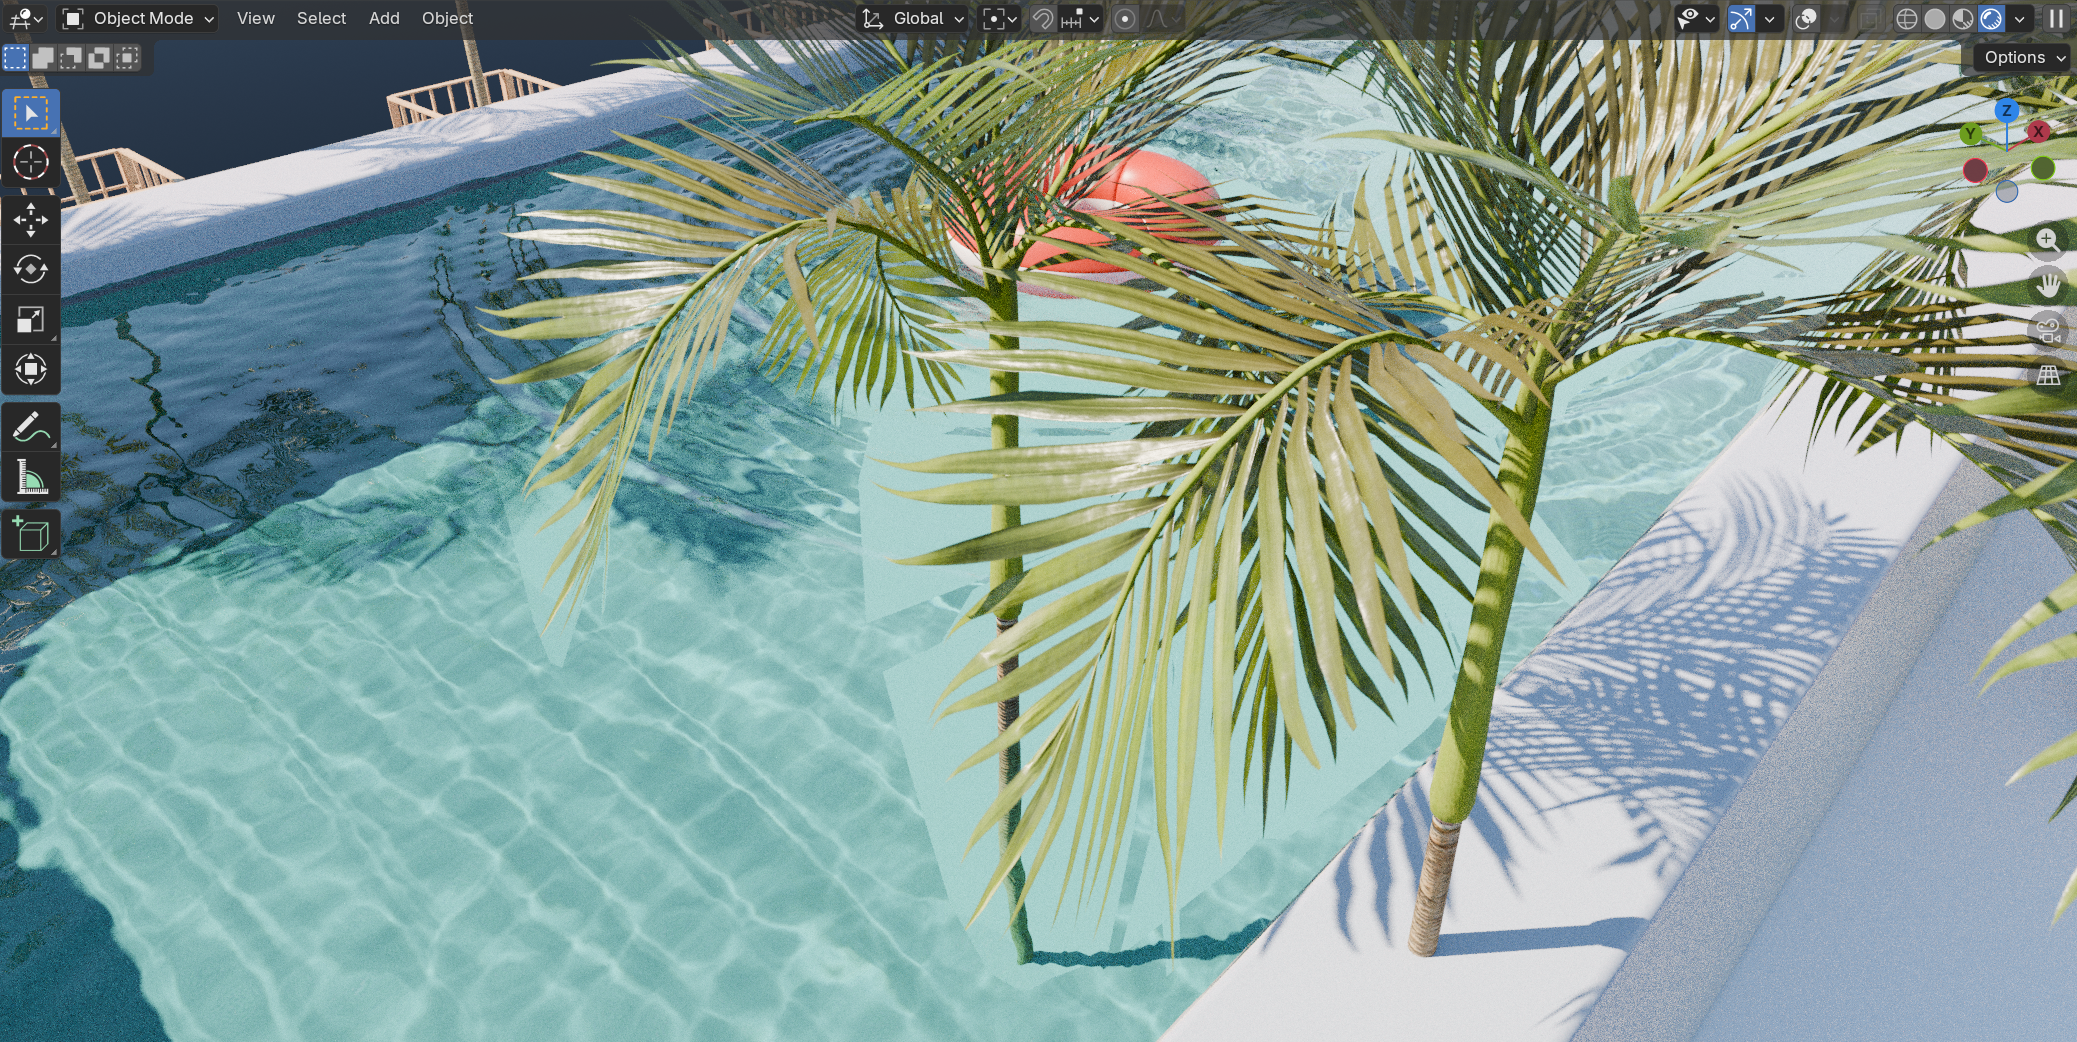
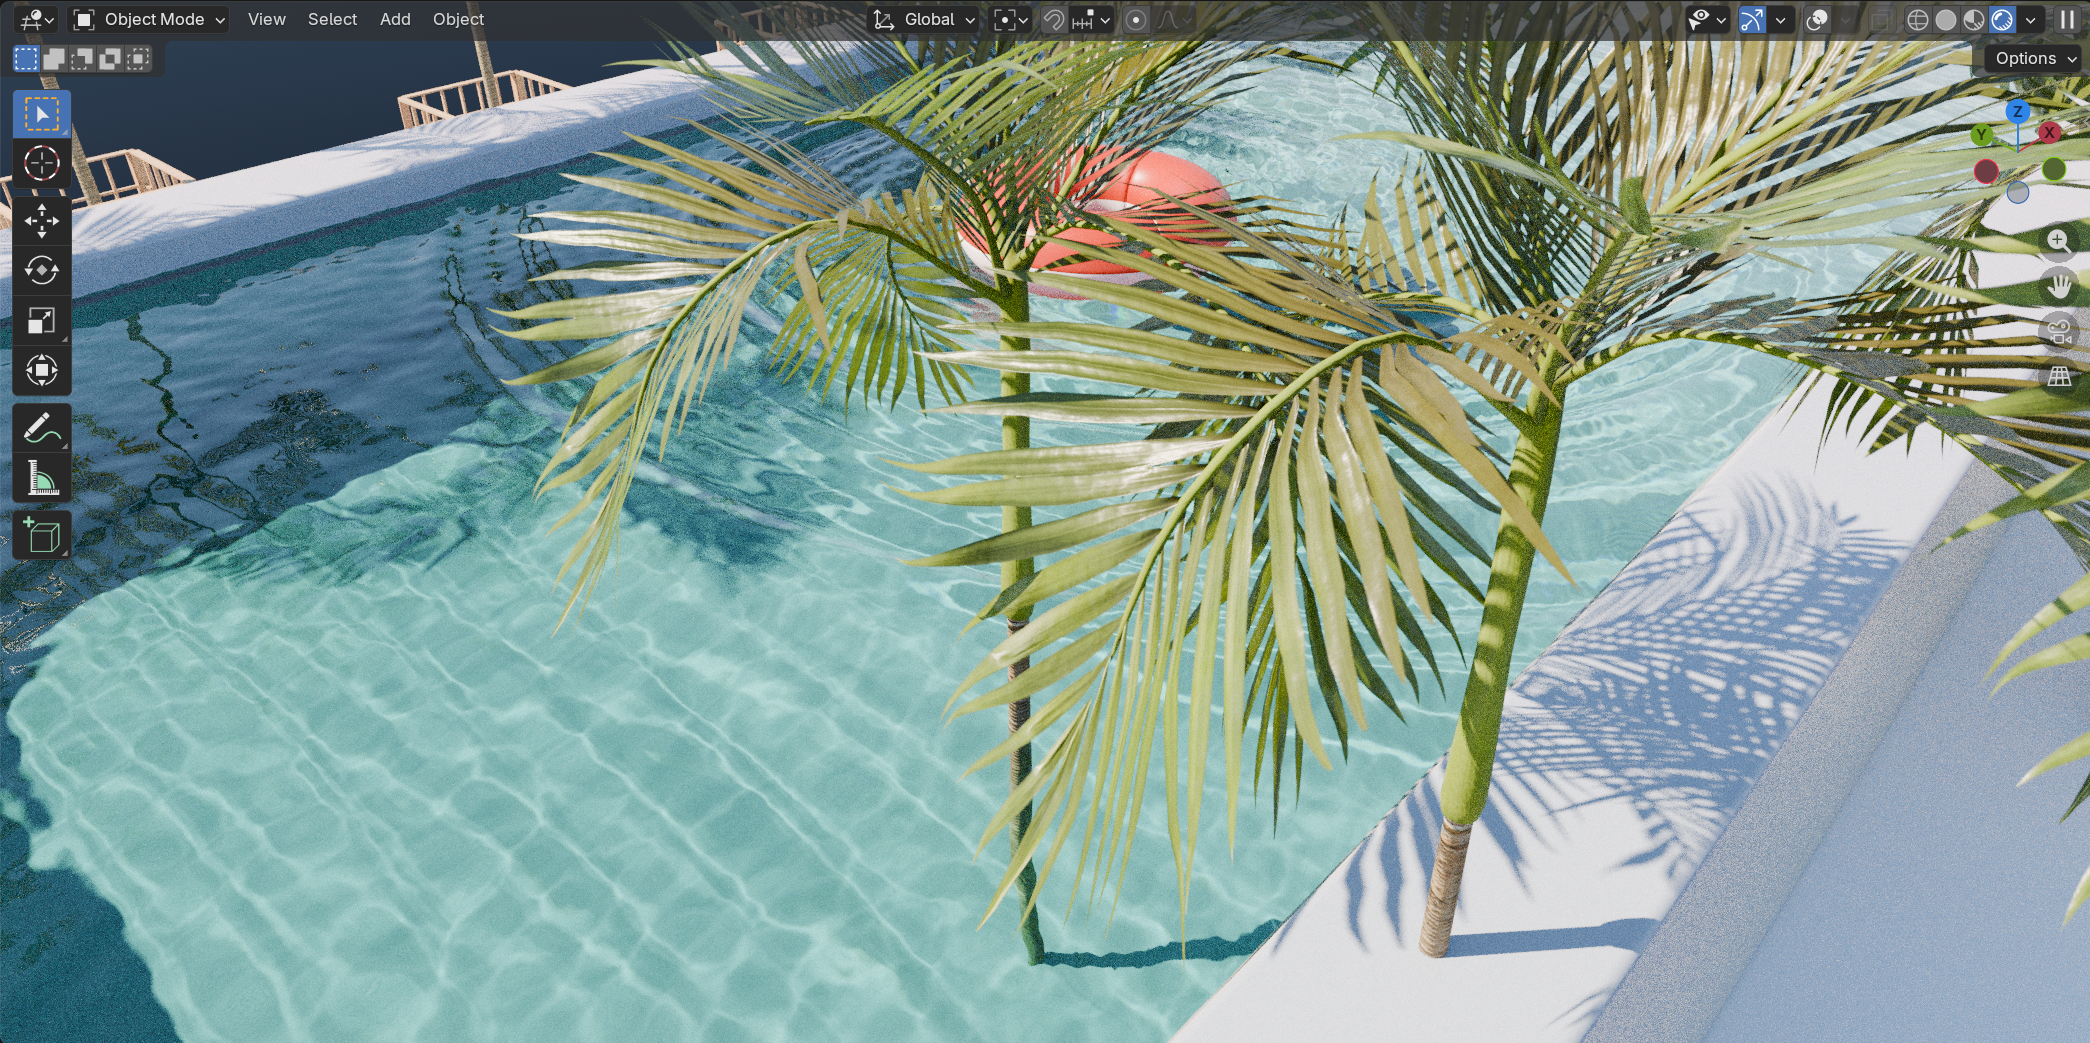
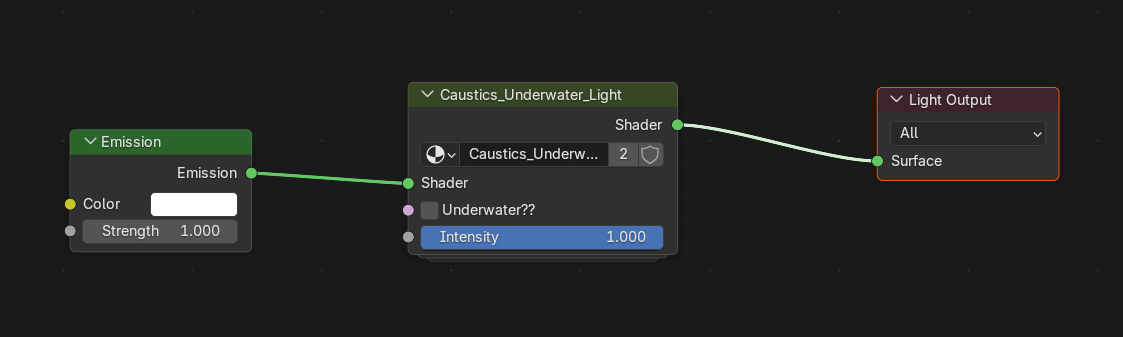
4. Caustics Underwater Light Node
New Node - Add it to your soft light in the scene, it will only affect the underwater environment. The node has two states: Underwater and Above water mode. The mode choice depends whether you're rendering the water from above the surface or underwater. Don't forget to check check the switch.
V.1.2.0 (Stable Version)
1. Camera Setup
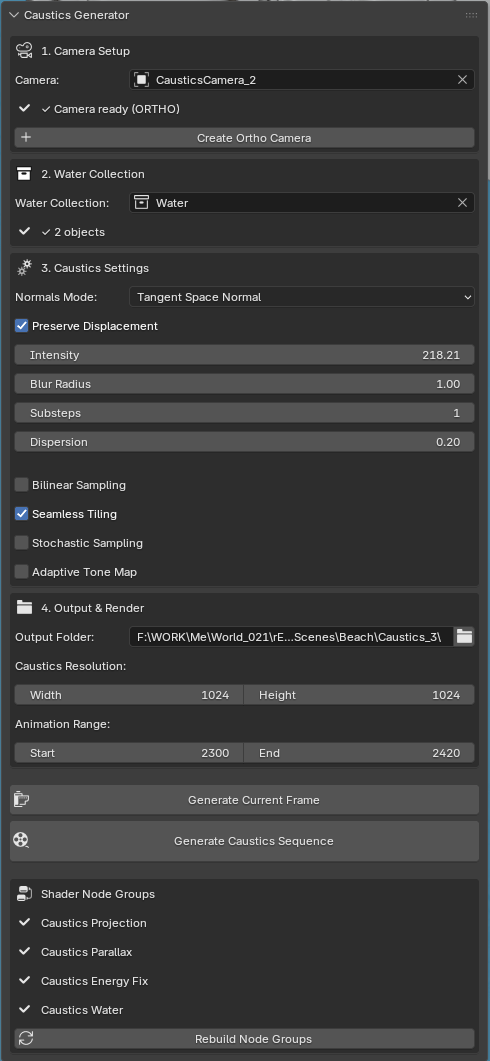
Camera - Select the camera used to capture the water surface. If it's not set to Orthographic mode - the projection nodes will not function properly. You will need to manually set up UV projections.
Create Ortho Camera - Creates and assigns a pre-configured orthographic Caustics Camera in the scene. Position it above your water surface or align it to your sun lamp direction using a Copy Rotation/Location constraint or by parenting.
Animate your camera to always generate caustics within your Hero Camera view.
2. Water Collection
Water Collection - Select the collection containing your water meshes. These are the objects the addon will use to generate the caustic pattern. Supports fluid simulations, ocean modifiers, dynamic paint outputs, and any mesh-based water surface.
3. Caustics Settings
Normals Mode - Sets how surface normals are read during generation. Tangent Space Normal is the recommended default for most water surfaces. Camera Vector Normal is Legacy and should not used.
Preserve Displacement - When enabled, shader-based Displacement and Bump are respected during generation. The caustics follow the visual surface rather than the base mesh geometry. May result in extended generation time or extremely detailed normal maps, leading to noisy caustics patterns.
Intensity - Controls the overall strength of the caustic pattern. Negative values force the Caustics to enter a Reflection Caustics mode, which is quite experimental.
Blur Radius - Softens the generated normal map texture before Caustics Generation. Useful when using dense Displacement/Bump maps and a softer, more art-directed result is needed.
V 1.2.
Pre-Blur - Replacing the Blur - makes the patterns softer and smoother. Applied to Normal map before caustic generation.
Post-Blur - a postprocessing effect applied to the caustics texture - basic gaussian blur - smoothens out the image, averages the pixels.
Substeps - Increases the number of samples during generation. Produces smoother results at the cost of longer generation time.
Dispersion - Simulates chromatic light splitting, adding spectral color fringing to the caustic edges for increased realism. Set to 0 to disable.
Bilinear Sampling - increases smoothness of generated caustics without compromising the efficiency - preferably keep on
Seamless Tiling - Generates the caustic texture as a seamlessly tileable image. Useful for large surfaces where the projection needs to repeat. Removes the square visual seam between the image borders with a natural pattern
Stochastic Sampling — An alternative sampling algorithm. May produce better results depending on the scene — worth testing against the default.
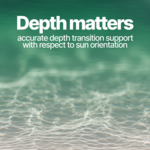
Adaptive Tone Map — Adjusts the tonal range of the output automatically to better distribute caustic intensity across the image. Not consistent with Animation, Recommended state - off.Use Depth — Perspective only Generation Mode. You must enable this setting when generating from your Hero Camera. This setting is aware of the distance to the water surface and accounts for the Camera lens parameters. The Caustics will look consistently no matter the angle, lens or distance to water
4. Output & Render
Output Folder - Directory where generated caustic textures are saved. Single-frame previews and sequence frames are written here.
Caustics Resolution (Width / Height) - Sets the pixel dimensions of the generated texture. 1024 is suitable for previews; 2048 recommended for final renders. Make your custom resolutions and aspect ratios. Remember, increased size increases Generation time. The generation quality does not change the intensity of the caustics - only the quality of generation.
Animation Range (Start / End) - Frame range used when generating a full caustic sequence.
Generate Current Frame - Renders the caustic texture for the current frame only. Automatically overrides the existing preview image and reloads the texture node. Use this for fast hero-frame iteration.
Generate Caustics Sequence - Renders the full frame range to the output folder.
Shader Node Groups
Caustics Projection - Projects the caustic texture onto geometry using the Caustics Camera object. Edit the inside of the node and select the Caustics camera used for projection. Edit parameters for X resolution, Y resolution and Orthographic scale.
Caustics Parallax - Applies the caustic texture directly on the water surface using parallax offset, simulating the appearance of caustics cast on geometry below the surface. Must be plugged in between Caustics Projection and Caustics Texture. Experimental.
Caustics Energy Fix - Limits caustic intensity when light passes through multiple overlapping surfaces, preventing overbright artifacts. Must be plugged in after the Caustics texture
Caustics Water - A pre-built Mix Shader combining Transparent BSDF, the surface shader input, and an Is Shadow Ray condition. Handles the complete shadow ray setup in a single node. Input your water shader and Caustics
Rebuild Node Groups — Reinstalls all shader node groups into the current scene. Use this if node groups are missing or become outdated after an addon update. Overwrites and makes obsolete Node Groups named Caustics Projection, Caustics Parallax, Caustics Energy Fix, Caustics Water. To keep your scenes working, make sure you rename your node groups or create non-instanced duplicates.
-
$35
Real Caustics addon with full functionality. A pack of pre-baked textures included
-
$45
Purchase Real Caustics as a studio and share it within your team (<5 Seats)
-
$50
Real Caustics Addon. Full access for Studios
-
$5
A Pack of 10 Pre-baked Animated Textures, all seamless and looping
 Included
Includes 12 months of
- Support from Sergei Zakharov
- Product updates
Extend this product’s Support Period +12 months: 50% of product price
Have questions before purchasing?
Login to message