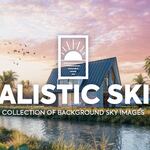
Realistic Skies
 Bproduction



Installation
Unzip the file,
delete the zip file if you want.
Go to Blender ==> edit ==> preferences ==> file path
In asset libraries tabs, click on "plus" and add the path with the blend file.
Click on "Add Asset library"
Save the preferences and close this windows.
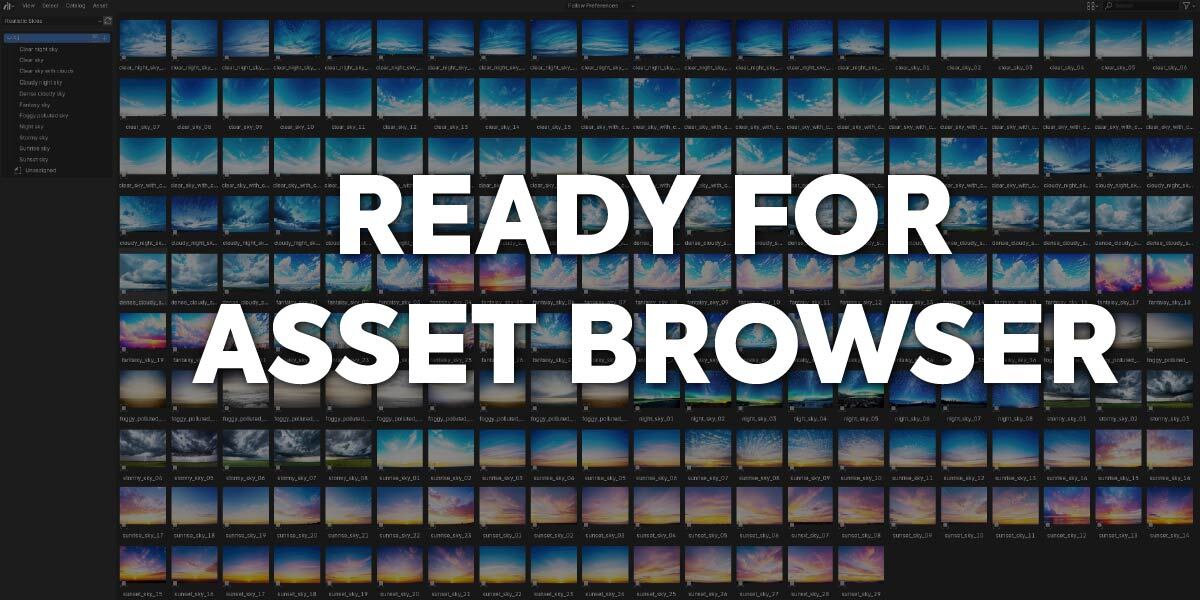
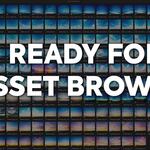
Open a new tab and go to "asset browser", in the list, choose your new folder "Realistic skies"
Installation procedure similar to this video : https://www.youtube.com/watch?v=p68tOGlrMMk
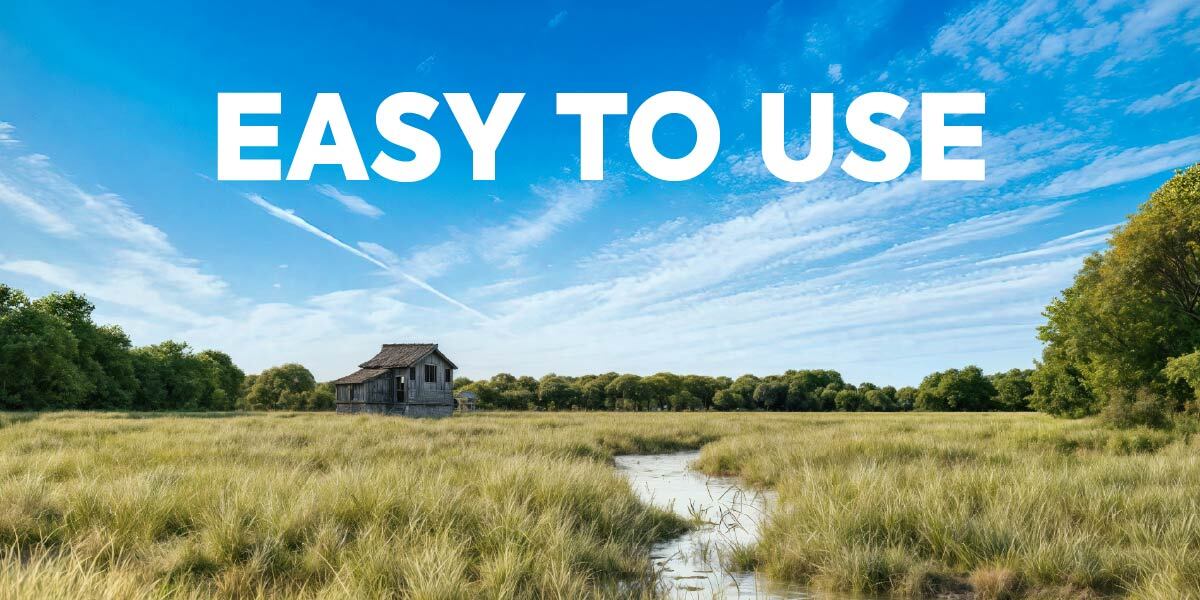
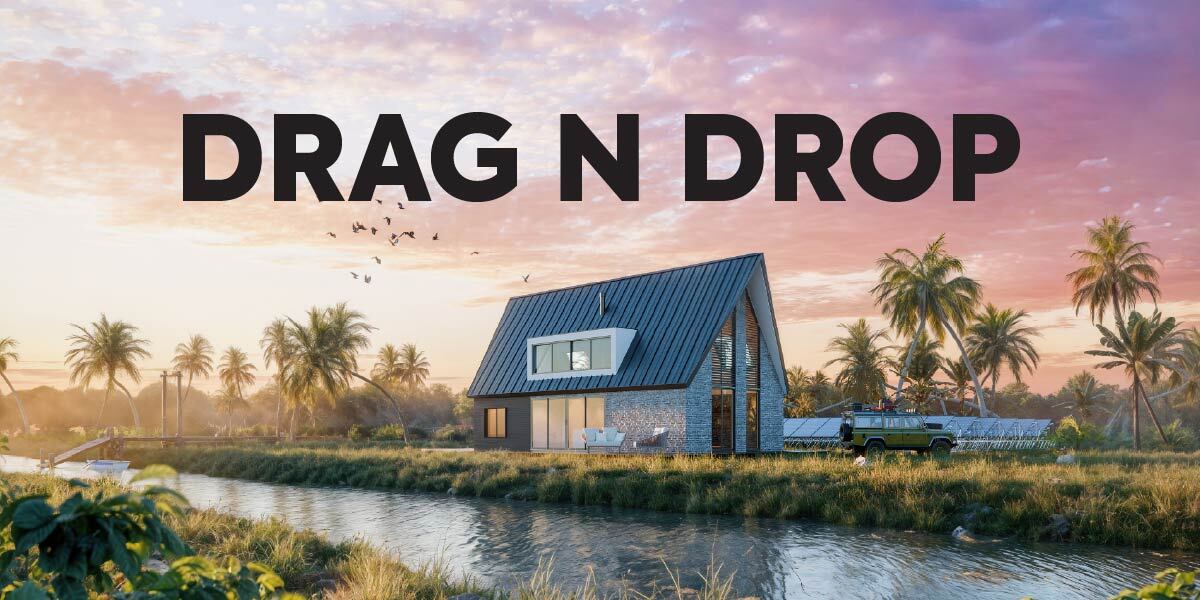
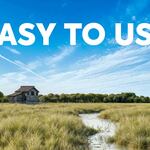
Once you've dragged your image into the scene, all that's left is to position it accurately to align perfectly with your camera. A simple, intuitive, and fast process.
-----------------
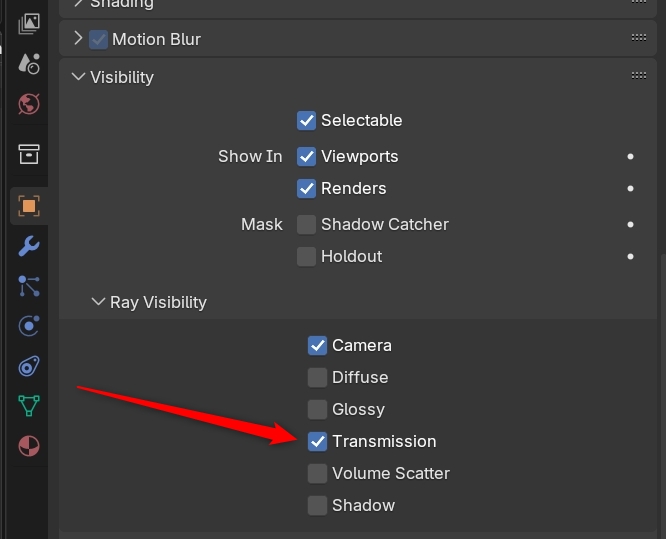
If you cannot see the sky through transparent materials like glass, this is normal. Activate the transmission on the sky map (in object menu / ray visibility)
Have questions about this product?
Login to message
Includes an Asset Library
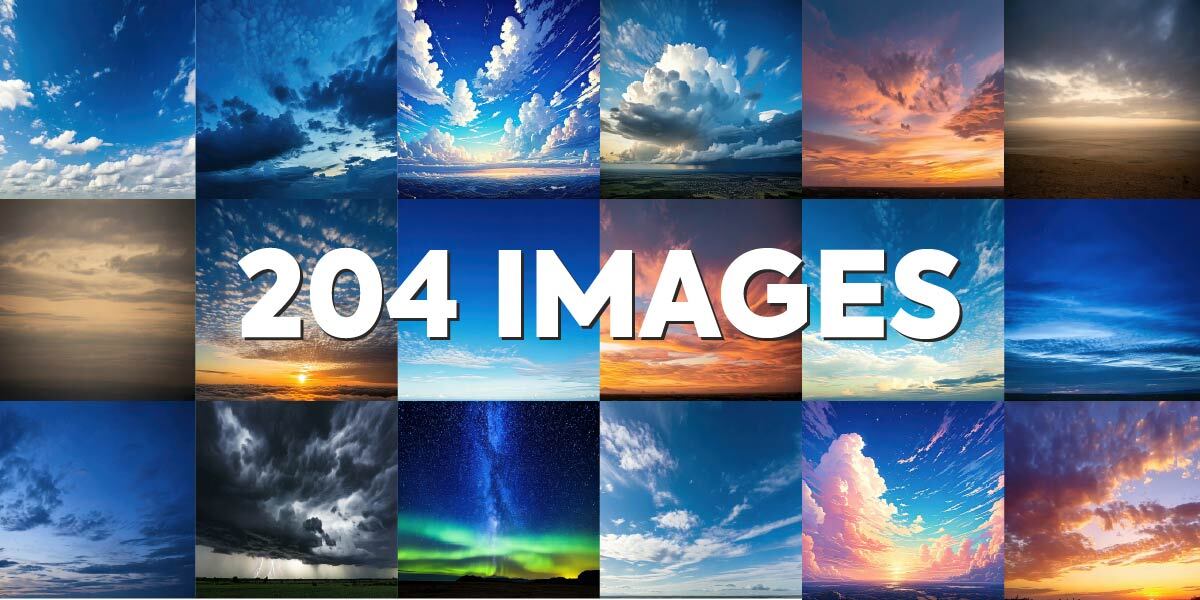
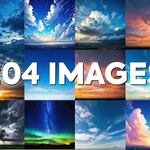
204 drag-and-drop assets for Blender’s Asset Browser.
Browse included assets| Sales | 300+ |
| Rating | 9 ratings |
| Dev Fund Contributor | |
| Published | over 1 year ago |
| Blender Version | 4.0 - 5.2 |
| Render Engine Used | Cycles, Eevee |
| Misc Data | Textured |
| License | Royalty Free |