 ArtLab


Timelapse Pro for Blender — Smart, Change-Aware Capture
A lightweight, production-ready addon that records your work-in-progress only when something changes (or on a fixed interval). Perfect for modeling, sculpting, shading, tutorials, and portfolio breakdowns.
✨ Key Features
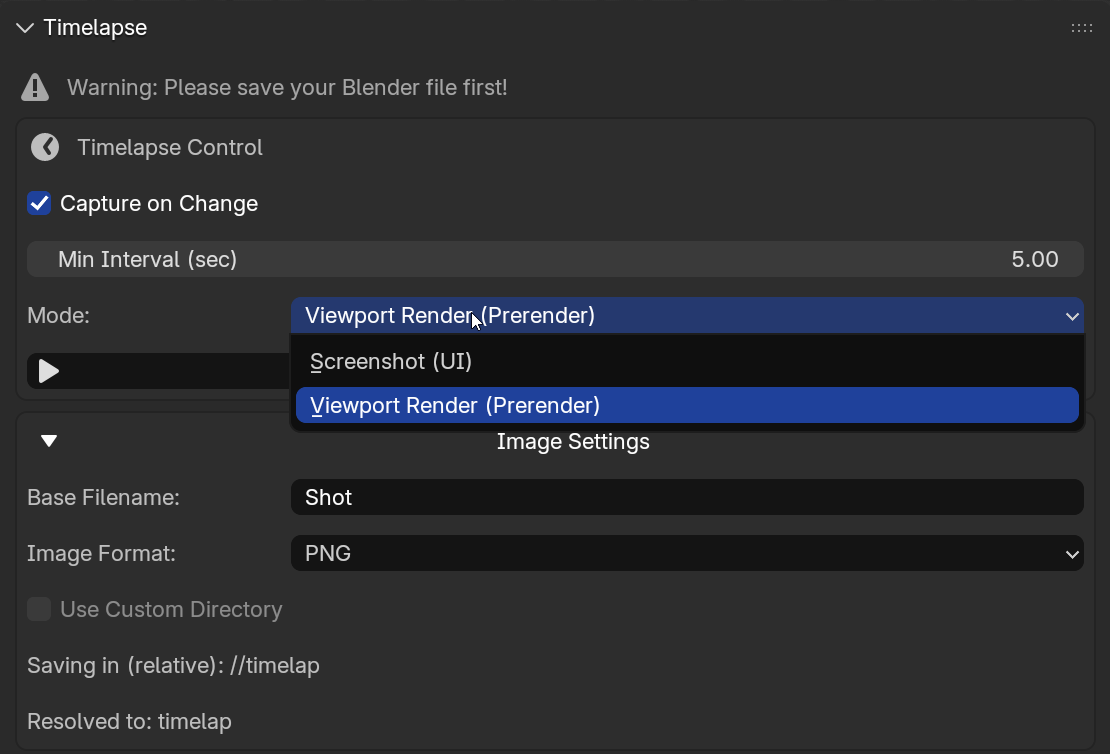
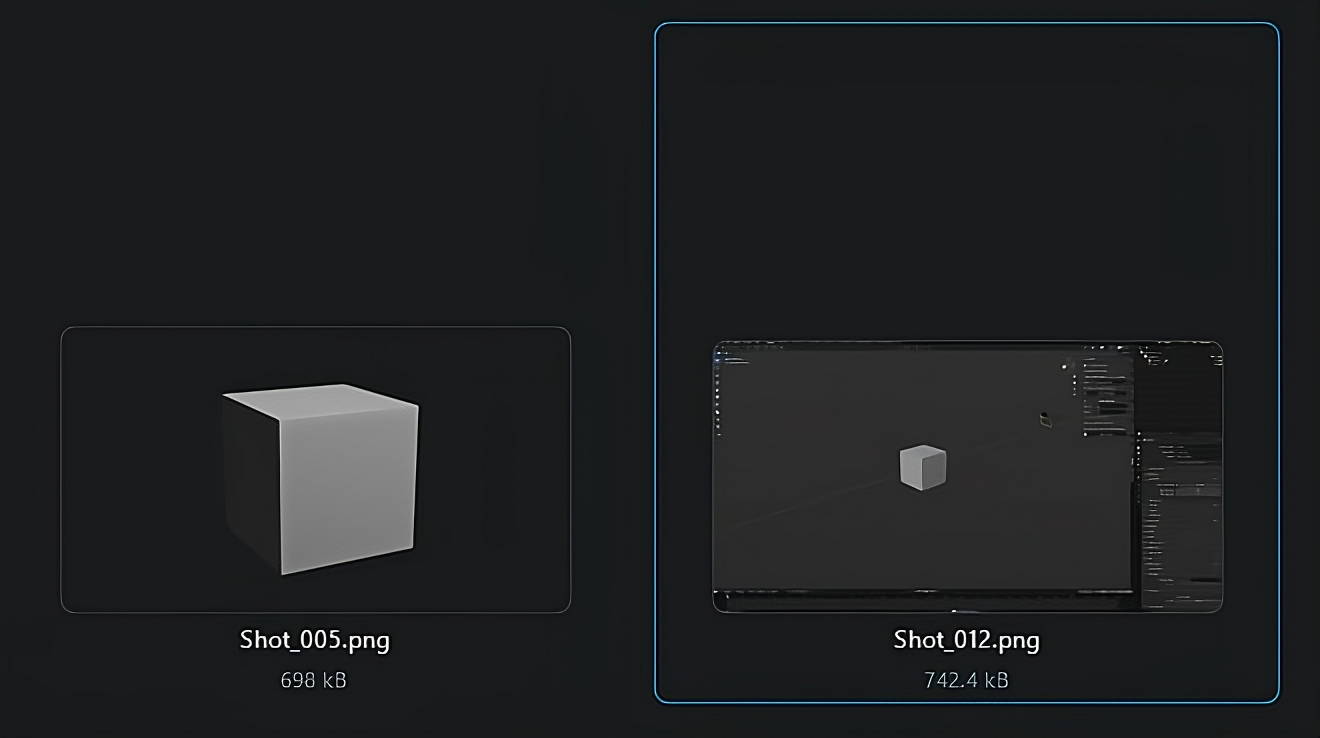
🎥 Two Capture Modes
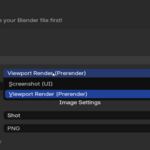
Choose between Viewport Render for clean, UI-free frames at scene resolution, or Screenshot to capture the full Blender interface — perfect for tutorials and workflow recordings.
🧠 Smart Change Detection
Automatically tracks scene updates (geometry, materials, transforms) and user actions (navigation, edits).
Captures only when meaningful changes occur — no redundant frames.
⏱️ Min Interval Guard
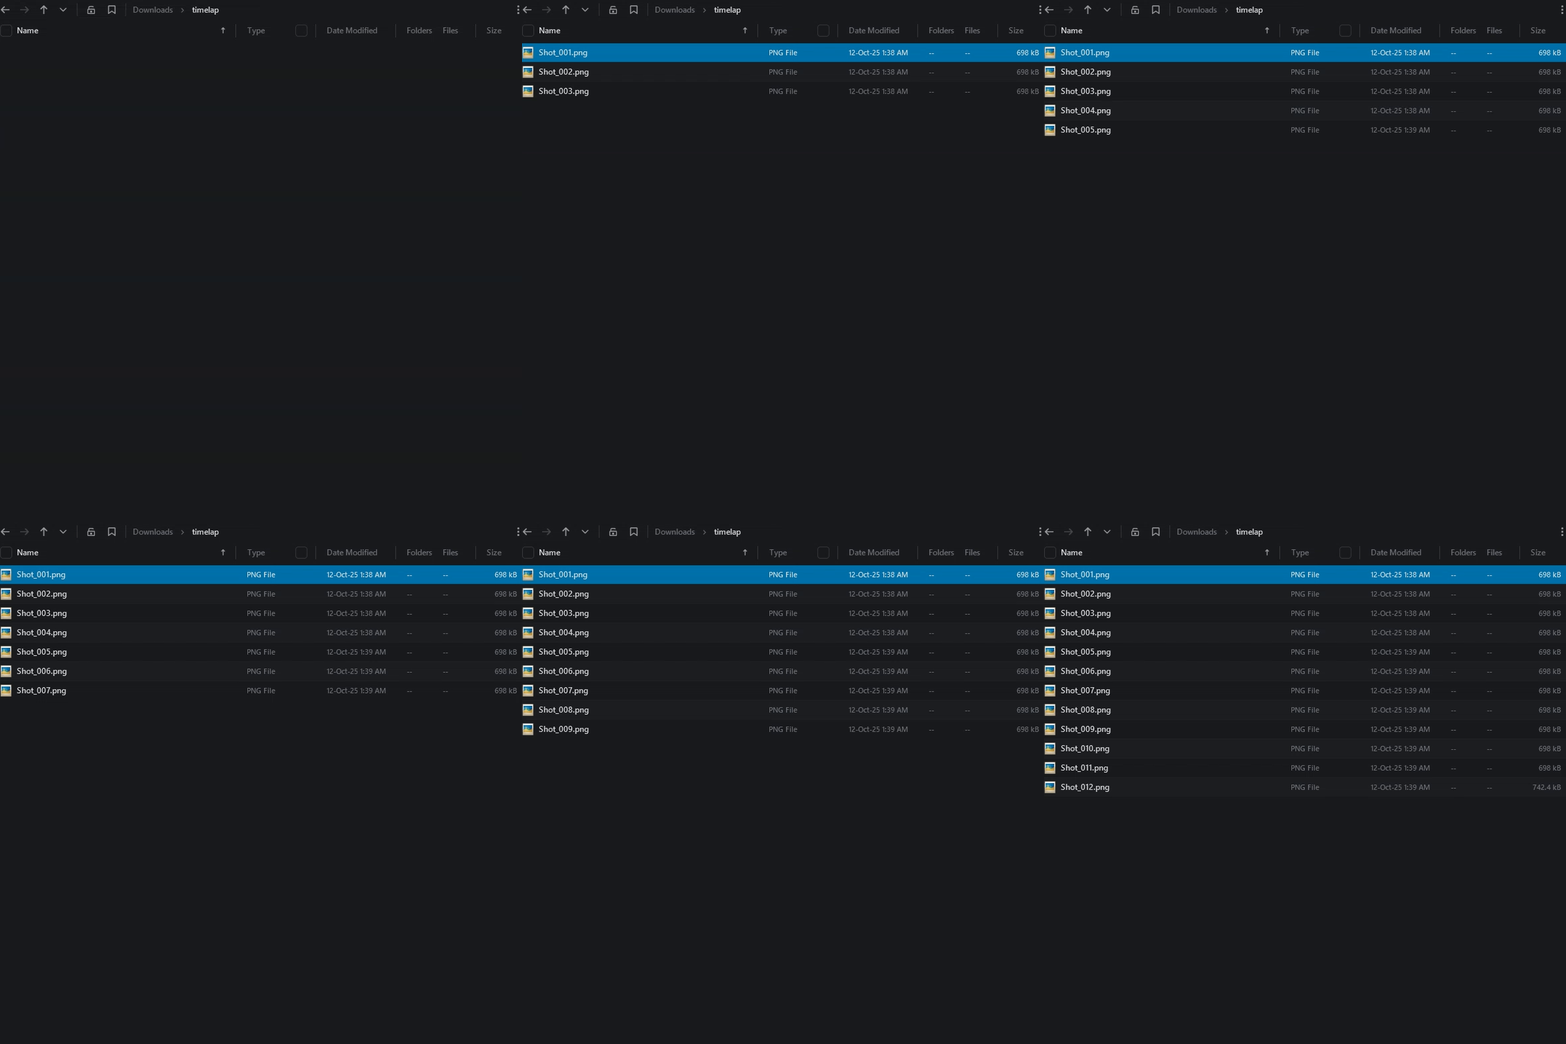
Define a minimum delay between captures (e.g., 5 seconds) to avoid flooding your folder with unnecessary frames during quick edits.
🧩 Safe & Robust
Prevents overlapping renders and automatically restores your original settings after each shot, ensuring stable, worry-free capturing.
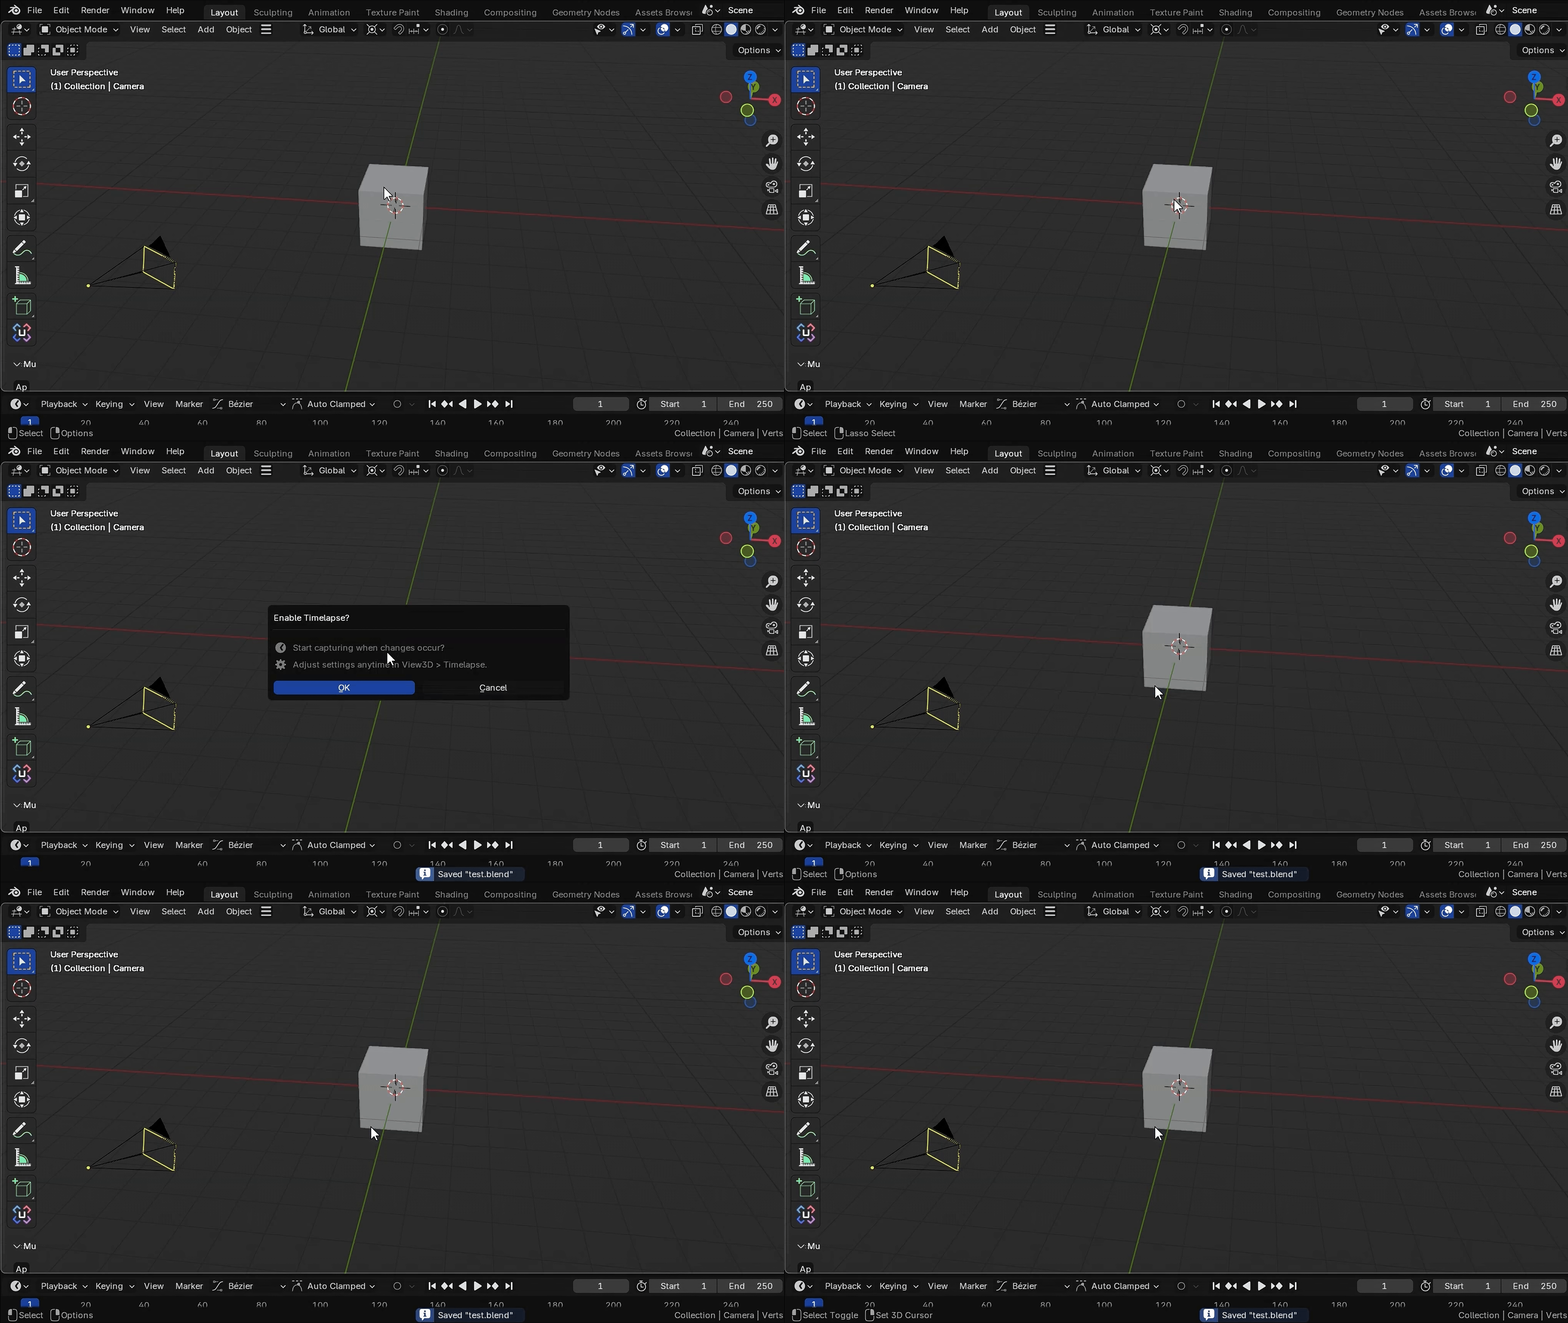
💡 Auto Start Prompt
After saving your Blender file, a friendly popup automatically appears, offering to start the timelapse — so you never forget to capture your progress.
🗂️ Clean File Management
Saves neatly numbered outputs (e.g., Shot_001.png) in PNG or JPEG format — either to the default //timelap folder or any custom directory you choose.
⚙️ How It Works
- Save Your .blend File – The addon prompts you to save first, ensuring correct output path resolution.
- Open the Panel – Go to 3D View → N-Panel → “Timelapse” to configure settings.
-
Set Capture Options:
- Enable Capture on Change for activity-based recording, or disable for interval-only mode.
- Set Min Interval (e.g., 5s).
- Choose Mode: Viewport (clean) or Screenshot (with UI).
- Adjust Image Settings: format, quality, filename, padding, and output path.
- Start Recording – Click Start Timelapse and watch real-time status updates (“Rendering…”, “Changes detected”, etc.).
- Review & Export – Use Open Folder to access frames, then assemble into a video using Blender’s VSE or FFmpeg.
- Auto Start on Save – Once configured, the add-on can automatically start recording after each .blend file save, so your progress is always captured without extra clicks.
🔍 Technical Highlights
- Change Detection Engine – Combines depsgraph updates (geometry, transforms, shading) with viewport activity (navigation, edits) to mark “dirty” states.
-
Viewport Render – Uses fast OpenGL capture with
view_context=Falseto maintain scene resolution and aspect ratio. - Screenshot Mode – Captures the active Blender window, respecting OS-level display and UI overlays.
- File Sequencing – Auto-increments filenames with zero-padding for clean, ordered output.
- Reentrancy Guard – Internal flag prevents capture loops during rendering, enhancing reliability.
✅ Best Practices
- Use Viewport Render for polished, presentation-ready timelapses.
- Use Screenshot when demonstrating workflows or UI interactions.
- Set Capture on Change with a Min Interval of 3–10 seconds for optimal balance.
- Organize sessions with custom directories to keep outputs tidy.
📦 Compatibility
- Blender Versions: 3.x–4.x
- Platforms: Windows, macOS, Linux
-
Installation:
Edit → Preferences → Add-ons → Install→ Select ZIP/Python file → Enable