Relit
 Blender Face


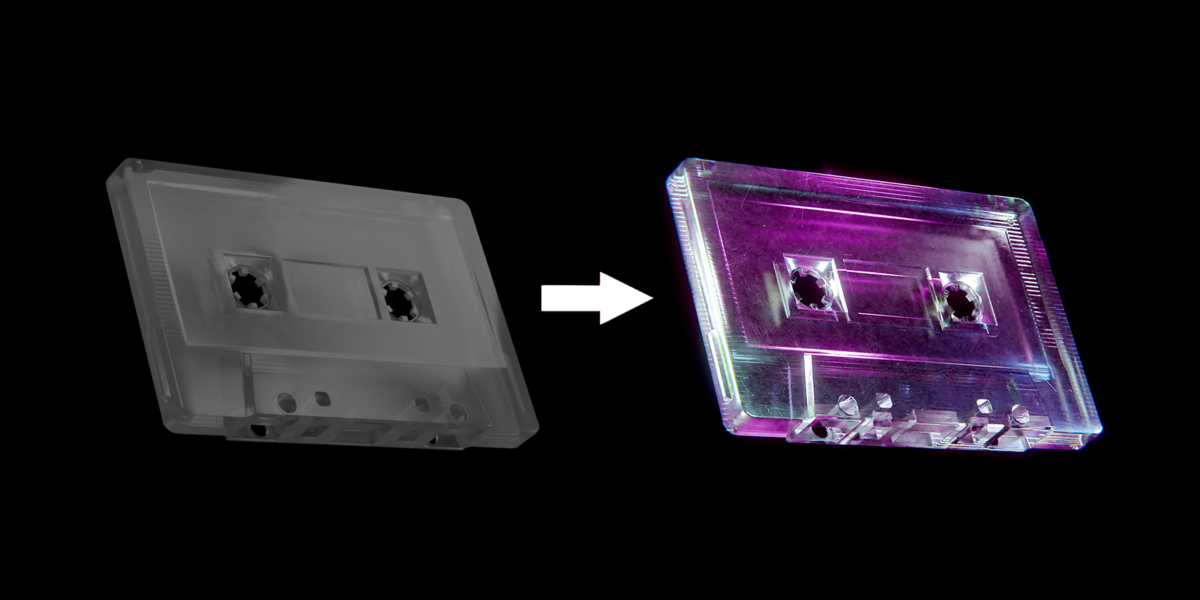
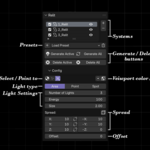
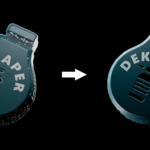
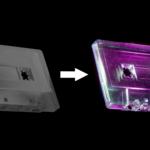
This add-on for Blender provides an efficient way to manage and generate lights in your 3D scenes. Follow the steps below to get started.
Installation
Download the Add-On:
    Obtain the add-on ZIP file from the official source.
Install as an Extension (Blender 4.2 and newer):
    Open Blender.
    Go to Edit > Preferences.
    In the Preferences window, select Get Extensions from the left-hand menu.
    Click on Install from Disk at the top right.
    Locate and select the downloaded ZIP file, then click Install From Disk.
Install as a classic add-on:
    Open Blender.
    Go to Edit > Preferences.
    In the Preferences window, select Add-ons from the left-hand menu.
    Click on Install... at the top right.
    Locate and select the downloaded ZIP file, then click Install Add-on.
Enable the Add-On:
    Once installed, find the add-on in the list (you can search by name).
    Check the box next to the add-on to enable it.
Save Preferences:
    Click on Save Preferences to keep the add-on enabled for future sessions.
Note: Relit 3.0 requires Blender 4.2 or newer.
Getting Started
Open the Add-On:
    In the 3D Viewport, press N to open the side panel, then click the Relit tab.
Add a System:
    Relit 3.0 works with systems. A system is a named bundle of light settings (type, count, color, spread, etc.) that you can generate, edit and save.
    Click the + button next to the system list to add one. A new system is created with a default name like 1_Relit.
Select the "Main" Object:
    Select the object in your scene that you want the lights to be generated around, or add an empty at the position you want. This is crucial because the lights will be generated relative to this object's location.
Tweak the Parameters:
    In the Config panel below the system list, adjust the settings for the active system. The most common ones are:
        Name: the prefix used to name the generated lights.
        Light Type: Area, Point, or Spot.
        Number of Lights: how many lights to generate.
        Energy: how strong the lights are.
        Size: the size of the lights.
        Spread: the volume around the main object where lights can spawn.
        Color: enable the Color switch in the header to open the color options.
    See the Settings and Configuration section below for a full reference.
Generate the Lights:
    Click Generate Active to generate only the active system, or Generate All to generate every enabled system at once.
    Pressing Generate deletes the system's previous lights and spawns fresh ones, so you can use it to regenerate a system whenever you tweak its settings.
Edit a System Anytime:
    Click any system in the list to make it active and edit its settings. You can also rename it (the Name field) or toggle its enabled checkbox in the list. Disabled systems are skipped by Generate All and Delete All.
    To remove a system, click the − button.
Systems
A system is a named bundle of light settings (type, count, color, spread, etc.) that you can generate, edit and save. Relit 3.0 lets you keep multiple systems in one panel, so you can split a lighting rig into parts like key, fill, and rim, and generate them together or one at a time.
Add a System: click the + button next to the system list.
Select a System: click a system in the list to make it the active system. Its settings show in the Config panel below.
Enable / Disable a System: use the checkbox on the left of each system in the list.
Remove a System: click the − button to remove the active system.
Settings and Configuration
The main panel holds your systems and the big Generate / Delete buttons. The Config panel below it holds the settings for the active system. Both are described below.
Header icons (top of the Config panel)
Color switch (material icon): turns the per-system color section on or off.
Select lights (select icon): selects all the lights belonging to the active system. Toggle it off to return to your previous selection.
Pointer switch (orientation-cursor icon): When on, every generated light is constrained to point at the active object. (only available for Area and Spot lights)
Set world to black (world icon): sets the current world Background node color to (0, 0, 0, 1). Reports an error if no Background node exists.
Color
If you need Color: Enable the Color switch in the header.
Color Gen Type:
    Choose one of four strategies:
        Single: every light uses the exact color you pick.
        Random: a random color is generated.
        Mono: a monochromatic scheme.
        Comp: a complementary scheme.
Sub-types for Mono and Comp:
    Classic: each light's color is shifted toward black (less saturated).
    Alternative: each light's color is shifted toward white (less bright).
Sub-types for Random:
    Single: every light uses the exact random color.
    Random: a random color is generated for each light.
    Mono: a monochromatic scheme with one random color.
    Comp: a complementary scheme with one random color.
Spread
Spread controls the range around the anchor object where lights are placed. Relit 3.0 lets you set each axis independently, including positive and negative directions.
X / -X, Y / -Y, Z / -Z:
    Set the spread on each side of the anchor. By default -Z is 0, so lights stay above the object.
Axis locks:
    The link icon next to each axis locks the positive and negative values together. When locked, the negative value is forced to match the positive one.
Offset:
    The minimum distance a light can spawn from the anchor. Lights are only placed where at least one axis is at least Offset units away. Offset is auto-capped to max(spread) - 1.
Show the spawn range:
    The wireframe icon next to Spread draws a wireframe box in the viewport sized to your spread values, so you can preview the spawn area before generating.
Pro tip:
    If you want to edit multiply axis you can click on one, drag down to select the needed ones.
Presets
Presets save every system and all of their settings into a single file, so you can reload a full lighting setup on any scene.
Save Preset:
    Click the save (floppy) icon in the main panel, type a name, and confirm.
Load Preset:
    Open the Load Preset menu and pick a preset. Loading a preset clears your current systems and replaces them with the ones in the preset.
Remove Preset:
    Open the trash menu next to Load Preset and pick the preset to delete.
Presets are stored as JSON files inside Blender's user scripts folder, under presets/relit/system_presets/.
Delete
Delete Active: removes all lights belonging to the active system.
Delete All: removes all lights belonging to every enabled system.
Both match lights by the system's Name field, so any object whose name starts with that prefix is removed.
By following these steps and utilizing the settings, you can create customized lighting setups to enhance your 3D scenes in Blender. Enjoy!
-
$15
-
$10
Have questions about this product?
Login to message
| Blender Extension Compatible | Yes |
| Published | over 2 years ago |
| Blender Version | 4.2 - 5.2 |
| Extension Type | Add-on |
| Render Engine Used | Cycles, Eevee |
| License | GPL |
Discover more products like this
3D lighting techniques. 3dlight 3drender 3d-light 3d-lighting 3D lighting design