 3D Tudor
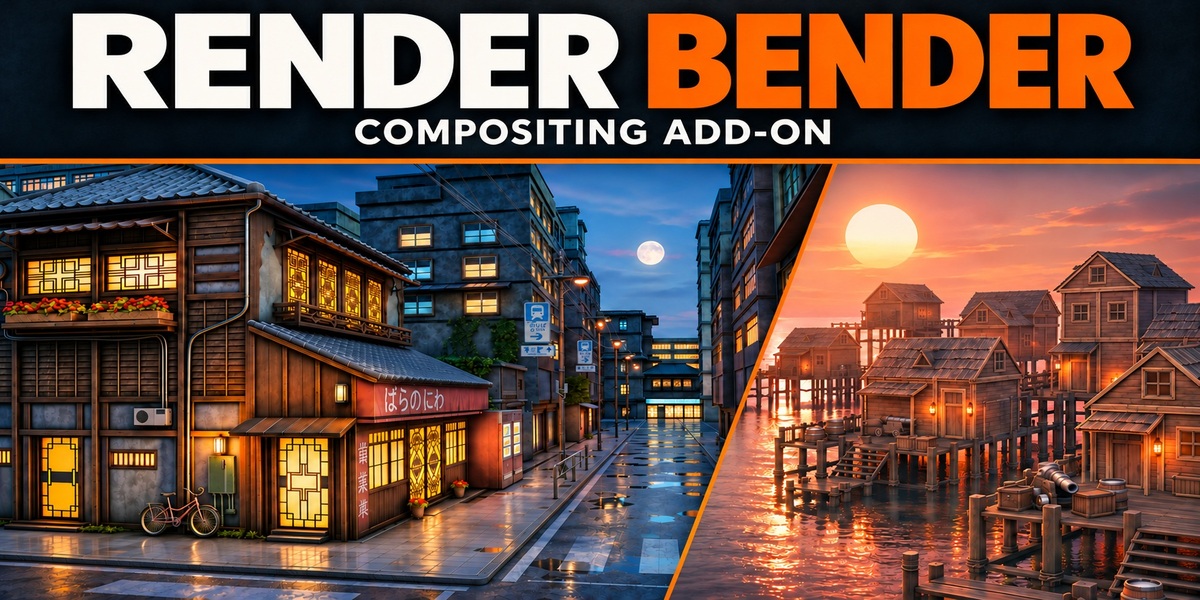
Render Bender: getting started & practical help
Install the add-on, build your look, and know when to refresh your render. This guide follows Render Bender 2.1.196 for Blender 5.2, using Cycles for the full render-pass workflow.
Start here if adjustments feel slow
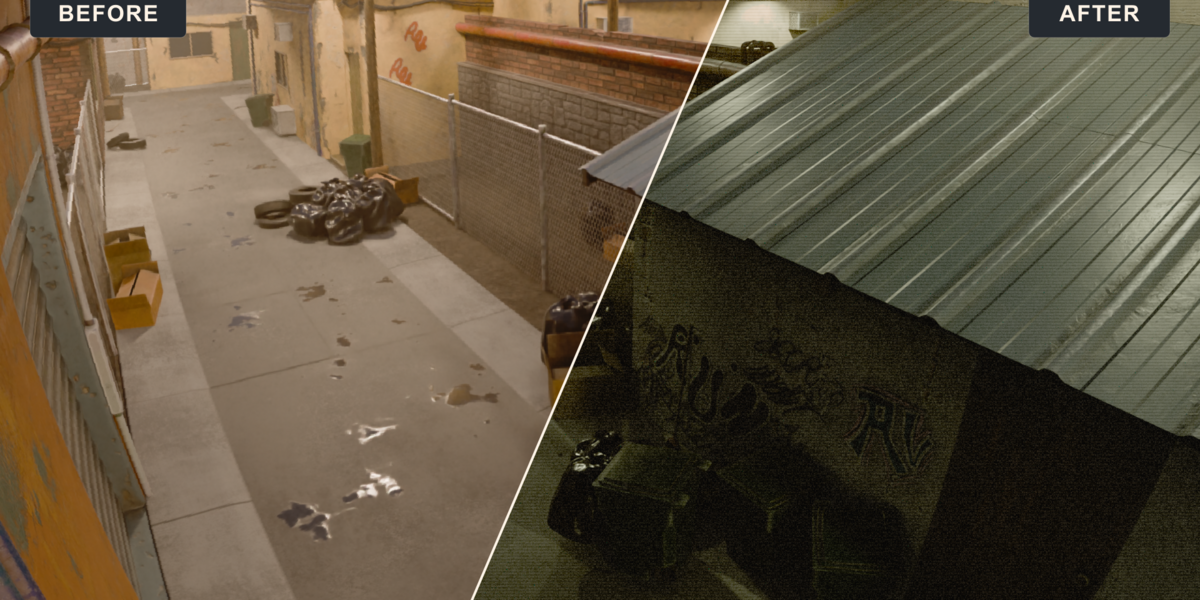
Open Render Finishing and switch Denoise off while adjusting your look. This is the first setting to check: denoising can add a substantial processing step every time the compositor updates. Collapsing its controls does not disable it; use the Denoise enable checkbox.
Set your colour, lighting effects and atmosphere first. Enable Denoise last, if the image needs it, then let processing finish and inspect fine details before exporting. Factory presets leave Denoise off. High resolution and other active effects also affect response time.
1. Install and make your first render
- Save a working copy of your scene. Use an active camera, materials and lighting.
- In Edit > Preferences > Add-ons, open the menu and choose Install from Disk. Select Render_Bender_v2.1.196.zip without extracting it, then enable Render Bender.
- With the pointer over the 3D Viewport, press N, open Render Bender, and click Set Up & Open Compositor. If already set up, use Open Compositor.
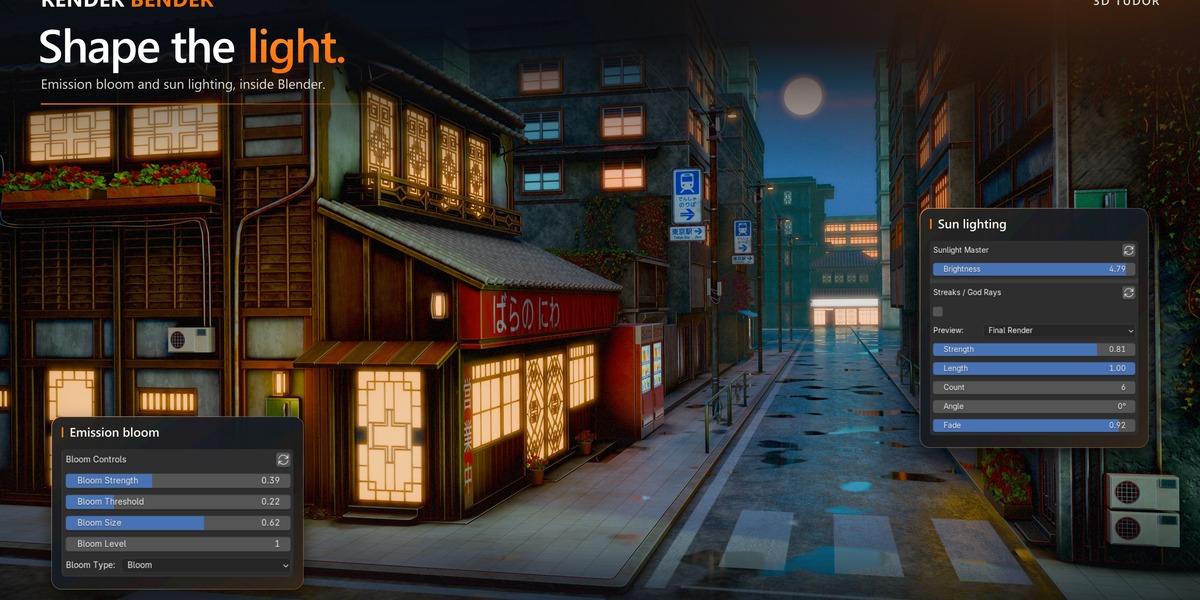
- The full controls are in the Compositor sidebar. Press N there if needed. Arrange Workspace provides an optional layout with the preview and controls.
- Render the scene with F12 and wait for completion. Setup enables required passes, but an older render will not automatically contain newly enabled data.
- In Global Presets, select 3DT Clean Starting Look and click Load. Selecting a name alone does not apply it.
- Enable the section you want to use, adjust one control at a time, and compare the result. Keep Render Finishing > Denoise off while experimenting.
Start at a modest render resolution while learning. Setup uses Cycles; it does not configure your computer's global GPU preferences. Check Blender's Cycles and compositor device settings if performance remains slow.
2. When do I need to render again?
A render pass contains part of your rendered image, such as emission or reflections. A capture or mask tells an effect where to appear. Render Bender can adjust existing data, but it cannot update an old render to reflect changes you made to the scene.
- Appearance changes using current data: colour grading, effect strength, and many finishing controls can update in the compositor without another full scene render. Allow the compositor to finish recalculating.
- Scene changes: changing camera position, geometry, materials, lighting, frame or render resolution requires a fresh scene render with F12. Refresh any affected effect captures too.
- Newly enabled or missing passes: render again after enabling the required passes. Loading a preset does not create them.
- Captured effects: Mist, Edgewear, Cavities, water targeting and sun masks may need their own capture button. Follow the section's readiness message and regenerate stale masks.
A full render and an effect capture do different jobs. F12 refreshes the scene image and its passes. A section's capture button refreshes that effect's supporting data. If both are out of date, refresh both.
3. Mist: distance first, appearance second
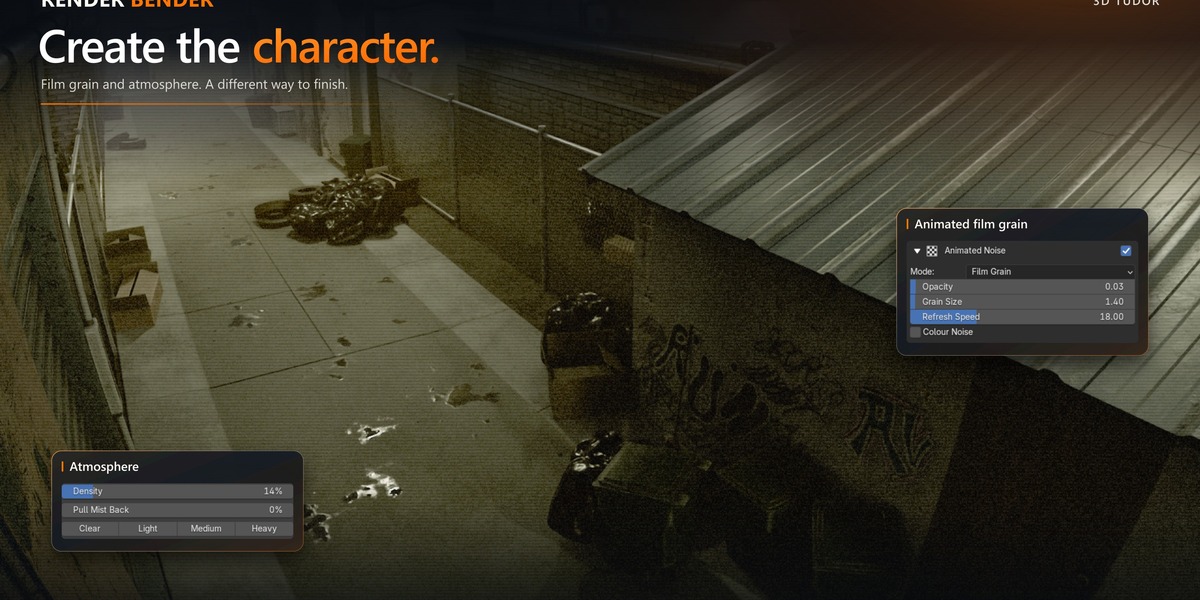
Mist uses distance from the active camera. Scene scale matters: the same distances will not suit a small room and a large landscape.
- Enable Mist and click Auto Fit Scene to fit the distances to camera-visible surfaces and render a fresh capture. If Mist is clear, Auto Fit starts it at Medium.
- For manual control, expand Camera Distance. Start is the distance from the camera where mist begins. Fade Distance is the additional distance over which it reaches full density. For example, Start 10 and Fade Distance 40 reaches full density at roughly 50 scene-distance units.
- After changing Start or Fade Distance, click Update Mist Capture and wait for it to finish. The same button reads Refresh Mist Capture when a capture is current. Some status/help text calls this Render Mist Pass.
- With a current capture, adjust Density, Pull Mist Back, Colour and Softness. Density controls strength; Pull Mist Back clears nearby haze while retaining distant mist. These appearance controls update from the existing capture.
If mist is missing, covers the foreground too strongly, or no longer matches the camera, check the range and capture status before increasing Density. Refresh after camera, geometry, frame or resolution changes. Very dense mist can reveal thin silhouette edges; reduce the strength and inspect the final-resolution result. Volume is a separate section that adjusts existing rendered volume lighting.
4. Save, export and import your presets
Global Presets combine several sections. Section presets change their own section. Hover the action icons to find Create, Save, Load and Delete.
- Create: save your current settings as a new named preset. Use this to keep a variation.
- Save: overwrite the selected preset with your current settings.
- Load: apply the selected preset. Highlighting it is not enough.
- In the Compositor's Render Bender sidebar, open Global Presets.
- Click Export (the operator is named Export Presets), choose a folder and filename, and save the .json file.
- The bundle includes the current look, editable curves, global presets and the current scene's section presets. Keep a copy before updating Blender, updating the add-on or moving computers.
- On the destination computer or project, enable Render Bender, click Import, and choose the JSON file. Import merges entries into the library.
- Select the imported preset and click Load. Render the destination scene and reassign its Water Target Collection or Sun Object when needed.
Section presets live with the .blend; global presets use this computer's Blender configuration. Presets store settings, not models, textures, render passes or captured masks. Load a global look before setting up scene-specific water or sun targets, because some full global looks clear those assignments. A preset's appearance will vary with your lighting and materials.
5. Export the finished image and keep your project
- Choose Final Render, turn off the split comparison, and restore the effects you want enabled. Check any individual Special Effects comparison choices too; preview and Before/After choices can affect output.
- Enable Denoise now if needed, wait for the compositor to finish, and check the result at final resolution.
- In an Image Editor, select Viewer Node for the current compositor image, then choose Image > Save As. Choose your format and destination. Open the saved image to check it matches your intended result.
- Save your .blend separately. Saving the project alone does not export an image or video.
When moving a project, click Pack Render Bender Masks, then save the .blend. Pack or include your other scene assets separately. Render Bender's mask packer only packs its masks. Render again after reopening a transferred project; Render Result is not a portable saved set of passes.
6. Quick troubleshooting
- No Render Bender panel: confirm the add-on is enabled, press N over the correct editor, and use the Compositor for the full controls.
- Black, empty or unchanged preview: complete setup and a scene render, choose Final Render, enable the relevant section, and click Load if using a preset. Check that you are not viewing None, an isolated pass or a mask.
- An effect does nothing: confirm its source exists. Emission needs emissive pixels; Volume needs rendered volume light; Transmission Water needs transmissive water surfaces, the correct collection and current passes. A preset cannot create missing source data.
- Missing or offset masks: read the status message, refresh the relevant capture and inspect its mask preview. Edgewear and Cavities need their own captures.
- Controls stop updating after node changes: save a copy, then use Repair Render Bender to restore its connections while keeping effect settings.
- Preset list empty: use Refresh Presets beside Global Presets. Then select a preset and click Load.
- Still slow with final Denoise off: use a lower working resolution, enable only needed effects, and check any other denoising in Volume or Transmission Water. Allow one update to finish before making another change.
For animation: preview several frames, not just one. Follow the documented Colour and Animated VFX workflows. A captured still mask is not automatically valid after the camera, geometry or frame changes, and not every control should be assumed to be keyframe-safe.
7. Updates, requirements and included help
Before updating, save your project and export your personal presets. Disable the older version, restart Blender, install the supplied ZIP, and enable only one Render Bender version. Use Blender 5.2 with Cycles for the full workflow. Windows installation and settings checks are documented; macOS and Linux are unverified.
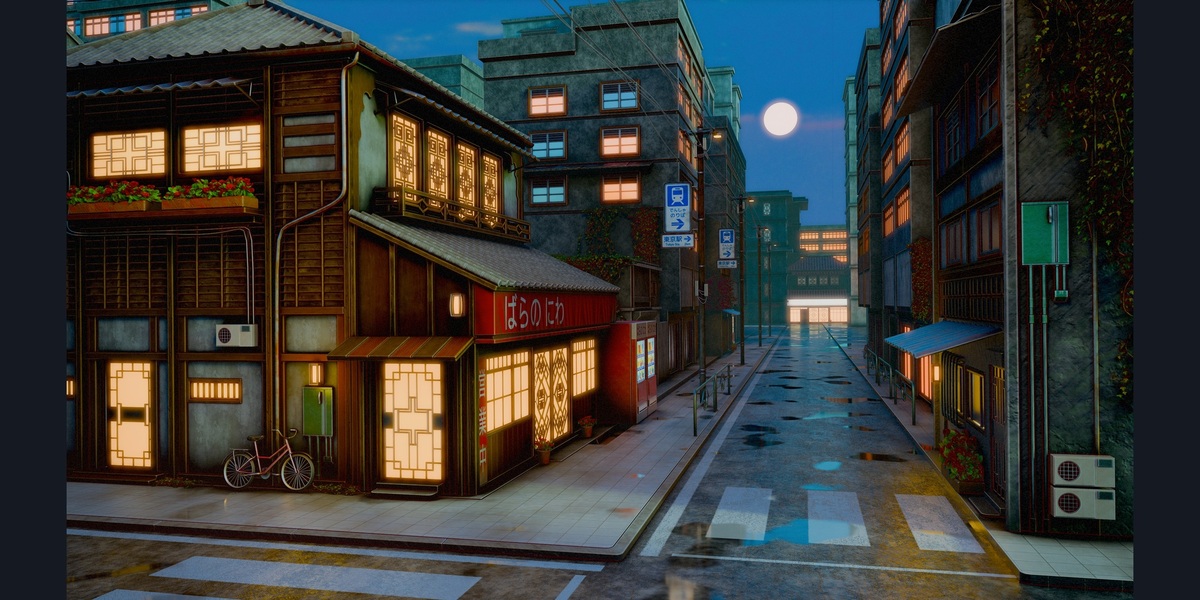
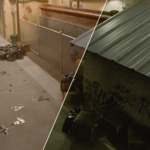
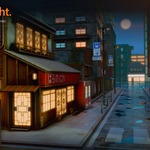
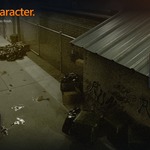
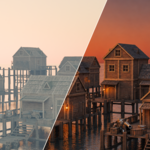
The download includes the add-on, helper modules, factory presets and getting-started guide. Example scenes, models and textures shown in the artwork are not included. The installer also contains README.txt, PRESET_GUIDE.txt and version notes for further details and current limitations.
Need a hand? Join the 3D Tudor community
Ask questions, share your renders and meet other artists in our 3D Tudor Discord community.
For troubleshooting, include your Blender and Render Bender versions, the section you are using, a screenshot of the controls and any status message, plus what you changed and whether you rendered or refreshed the capture. You can also contact 3D Tudor through Superhive.
Have questions about this product?
Login to message
| Dev Fund Contributor | |
| Published | about 3 hours ago |
| Blender Version | 5.2 |
| Extension Type | N/A |
| Render Engine Used | Cycles |
| License | GPL |
Discover more products like this
camera effects Compositing rendering presets color grading Cycles