Save Render Output Settings as Presets and Manager for Blender
 GabrielMoro


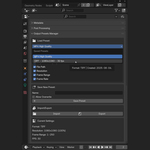
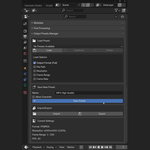
How to Use
-
Install the Add-On
-
Go to Edit → Preferences → Add-ons → Install
-
Select the
.zipfile and enable the add-on.
-
-
Saving a Preset
-
Set your desired render settings in Blender.
-
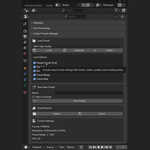
Open the Output Presets Manager panel in the Properties → Output tab.
-
Click Save Preset, give it a name, and confirm.
-
-
Loading a Preset
-
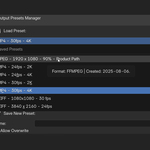
In the same panel, select a saved preset from the dropdown list.
-
Click Load Preset to instantly apply it to your scene.
-
-
Updating a Preset
-
Load the preset you want to update.
-
Make your changes in the render settings.
-
Save again with the same name to overwrite.
-
Tips
-
Use descriptive names like
YouTube_1080p_MP4or4K_Print_TIFFfor easy identification. -
You can keep multiple presets for different clients or platforms.
-
Combine with Blender’s batch rendering or command-line tools for automated workflows.
Requirements
-
Blender Version: 4.4 or later (tested)
-
Works on Windows, macOS, and Linux.
Have questions about this product?
Login to message
| Published | about 1 year ago |
| Blender Version | 3.6 - 4.5 |
| Extension Type | N/A |
| Render Engine Used | Cycles, Eevee |
| License | GPL |
Discover more products like this
Resolution presets render presets render settings output manager blender addon file format presets render manager render workflow output presets Batch rendering animation output