 Skava
Skava
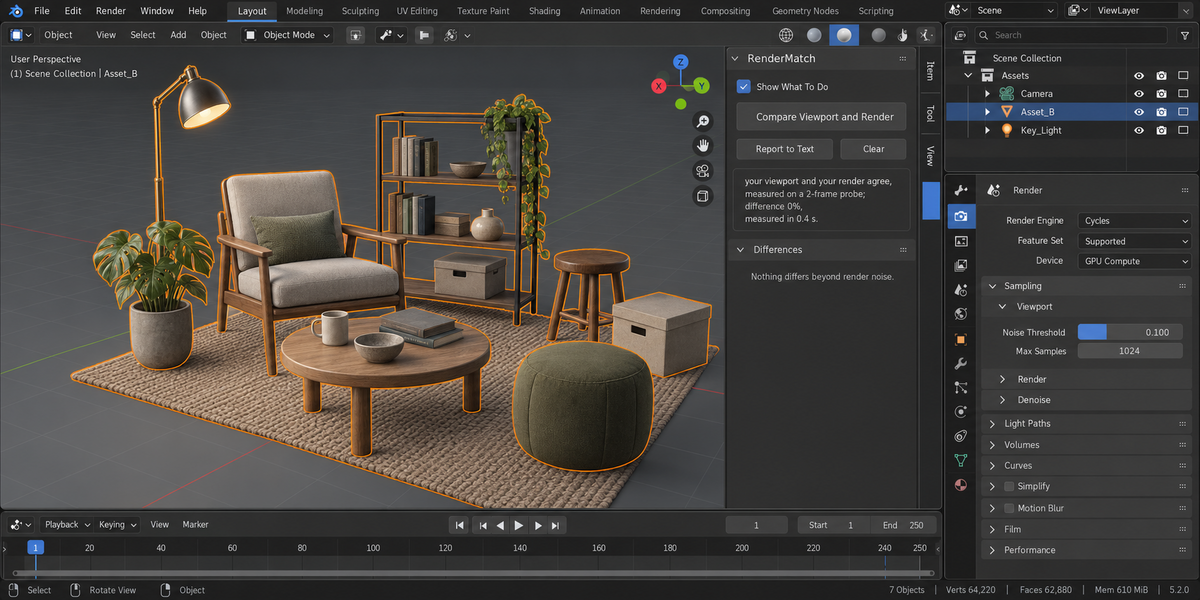

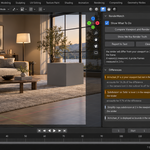
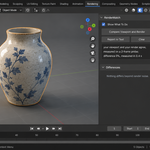
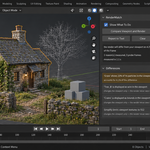
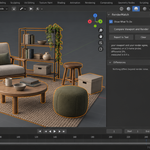
RenderMatch 1.0.0 — Documentation
Install
Keep the downloaded archive zipped. In Blender open Edit, then Preferences, then Add-ons. Use the arrow button in the top right of that window and choose Install from Disk (on Blender 4.0 and 4.1 the button is called Install), pick the archive, then tick the checkbox next to the add-on name. Press N in the 3D Viewport and a tab named RenderMatch appears down the right edge of the sidebar.
Requirements
Blender 4.2 or newer. Tested on 5.2 and 5.1. Works with both Cycles and Eevee — it uses whichever engine the scene is set to. A camera is required, because a render needs one; the Compare button stays greyed out until the scene has an active camera.
Using it
- Set up your shot as usual.
- Press Compare Viewport and Render.
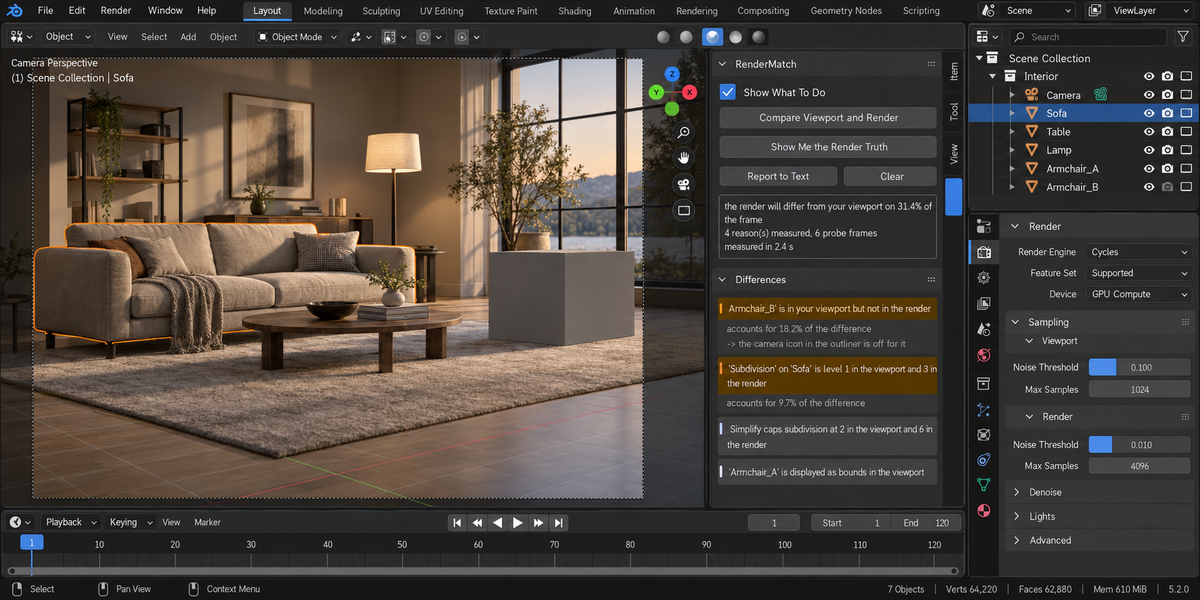
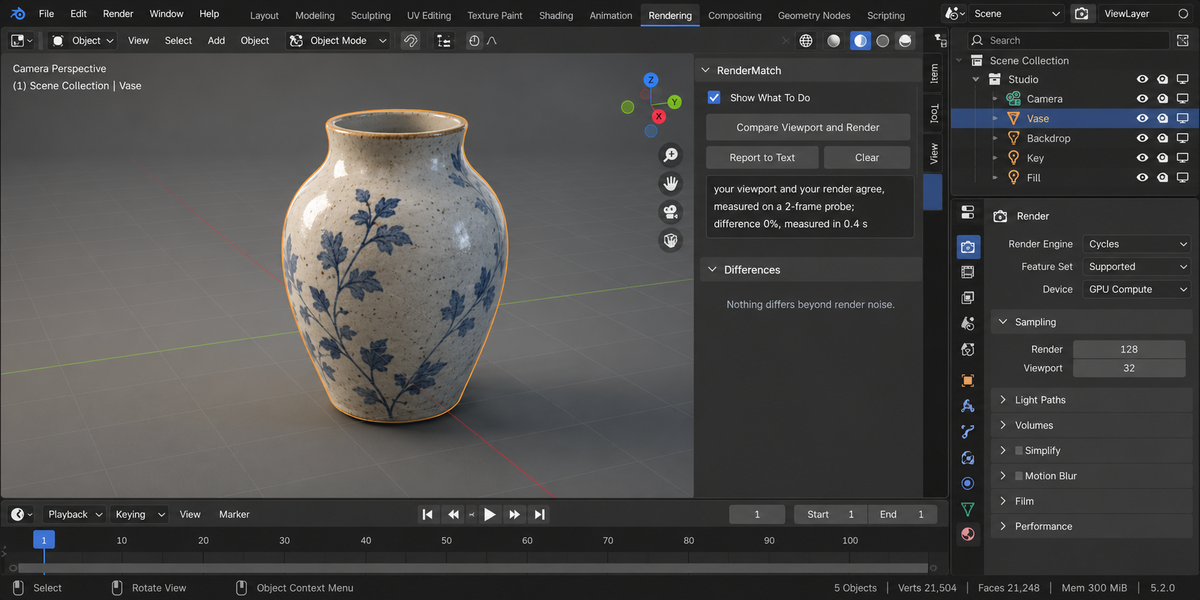
- Read the summary line: either the viewport and the render agree, or the render will differ on some share of the frame.
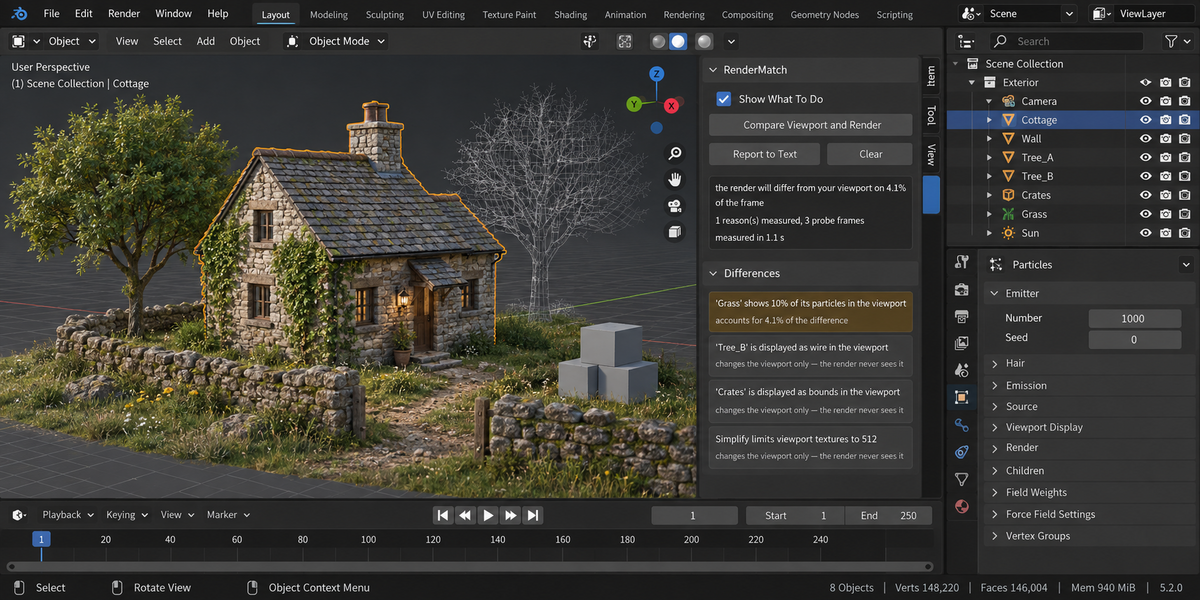
- Open Differences and read the causes. They are sorted by measured share, biggest first.
- If you want the viewport to stop lying to you, press Show Me the Render Truth. One undo puts everything back.
How the number is produced
Two probe frames are rendered, small but with the same shape as your camera frame — a vertical format gets a vertical probe, and a non-square pixel is taken into account. The first is the scene as it will render. The second is the same scene with every measurable difference switched to its viewport value. Comparing the two gives the share of the frame that will differ, and the average size of that difference. Then one probe per cause: that single cause is fixed and the frame is measured again, so its number answers "what do I get if I correct this one thing".
Each cause then gets its own probe: it alone is returned to its render value, the frame is rendered again, and the shrink in the difference is that cause's share. This is why the shares can add up to slightly more than the total — two objects that overlap in frame each claim the pixels they cover.
For the probe, sample counts are capped and the noise seed is fixed. Without a fixed seed two probes of the same scene would differ by their noise alone, and the report would be measuring randomness. Every setting the probe touches is restored afterwards.
What it looks at
- Object visibility. Visible on screen but disabled for the camera, or hidden with H while still enabled for rendering.
- Collection visibility. The eye icon and the camera icon set differently. When a collection is the cause, the objects inside it are not listed again — one cause, one line.
- Modifier switches. The screen switch and the camera switch on the same modifier set differently.
- Subdivision levels. Different levels for viewport and render, including multiresolution.
- Simplify. A lower subdivision cap or a smaller share of child particles for the viewport.
- Particle display. A system showing a percentage of itself on screen while the render uses all of it.
Listed without a percentage
Some settings change only the viewport, and the render can never show them. Giving them a share would be inventing a number, so they are listed separately with what they hide from you: display type set to Bounds or Wire, the viewport texture limit from Simplify, and images with unsaved changes — the render uses what is in memory, while the file on disk is older.
Reading the levels
- Nothing in frame — the probe came out flat. Check the camera, visibility and the world before reading anything else.
- Large — this cause accounts for eight percent of the frame or more.
- Small — measurable, but minor.
- Note — for information, including everything that changes the viewport only.
Limits, stated plainly
- Up to fourteen causes are probed. If a scene has more, the report says how many were left unmeasured rather than quietly showing a few.
- Differences below render noise are not reported. The threshold was measured on repeated probes of unchanged scenes.
- What the viewport draws on top of the scene — overlays, grid, wireframes, the solid shading mode — is not compared. It never reaches a render, and Blender cannot take a viewport image outside of a real window.
Report to Text
Writes the whole report into a text block inside your file called RenderMatch Report, ready to hand to whoever runs the render. Nothing is written to your file system.
Does it change anything?
No. It reads, renders two or more probe frames, and puts every switch back. The add-on fingerprints every flag and setting it can touch before and after the run and reports a mismatch as its own bug.
Changelog
1.0.0 — first release.
Have questions about this product?
Login to message
| Published | 1 day ago |
| Blender Version | 4.2 - 5.2 |
| Extension Type | N/A |
| Render Engine Used | Cycles |
| License | GPL |
Discover more products like this
Render viewport debug preview particles subdivision simplify modifiers report visibility diagnostics pipeline